If you’ve just started playing Valheim and are looking for some tips and tricks to get ahead, we’ve got a guide for you. This guide covers mostly beginner tips that you might not know immediately and helps you prepare for the first boss as well. And if you have some tips of your own, be sure to let others know in the comments.
Table of Contents |
| Tip 1 – Listen to Hugin the Raven |
| Tip 2 – How to Get Stone, Wood, and Flint |
| Tip 3 – Make a Base and Spawn Point |
| Tip 4 – Understanding the Food System |
| Tip 5 – How to Repair Weapons and Gear |
| Tip 6 – Take Advantage of Blocking |
| Tip 7 – Bows Are Really Strong |
| Tip 8 – Understanding Skills in Valheim |
| Tip 9 – Biome Progression in Valheim |
| Tip 10 – Fighting the First Boss |
Tip 1 – Listen to Hugin the Raven
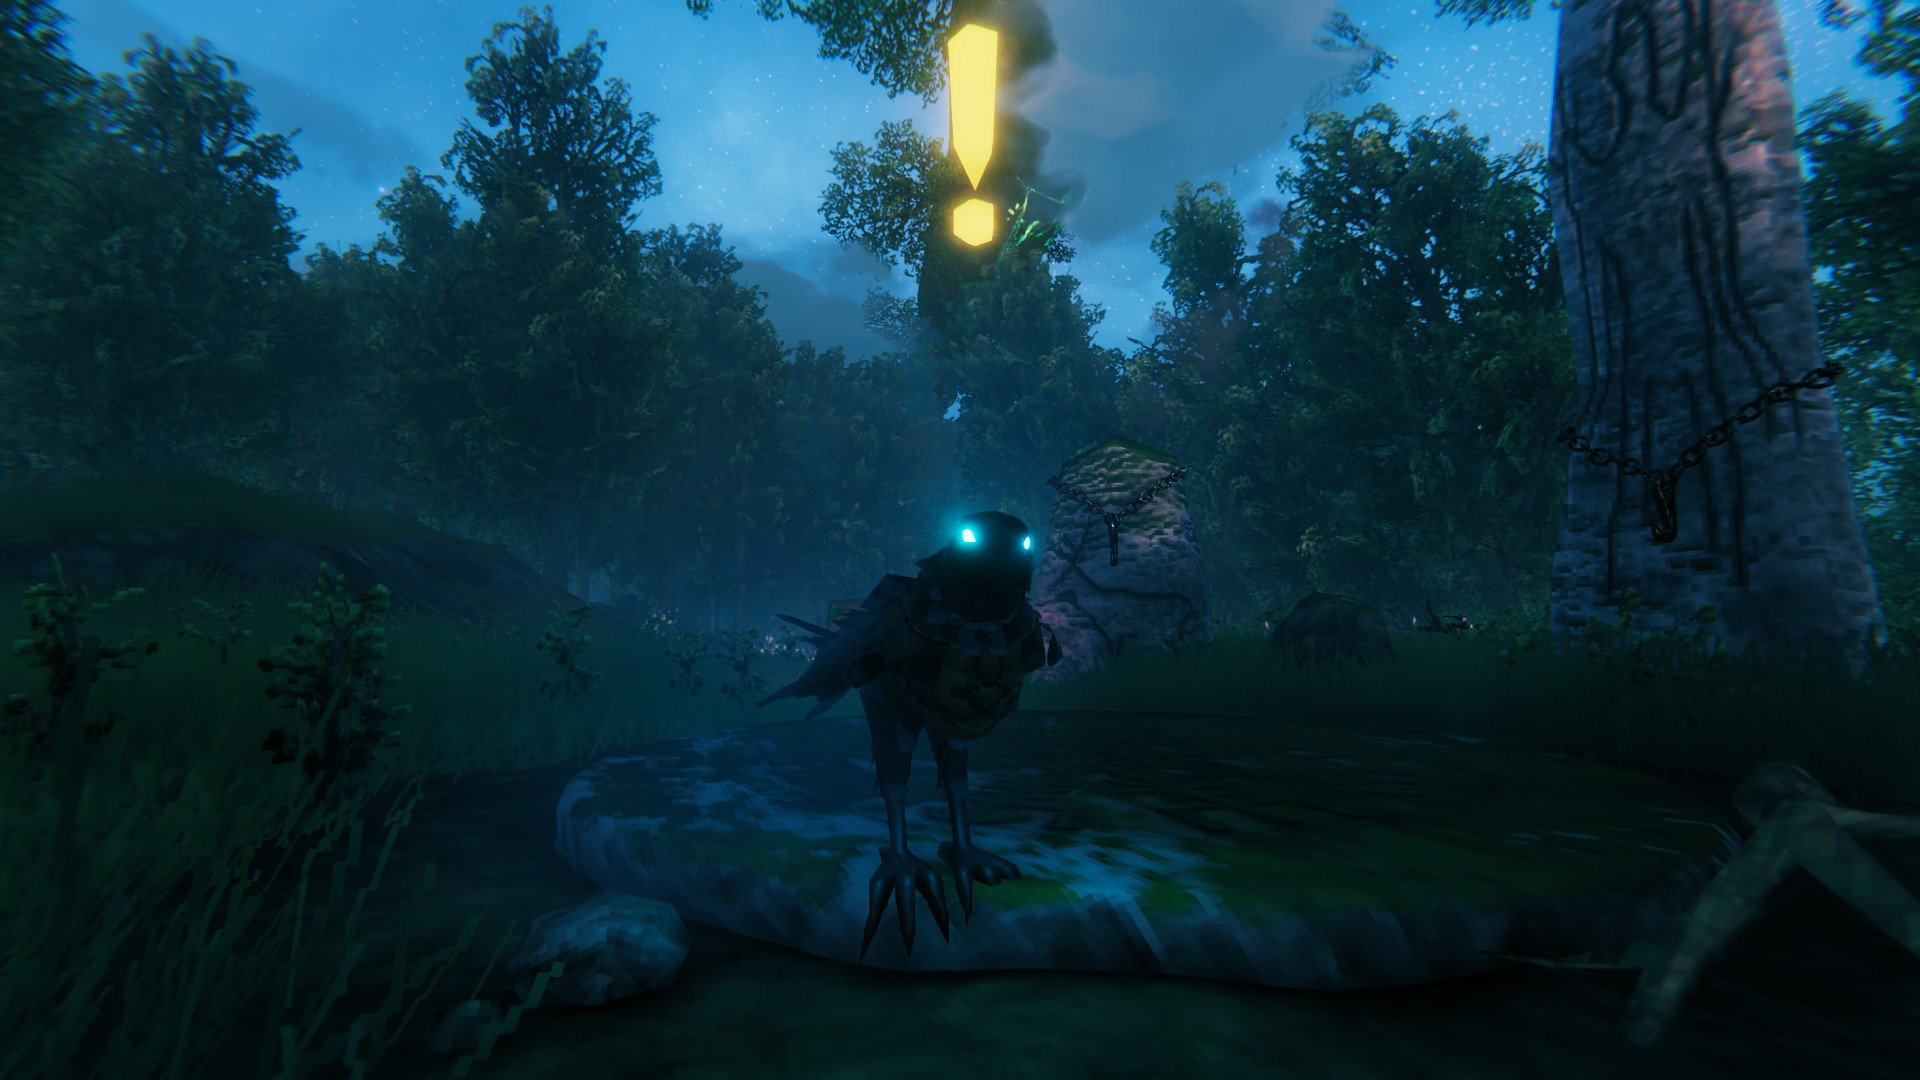
Our first Valheim tip is to listen to the raven that appears right from the start. This is Hugin, one of Odin’s ravens, that appears whenever you experience new content. They’ll give you a little advice and direction on what you should be doing. As well as explaining what new structures do or warning you about dangerous areas. Once you talk to Hugin, they’ll disappear until you find something else new.
Tip 2 – How to Get Stone, Wood, and Flint
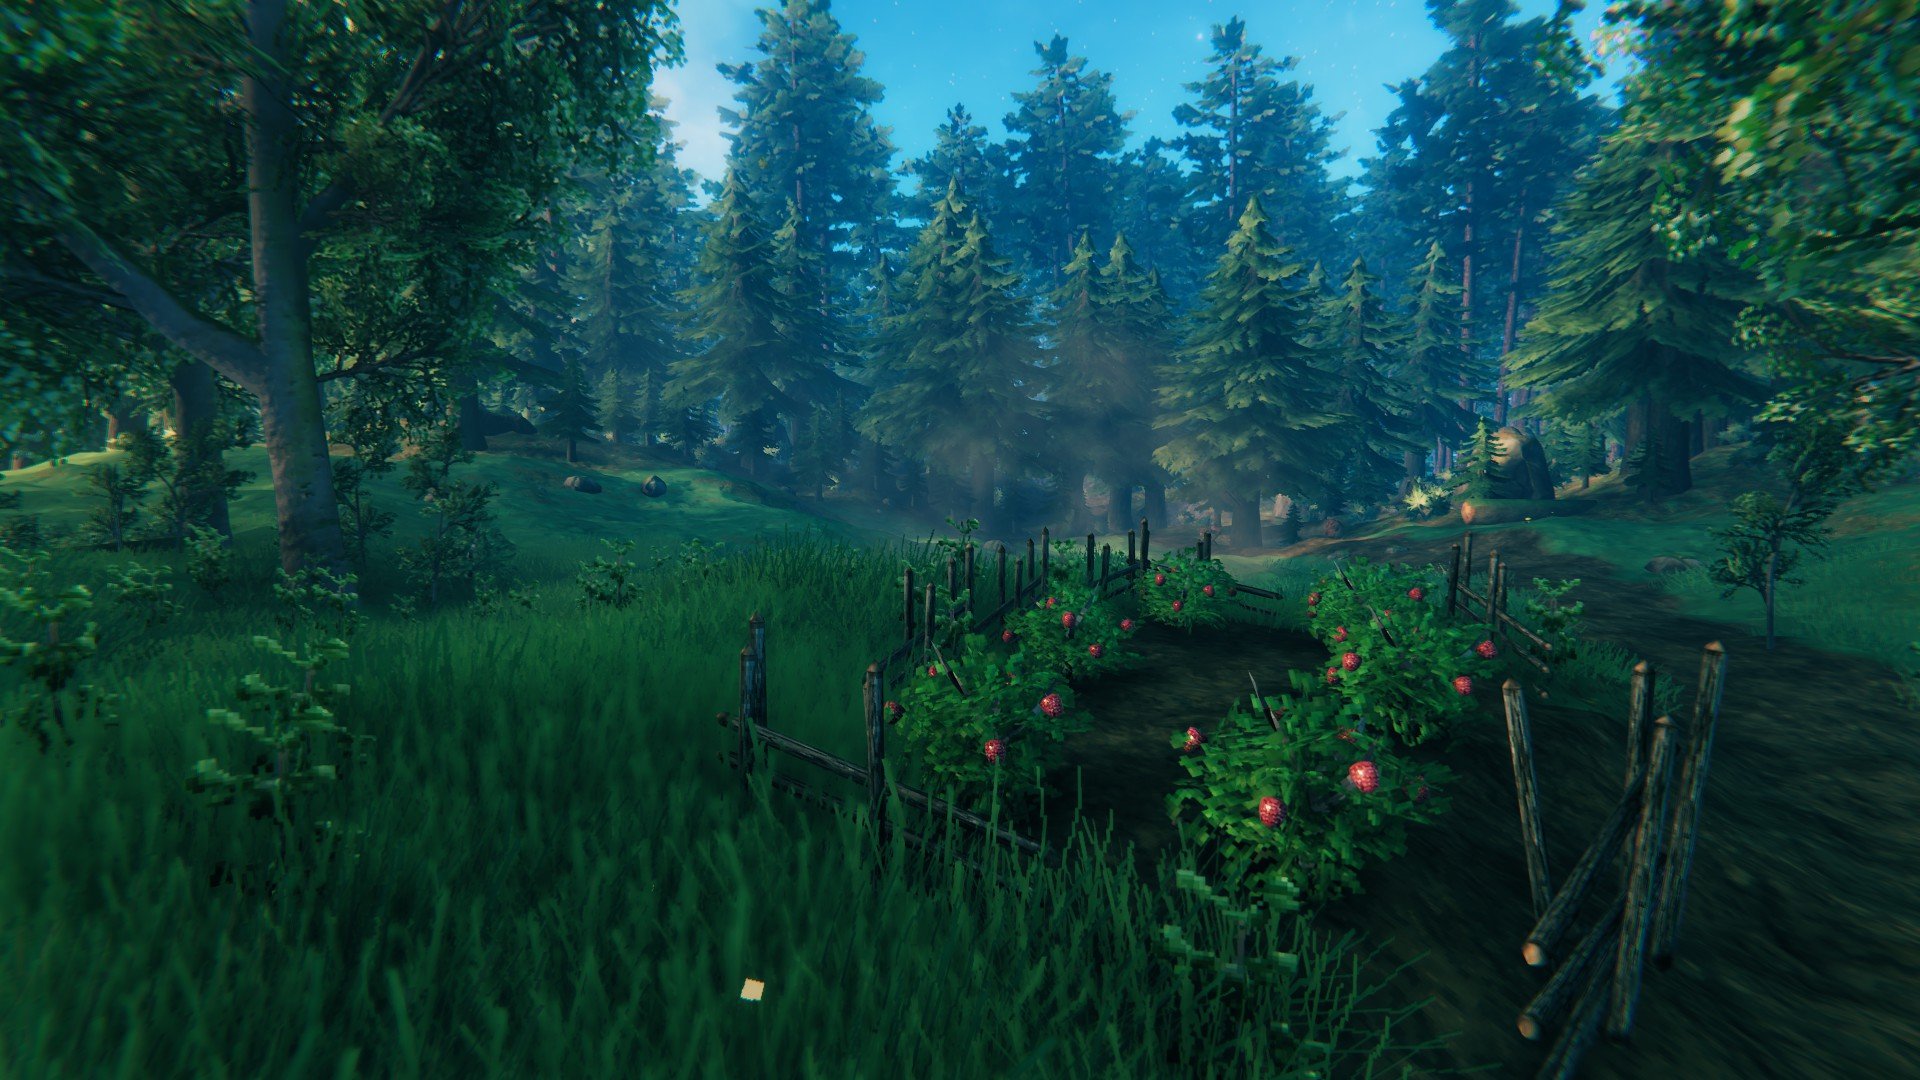
Your first goal in Valheim is to find stone, wood, and shortly afterward, flint. Fortunately, all three of these items can be picked up off the floor. You can find stones along the ground that when interacted with will pop up a lootable stone. Similarly, you can find branches on the ground that turn into a piece of lootable wood when interacted with. You can find both items spread throughout the game in just about every biome. However, once you start getting better tools like a Stone Axe or Pickaxe, you won’t need to gather this way. And finally, flint can be found along beaches near the ocean.
Tip 3 – Make a Base and Spawn Point
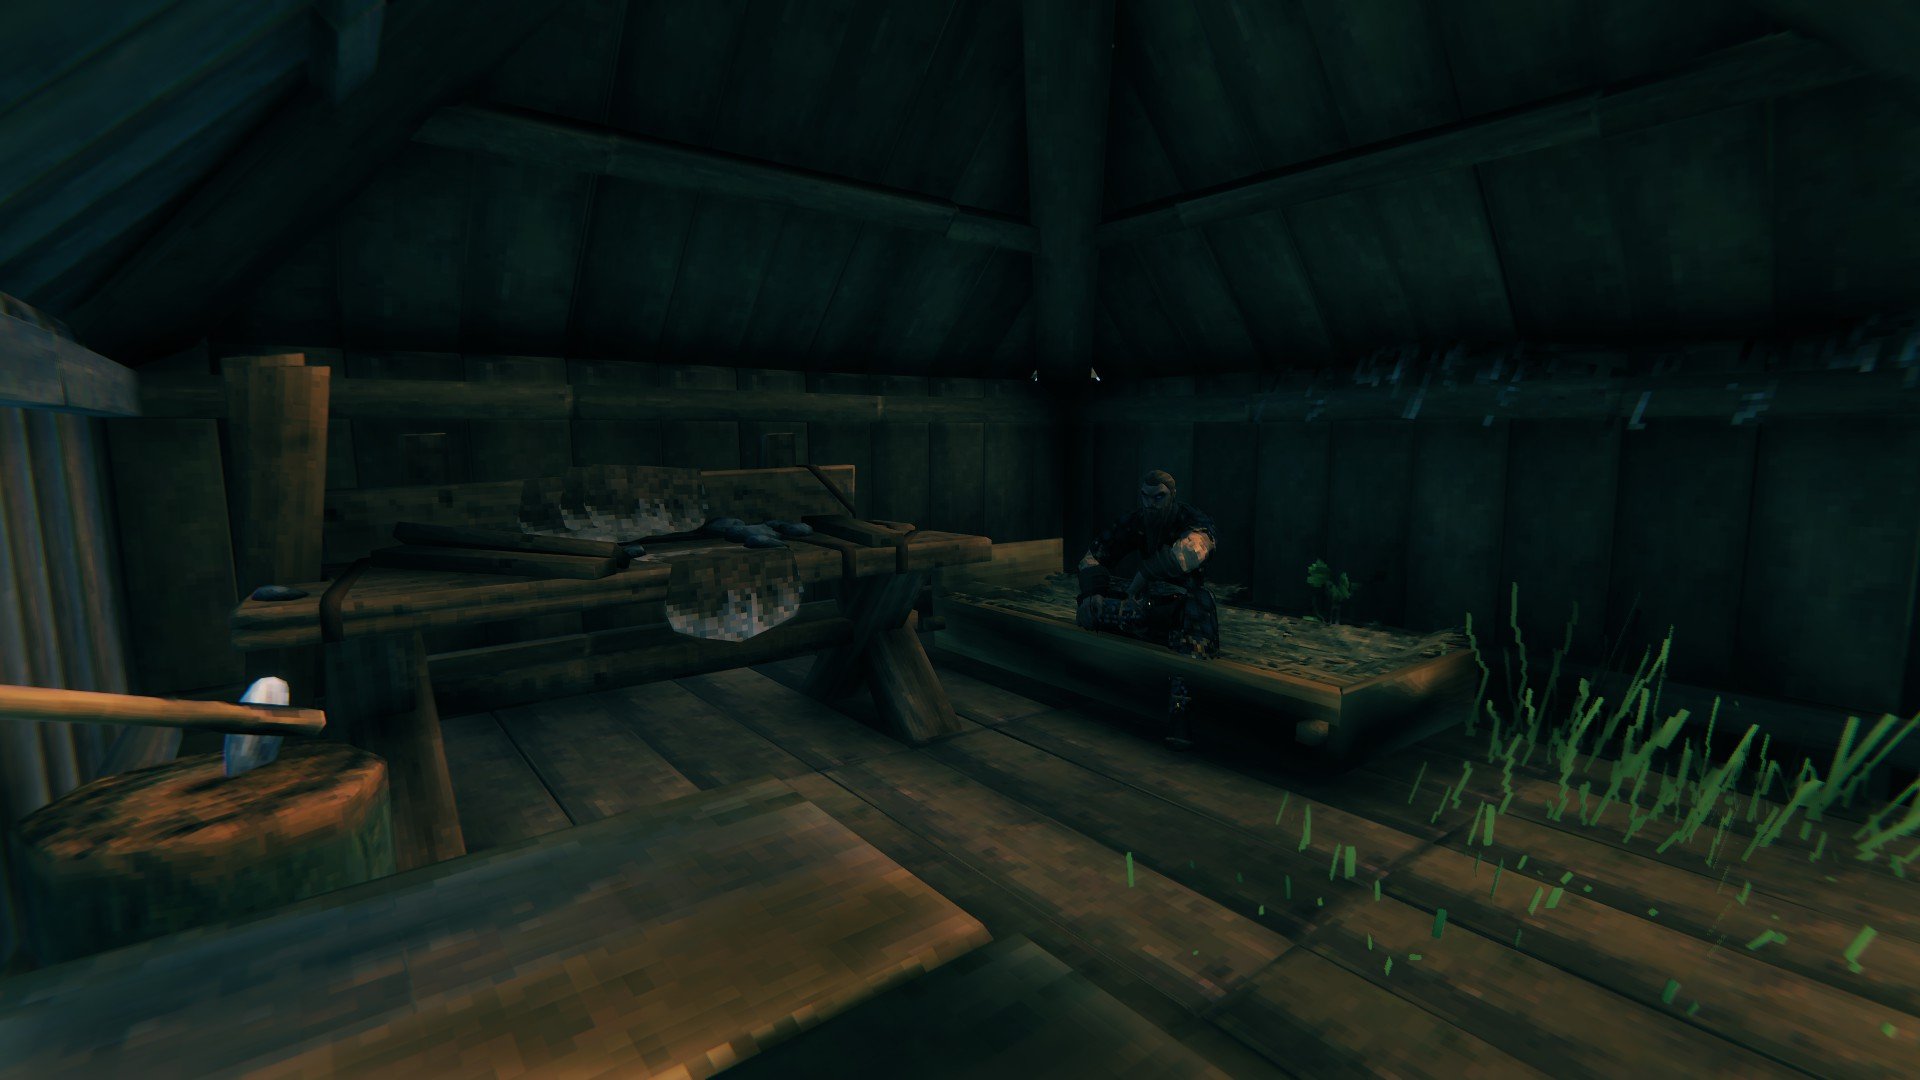
Once you’ve made a Stone Axe and Hammer, it’s time to start making a base for your spawn point. Using the Hammer tool, you can place structures after making a Workbench. Workbenches provide a decently sized area that you can place walls, floors, and other crafting stations inside. However, you’ll need to meet certain conditions to get the most out of your base. These include warmth from a fire nearby, a roof (Thatch Roof, not floor), and enough walls for shelter. Certain crafting stations like a Workbench can’t be interacted with until these conditions are met.
Once you’ve got a small base put together, place a bed inside and interact with it to claim it. This makes it your spawn point in case you ever die, instead of respawning back at the starting stones. Now so long as no enemies are around, you can sleep to pass the night and have a safer time. Three quick useful tips:
- Thatch roofs prevent anything below it from decaying to rain. It doesn’t seem buildings are destroyed by rain decay, but they will drop very low.
- Looking at a wall/floor/building with a hammer equipped shows a color based on its structural integrity.
- Don’t be afraid to make multiple bases, you’ll eventually get access to portals.
Tip 4 – Understanding the Food System
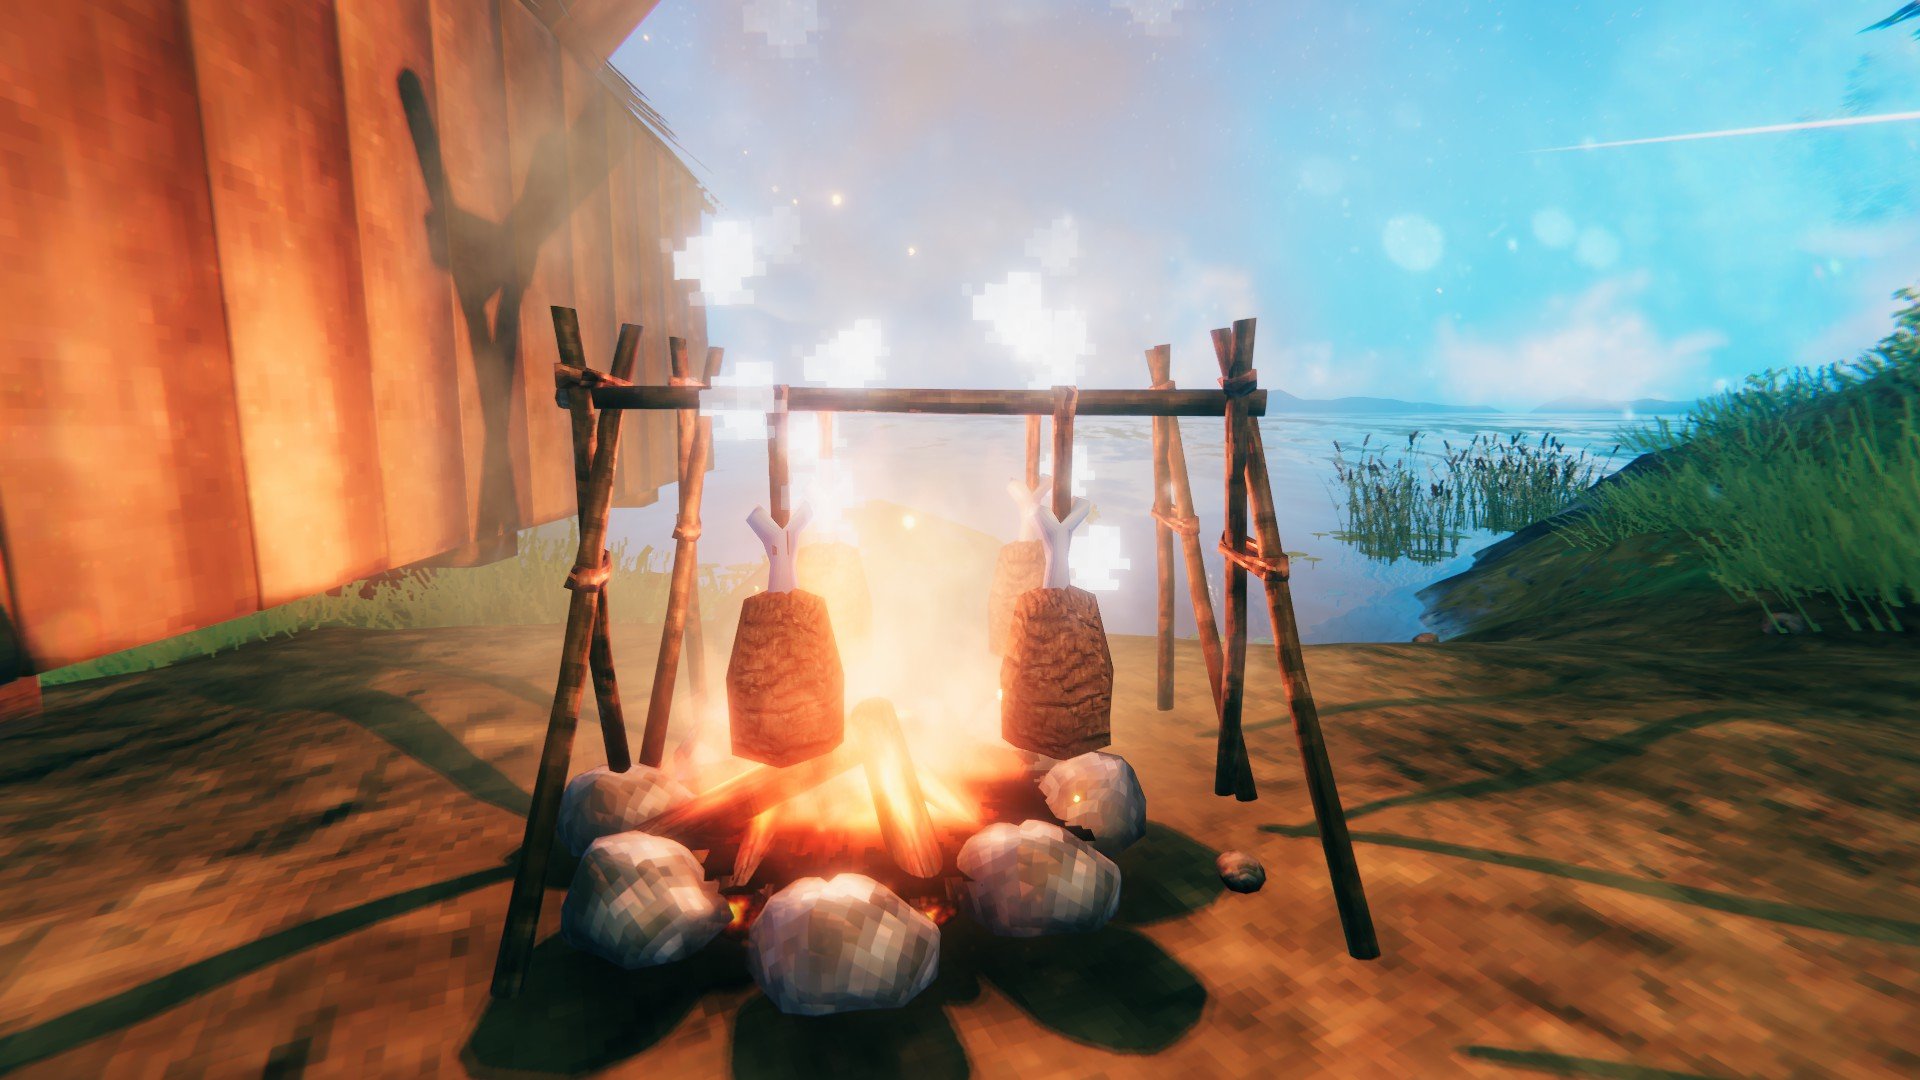
Valheim’s way of handling hunger is different from the majority of survival games. First, eating food adds to your max health and stamina varying in amount dependent on the type of food. For the most part, you’ll want to focus on eating cooked meats for higher health. You can eat three different foods at a time gaining benefits from each with some health regeneration as well. If you don’t eat any food, you won’t gain any health back. And you’ll also be stuck at around 25 health.
As you continue making progress in Valheim, you’ll discover new and more complex recipes. The Cauldron starts to unlock a few advanced foods. However, until then, cooked meat from animals and Necks are a good source of food. It doesn’t hurt to throw in a berry or Yellow Mushroom from Black Forest dungeons.
Tip 5 – How to Repair Weapons and Gear
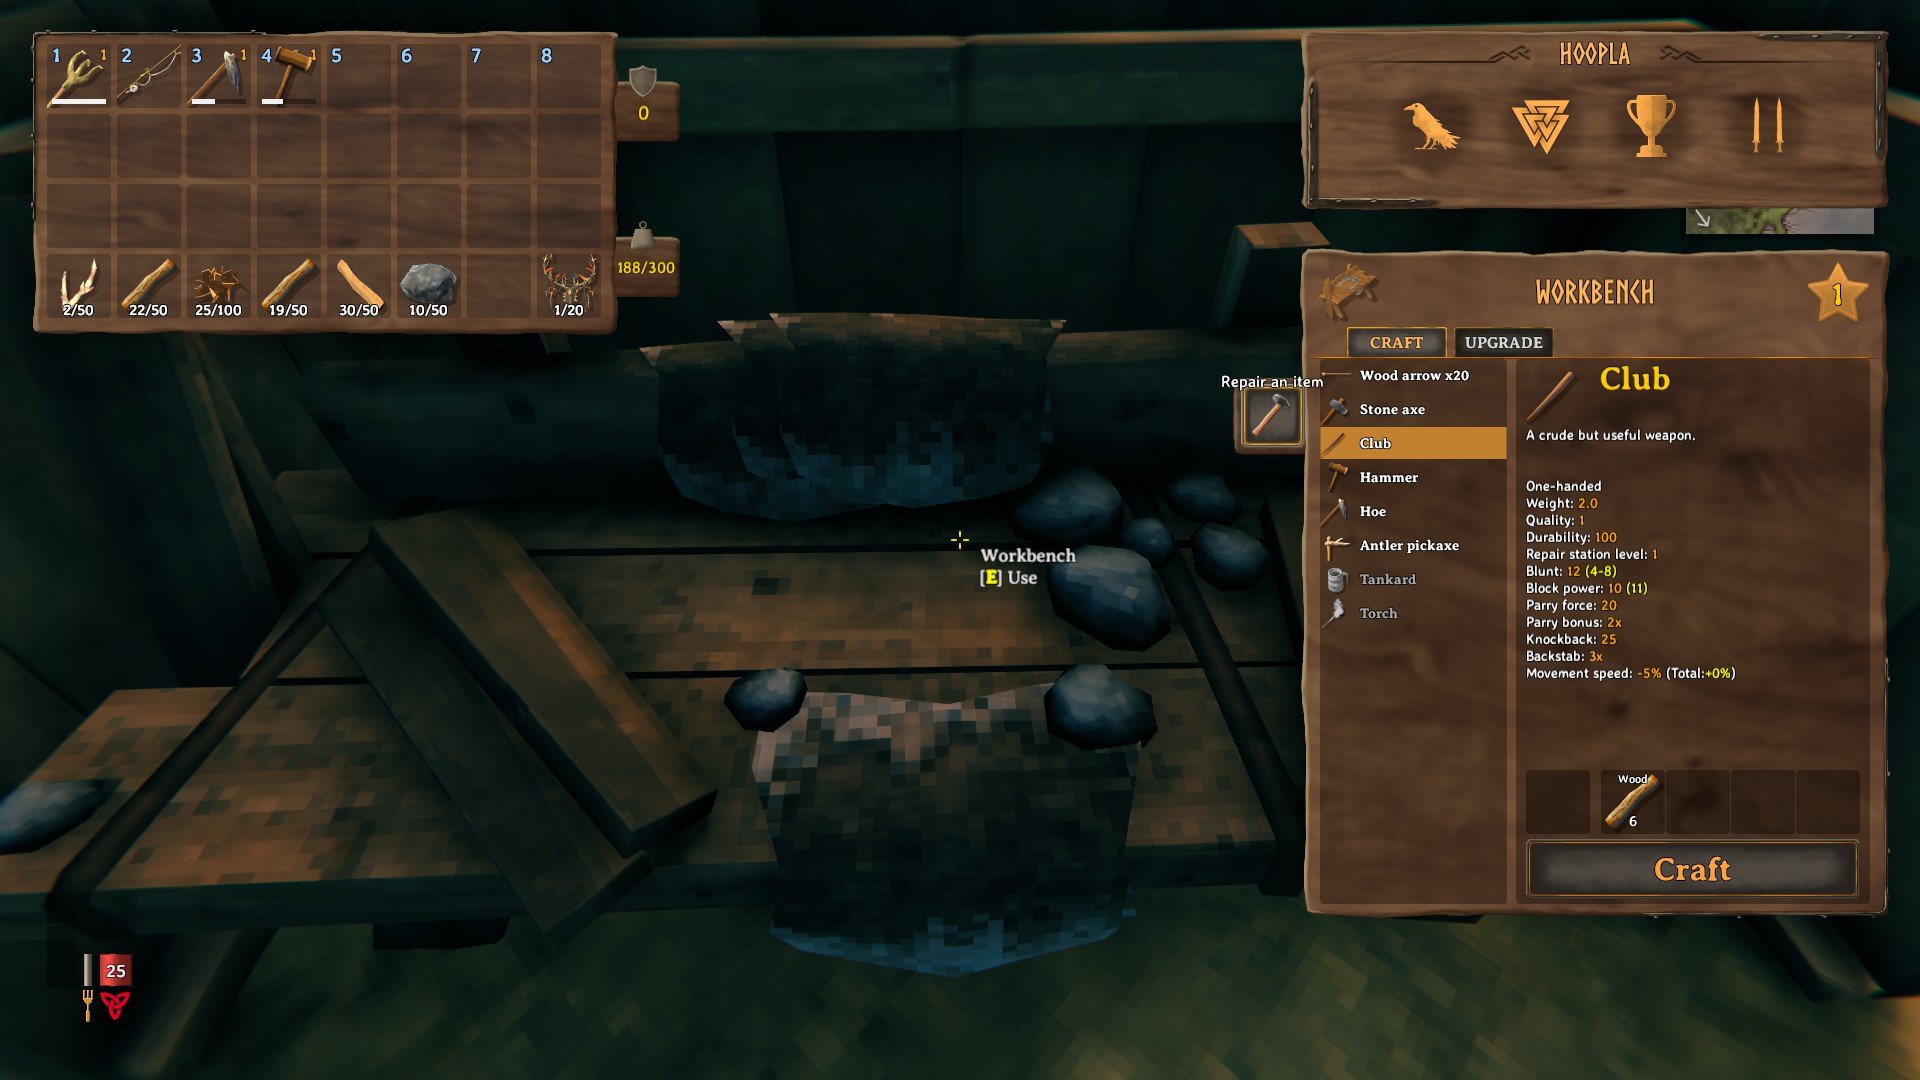
Durability is a common issue in survival sandbox games, but fortunately, Valheim handles it generously. While your weapons, tools, and armor can break, it doesn’t cost any resources to repair them. All you need is a Workbench or relevant crafting station at a certain level to repair. Early game items only require a level one Workbench to repair. You just need to interact with it and then press a repair hammer button that appears. Our guide here explains more thoroughly how to repair items.
Tip 6 – Take Advantage of Blocking
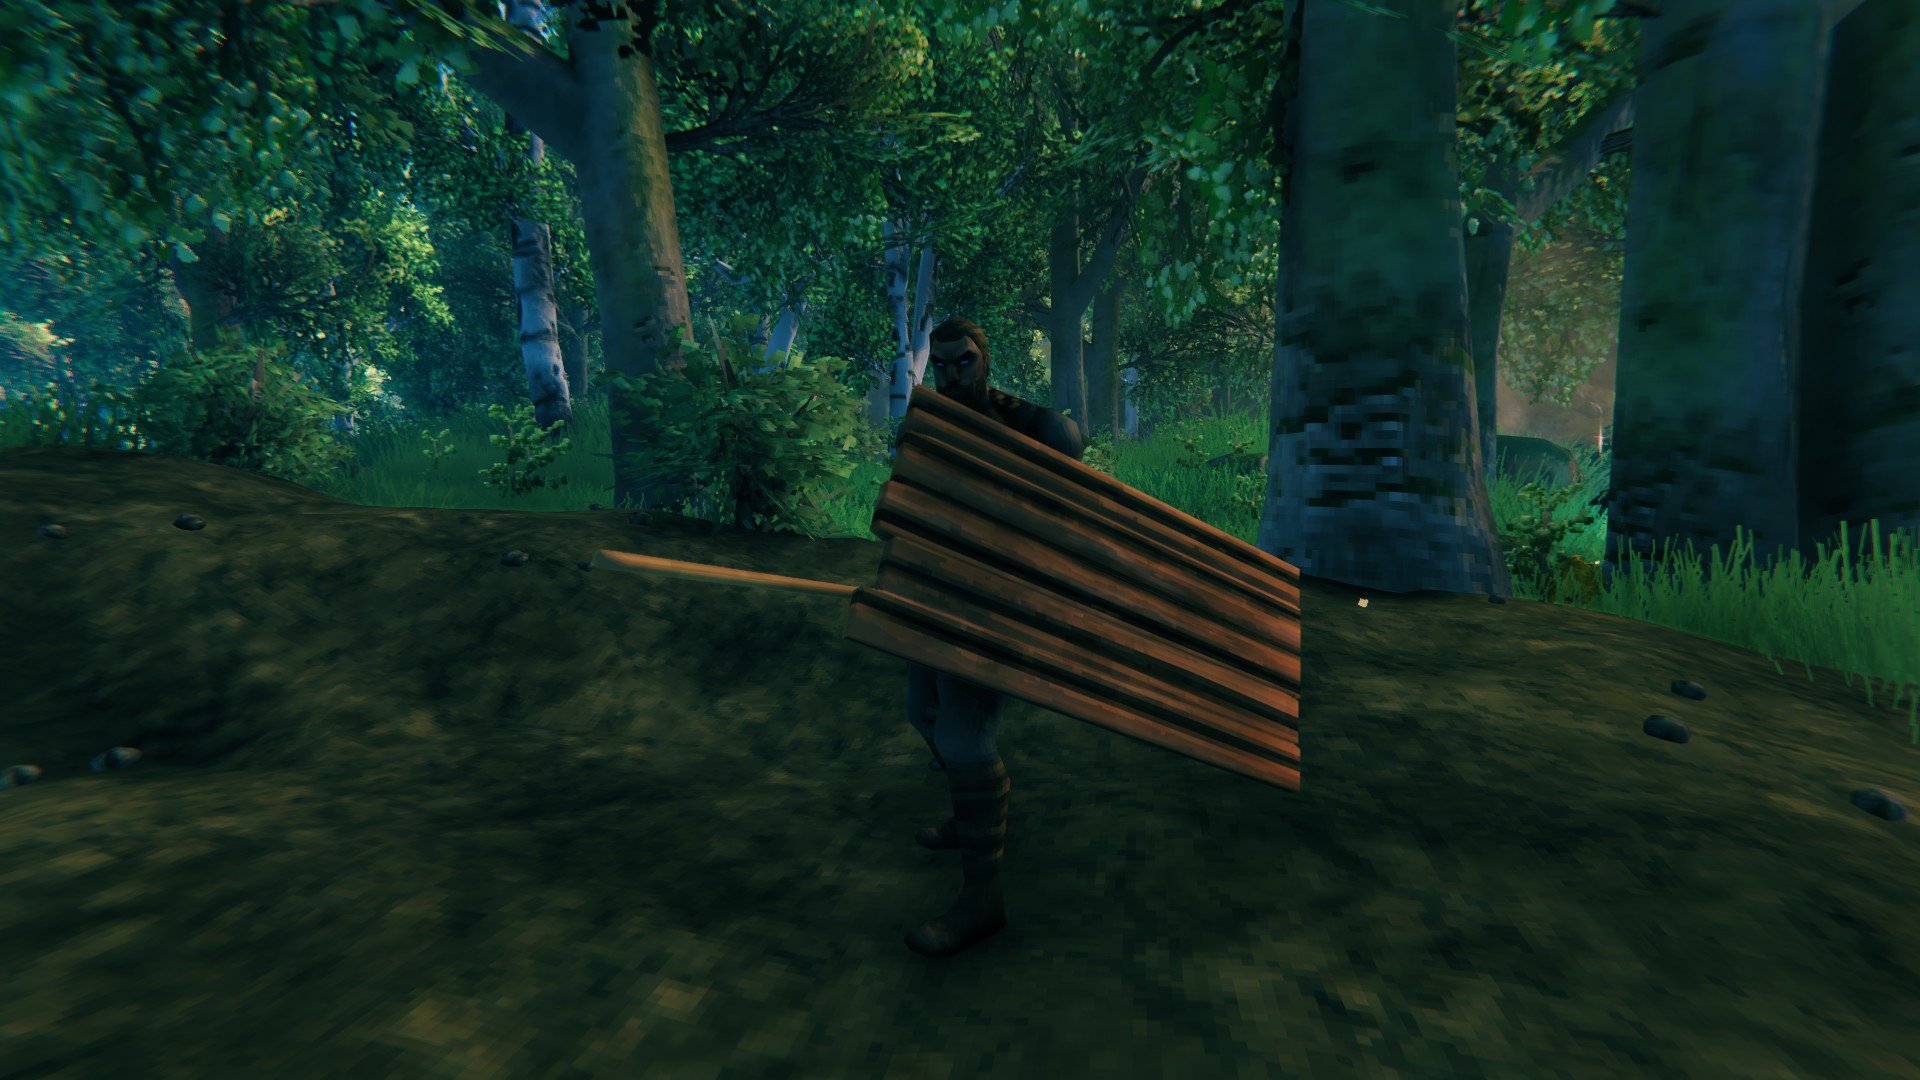
Blocking is a strong mechanic in Valheim that combines the blocking stat on your weapon with a shield if you’re holding both. While certain weapons are two-handed and may benefit more from consuming stamina to dodge roll instead. Also, there’s a parrying system for staggering enemies if you block right before an enemy hits you. You may block more damage and potentially elemental damage with a parry. Don’t underestimate how strong shields can be, especially against bosses.
Tip 7 – Bows Are Really Strong
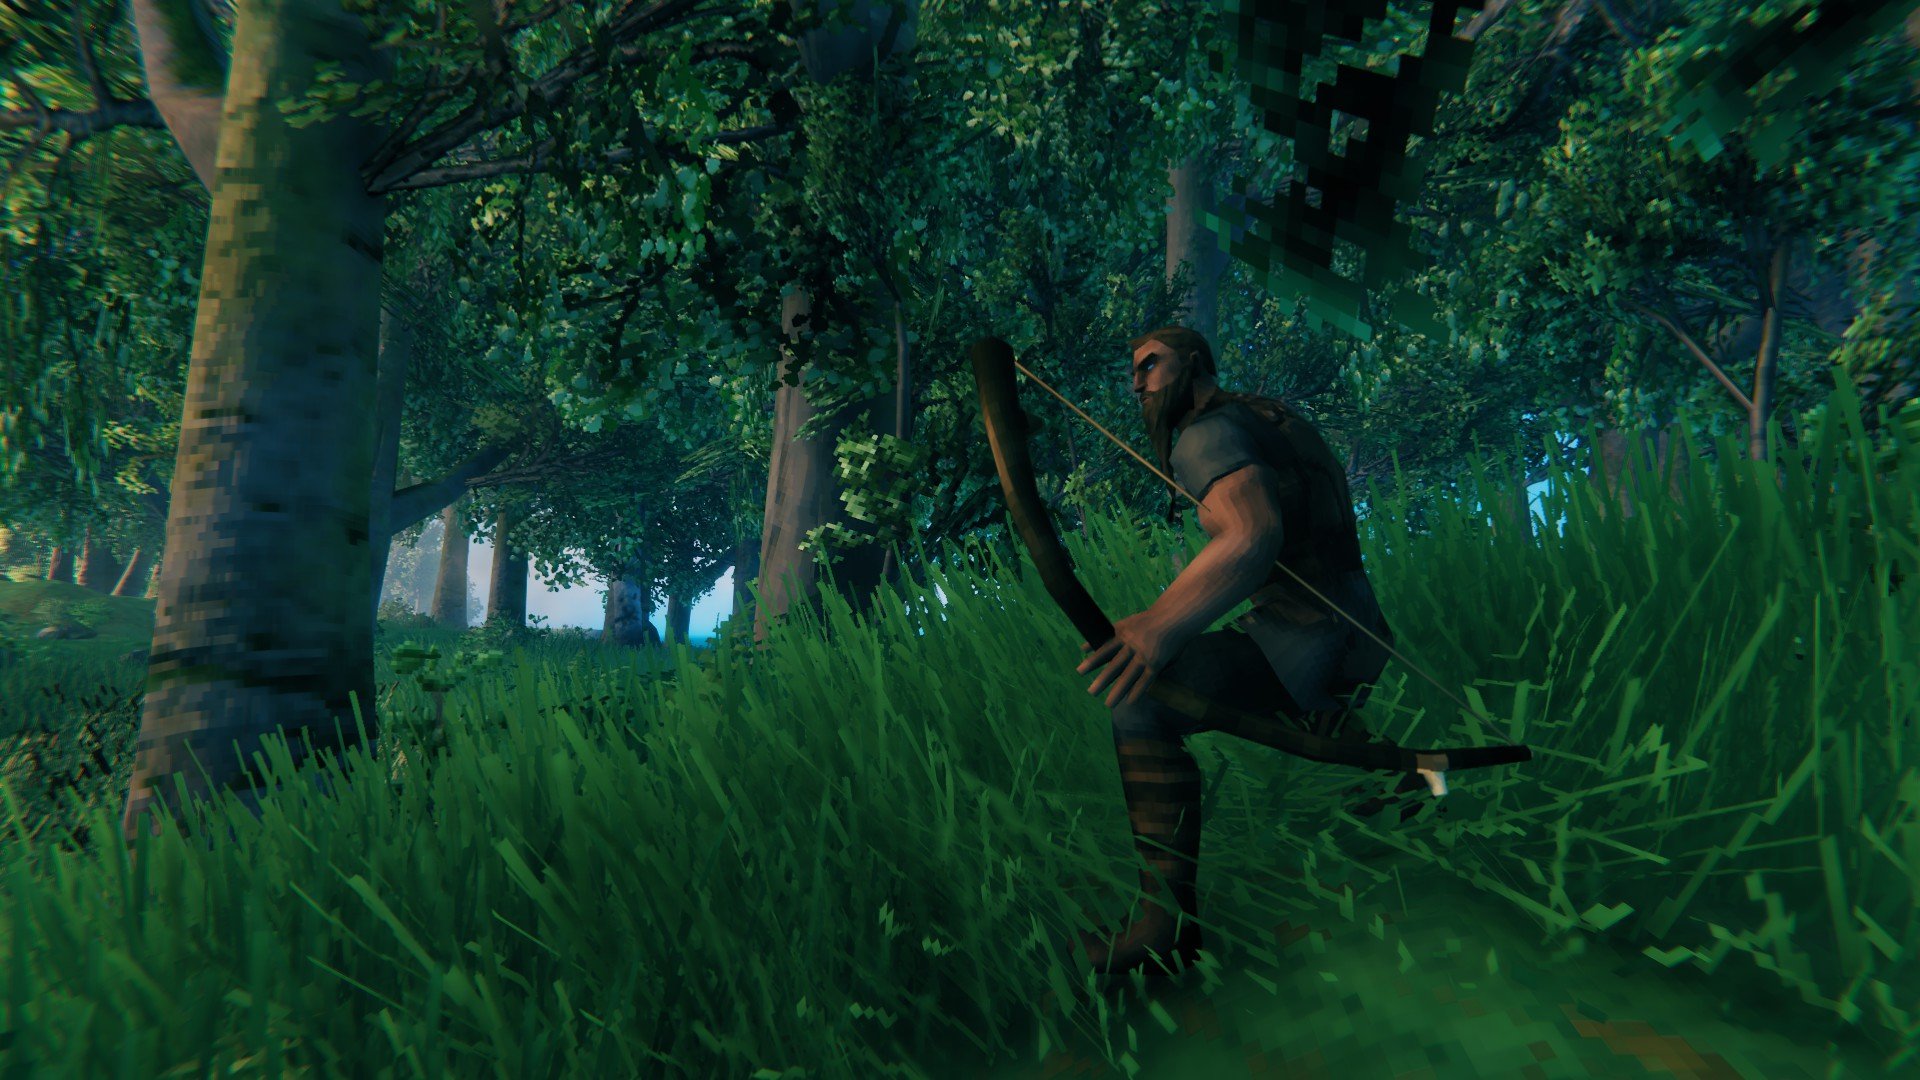
You should always have a bow with you alongside whatever melee weapons you have. Whether you use a bow for your first initial shot or not, bows are powerful in Valheim. Especially when you’re not sure whether a new enemy like a Troll can one-hit you or not. Plus, you’ll discover stronger arrows as you get deeper into Valheim’s world. Not everything will be as vulnerable to arrows as other enemies, but you can still get decent damage in often. However, it is still useful to know that every enemy has its’ own weaknesses and resistances to each damage type. The third boss mentioned in our guide here is resistant to almost every type even.
Tip 8 – Understanding Skills in Valheim
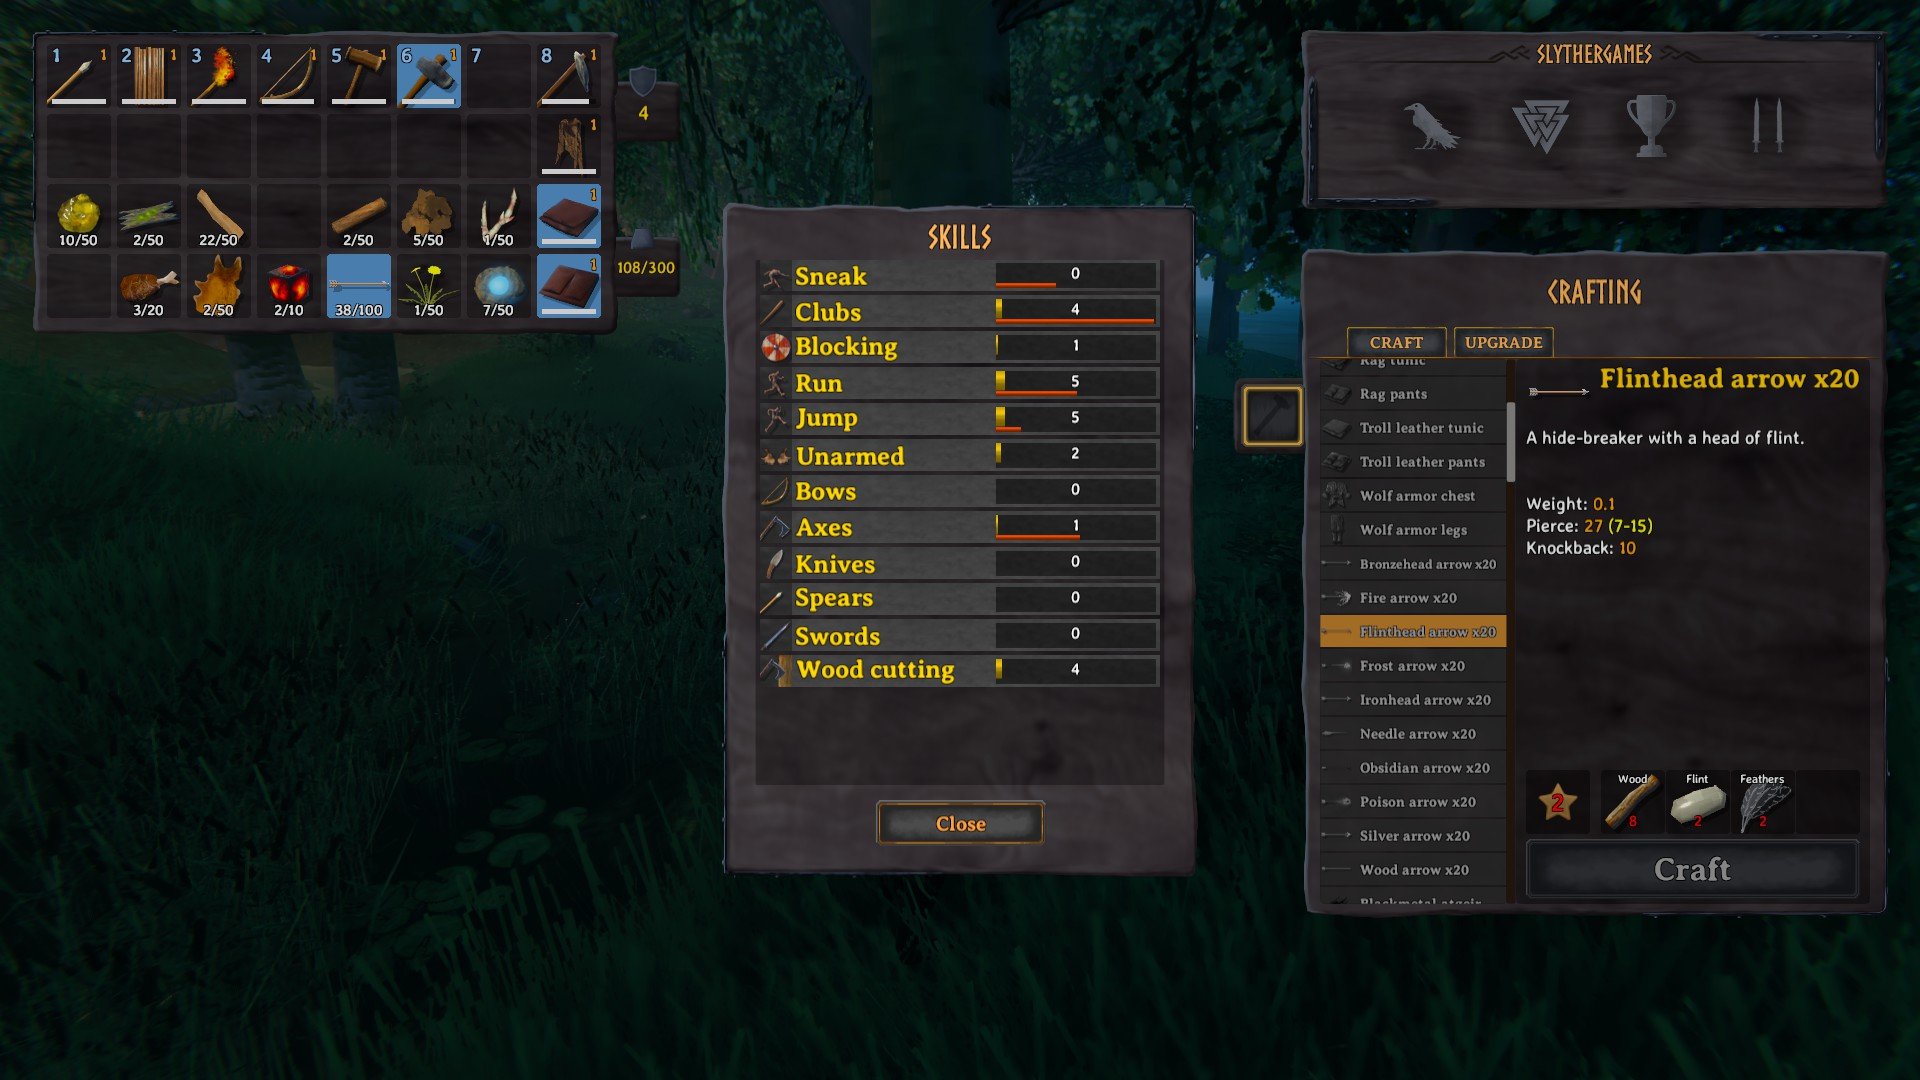
People familiar with old school MMORPGs, sandbox games, or even The Elder Scrolls IV: Oblivion will recognize this skill system. It primarily revolves around using a skill to raise it in level. For example, chopping more trees with an axe will raise your Wood Cutting skill. Attacking enemies with a Club will raise your Club skill. Therefore, the more you perform actions relevant to a skill, the more experience you’ll gain for it. The majority of skills require less stamina when higher level, while some will deal more damage.
It’s important to know that there’s a 5% skill loss death penalty. So if you die, you’ll lose 5% of every skill level across the board. This also removes any experience gained toward that level at the time of death. If you want to know more about what happens when you die in Valheim, we have a guide here for that.
Tip 9 – Biome Progression in Valheim
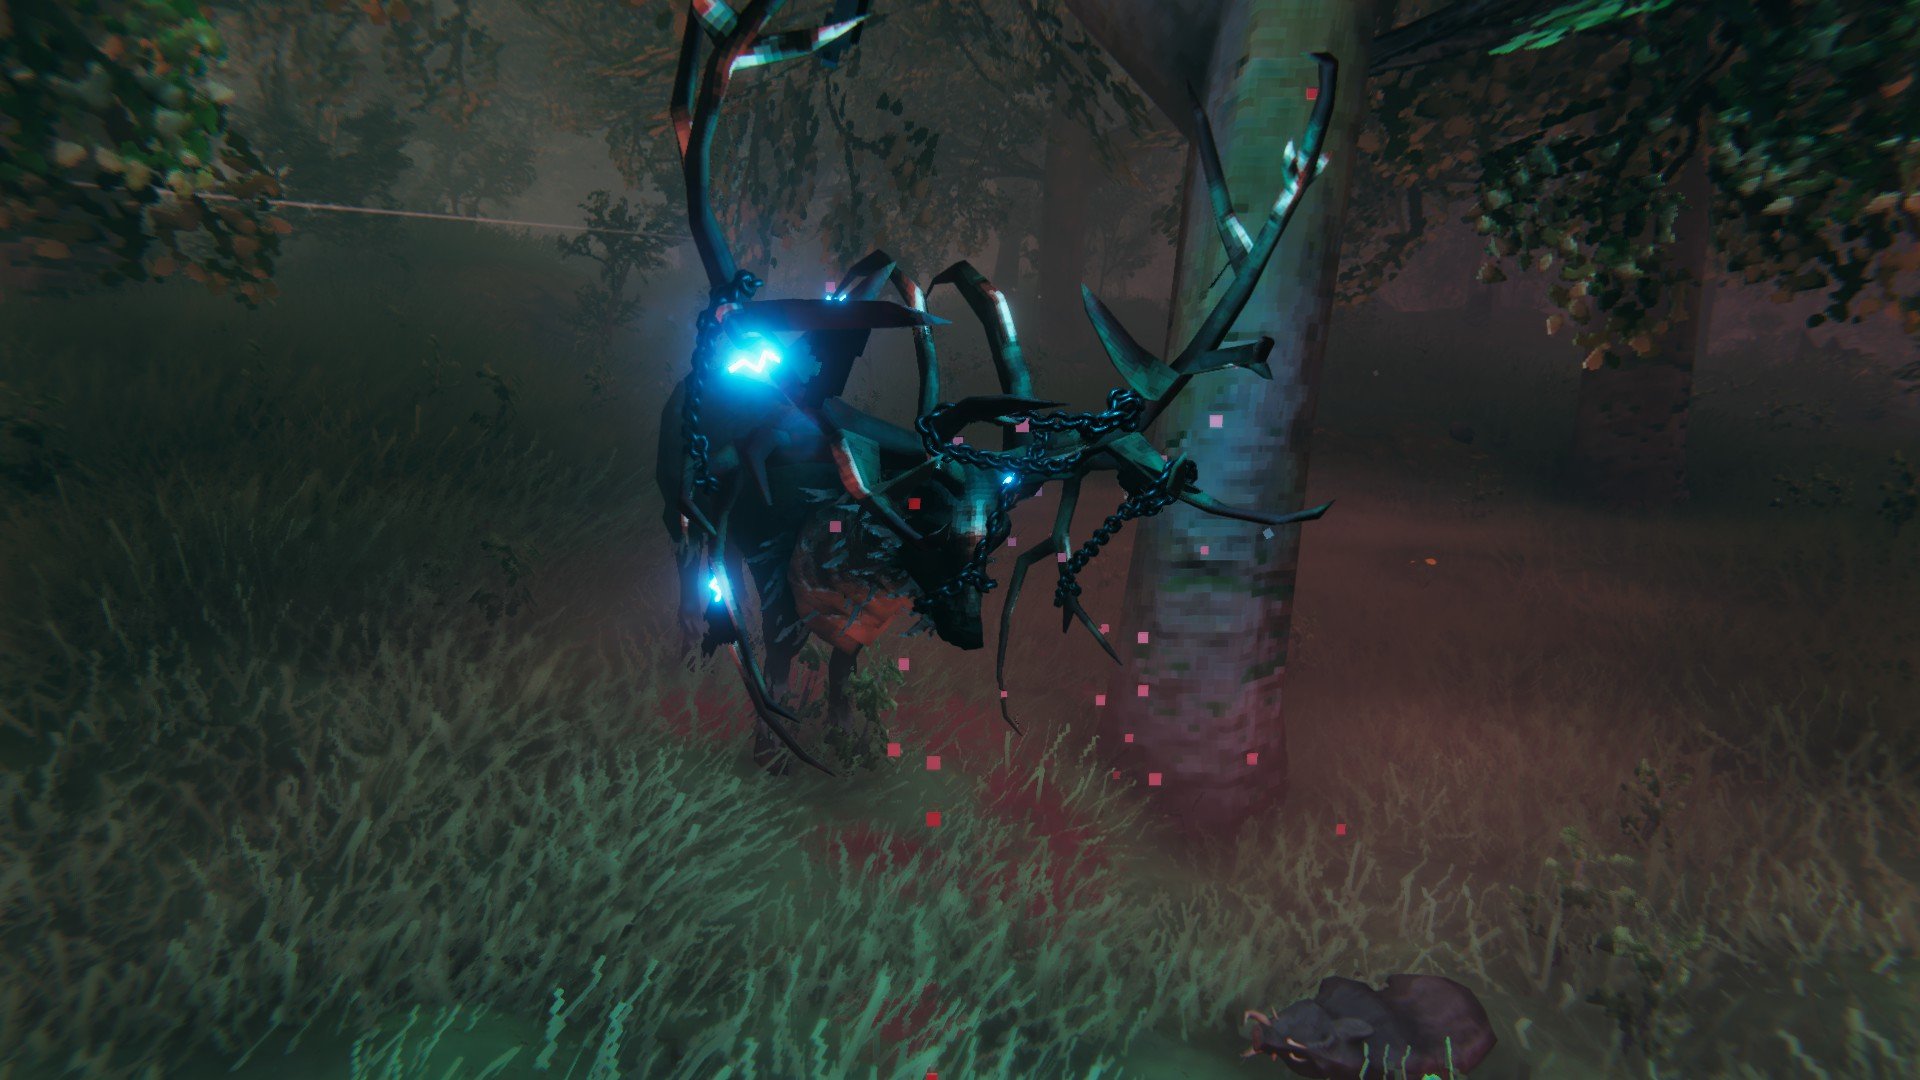
Every biome in Valheim leads to both new and tougher enemies you’ll encounter. The first one you start in is the safest, the Meadows. You’ll mostly come across animals and the occasional enemy wandering over from the Black Forest. Be prepared for an increase in difficulty each time you enter a new area. While every area has its own unique look, the minimap at the top right also says the name of the biome you’re in. Valheim has a natural progression with each completed biome having a boss to fight. It’s likely more bosses will be added to the currently incomplete zones in the Steam Early Access version.
A quick warning for if you ever end up in the Plains, this is one of the toughest biomes. Be prepared to easily get one-hit regardless of what armor you’re wearing. The infamous Deathsquito lurks here.
Tip 10 – Fighting the First Boss
Once you’ve made decent progress in Valheim, you’ll want to knock out the first boss Eikthyr. Before you can start working with metals like copper and tin, you’ll need to defeat Eikthyr. You’ll have a much better time if you’re playing with another person, but it’s definitely doable solo. As previous mentioned, bows are strong against most bosses and work well for Eikthyr too. You can mostly avoid their ramming and ranged attacks by strafing to the side. And you’ll only need to worry about a melee attack if you’re fighting up close.
Otherwise, make a bunch of Wood or Flinthead Arrows and you’ll be okay. It doesn’t hurt to have Leather Armor as well in case you get hit. And don’t forget to eat some food beforehand so you have more max health and some regeneration. Our complete boss guide is here with all rewards and what’s needed to summon each boss.
For more Valheim guides, head over to our guide hub here or check out other great guides listed below. If you need help with anything, ask in the comments below.


Jeff is a journalist with over 10 years of experience writing, streaming, and making content about video games. With an associate degree in journalism, he’s a sucker for RPGs, survival games, roguelikes, and more.