Now that you’ve defeated The Elder in Valheim, you’re probably wondering where to go next. This guide covers what your next step is and how to prepare for the third boss. Here’s what to do after you’ve placed The Elder’s Trophy on the Rune Stone, near the spawn.
What to Do After The Elder in Valheim
| Search For the Swamp Biome |
| Start Exploring Sunken Crypts |
| Upgrade Your Gear For Bonemass |
| Make Poison Resistance Mead |
| Hunt Down Bonemass (Tips and Tricks) |
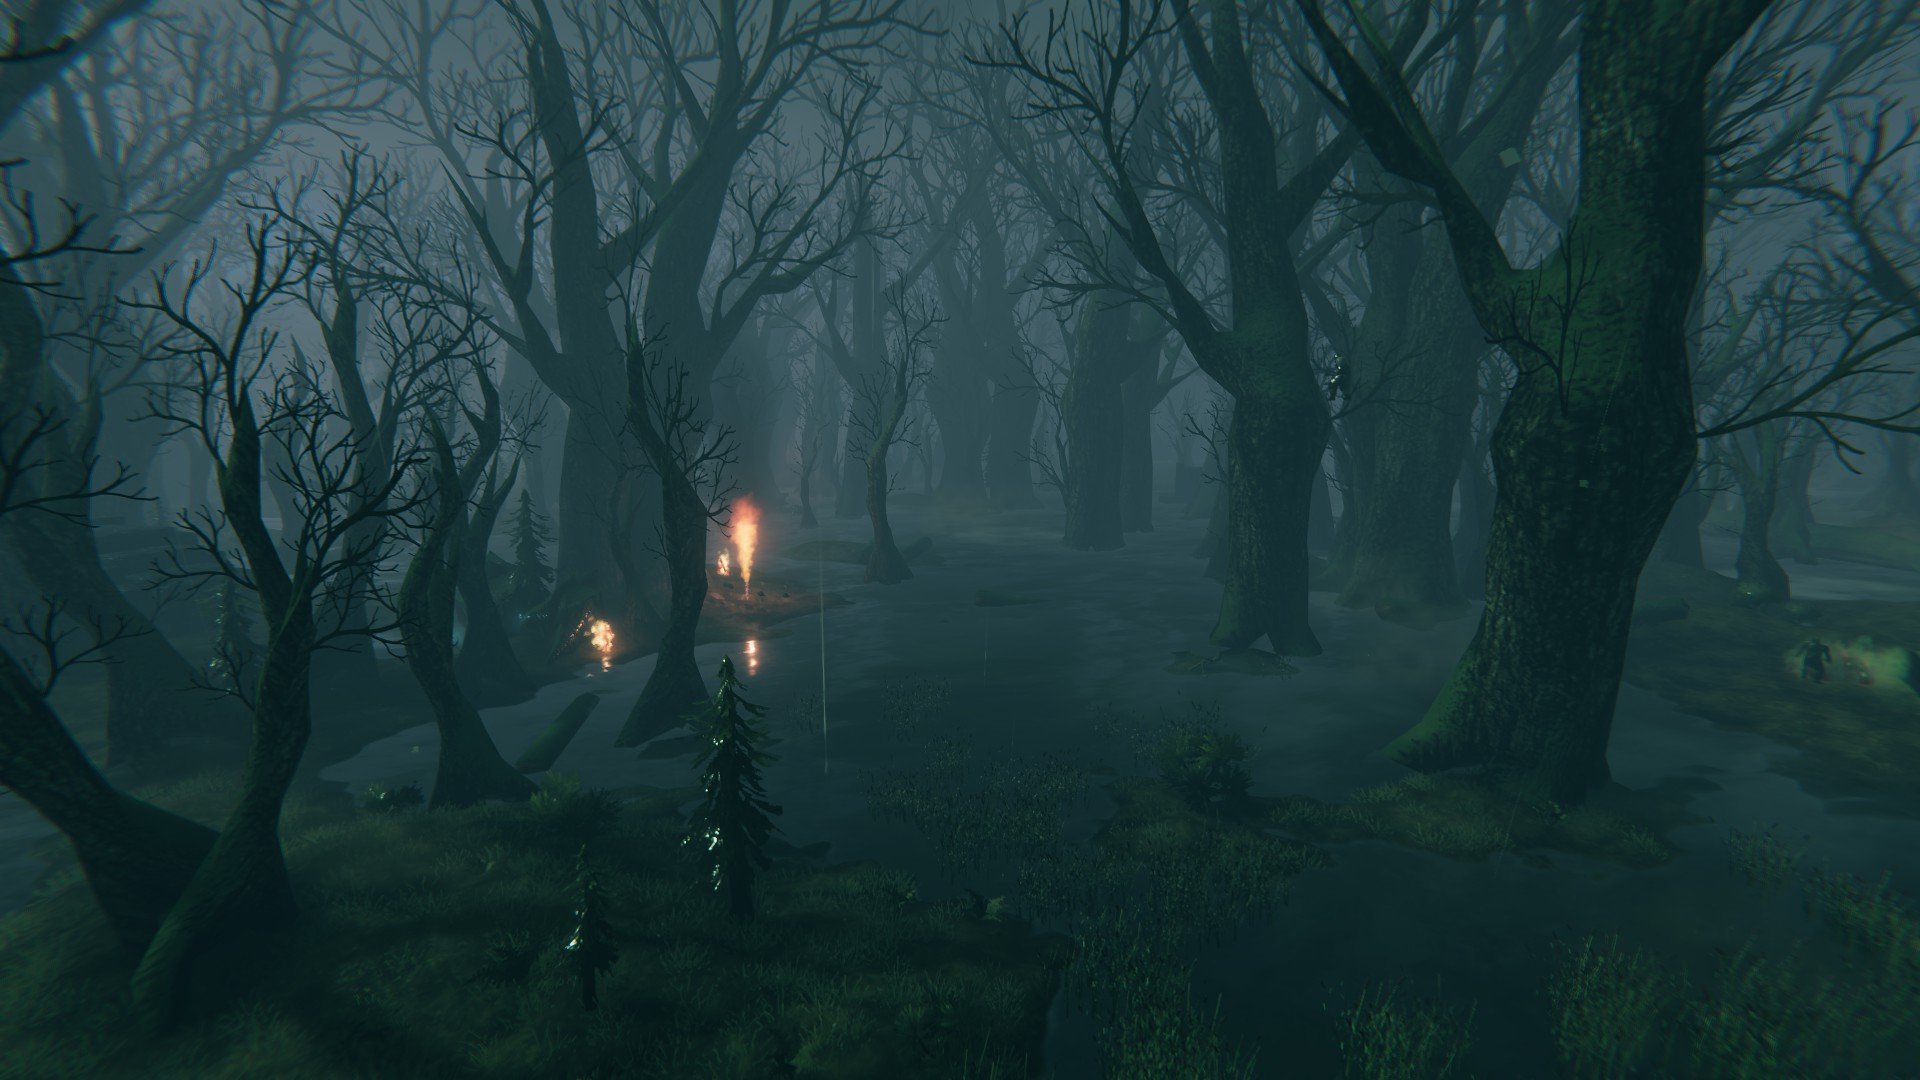
Search For the Swamp Biome
Valheim’s progression moves between each biome as you knock out a biome’s boss. First, you took out Eikthyr in the Meadows. Then, you defeated The Elder in the Black Forest. Now it’s time to find the Swamp and start getting better gear to prepare for the third boss, Bonemass. As every player’s world in Valheim is procedurally generated, there’s no set location for where to find the Swamp. You shouldn’t need to venture too far from your starting continent, but it doesn’t hurt to hop in a boat and sail around.
Before you do this, you may want to bring the Swamp Key you got from defeating The Elder. You’ll need this for unlocking mini-dungeons in the swamp, similar to Burial Chambers of the Black Forest. Fortunately, the key isn’t consumable, so it’ll work for every dungeon/crypt you come across. Once you head out, you’ll likely want the Karve for extra speed, storage, and not needing to worry about enemies as much. Bringing resources for a portal is a good idea so you get teleport back to your base easily.
Start Exploring Sunken Crypts
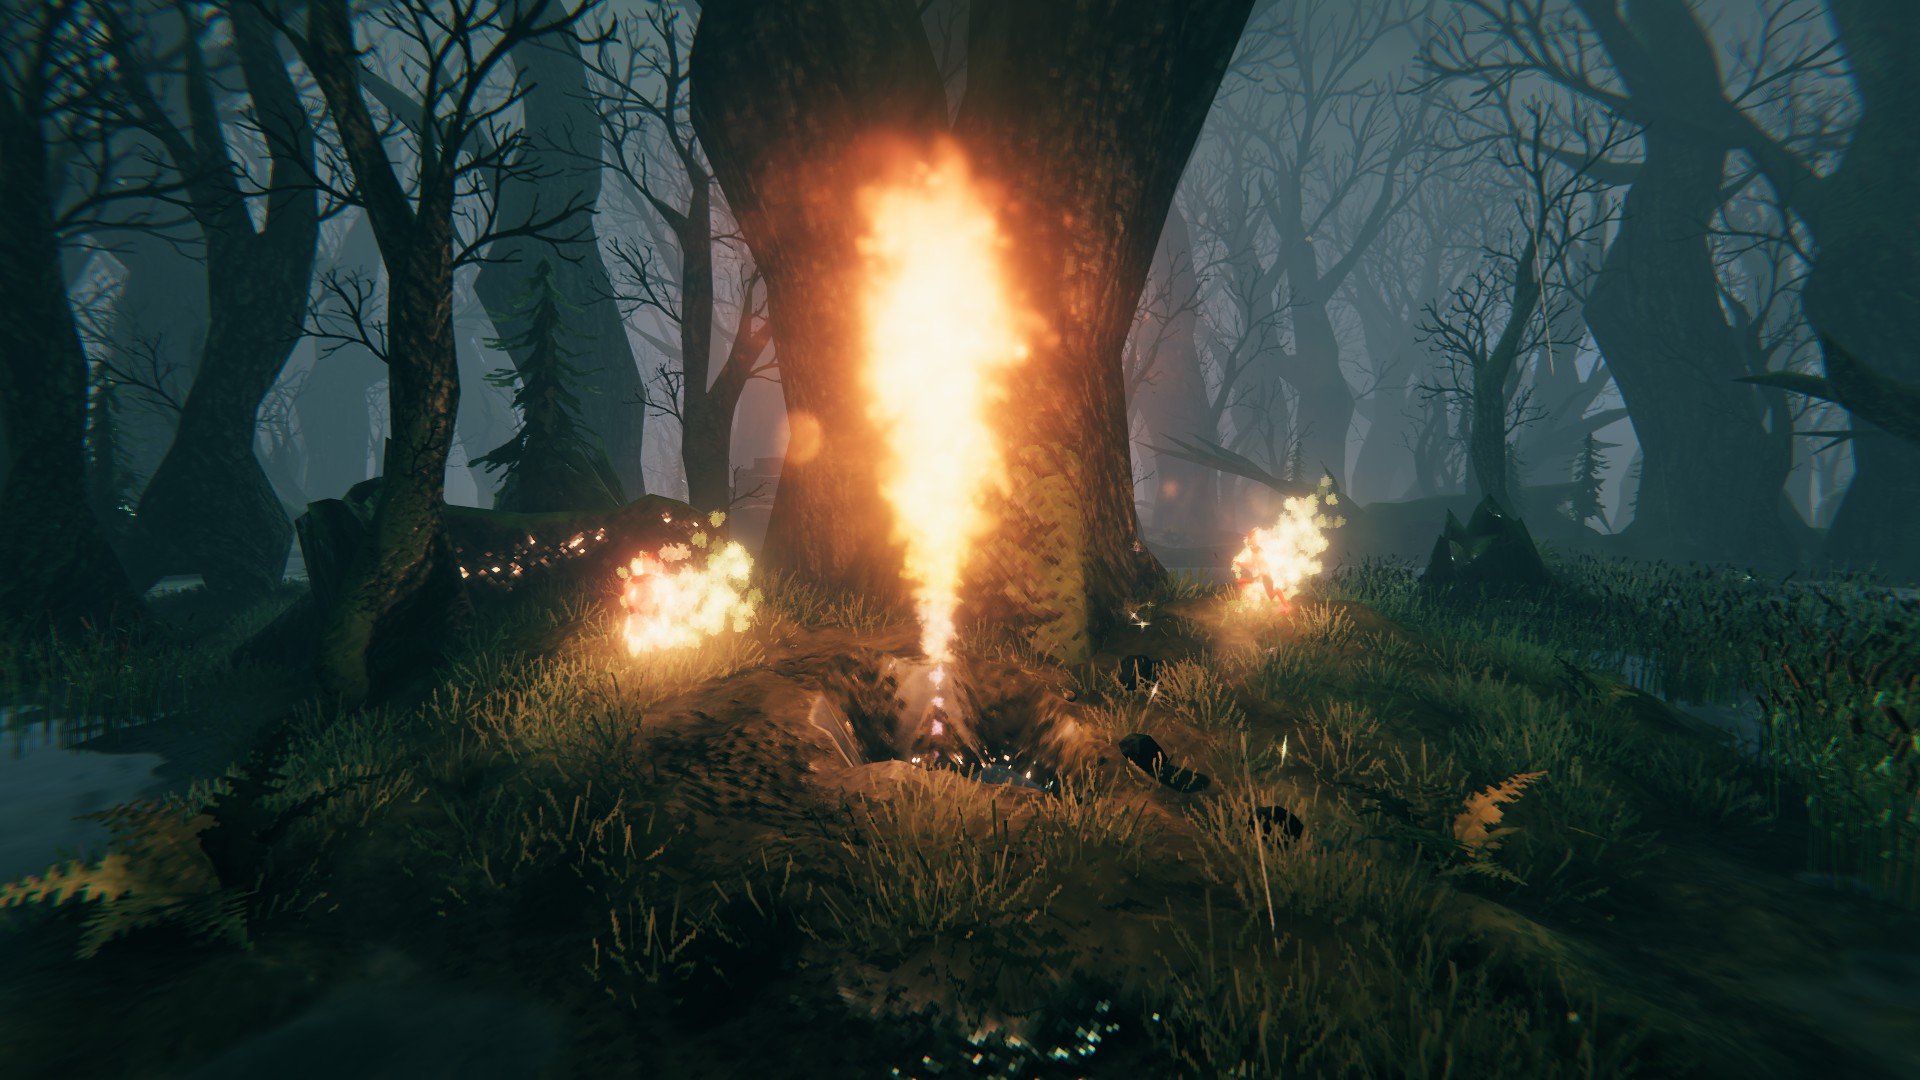
When you first make it to the Swamp, you’ll start running into all sorts of tough and annoying new enemies. Take a look at the list below for some quick tips and what to know about each enemy. The Surtlings are a useful enemy to farm for Surtling Cores as mentioned below.
- Blobs & Oozers – Slime ball creatures that create poison clouds when near you. Blunt weapons work best against them.
- Draugrs & Elites – Undead creatures that are a much stronger version of Skeletons.
- Leeches – Enemies lurking in the water that poison you on hit.
- Surtling – Flame creatures that shoot fireballs. They drop Surtling Cores and coal.
- Skeletons – The same skeletons from earlier biomes.
- Wraiths – Hooded ghosts that deal high damage.
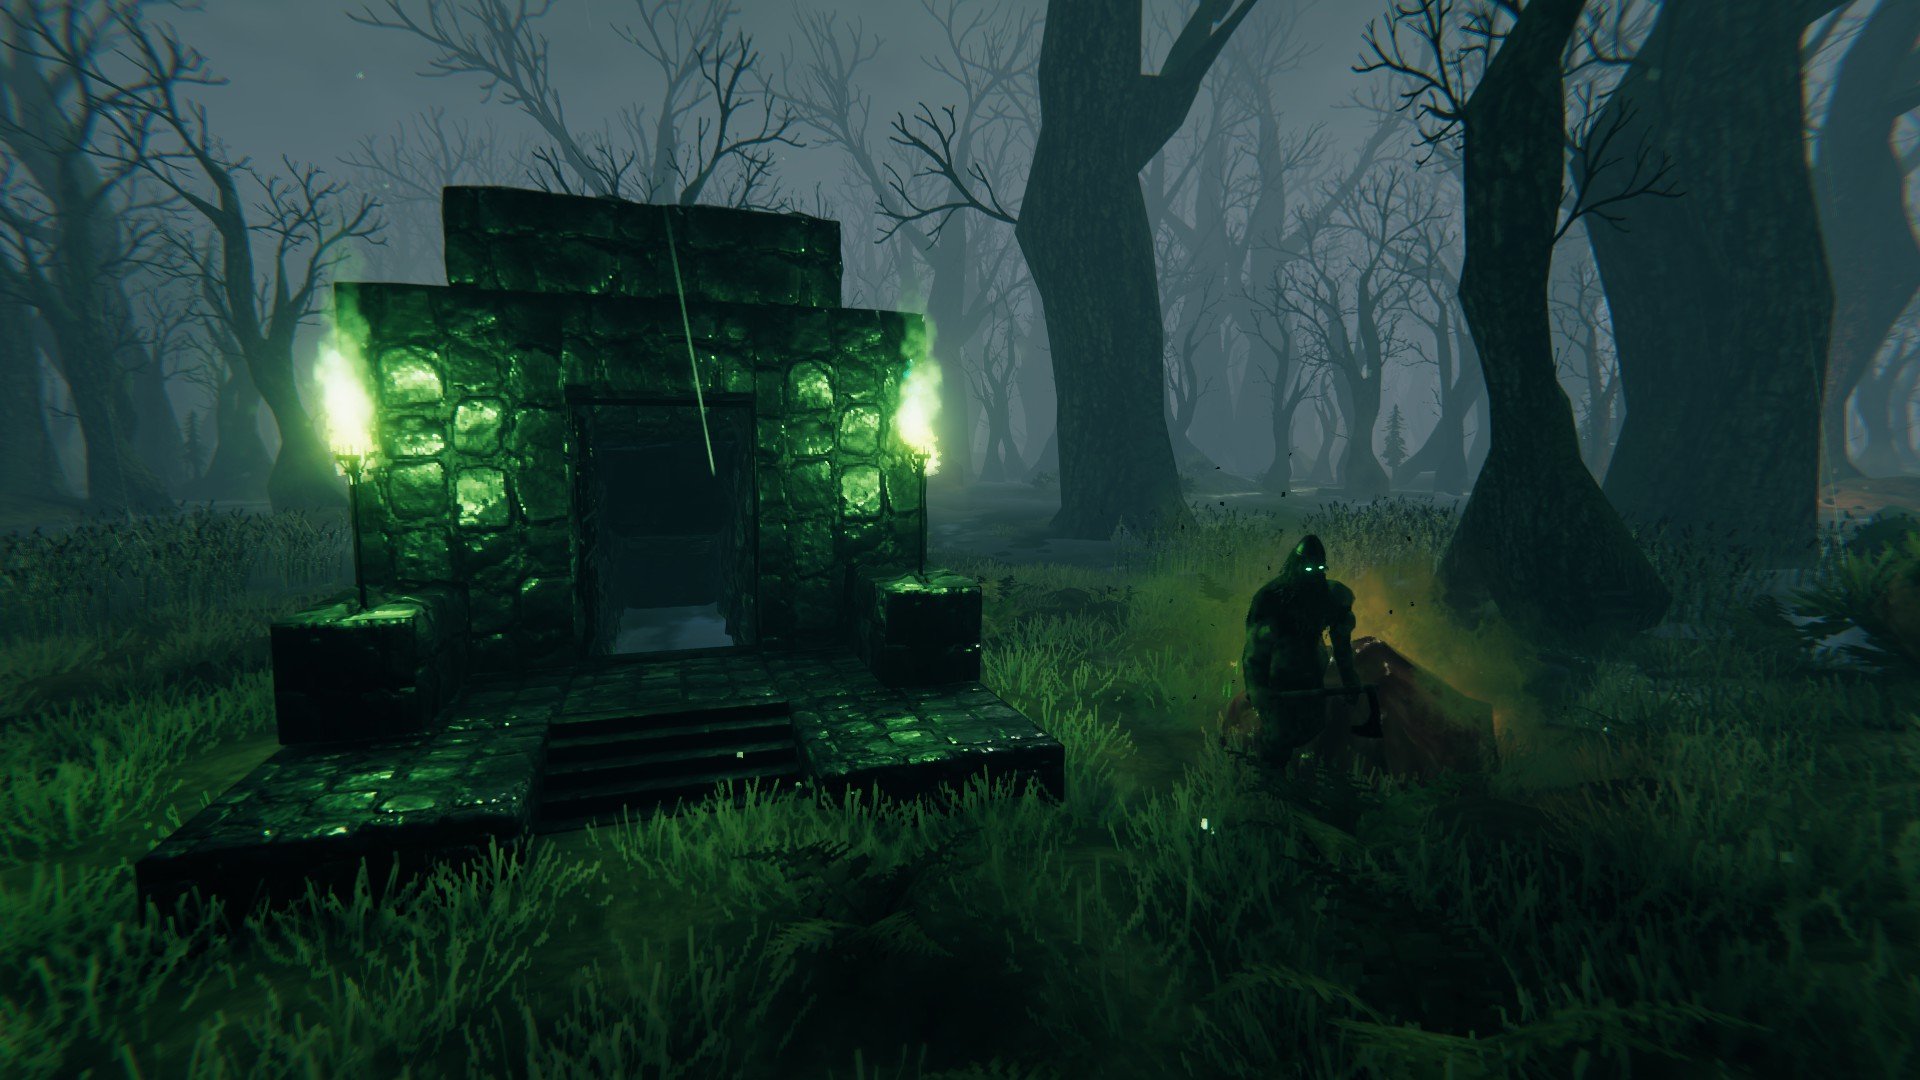
Once you enter a Sunken Crypt, you’ll need a pickaxe for breaking Muddy Scrap Piles. These are giant piles of Scrap Iron blocking the pathways. You can then smelt the Scrap Iron to get Iron Bars for new gear. While an Antler Pickaxe will work on these piles, it won’t last as long as the next tier, a Bronze Pickaxe. So if you don’t have one yet, that’s worth investing in. Due to the way portals work in Valheim, you won’t be able to teleport your Scrap Iron back to base.
This means you can either sail it back and forth with a boat or make a new temporary base. You can still use everything at your main base, but you may want to setup a Smelter and Forge in the Swamp. You can then make any new gear right at the Swamp instead of making a long voyage. Be sure to also grab 10 Withered Bones for summoning the boss.
Upgrade Your Gear For Bonemass
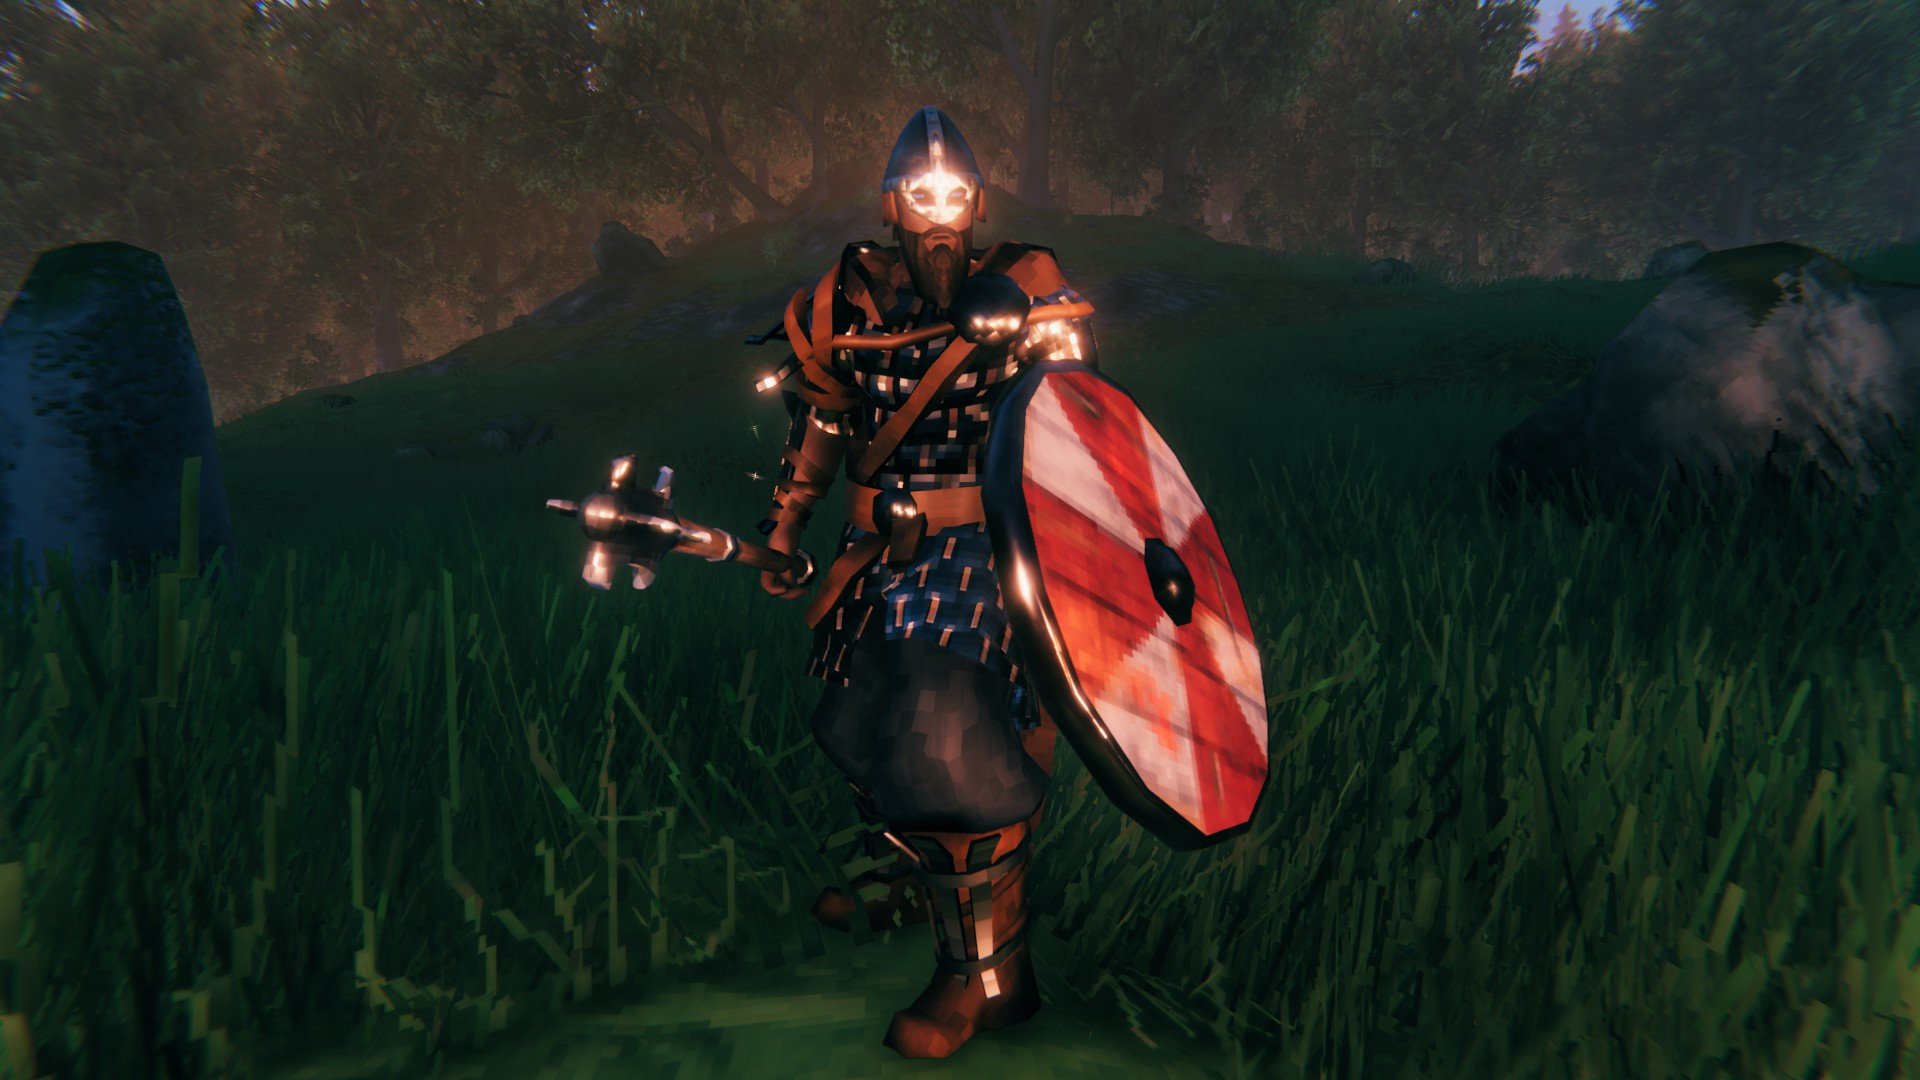
While the first two Valheim bosses are tough, a lot of people tend to see Bonemass as a big rise in difficulty. If you don’t want any spoilers regarding fighting this boss, stop reading from here on. Now that you have access to Iron Bars, you’ll want to start upgrading to higher tier armor and weapons using the Forge. Before you can start making iron armor and weapons, you’ll need to make a Forge improvement to level it up. The Anvils are the easiest one to make, only requiring 5 Wood and 2 Bronze.
In order to make the full iron set, you’ll need 60 Iron Bars and 6 Deer Hides. After you’re done making your new armor, you’ll want to make an Iron Mace and Banded Shield. That’s another 28 Iron Bars to grind out. The reason you’re making an Iron Mace is because the upcoming boss is only vulnerable to blunt weapons. There are methods for cheesing the boss such as shooting arrows from a base in a tree, but that takes a while and isn’t the true way.
Make Poison Resistance Mead
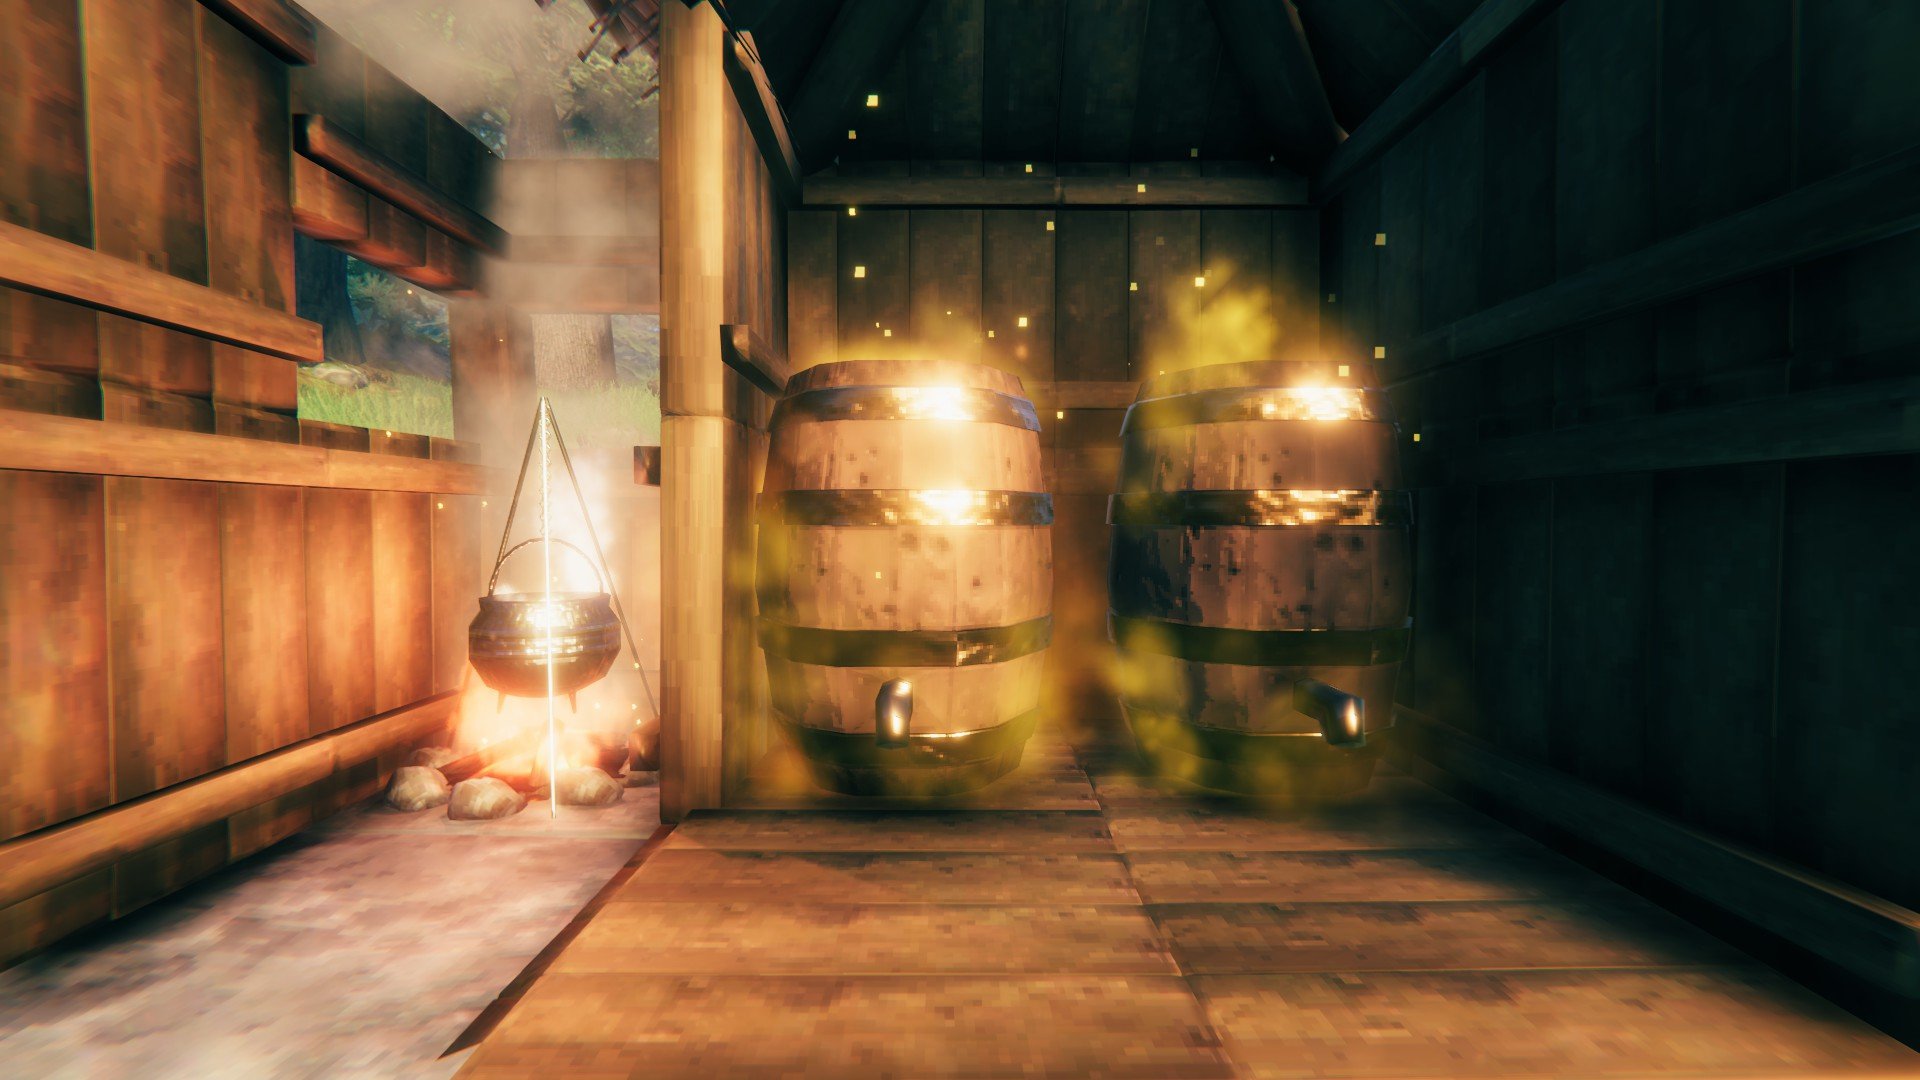
You can skip this step, but you’ll have a more difficult time fighting Bonemass. You’ve probably already noticed that the Swamp is filled with enemies that love to poison you. This is why you’ll want to make Poison Resistance Mead from a Fermenter. This gives you a strong 10-minute resistance to poison making poison damage go away quicker and deal less. The method to making Poison Resistance Mead is making, “Mead Base: Poison Resistance” at a Cauldron. Then, put this inside a Fermenter and wait two in-game days for it to be made. For every Fermenter recipe, check out our guide here.
If you’re going against Bonemass with others, you may want to make more than one Fermenter so you can cook up enough mead for everyone. One cycle in a Fermenter creates six Poison Resistance Meads. While you’re creating this mead, you can also make healing meads if you want another advantage.
Hunt Down Bonemass
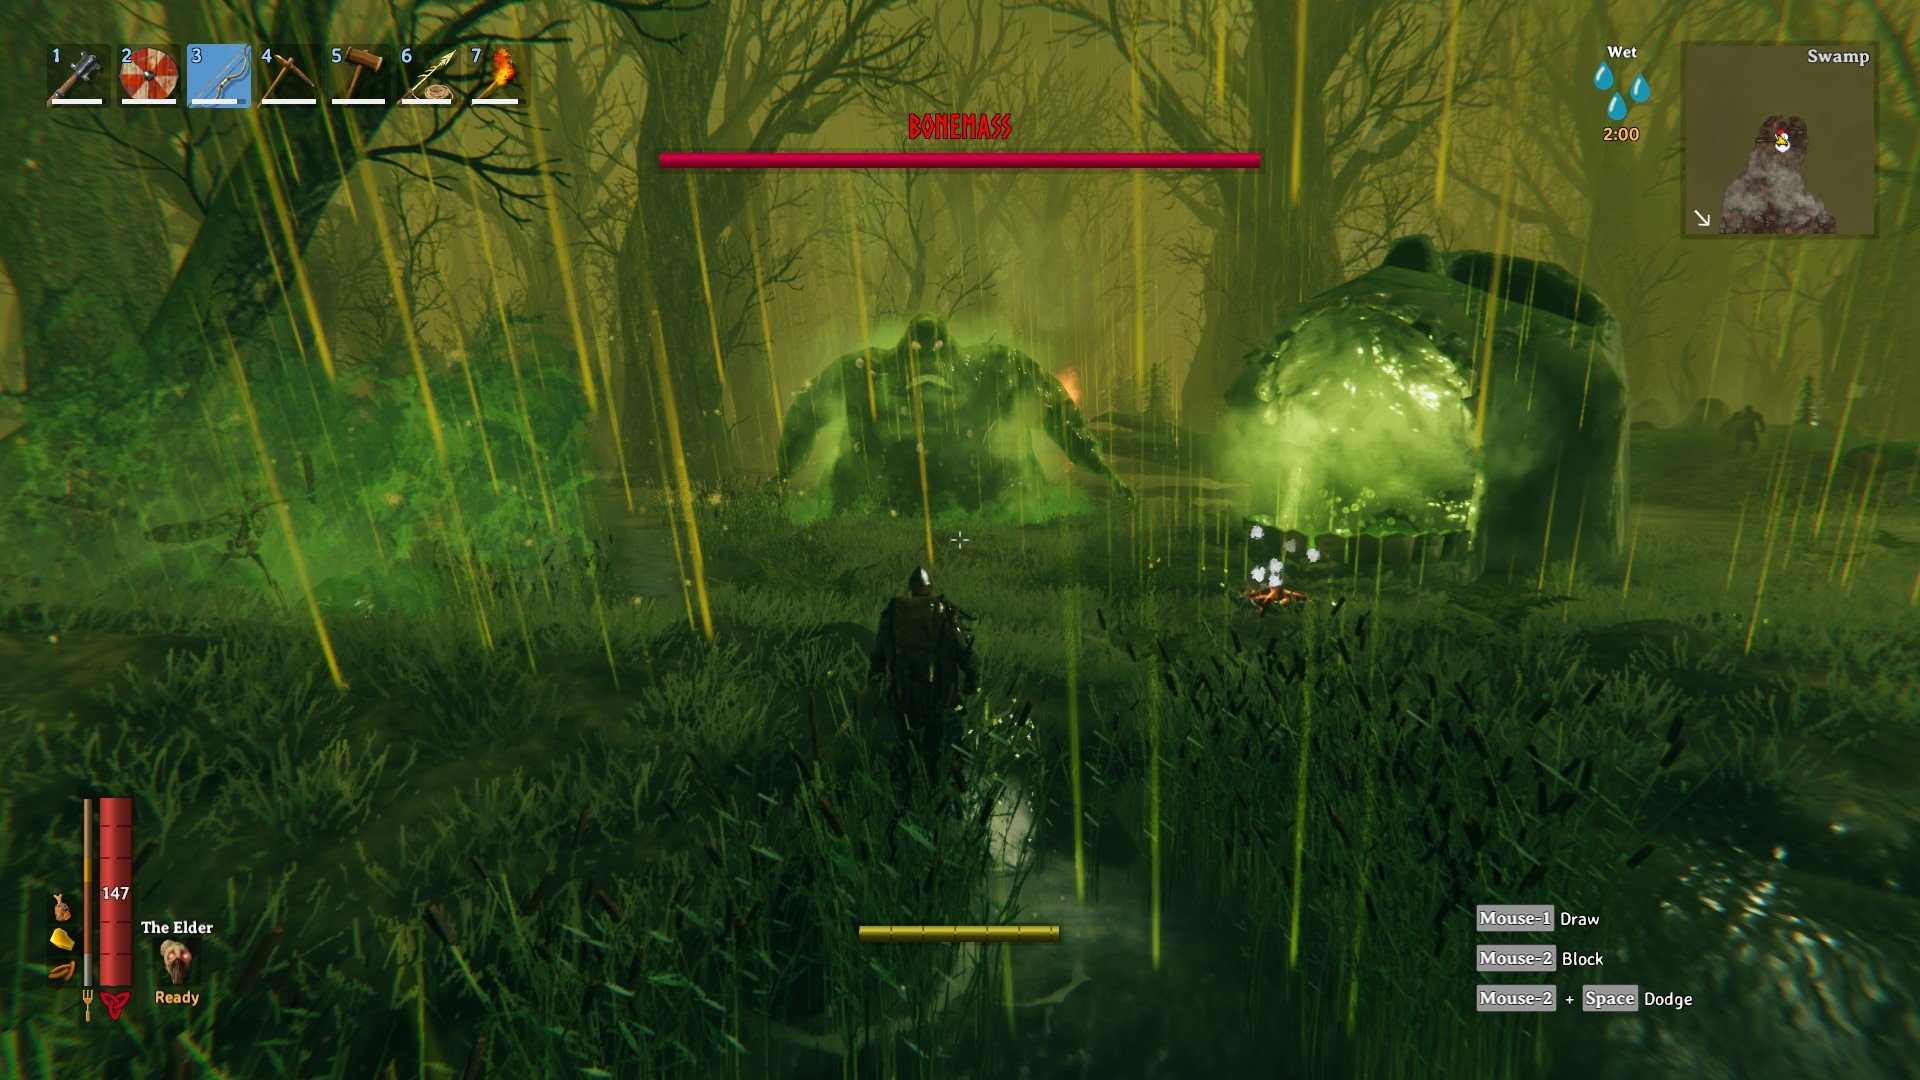
By now you’ve probably found Bonemass’s location, but if you haven’t, continue searching for rune stones inside Sunken Crypts. You’ll eventually find one that provides this boss’s location on the map. Make sure you’re prepared for the fight with iron armor, an Iron Mace, Poison Resistance Mead, and good food for the fight. Sausages are especially great now that you have Entrails from fighting Draugrs. Continue below reading for tips and tricks on how to beat Bonemass.
- Blunt weapons work best against Bonemass.
- Bonemass has three major attacks
- Summons a group of enemies by throwing a slime ball from its armpit at you. Summons Skeletons, Blobs, and Oozers. Bonemass is vulnerable for 2 to 4 hits during this attack.
- Creates a large area of poisonous gas around it that lasts for a while. Always run away when this attack starts.
- A poisonous melee attack that won’t poison you through perfect parry blocks. If you’re playing with a second person, you can juggle Bonemass from switching between looking at you and looking at the other person. This works well for getting backstab damage and hammering it while the other person grabs aggro/attention. Continue this strategy until there are too many summons or Bonemass uses the poisonous gas attack.
- Destroy enemy spawners near the Bonemass altar.
- Find downed trees that you can jump on for cover or use to block the boss temporarily.
- Stamina is tough to manage since you’ll be wet from nonstop rain during this fight. Be prepared to run away temporarily to recover stamina and health. Regardless of whether everyone in the party dies or runs far from the altar, Bonemass won’t disappear.
- Bonemass has slow health regeneration.
Once you’re finished with Bonemass, it’s onto the next biome in the Mountains. Here you’ll find the fourth boss and Silver Ore. You’ll need the Wishbone equipped and the Frost Resistance Mead to survive the cold. For more Valheim guides, check our guide hub here or some useful guides below.


Jeff is a journalist with over 10 years of experience writing, streaming, and making content about video games. With an associate degree in journalism, he’s a sucker for RPGs, survival games, roguelikes, and more.