Learning how to salvage items in Diablo 4 is important since you’re going to end up with a ton of them. As is the case with most action-RPGs, they love to throw loot at you that you have to get rid of somehow. Whether that’s by selling it all for money or salvaging it into useful materials.
As someone that loved Adventure Mode in Diablo 3, I almost always salvaged my extra gear. However, going into Diablo 4, it’s starting to feel like it’s worth selling some of those items to keep your money up. Especially since a variety of NPCs require a lot of money to upgrade your gear. But, you won’t get transmogs from selling your gear, only from salvaging it.
How to Salvage Items in Diablo 4
Deciding whether to sell your equipment for money or salvage it for crafting can be a tough decision.
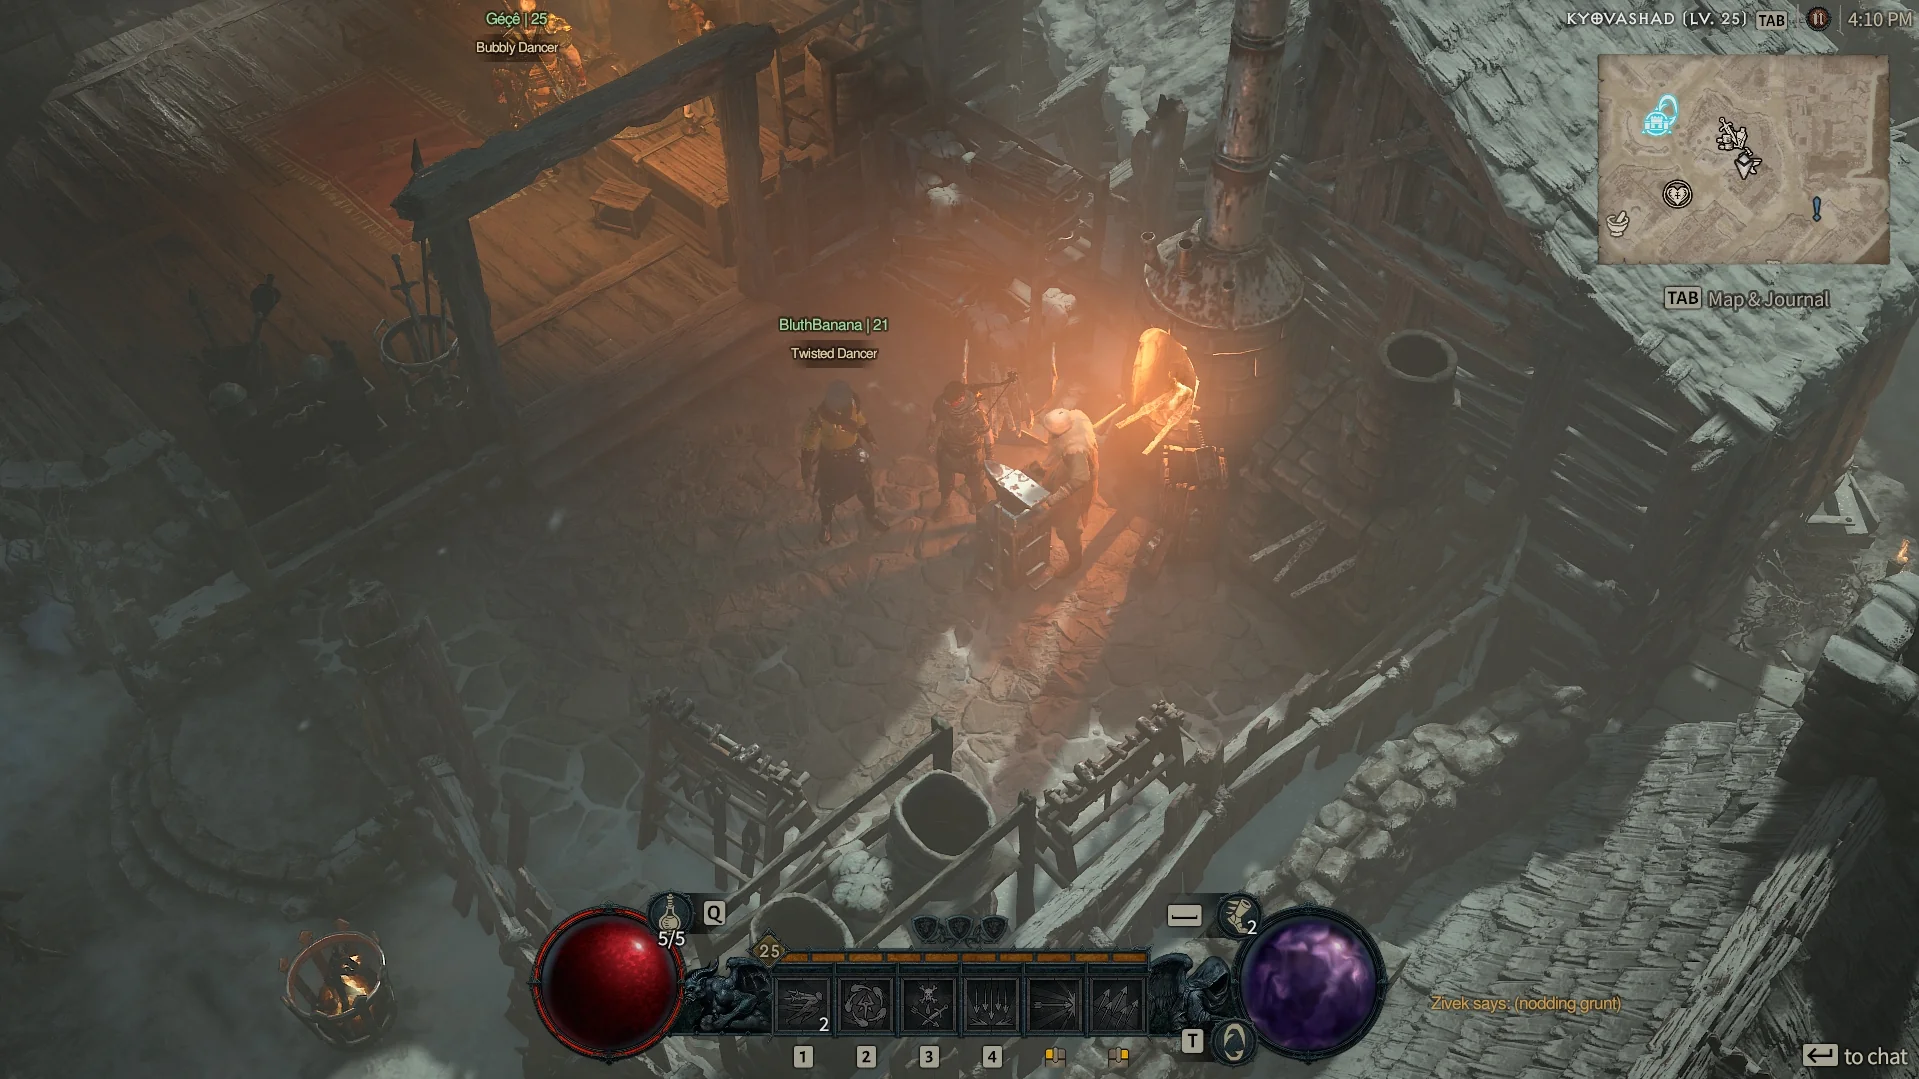
Before you can break down your items for materials, you’ll need to reach a city or town that has a Blacksmith at it. Fortunately, the main story directs you toward the giant city of Kyovashad in Act 1. It shouldn’t take you too long to get here unless you get distracted by exploring and checking out dungeons.
In my experience, it only took about an hour from creating my character to reaching Kyovashad. The good thing to know is that this town has pretty much everything you’ll need. Whether you’re looking to salvage items, upgrade your potions, or even create legendary gear.
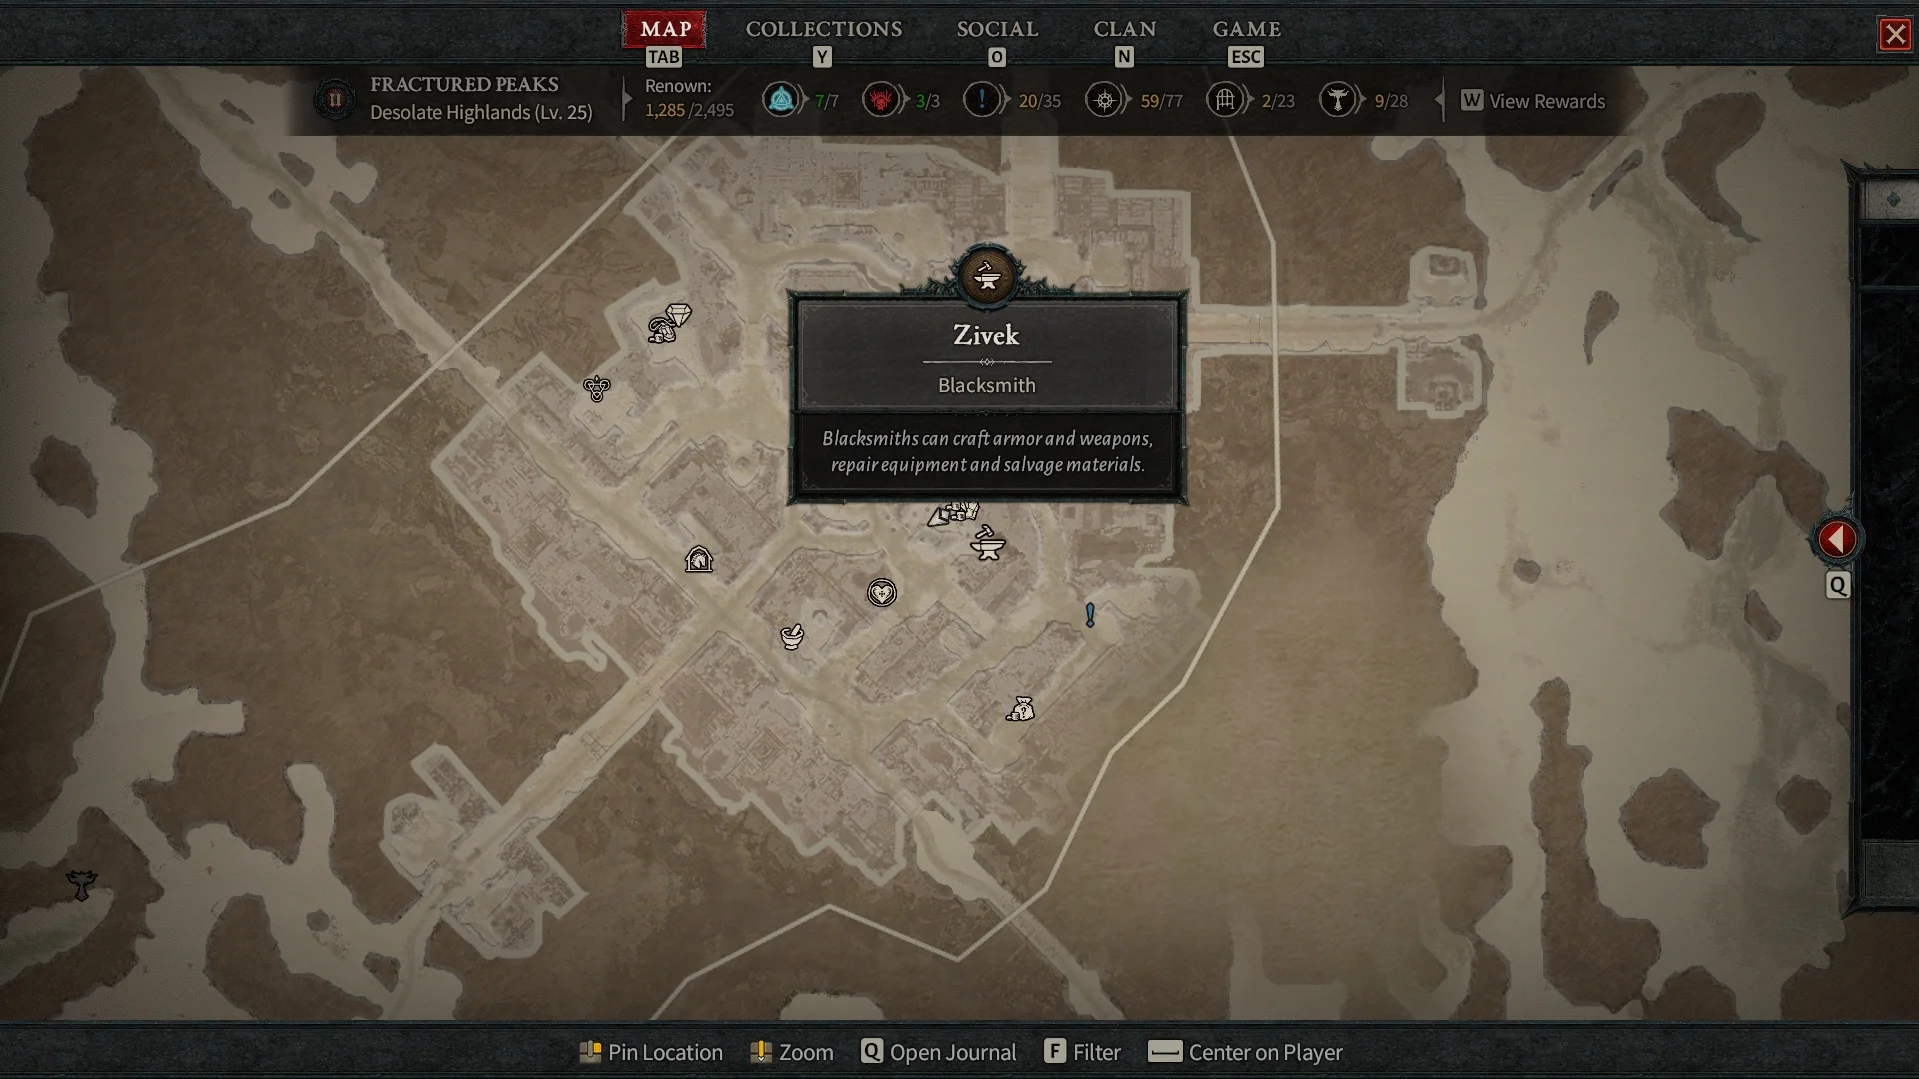
Take advantage of the world map to find town NPCs. You can even right-click them to pin them for directions.
Once you’ve made it into Kyovashad, you’ll want to check out the Blacksmith. Their shop is represented on the map by an anvil and hammer icon. Even though I’ve seen some websites report a level requirement to use the Blacksmith, this doesn’t seem to be true. While certain shops do require reaching a level before they’re available, this isn’t one of them.
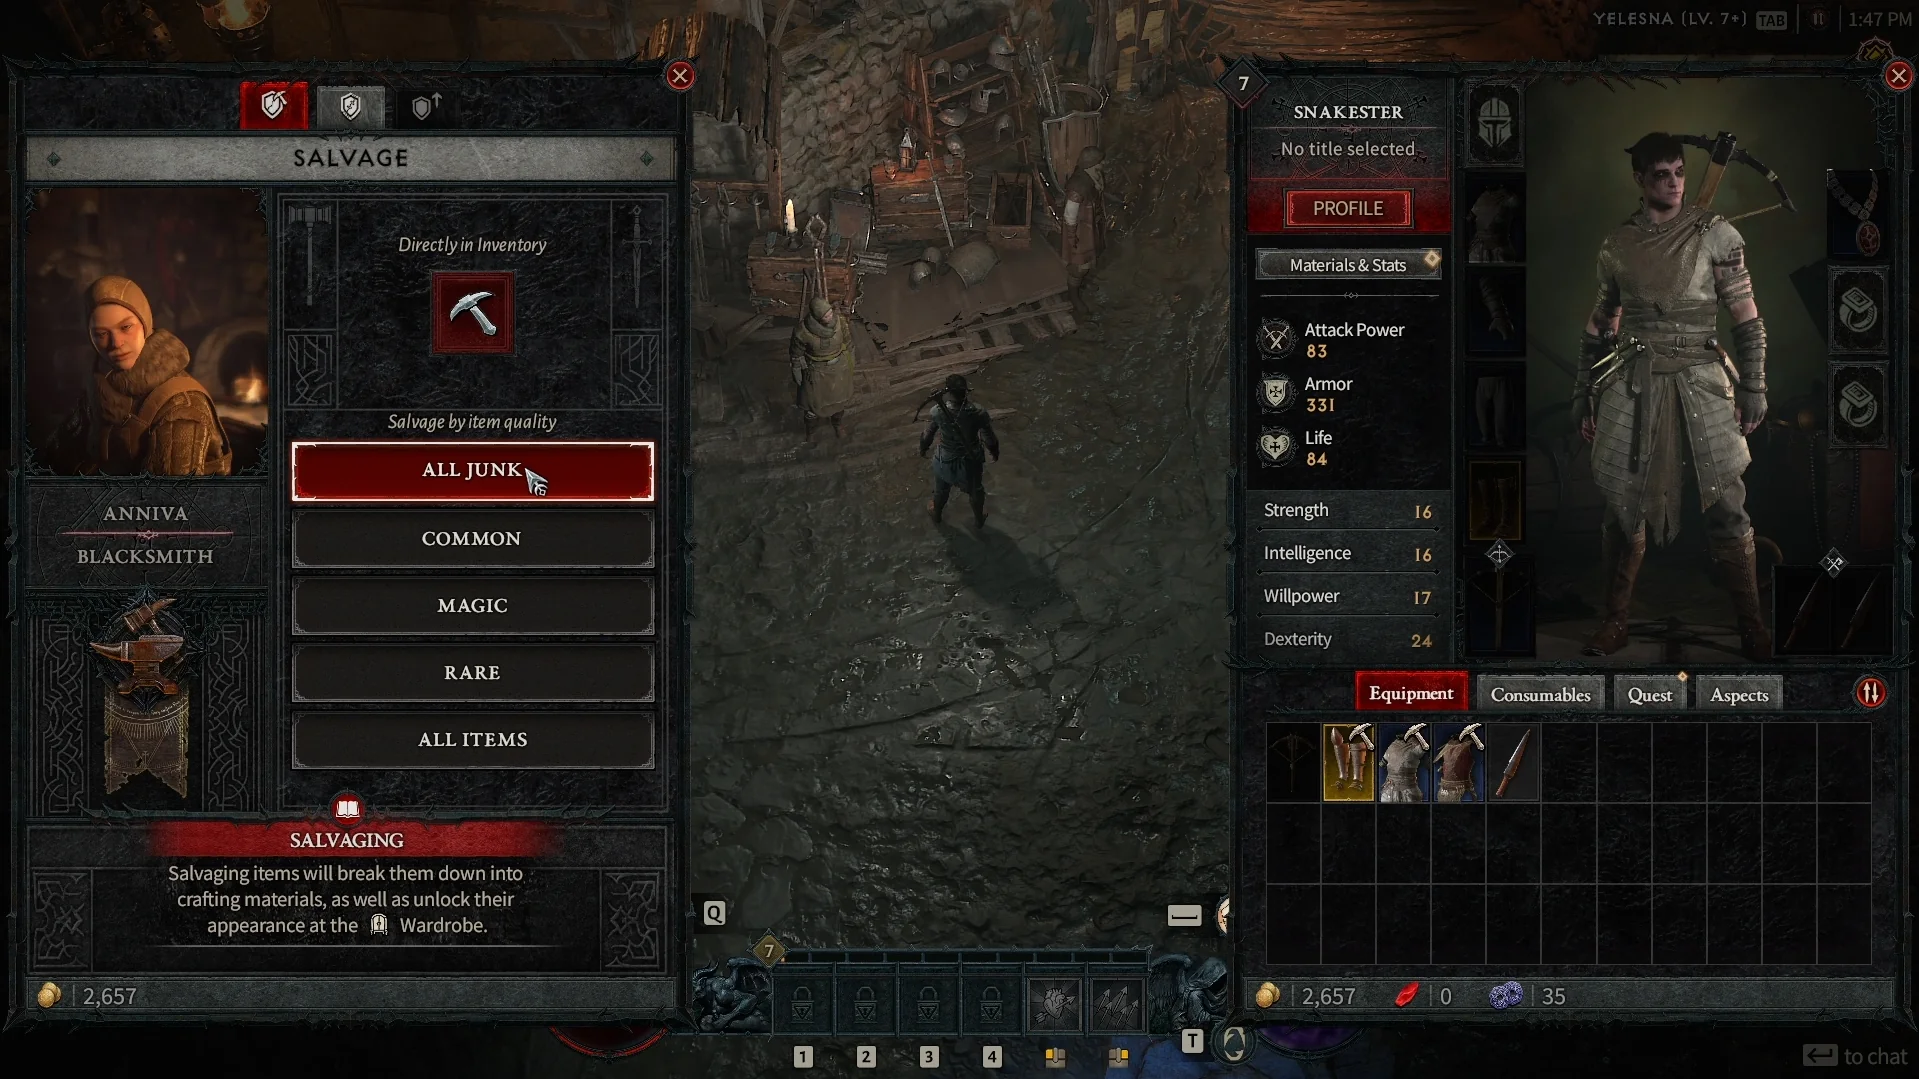
The first time I used the Blacksmith in Diablo 4 was at level 4. Which was after skipping a bunch of enemies to try and test how low my level could be before getting there. Regardless, now that you’re at the Blacksmith, use the first tab to salvage items. The others are for repairing after dying and upgrading gear.
Blacksmiths are spread throughout Diablo 4 so there’s a good chance you’re not too far from one.
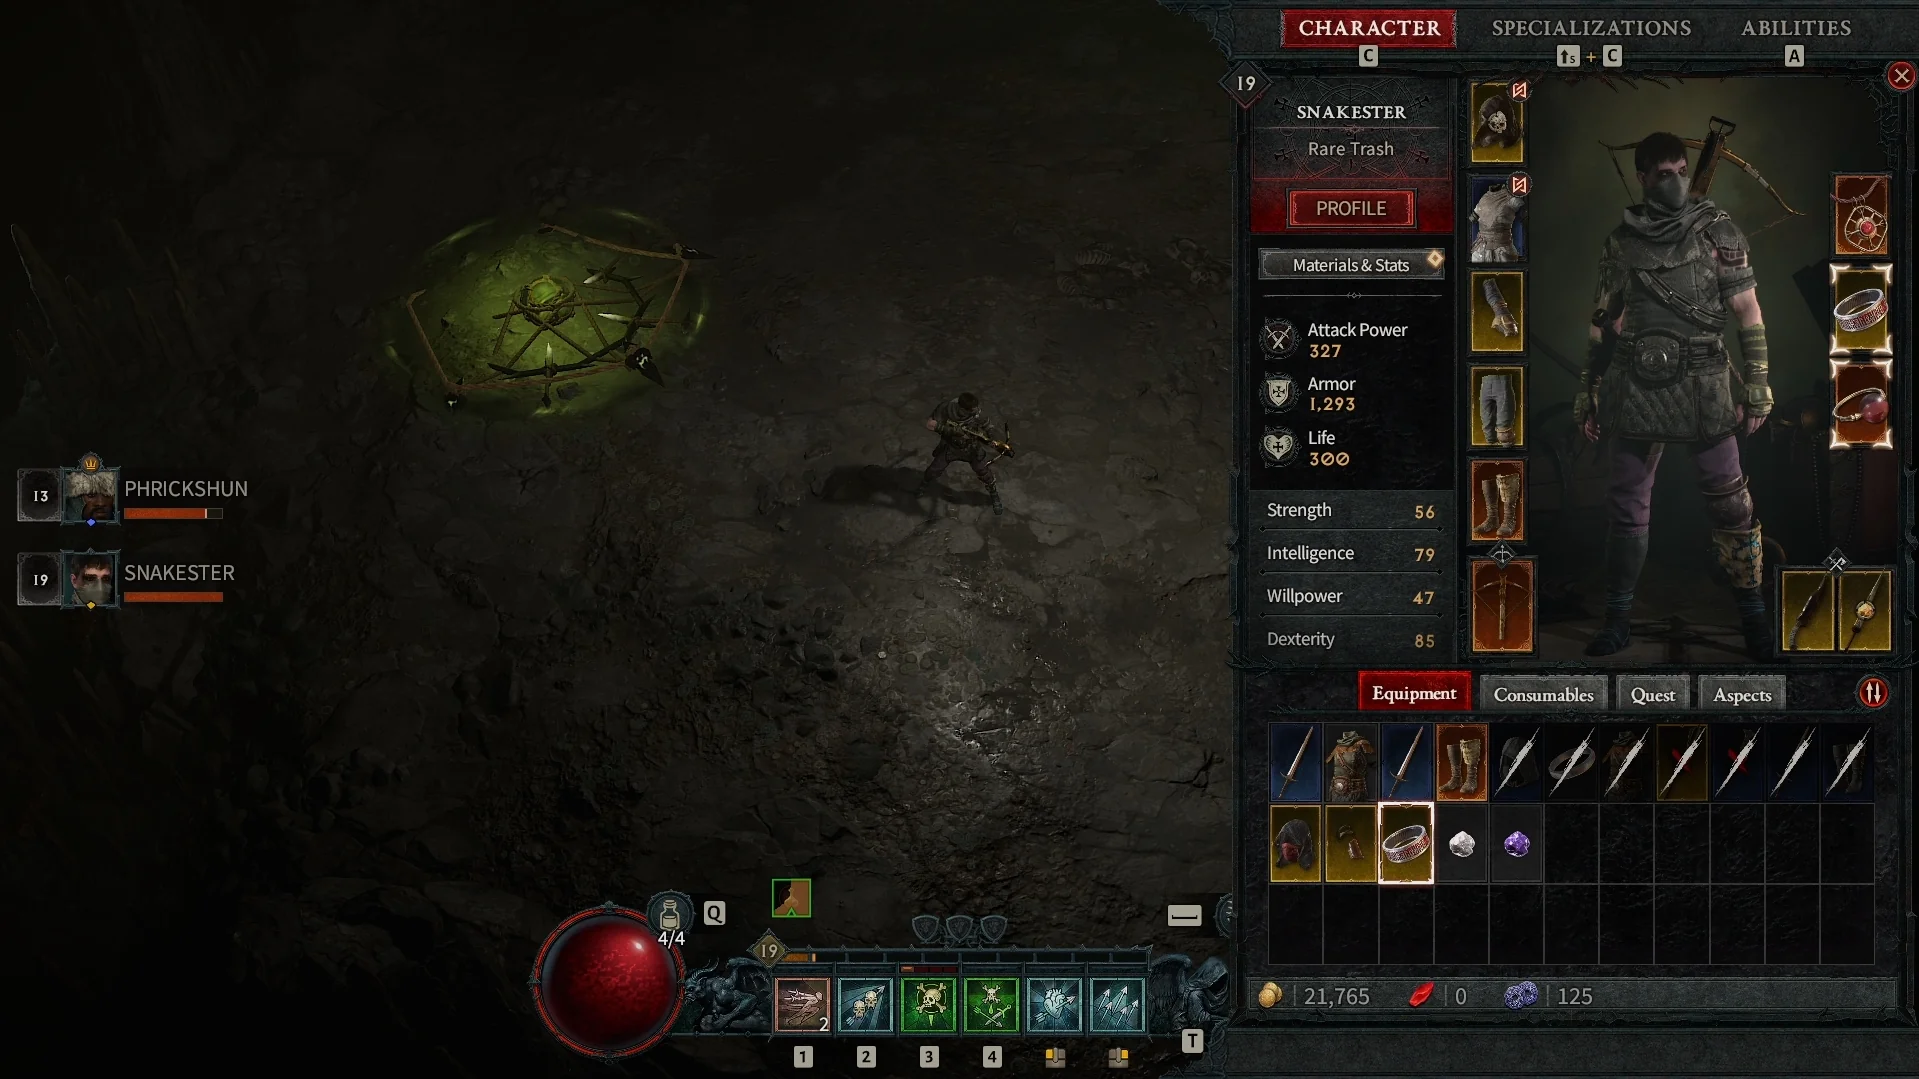
You can either manually salvage items by using the red pickaxe button and then clicking what items you want to get rid of. Or you can do it by item quality using each of the buttons listed: Common, Magic, Rare, All Items. The top button for “All Junk” is when you mark items in your inventory as junk.
This is a useful feature for both salvaging and selling items in Diablo 4. If you’re playing on PC with a keyboard, you can hover over an item and press spacebar to mark it as junk. Then, the next time you’re at the Blacksmith or shop you can get rid of it all at once. This can easily save a lot of time in the long run.
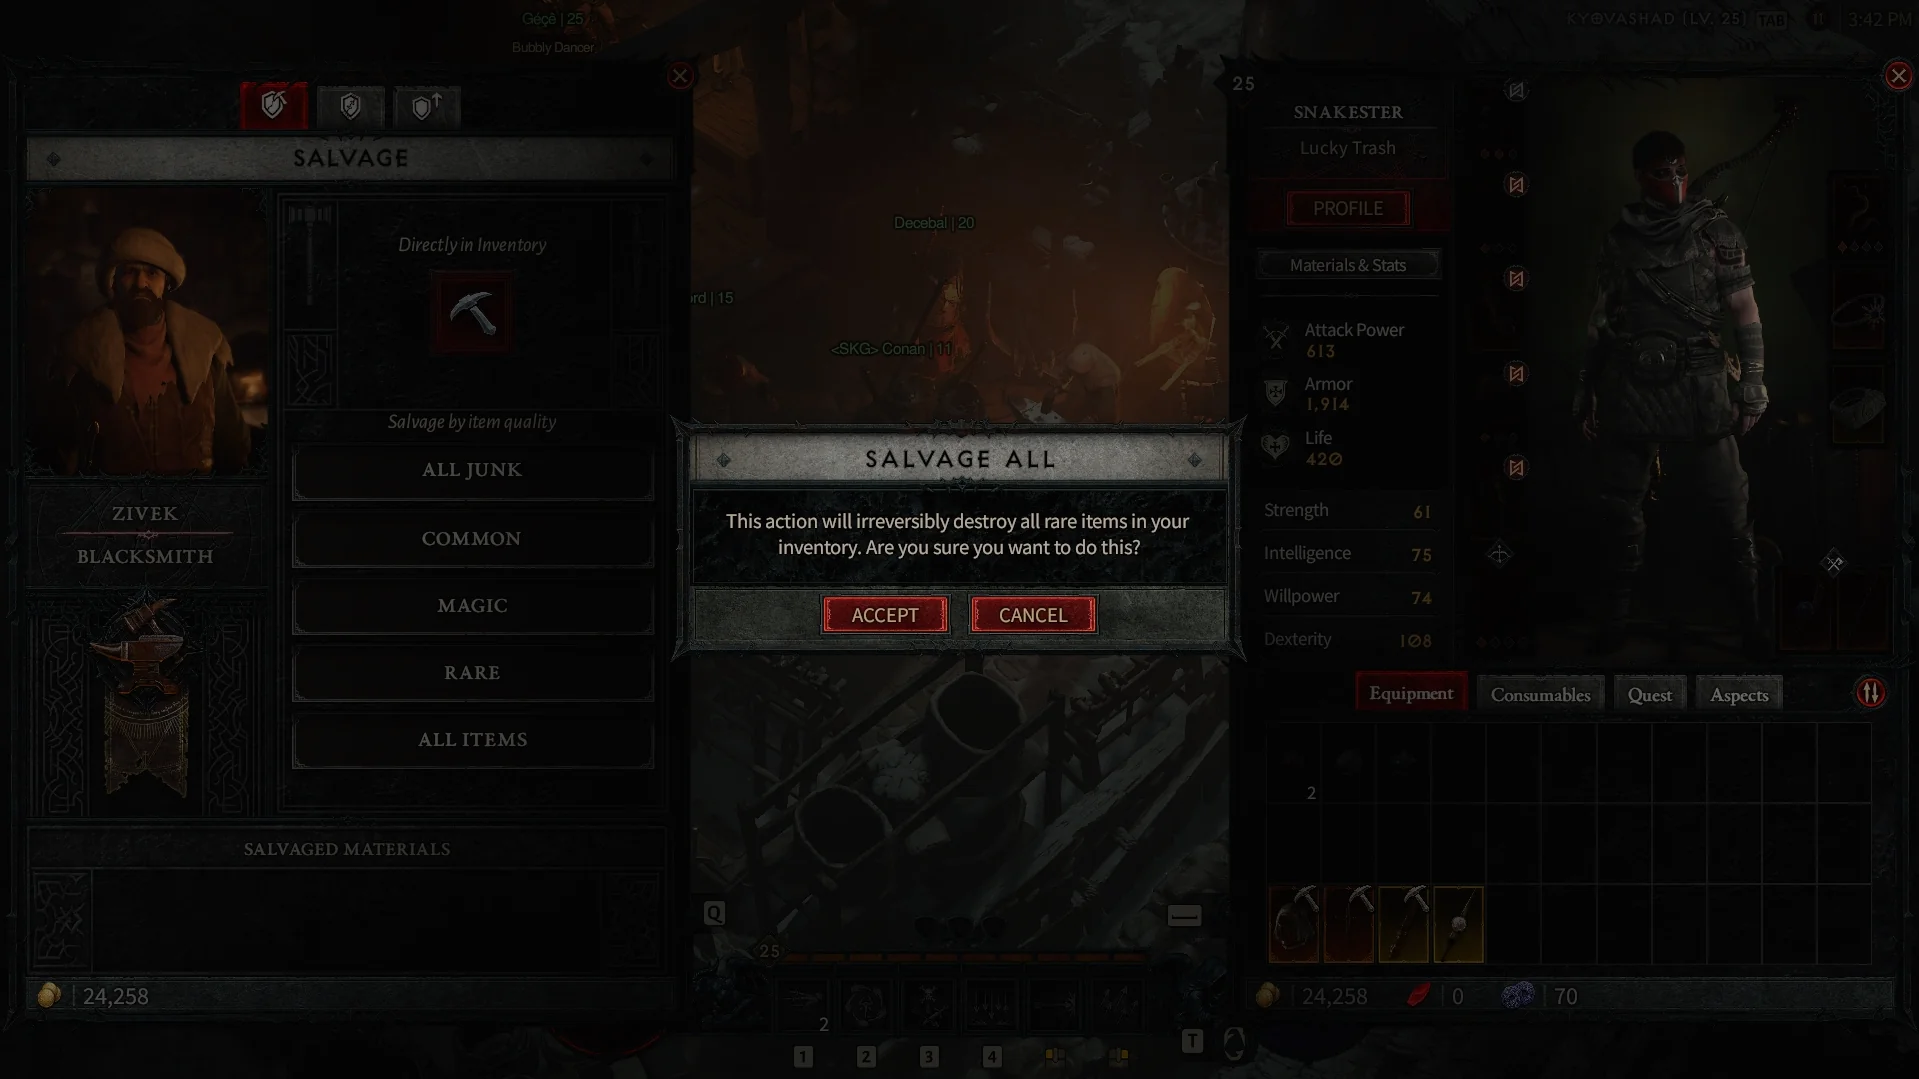
Using the item quality buttons will pop up a confirmation window to make sure you’re okay with destroying multiple items at once.
Fortunately, almost every waypoint in act 1 has a Blacksmith that you can interact with. If you’re not sure, you can hover over the waypoint and a bunch of symbols will appear showing what services are available. Nevesk is one of the rare situations where a waypoint doesn’t have any services available.
That’s all there is to this Diablo 4 guide on how to salvage items for materials. Even though you can gather certain materials like Iron Chunks, you will need to salvage gear for other valuable materials too. For example, you can break down rare yellow equipment for Veiled Crystals.


Jeff is a journalist with over 10 years of experience writing, streaming, and making content about video games. With an associate degree in journalism, he’s a sucker for RPGs, survival games, roguelikes, and more.