Now that you’ve taken out the first boss in Valheim, what do you do? This guide covers what your next step should be and how to find the next boss so you have some new goals. With that said, congratulations on defeating Eikthyr, and continue reading below. Here’s what to do after you’ve placed Eikthyr’s Trophy on the Rune Stone, near the spawn.
What to Do After the First Valheim Boss
| Make an Antler Pickaxe |
| Find Copper and Tin Deposits |
| Find Surtling Cores to Make a Furnace & Charcoal Kiln |
| Make a Forge and Start Making Bronze |
| Make a Cauldron and Fermenter |
| Hunt Down The Elder |
Make an Antler Pickaxe
Defeating Eikthyr opens up a good chunk of the game because you can now make a pickaxe for mining minerals. This leads to all sorts of new recipes and crafting stations preparing you for the rest of the game. Once you’ve defeated Eikthyr, you’ll get three Hard Antlers that reveals the Antler Pickaxe recipe. All you need is 10 Wood and 1 Hard Antler to make the Antler Pickaxe at a level 1 Workbench.
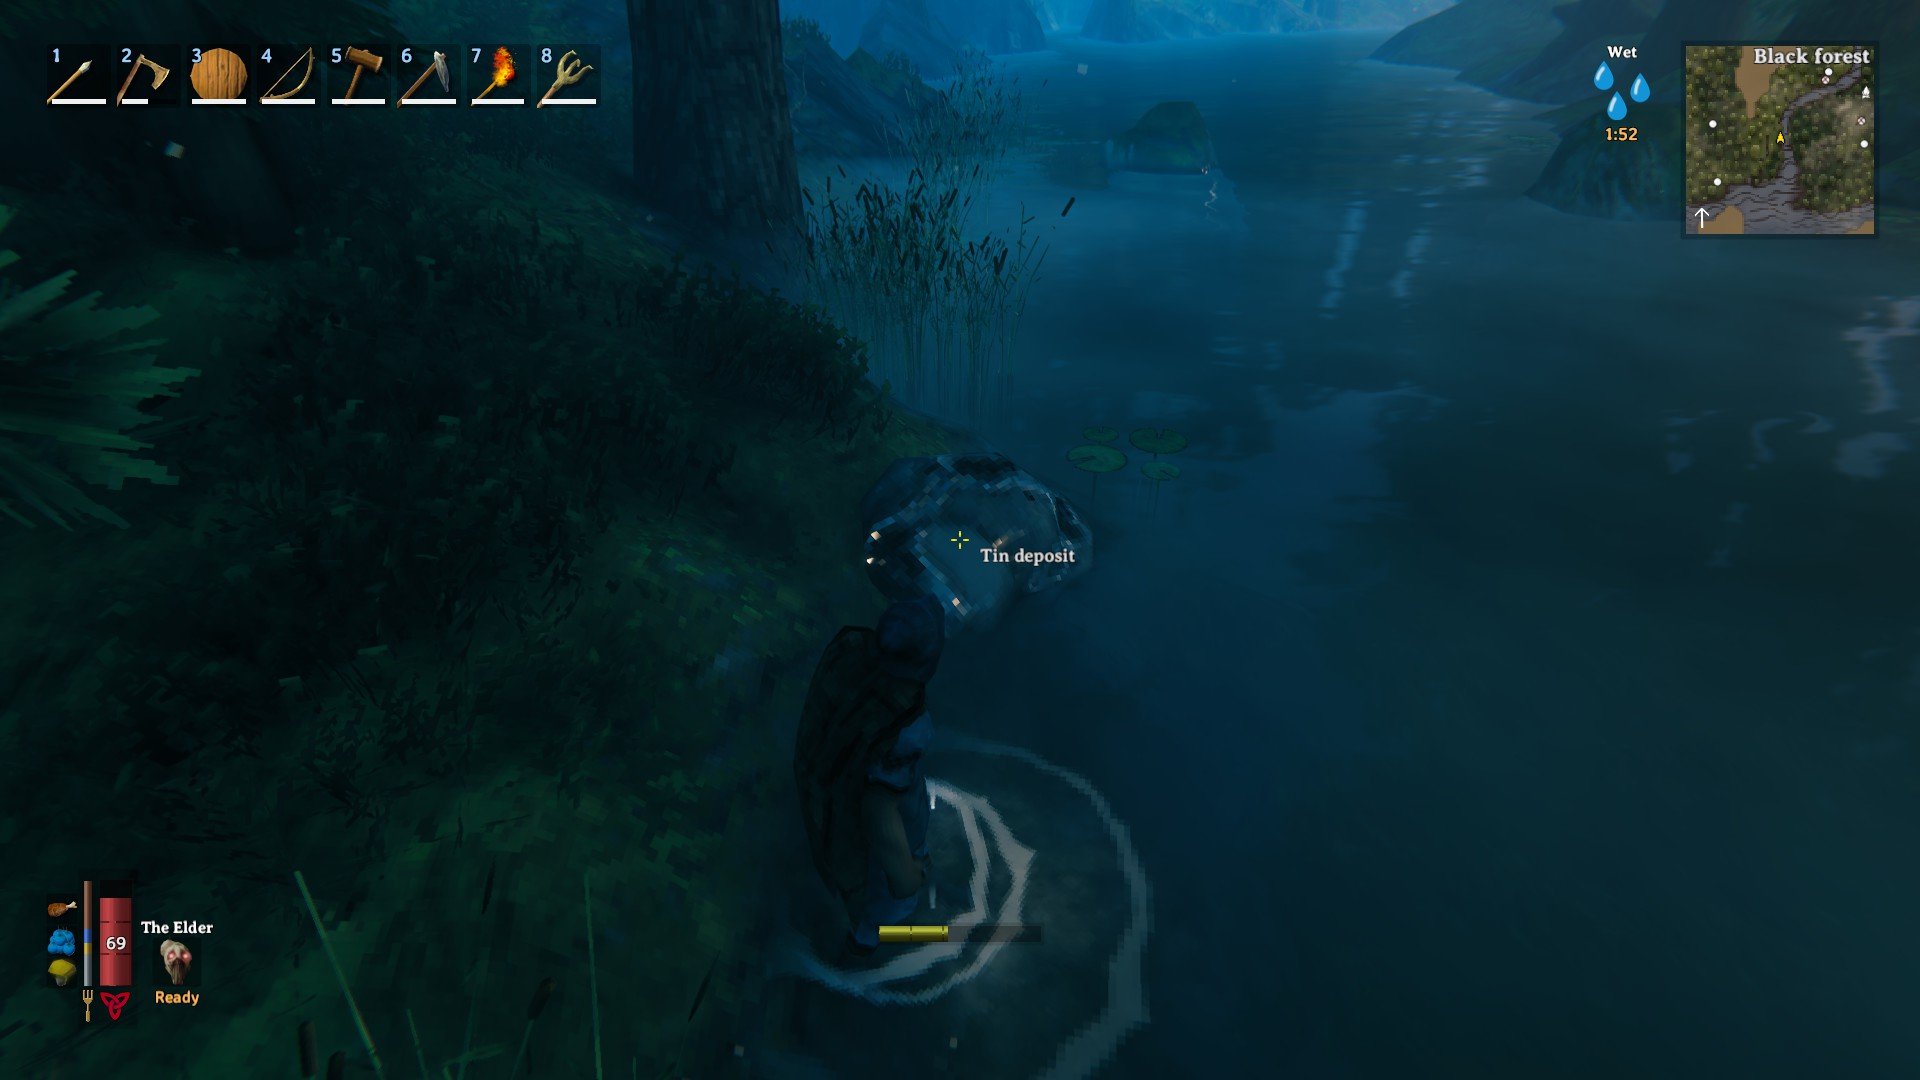
Find Copper and Tin Deposits
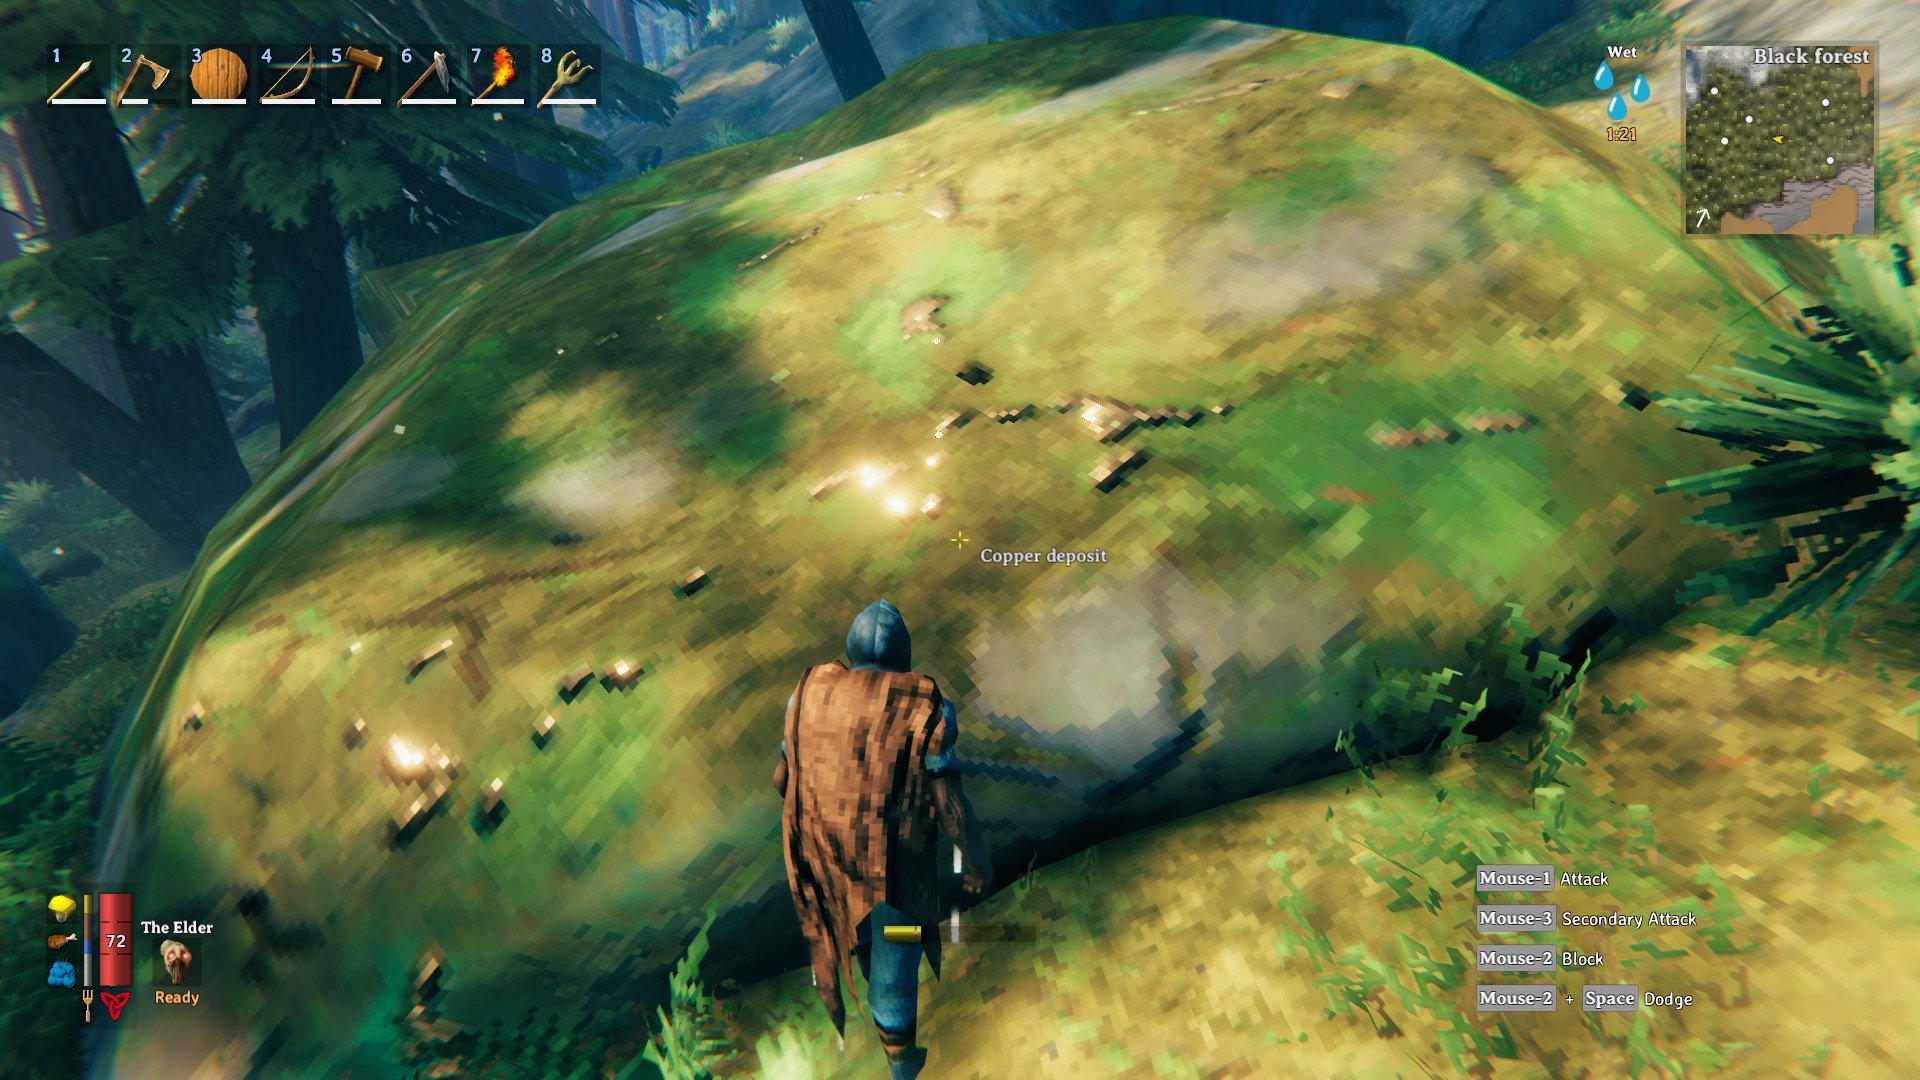
After making your first pickaxe, start searching for both copper and tin deposits in the Black Forest biome. Here you’ll eventually come across a rune stone revealing the second boss’s location, The Elder. Our guide here discusses every Valheim boss and gives tips on what to know about The Elder. You can find large copper deposits that look like large stones along the floor. While Tin Deposits are small shiny rocks along the water, usually near rivers in the Black Forest.
A useful trick that Valheim doesn’t tell you about is making markers on the map. All you need to do is open your map using M, click a symbol at the bottom right corner of the map, and then double-left click the map where you want to mark. This will use the symbol you picked and give you an opportunity to type a name for the marker.
You can then right-click a symbol to delete it or left-click it to put an X over it. This is a great way to mark minerals and other useful areas. Also, if you’re playing with others, you can middle-click the map to ping an area for others to see.
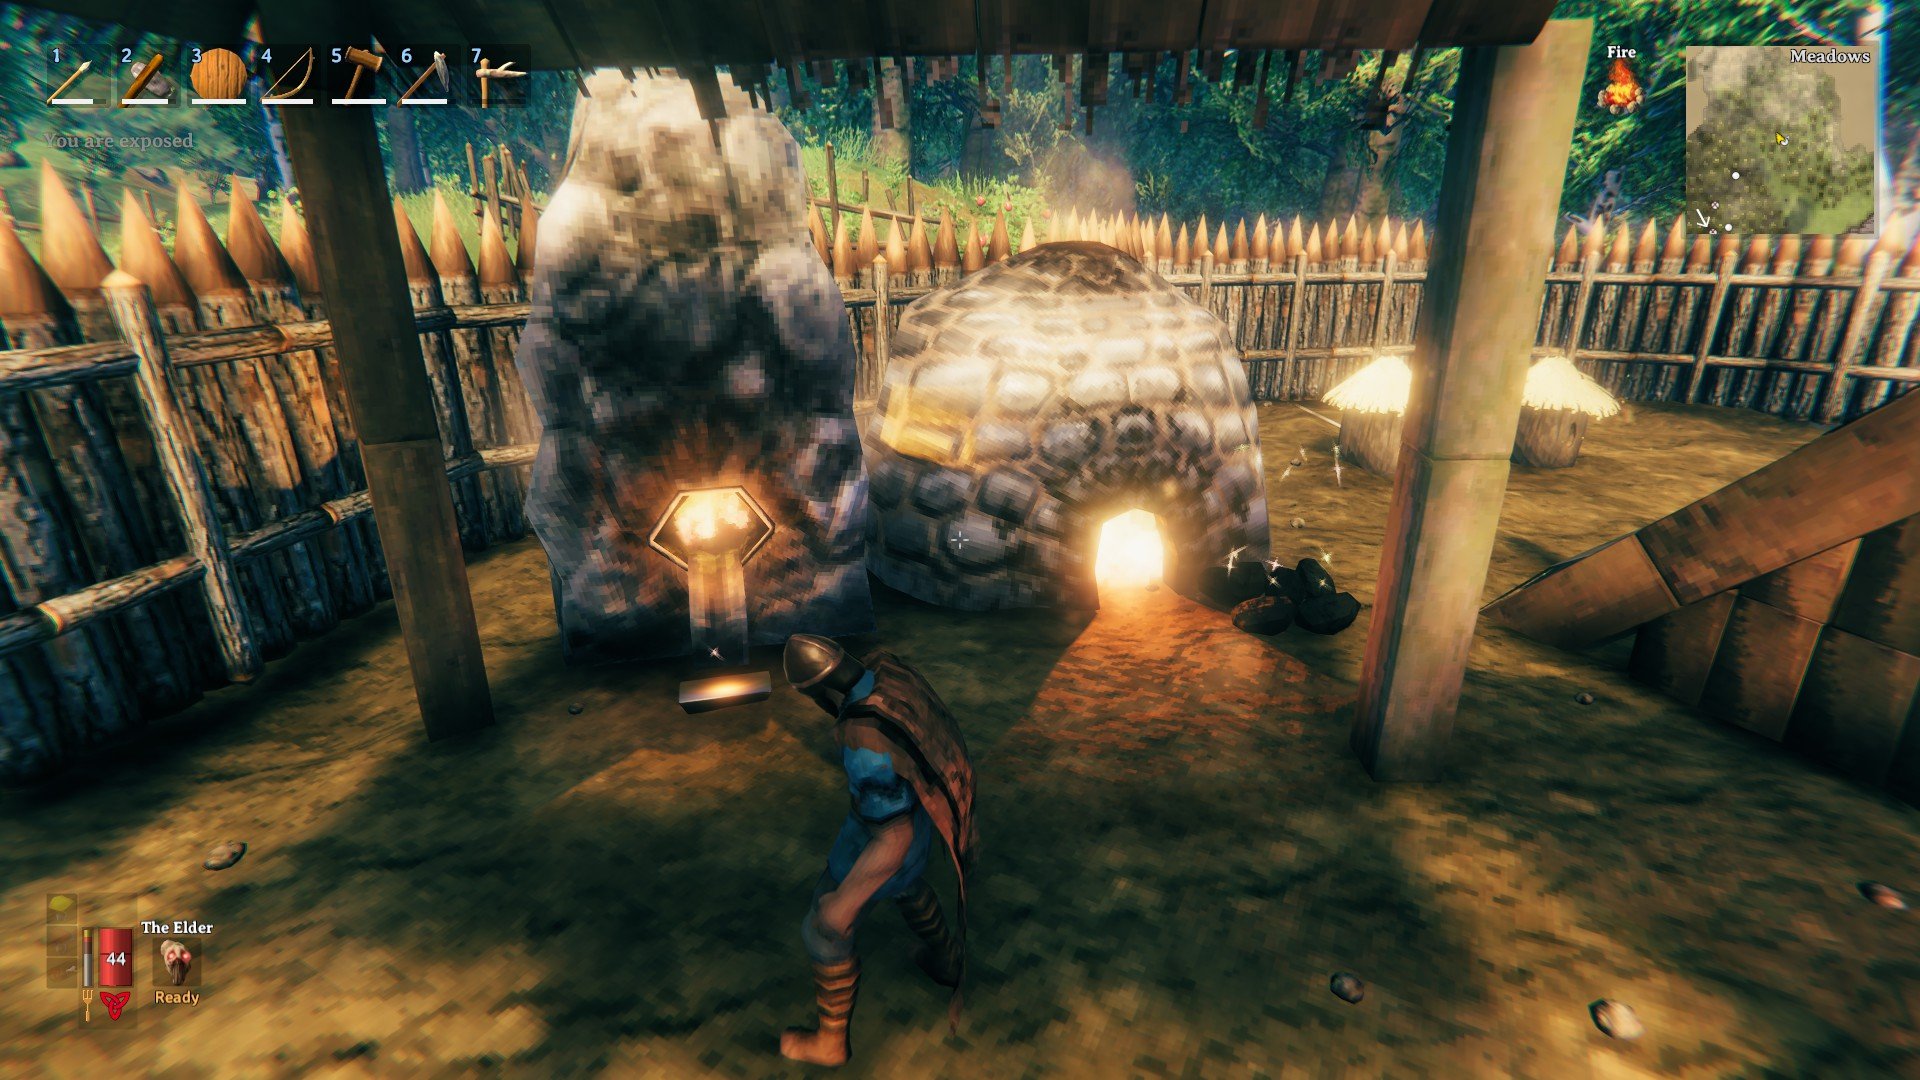
Find Surtling Cores to Make a Furnace & Charcoal Kiln
Before you can smelt all that copper and tin, you’ll need to make a Furnace and Charcoal Kiln. While searching the Black Forest, you’ll want to keep an eye out for skeletons that often surround mini-dungeons.
These are known as Burial Chambers that house many skeletons and useful loot. You may even run into a Troll Cave while wandering about, be careful of those. The main item you want from Burial Chambers are Surtling Cores that are used for Furnaces, Charcoal Kilns, Portals, and more.
These are easy to get later in Valheim, but for now, you’ll want to get at least 10 for making the Furnace and Charcoal Kiln. The Kiln is needed as it easily makes Charcoal from wood so you can fuel the Furnace. Burial Chambers average around five Surtling Cores, in my experience. They’re small red glowing cubes that are often on tables or posts.
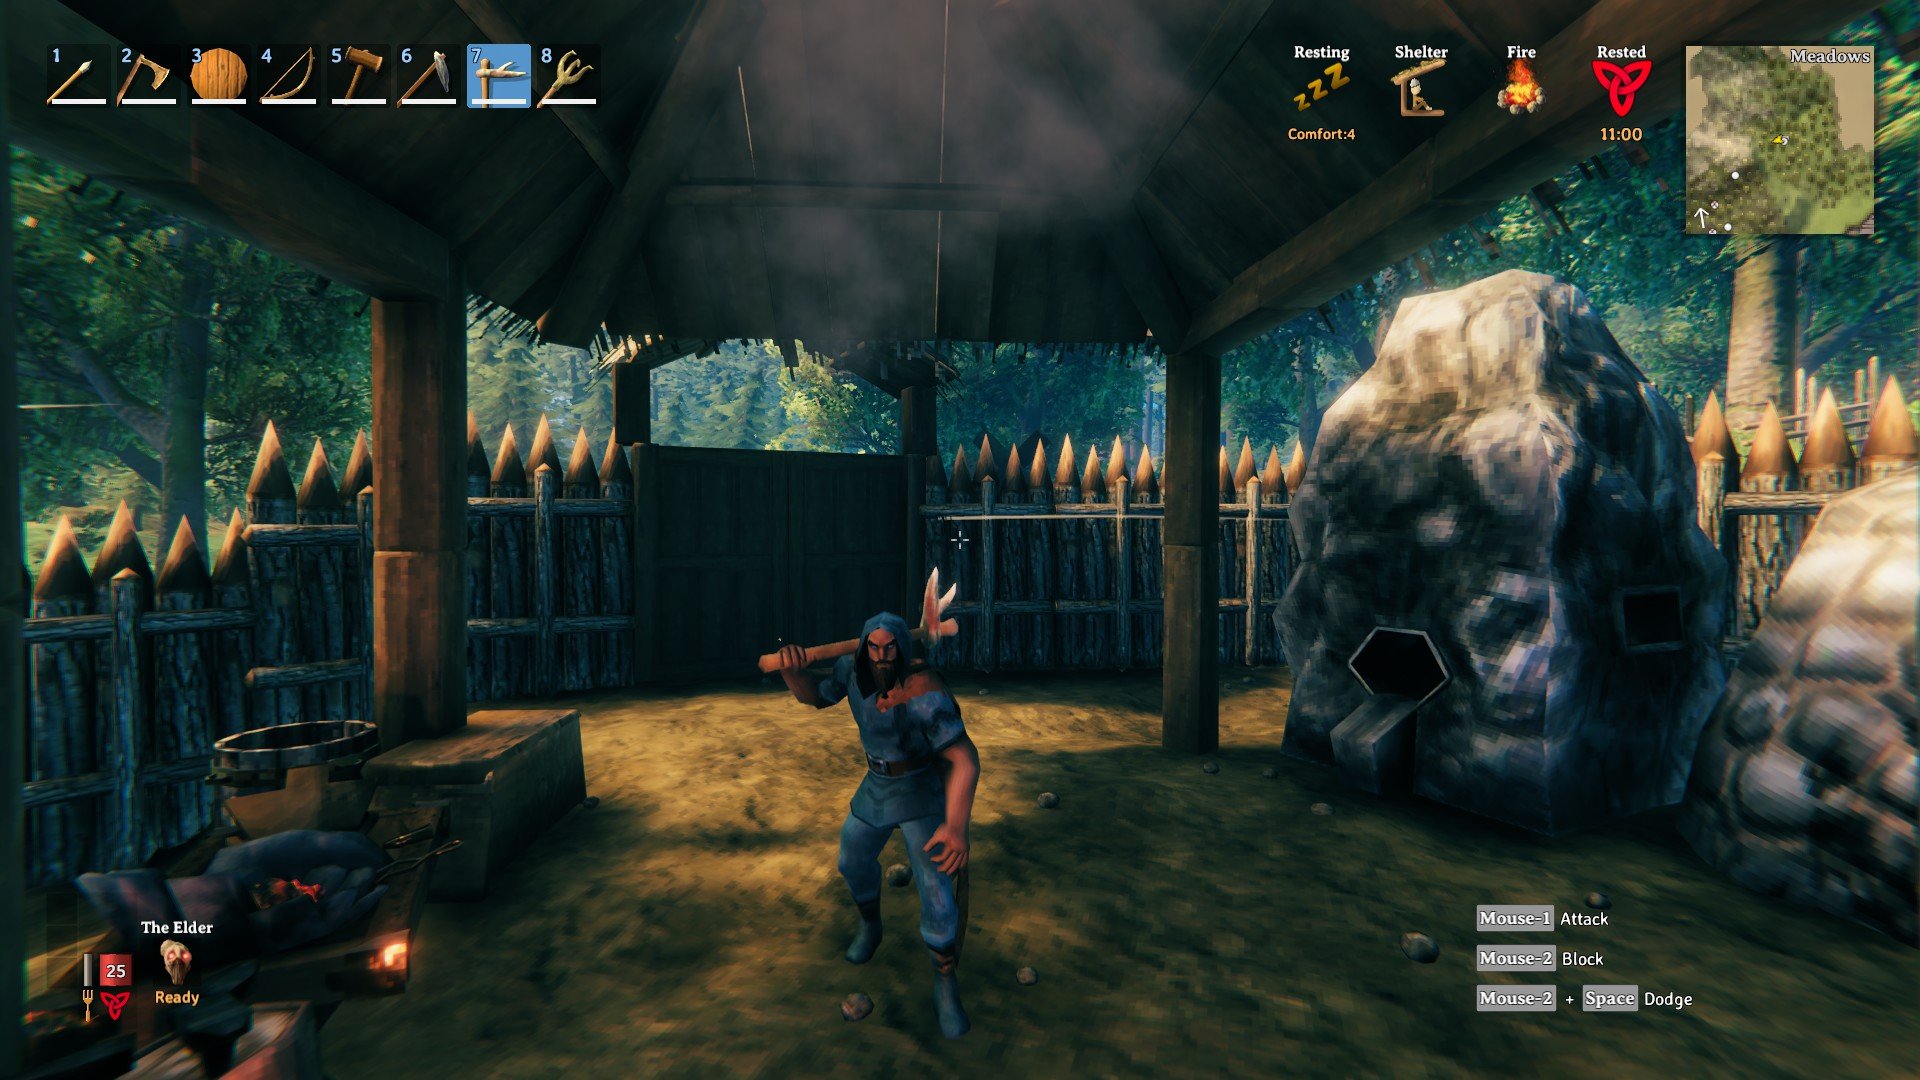
Make a Forge and Start Making Bronze
Now that you’ve started smelting Copper, you can make a Forge under the Crafting menu for buildings. This is the second crafting station alongside your workbench for higher tier equipment and gear. You can make Bronze Bars here by combining two Copper Bars and one Tin Bar. As the majority of Forge recipes require Bronze, you’ll be making a bunch of it.
While you don’t need bronze gear to take on The Elder (second boss), it certainly helps. Two players can decently take out The Elder, but a solo player will certainly want to upgrade. Some of the new recipes you can make at a Forge are below:
- You can make Bronze Nails for a Wagon. A big help for long-distance ore running.
- New Bronze weapons and armor.
- A Bronze Axe for chopping Birch and Pine trees for new resources.
- The Cultivator for farming/planting seeds and trees.
- Bronze Nails for making a better boat called, Karve.
Make a Cauldron and Fermenter
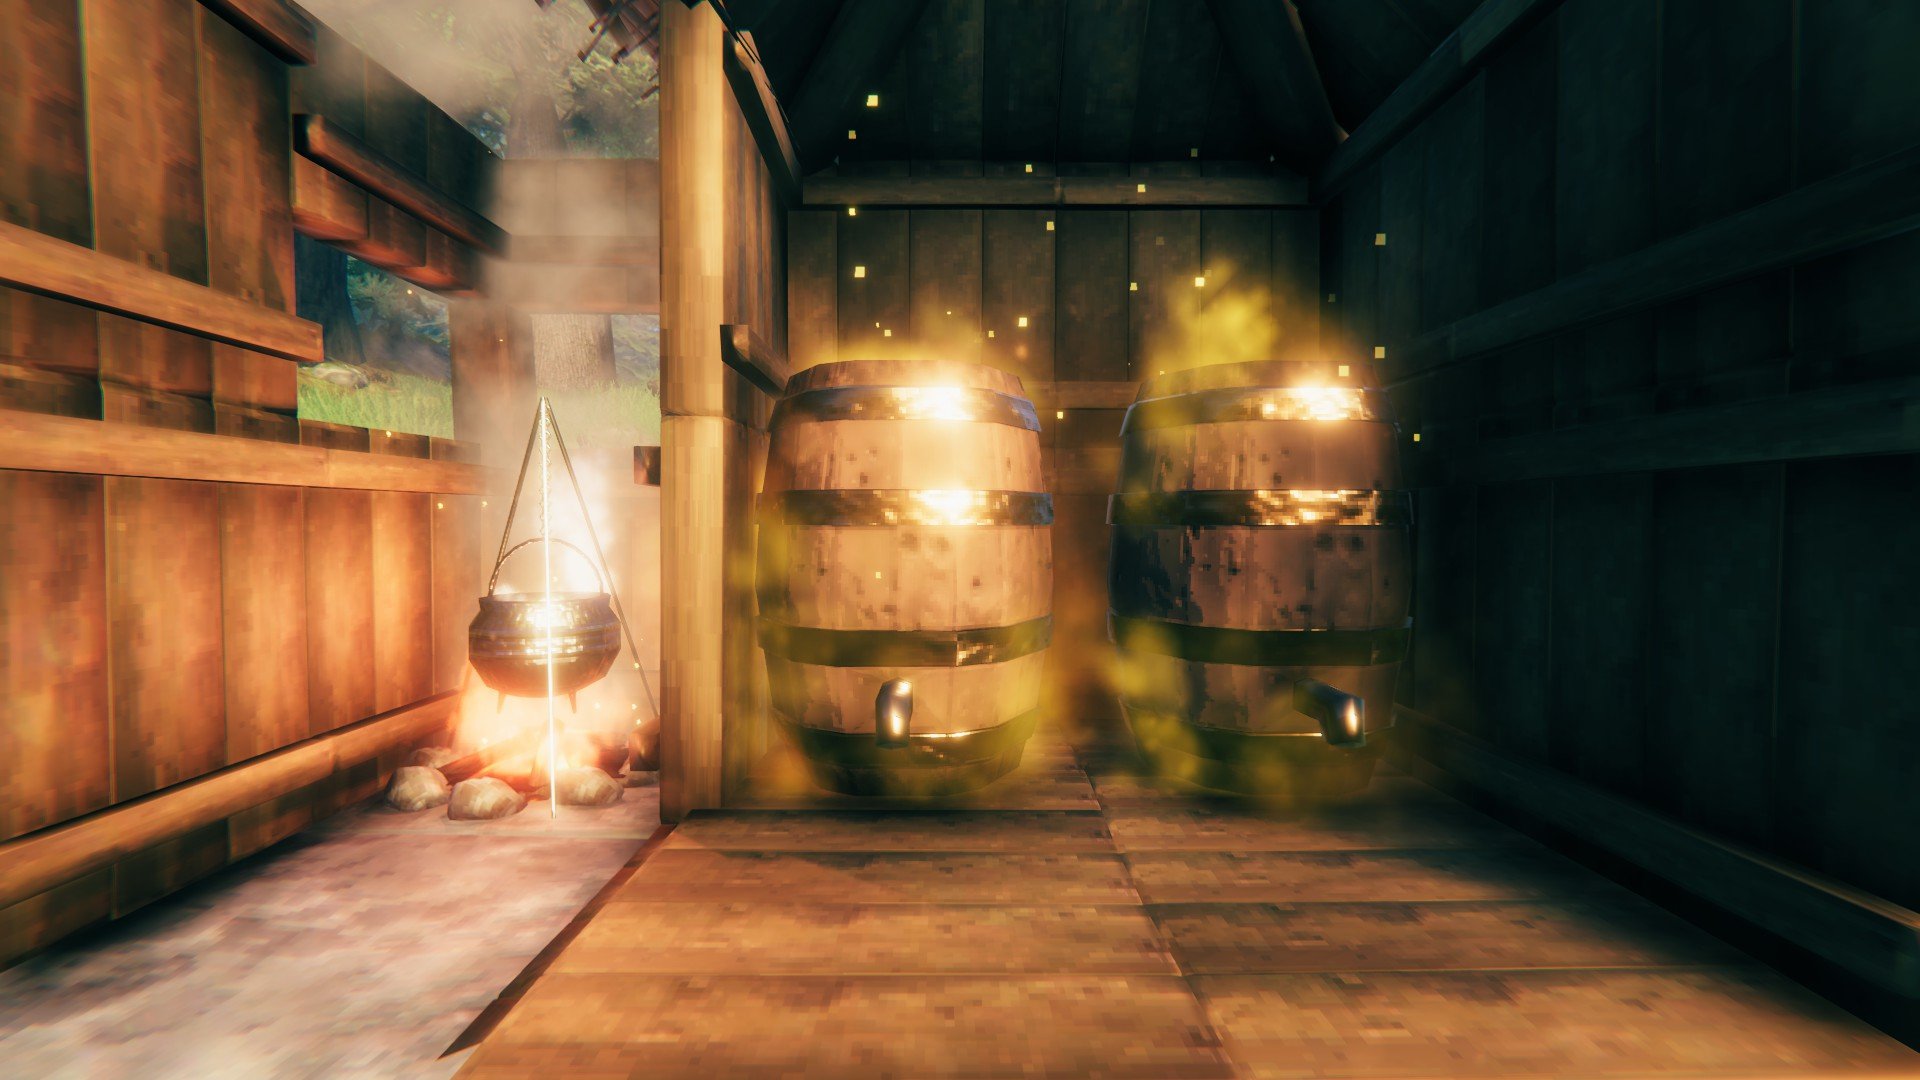
This is the last step before heading out for The Elder if you want to be even more prepared. Making a Cauldron and Fermenter will give you the crafting stations needed to start making potions and better food. This will help keep you alive while giving you much higher health as well. The Cauldron also reveals all sorts of new recipes for resistances and buffs too.
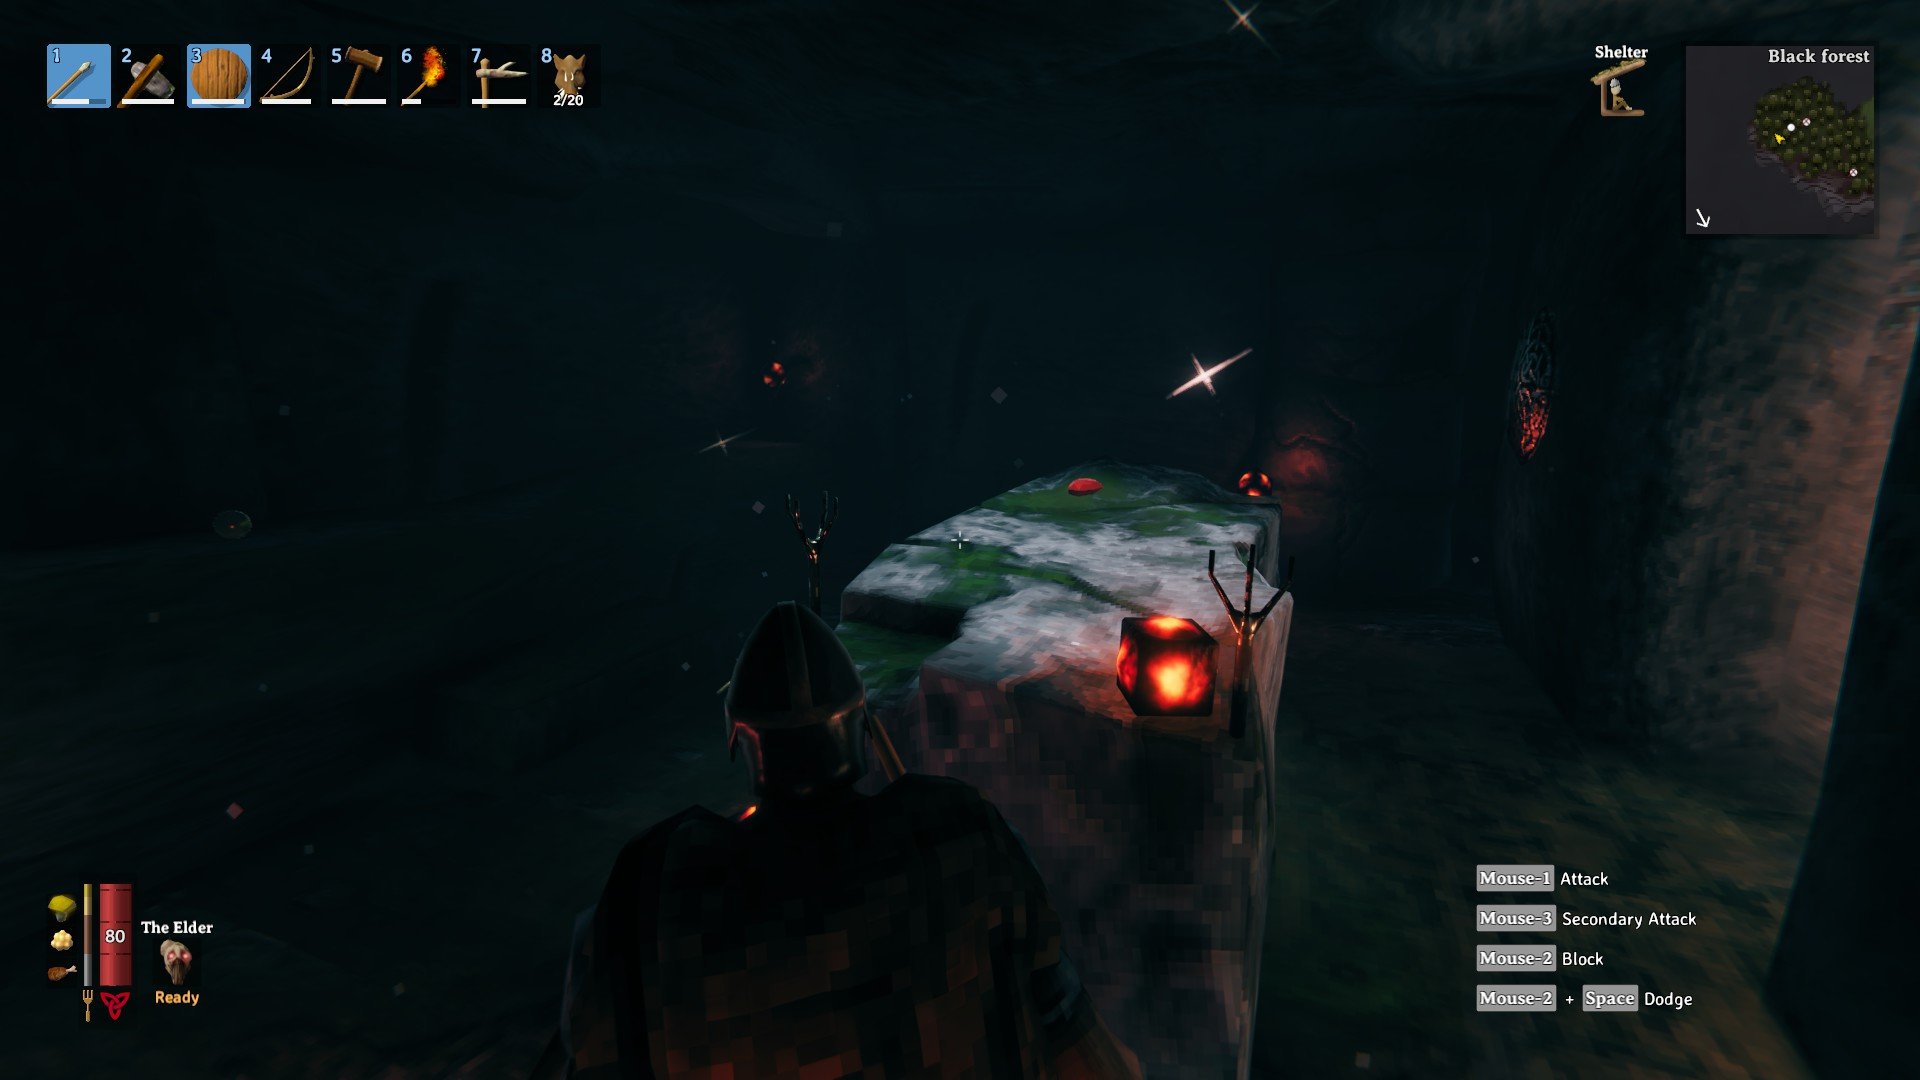
Hunt Down The Elder
If you’ve made some upgrades to your gear and feel ready for the second boss, this is the next step. Otherwise, you can continue improving your base, upgrading your gear, etc. Don’t forget that you can upgrade your gear’s quality level at a Forge/Workbench via the upgrade tab. This will make your armor or weapon stronger as well. For some brief tips and tricks fighting The Elder, head over to our guide here.
For more Valheim guides, be sure to check out the guide hub or visit one of the many useful guides below. And if you have a question not answered here, feel free to ask in the comments below for help.


Jeff is a journalist with over 10 years of experience writing, streaming, and making content about video games. With an associate degree in journalism, he’s a sucker for RPGs, survival games, roguelikes, and more.