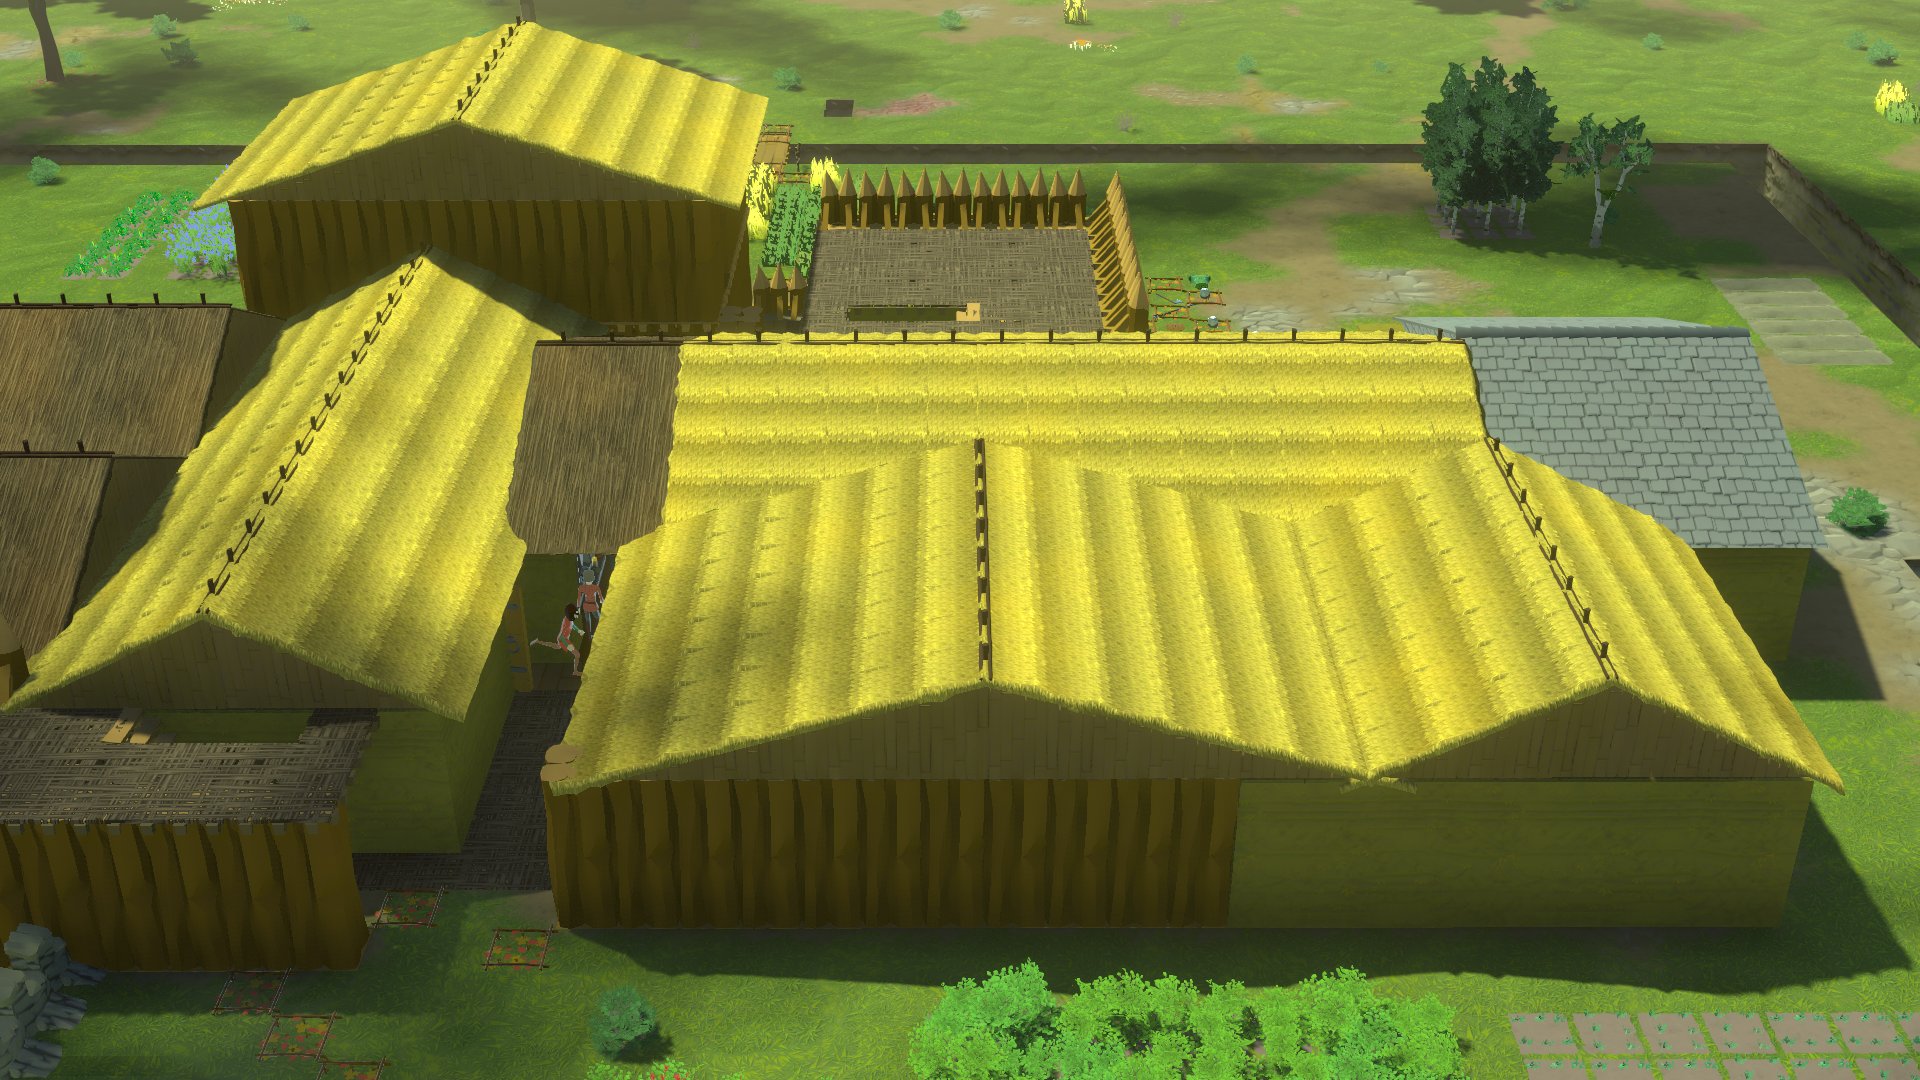
Building a roof in Going Medieval is important so you can manage the temperature indoors. If you don’t completely enclose a room, the temperature will stay the same as outside. And then you’ll end up with settlers that are too cold or too hot. Continue reading our guide below to learn how to build a roof and the many different kinds there are.
How to Build a Roof in Going Medieval
Fortunately, this isn’t too complicated, but it can be a little frustrating as your colony grows. First, you need to have two sets of walls across from each other. Unless you’re building a roof on the floor. It doesn’t matter what wall type you use for the stability of the roof above it.
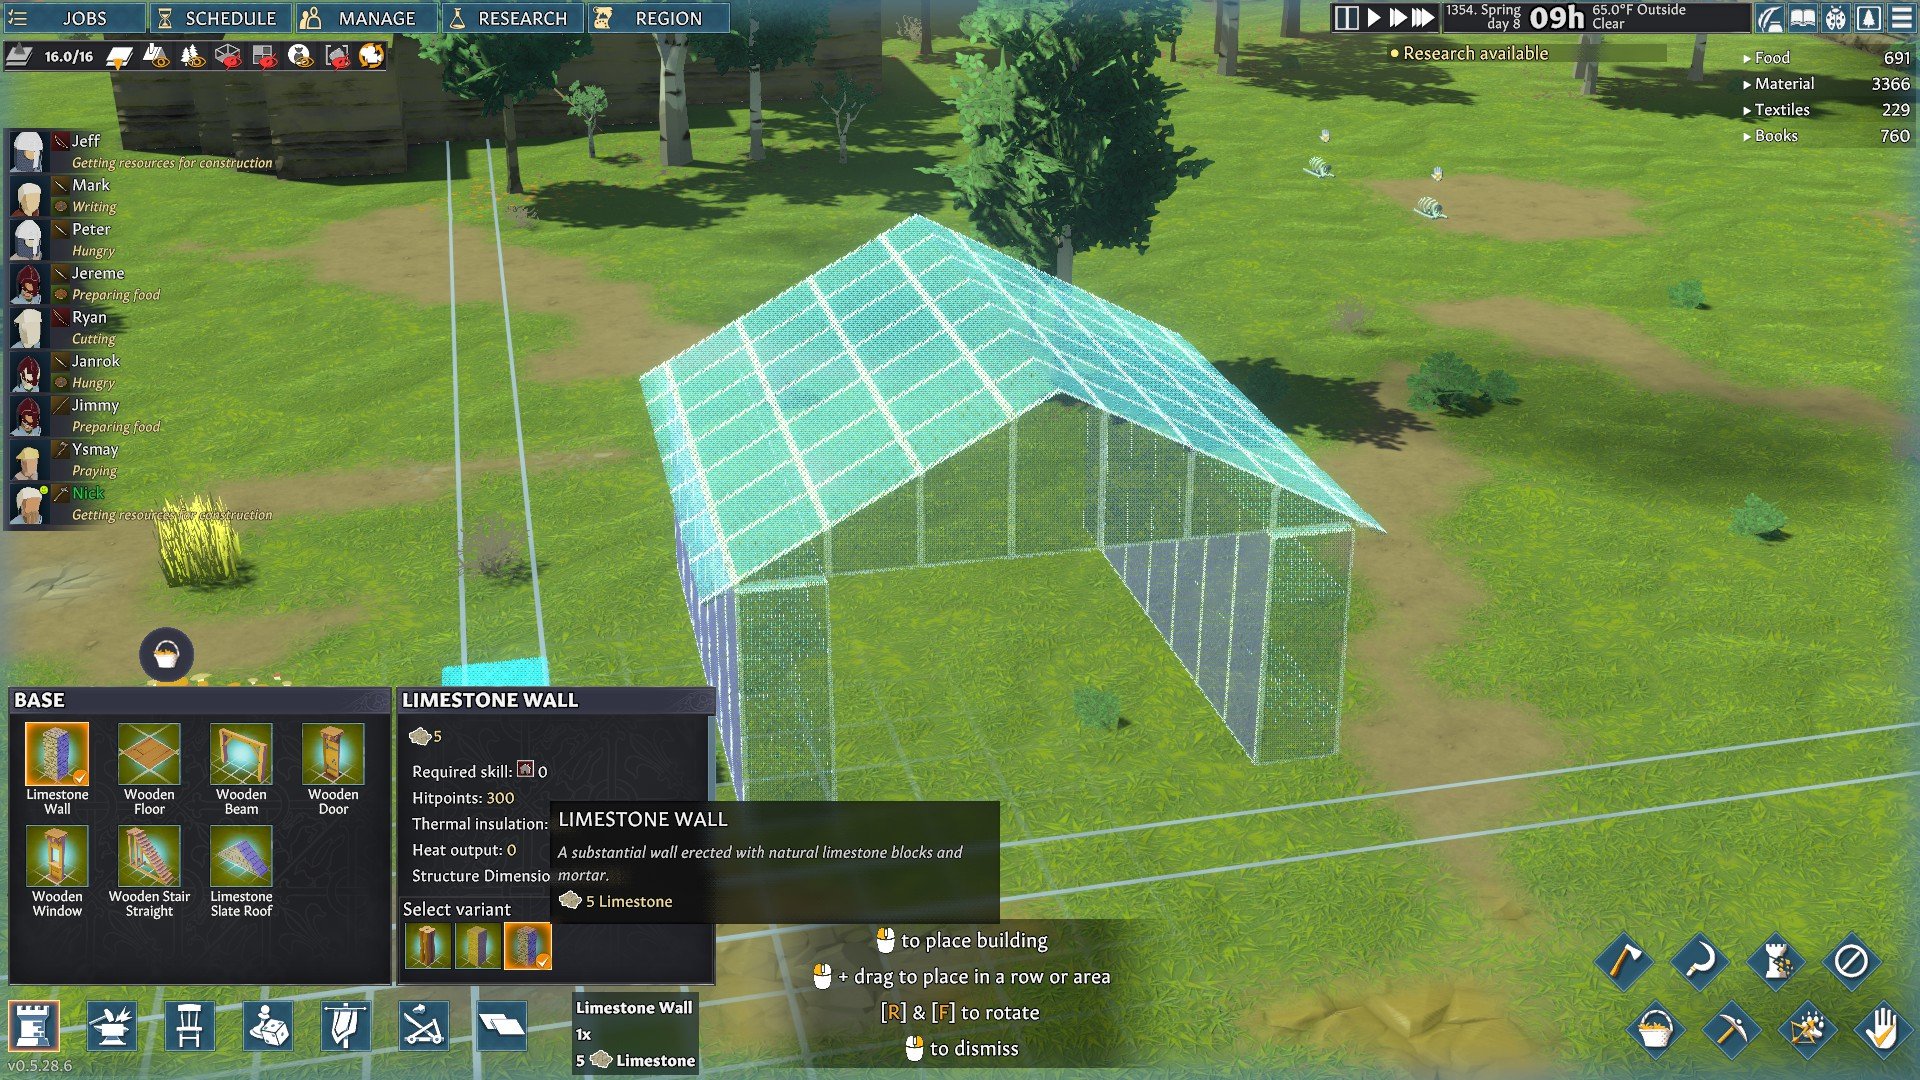
However, each of the three walls has a different thermal insulation stat. This prevents any inside temperature from escaping outside unless you use windows. This is especially useful for fighting cold temperatures during the winter and tough events like a cold snap. If you’re not sure how to change the wall you’re placing, you can select a variant after clicking the wall button. A window will appear next to the building menu with an area that says, “Select Variant”.
Regardless, once you have two sets of walls placed, you can select the roof button under the Base building menu. This menu can also be opened with F1 by default. Similar to wall variants, there are also different roof types. For example, there are eight different variants helping with surviving in different environments.
Make sure to take advantage of wall and roof variants for what materials you have available.
Wicker Roofs are one of our recommended types to use since you end up with a lot of sticks. But, if you’re in a more mountainous region, you may want to use Limestone Slate Roofs instead. Once you have it selected, hover your mouse over a wall. You’ll want to make sure the roof is facing the right way since you can rotate it using “R”.
This is because you can have a roof facing either direction depending on the room you’re creating. Once it’s rotated correctly, click on one wall and drag your mouse to the other wall. As long as the room isn’t larger than 12 tiles across (including the walls), you can place the roof. Otherwise, you’ll need to create another set of walls and then add it afterward.
As long as the roof appears as a light blue color after placing it, your settlers can then build it. If it shows as red before letting go of your mouse button, it will fail to place. This may be because it’s not rotated correctly or there isn’t a wall to place it on.
Prioritizing construction is a useful way to force your settlers to get something important done first.
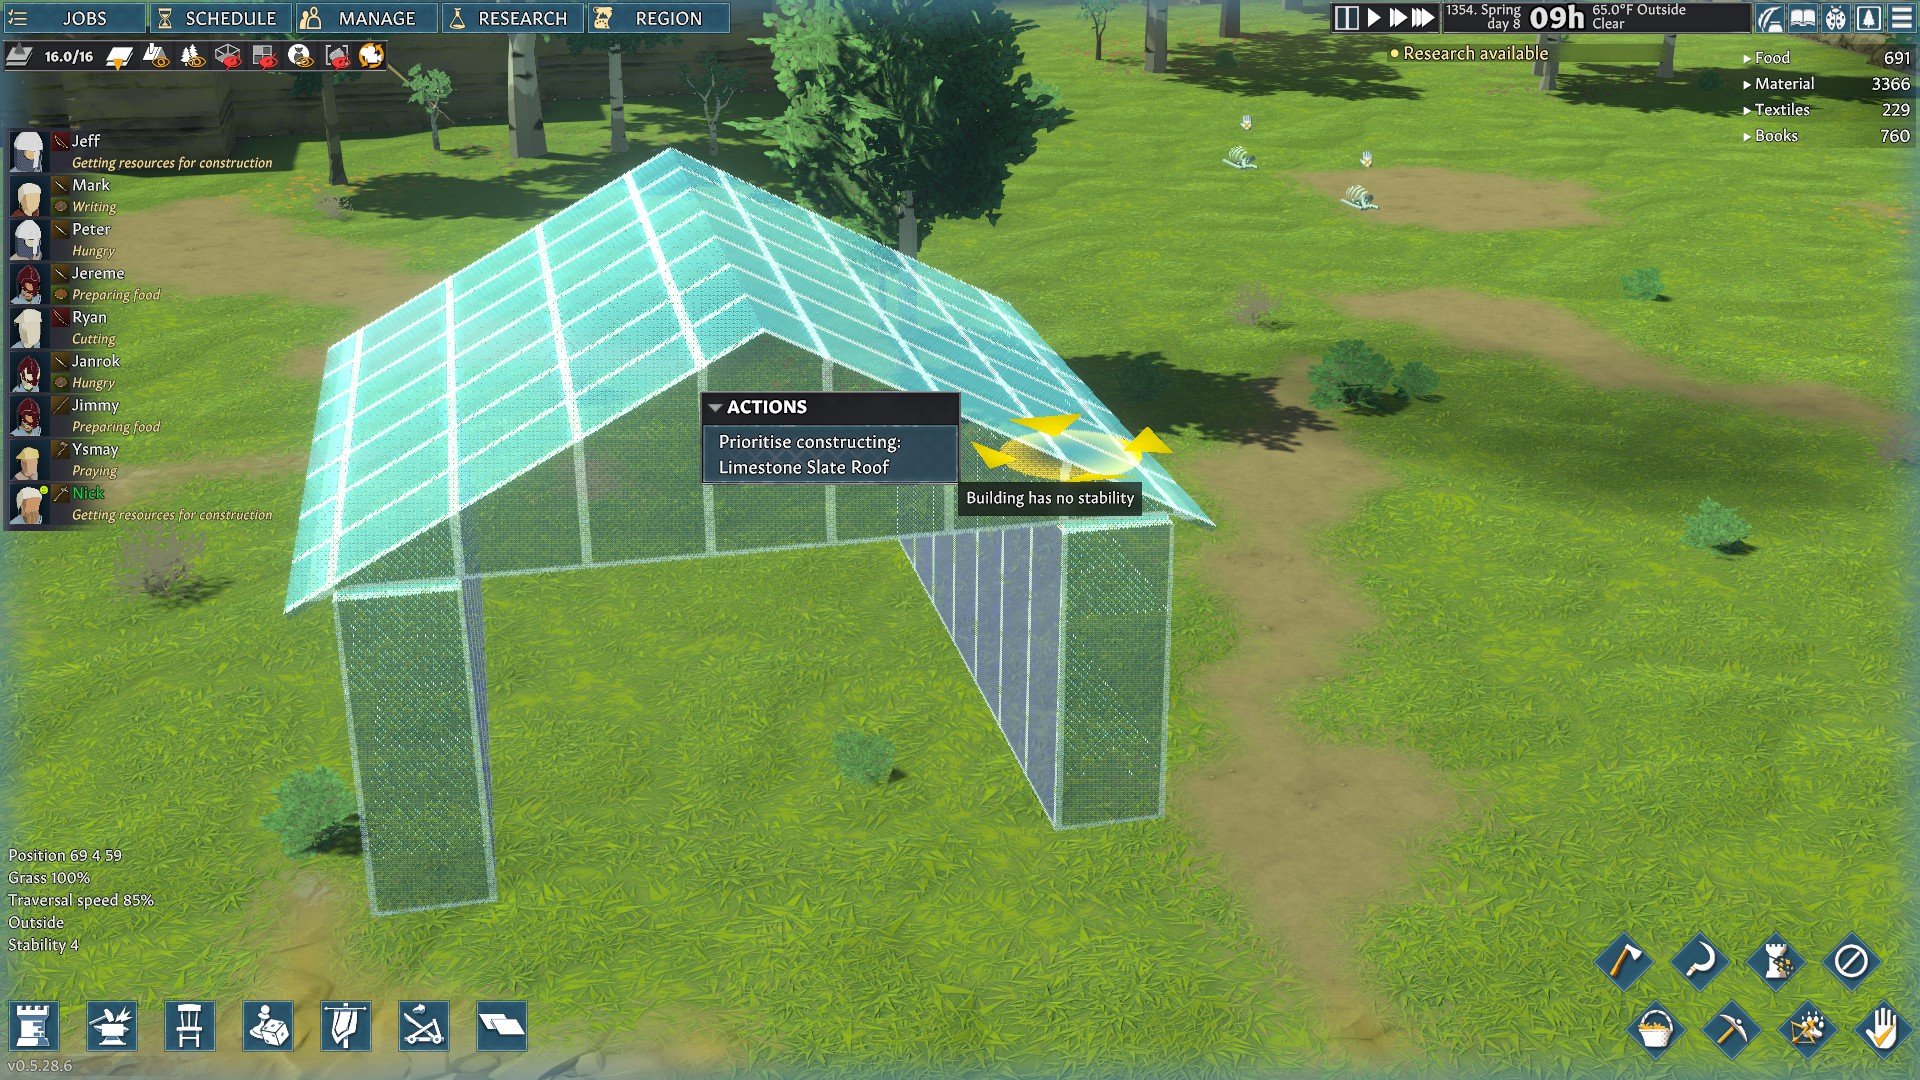
If you find that your settlers aren’t prioritizing building the roof, you can force them to. Right-click the roof and click to “Prioritise Constructing”. This will encourage any settler that’s able to build it to immediately run over and do so. As each roof tile placed across two walls is considered one roof itself, multiple settlers may work on it.
Keep in mind, you won’t be able to prioritize roof construction until the walls have been made. This is because there isn’t any stability in place to keep it from collapsing. So if the room hasn’t been built yet, you may want to prioritize completing those walls first.
If you have any other Going Medieval questions for us on how to build a roof or anything else, feel free to ask below the article. Some of the other guides I’ve put together for this strategy game are listed below. I’m always looking to answer questions players have and help them enjoy their experience more. Our Going Medieval guide hub also has every guide we’ve written so far.


Jeff is a journalist with over 10 years of experience writing, streaming, and making content about video games. With an associate degree in journalism, he’s a sucker for RPGs, survival games, roguelikes, and more.