Manor Lords is a city builder set in medieval times and with its Steam Early Access launch, it’s a little intimidating to get into. After completing all three scenarios and putting in 35 hours so far, I’ve got a good grasp of the many different mechanics. That’s why I put together this list of some of the best Manor Lords tips and tricks to help new players out. Fair warning, it’s in-depth because this is a complex game.
Tip 1 – Plan Your Settlement Before Building It
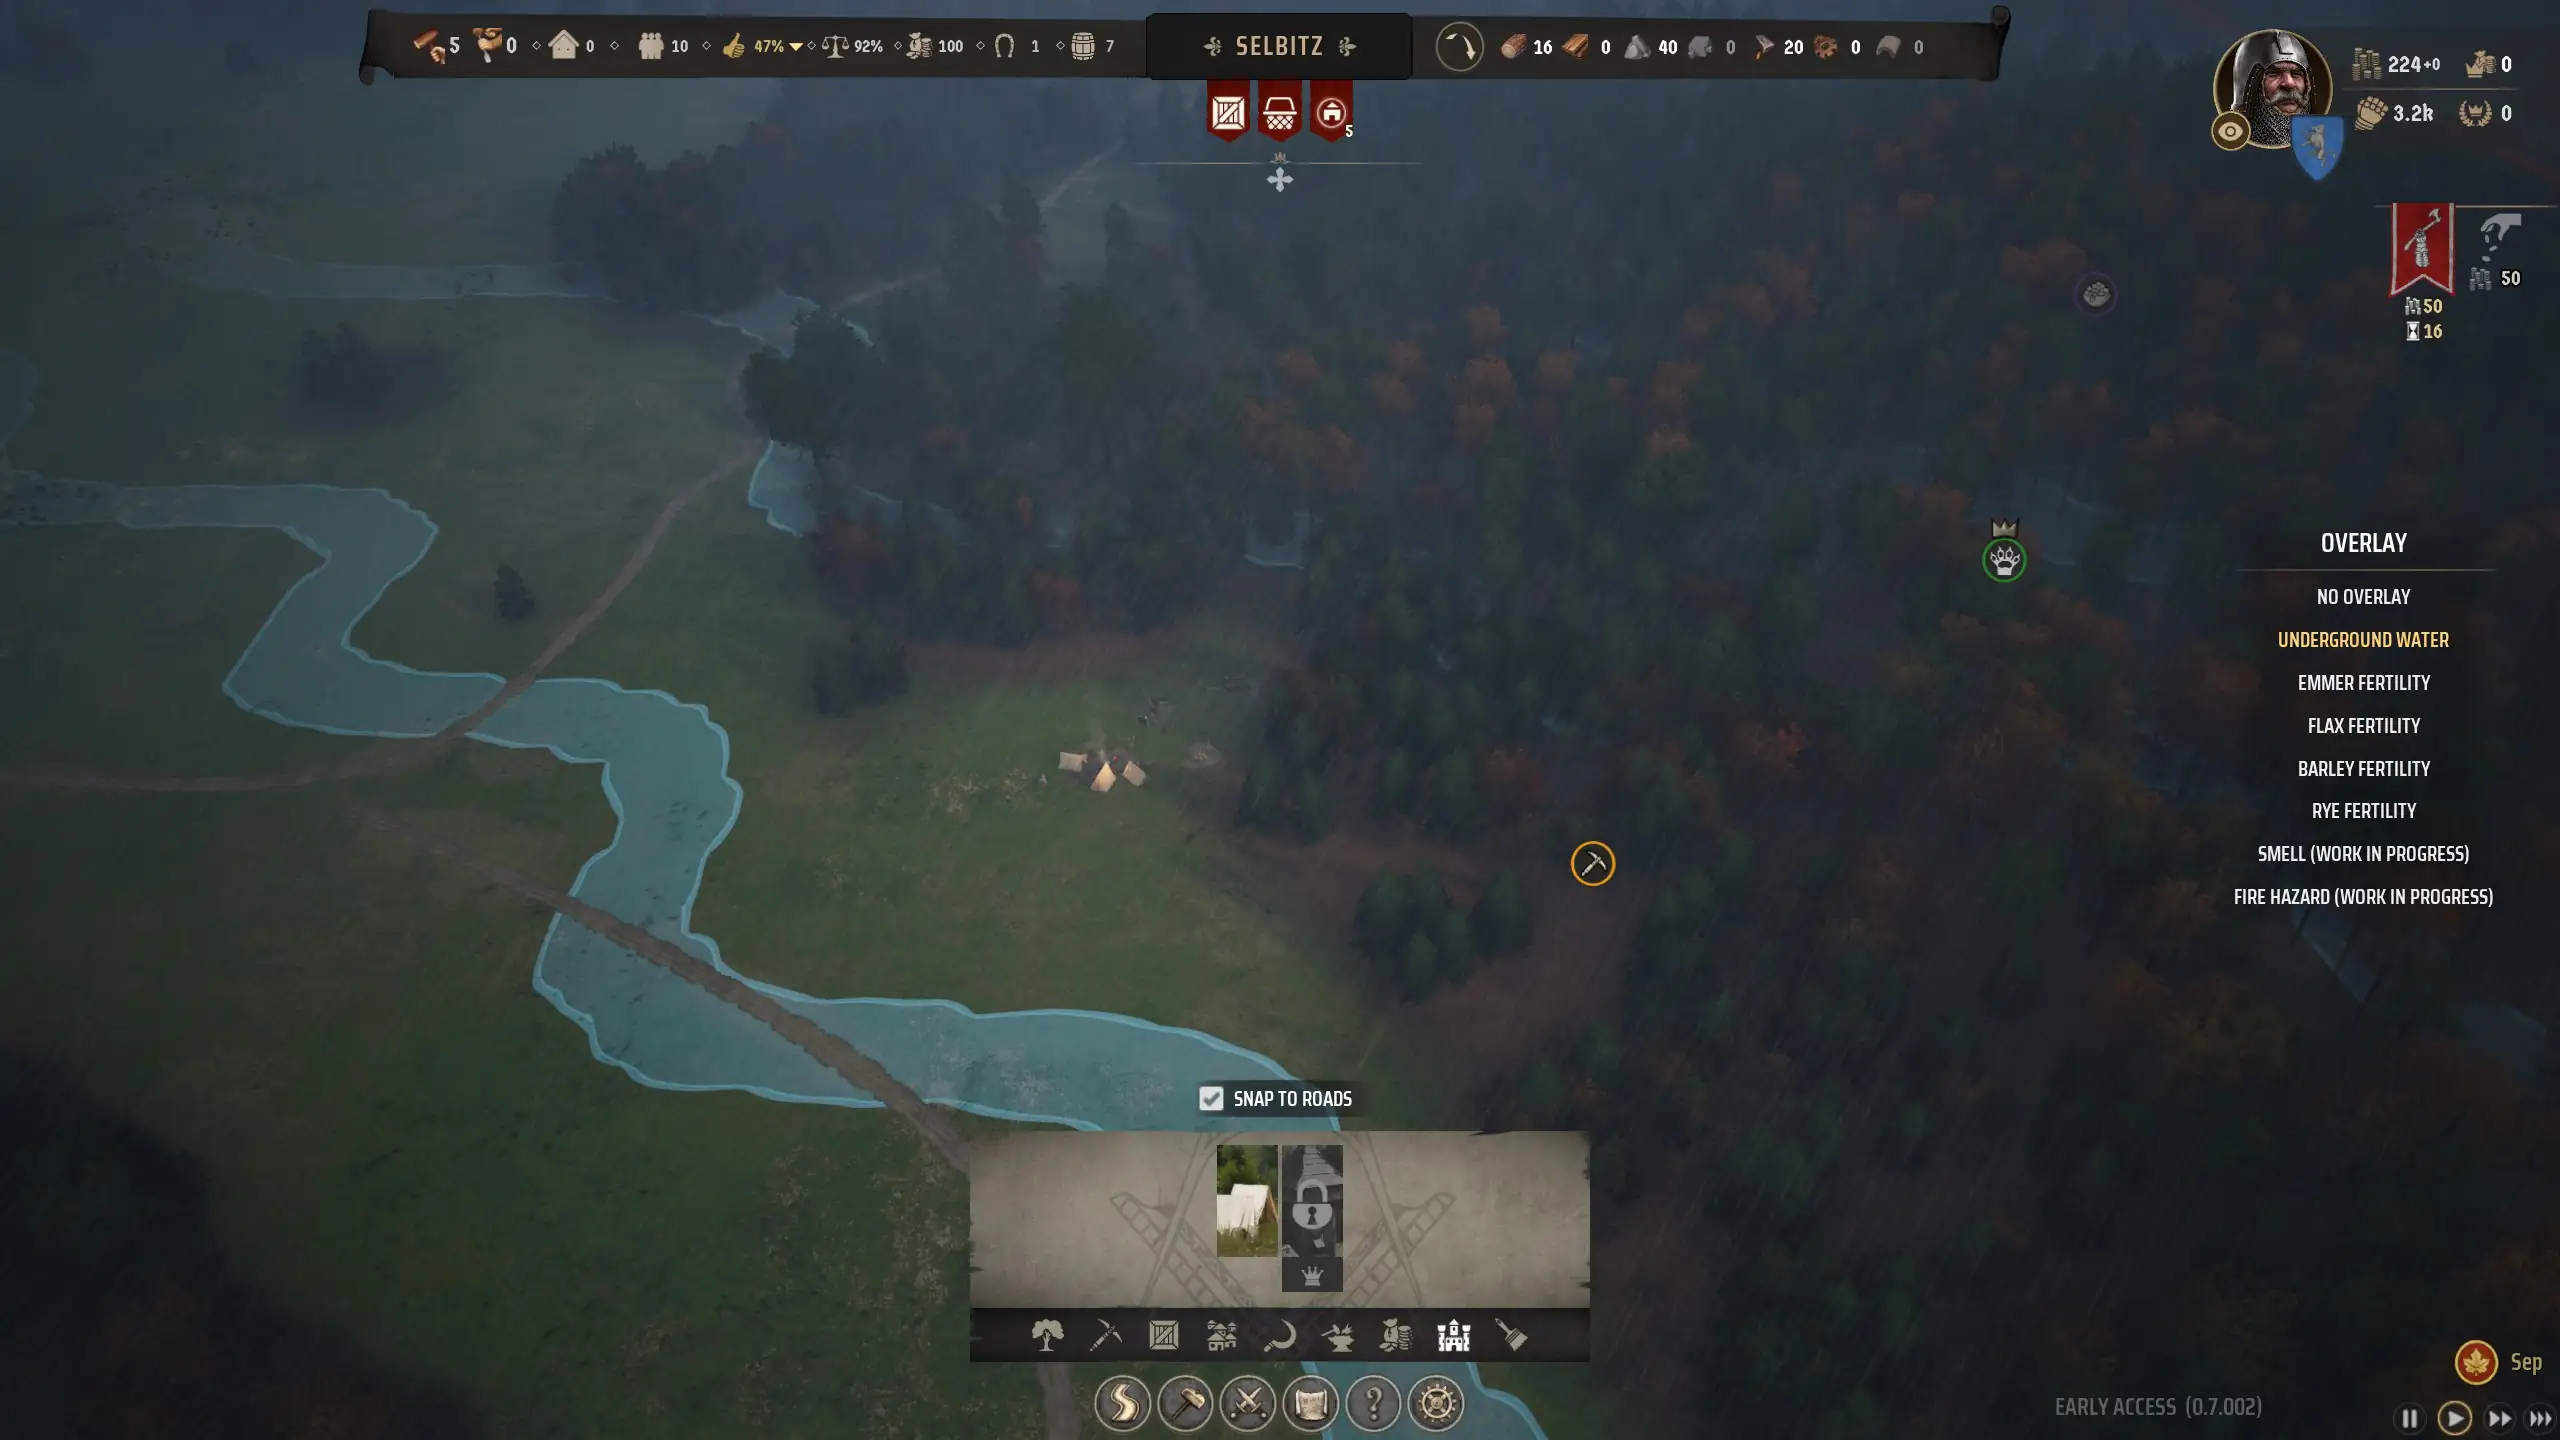
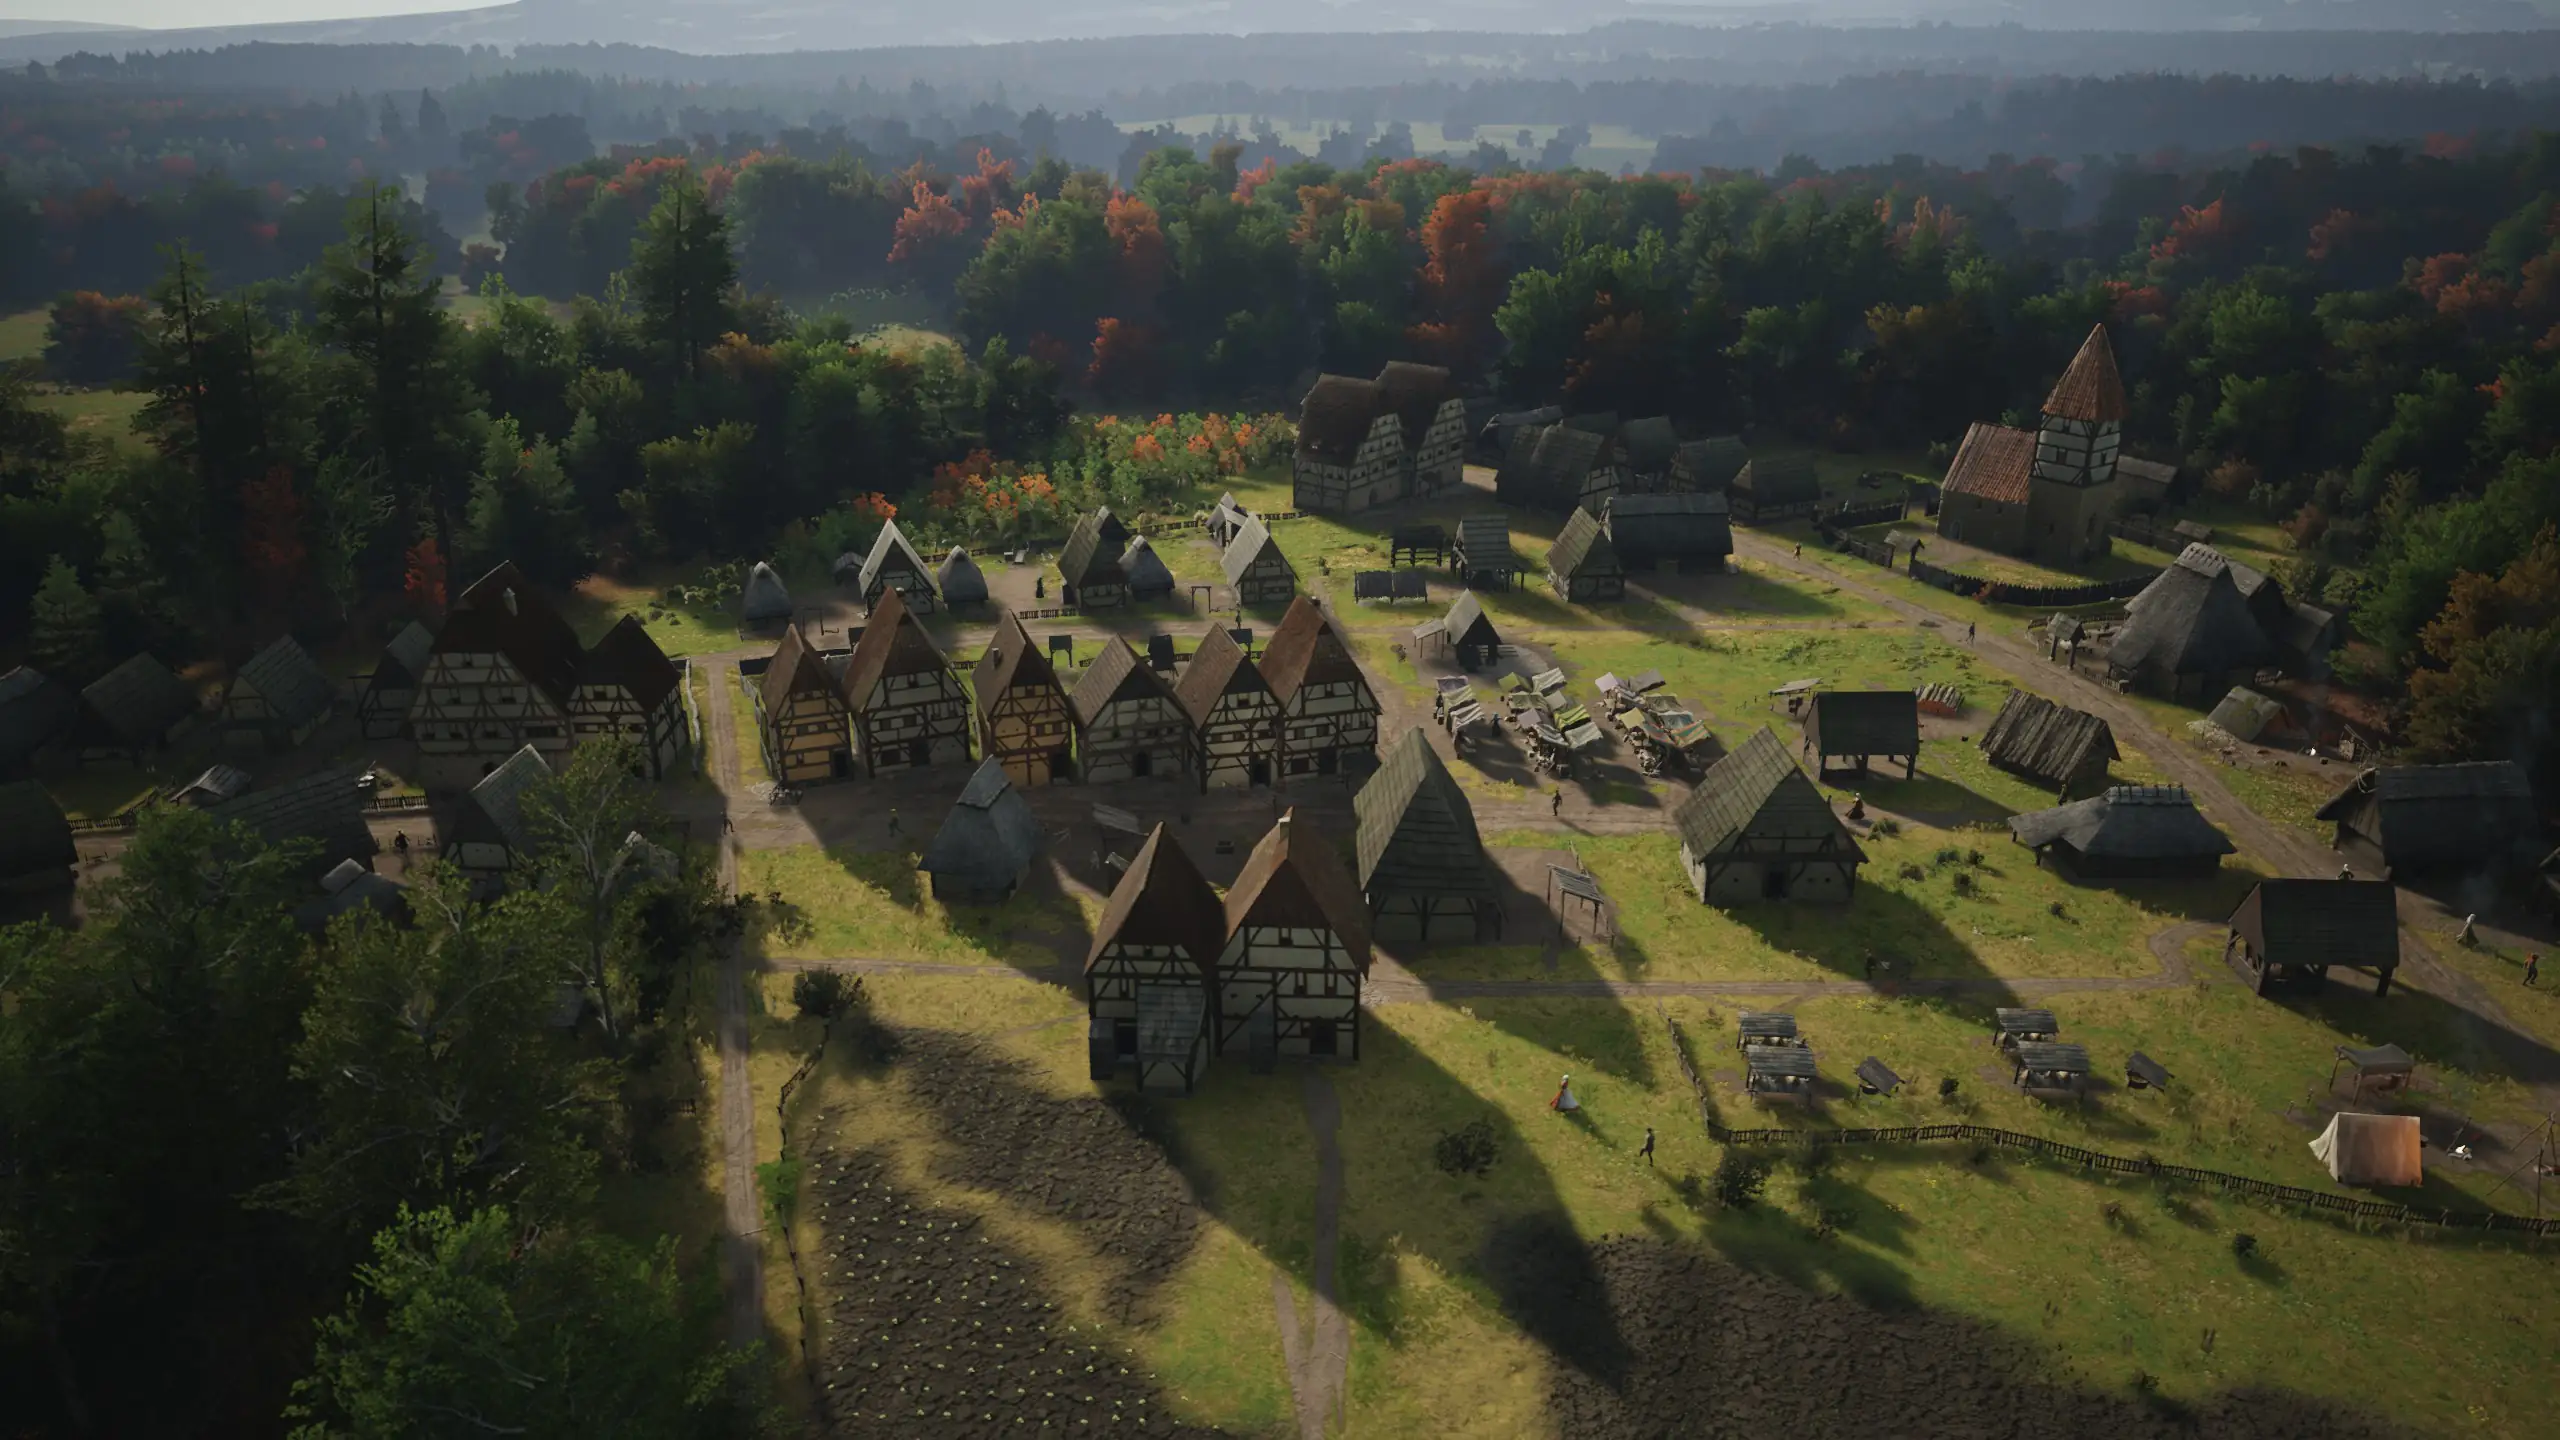
Creating your first village is tricky so it’s important to do a little planning before you start haphazardly placing buildings. I always look for three factors before deciding where I want to set up. First, you need to have a water source nearby so you can build a well. You’ll need it to fulfill the first need your people have. Second, take a look at your region’s fertility to understand what you can or can’t grow. This will help with knowing if you can prioritize farming or not.
And finally, search for where each resource is in your region. Depending on your game, the resource locations will always vary and which ones are rich can change too. So if you really want to, you can restart to change it up. Otherwise, build near the resources you want to focus on. Such as a source of animals or berries for food. Or perhaps a rich iron vein that you can use to make money. Since your people transport items in real-time, larger distances will take longer.
Tip 2 – Reassign Families to Different Jobs
Something I spoke briefly about in my Manor Lords preview is how you have a limited population early on. If you want to get the most out of your workers you’ll need to stay on top of them. For example, if you have a ton of Timber from chopping trees down, you can shift that family over to a different job. This is especially useful if you just need them temporarily for something like a small amount of Planks.
Fortunately, Manor Lords is rarely a race so you can often take your time in scaling up your village. The only time where you may need to rush is if you’re in a more combat-heavy scenario. But even then, the scenarios are friendly enough to give you a helping hand. Between Restoring the Peace and On the Edge, the game gives you weapons and armor to create your first militia unit.
Tip 3 – Prepare For the Different Seasons

Manor Lords imitates real life and as such there are four different seasons with their pros and cons. It’s important to learn them so you know when to pick berries, when to have active farmers, and when you’ll need extra firewood. Fortunately, it isn’t anything too complicated and you can always hover over the month in the bottom right corner to check. Here’s the relevant information:
- Spring – Seasonal deposits like berries grow. Frequent rain as well so you may encounter lightning strikes on buildings.
- Summer – Crops grow but you don’t need farmers if you’re not plowing fields or sowing crops. With the default difficulty, droughts don’t seem to happen.
- Autumn – Prime time for farmers since you can begin harvesting, plowing, and sowing crops.
- Winter – Season resources are gone, firewood consumption is doubled, and sheep shearing is forbidden. This can impact your economy if you’re reliant on wool.
Tip 4 – Burgage Workshops Aren’t Optional
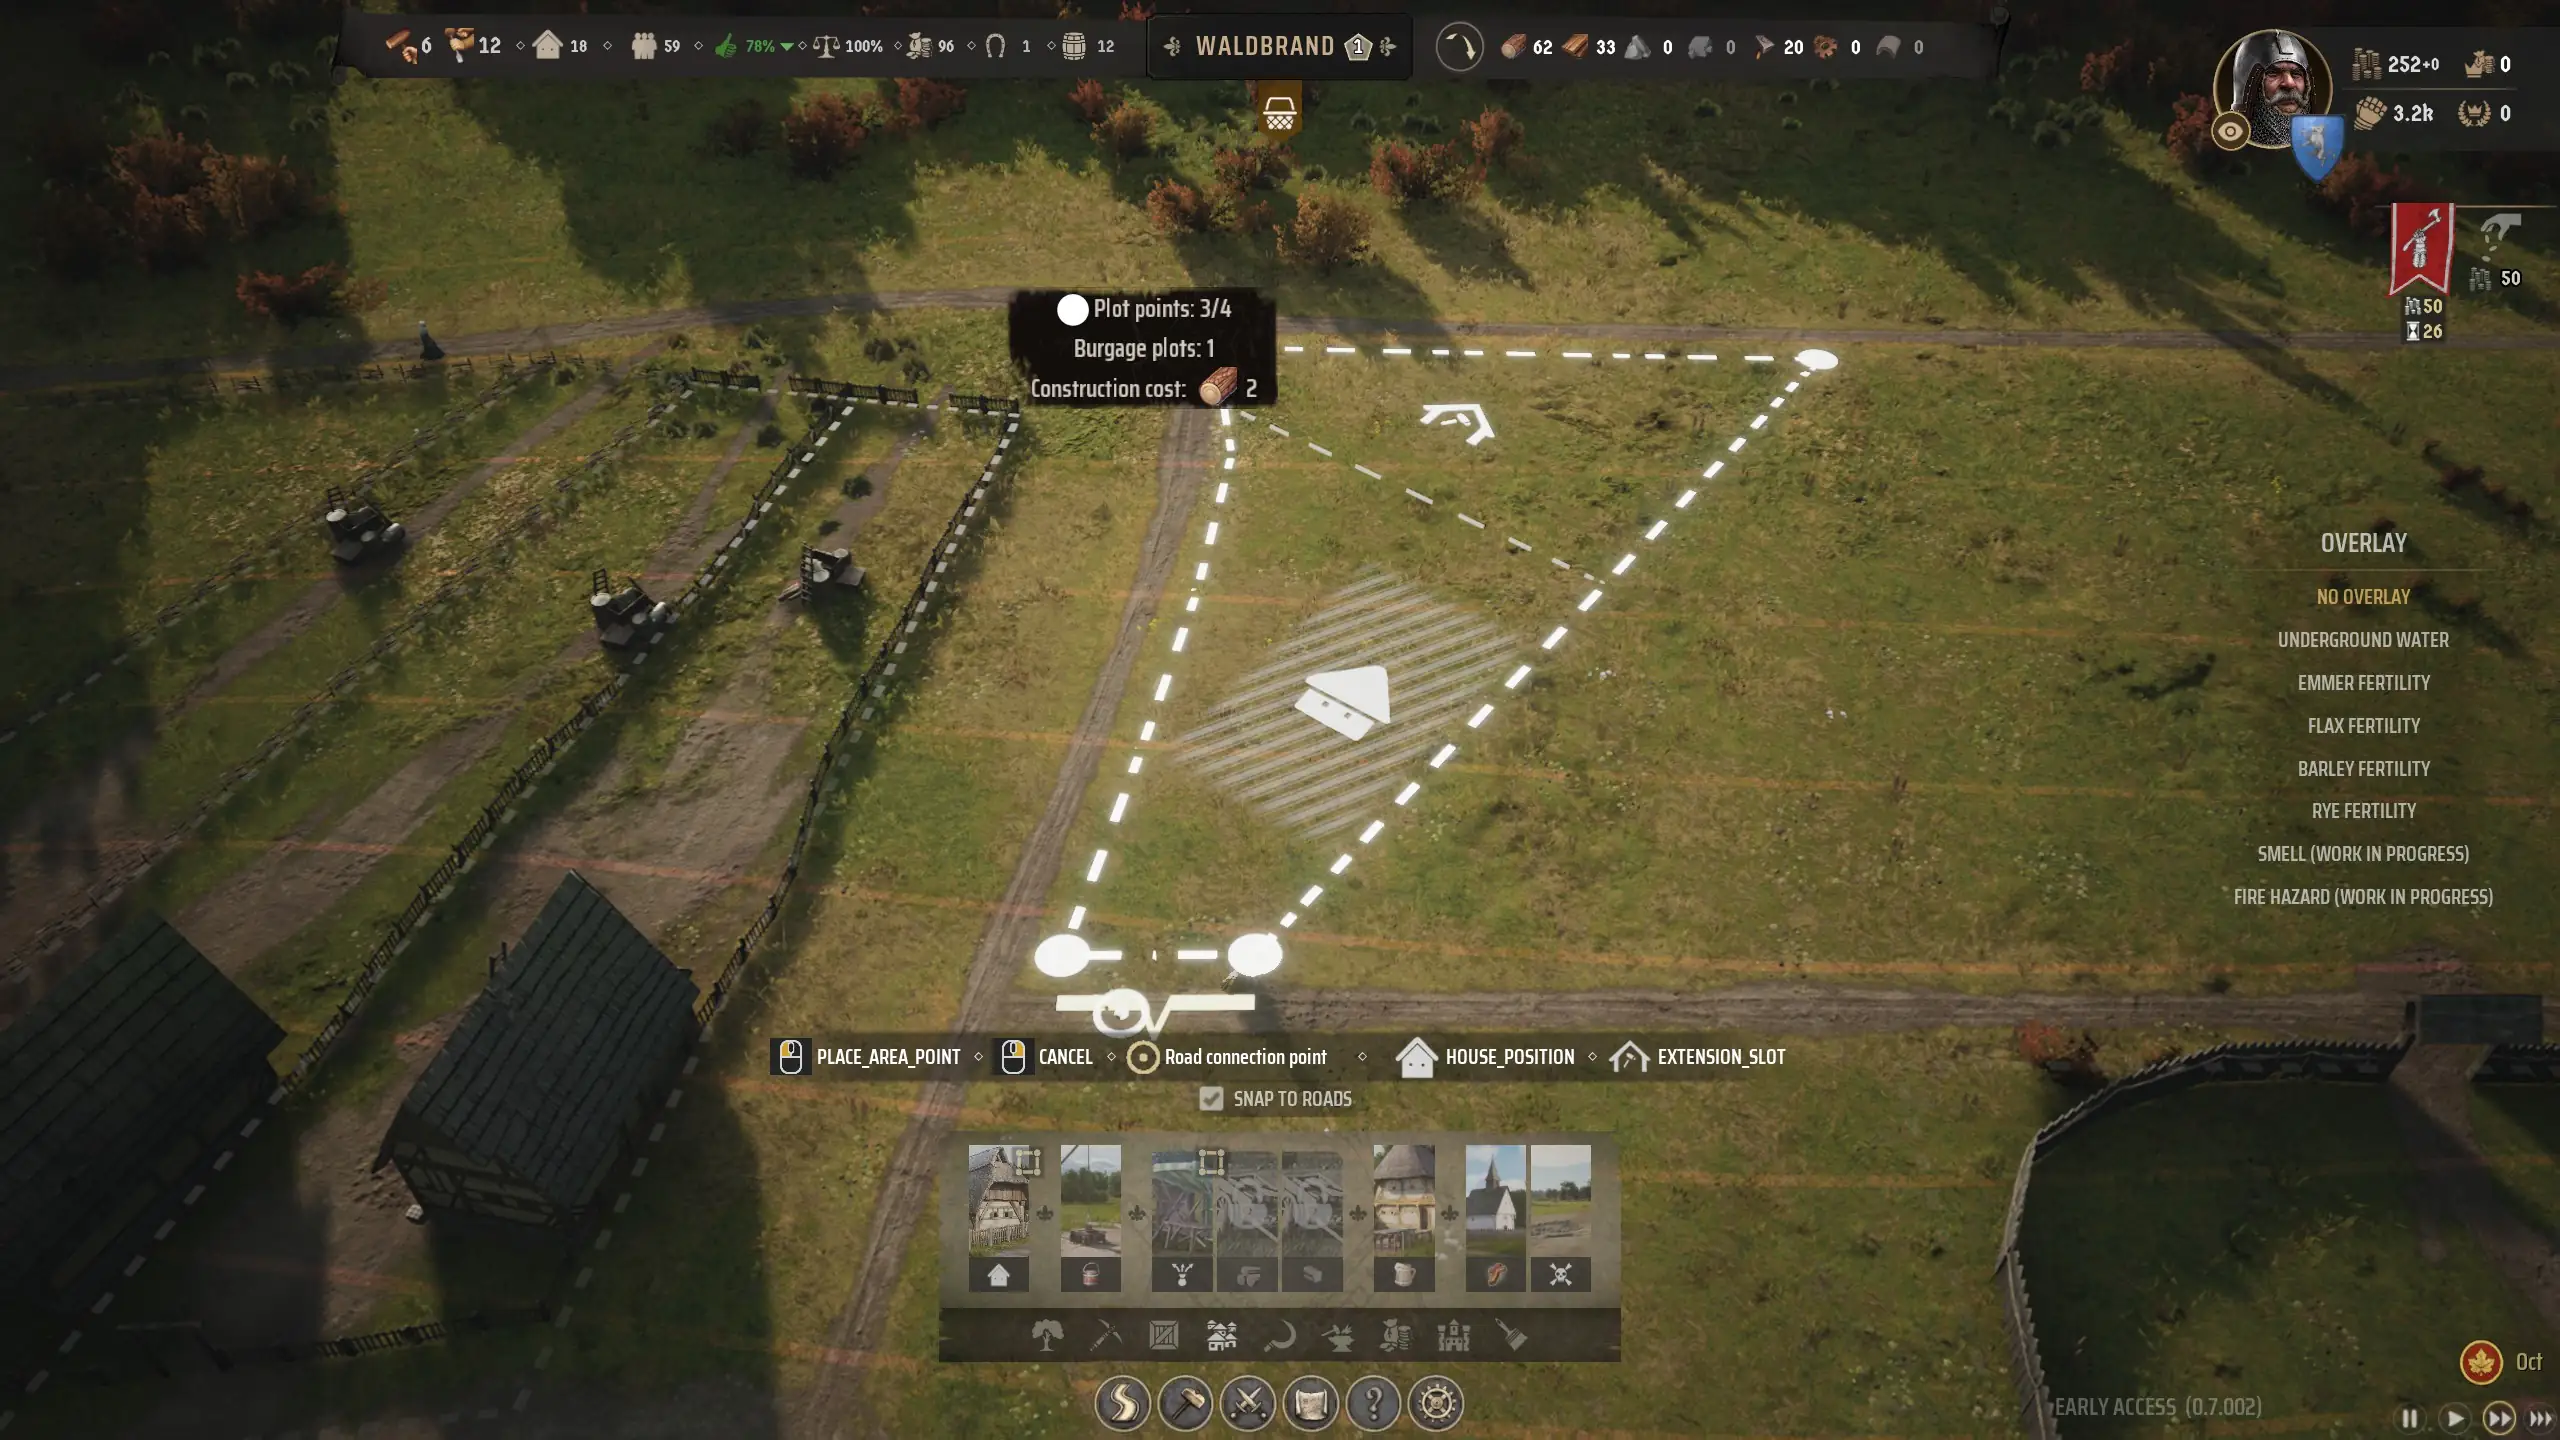
When I first started playing Manor Lords I didn’t realize how necessary Burgage workshops are. For those who may not know, these are an extended area off the back of a Burgage plot/home. If you don’t provide enough room for one, you won’t have it when the Burgage is built. It appears as a little home outline with a hammer inside it when placing your Burgage.
The reason workshops are essential is because they’re the only way to produce certain resources. And some of these resources are required if you want to upgrade your Burgages to unlock new upgrades via Development Points. For example, a level two house requires advanced clothing like shoes, clothes, or cloaks. But the only way to get those aside from trading is via workshop. Such as the Cobbler’s Workshop or a Tailor’s Workshop. I recommend the Cobbler since it’s an easier supply chain.
Just be careful since not all workshops have information yet like what you need to produce the items inside them. And they don’t have production limits like the Sawpit does. However, you can pause their production using the pause button at the top right when clicking the building. And lastly, certain workshops convert a family to artisans where they can only perform that job. This doesn’t apply to the Vegetable Garden, Chicken Coop, Goat Shed, or Apple Orchard.
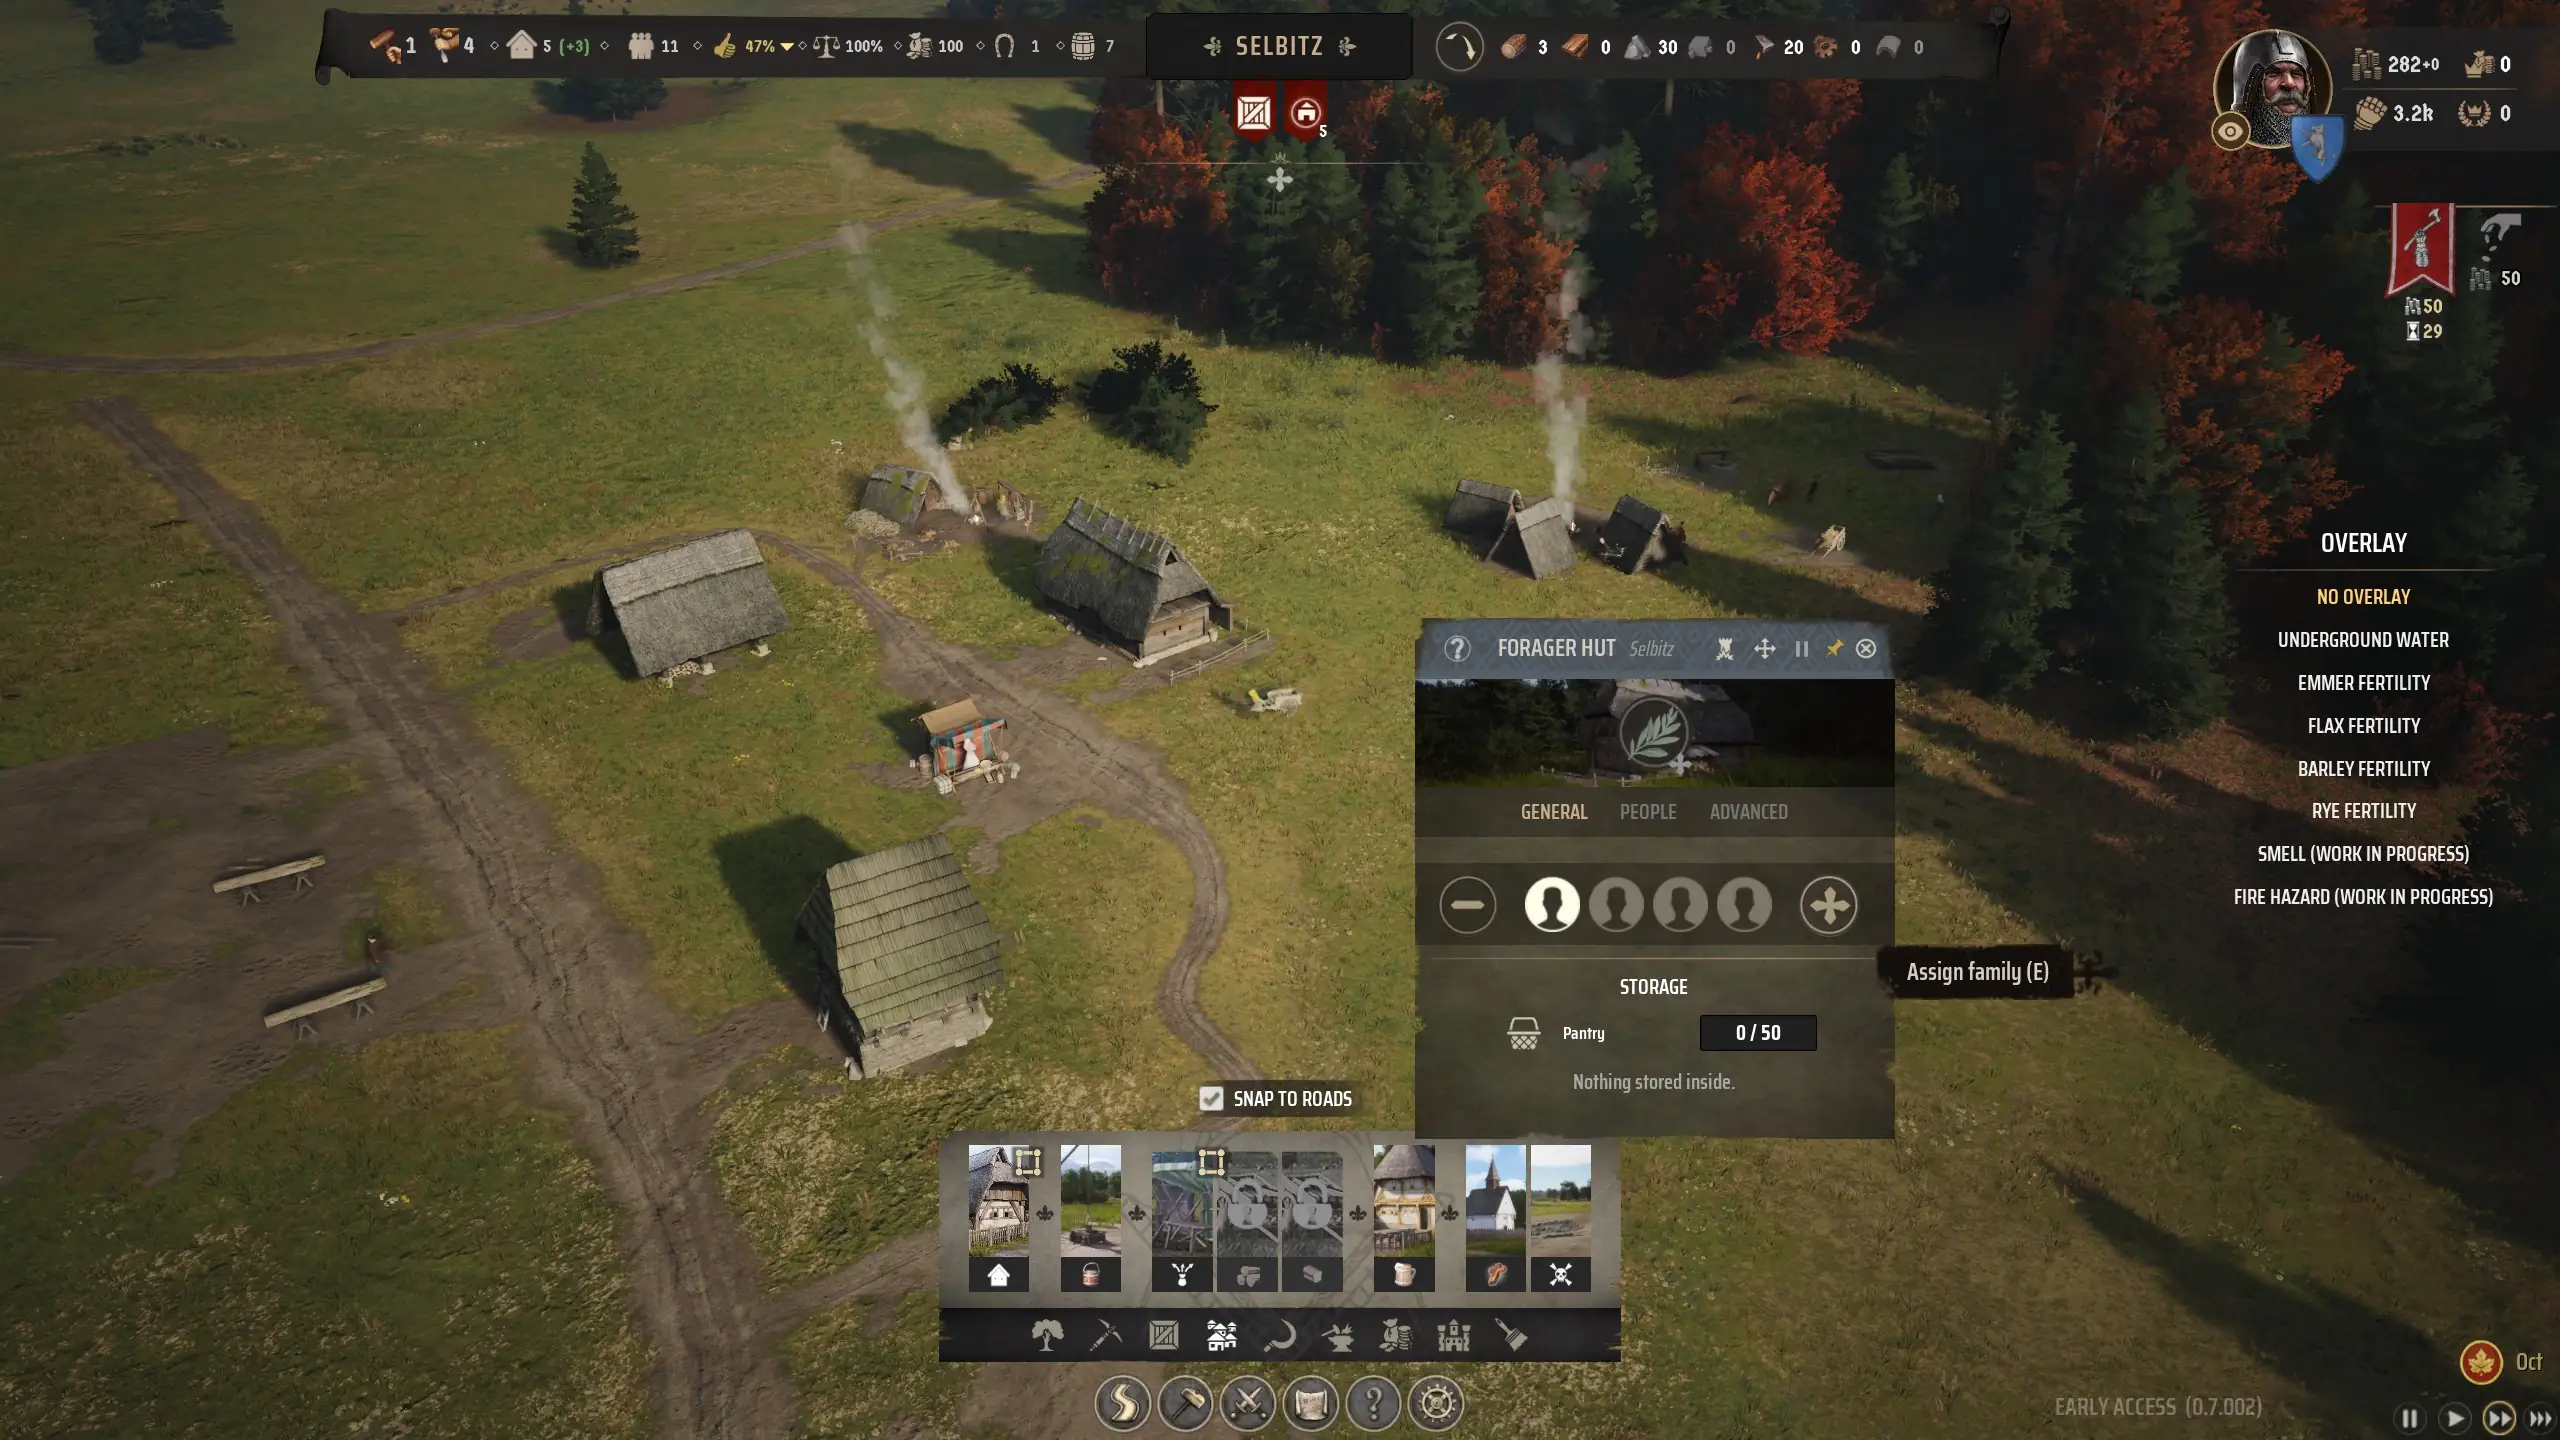
Tip 5 – Don’t Underestimate Food Workshops
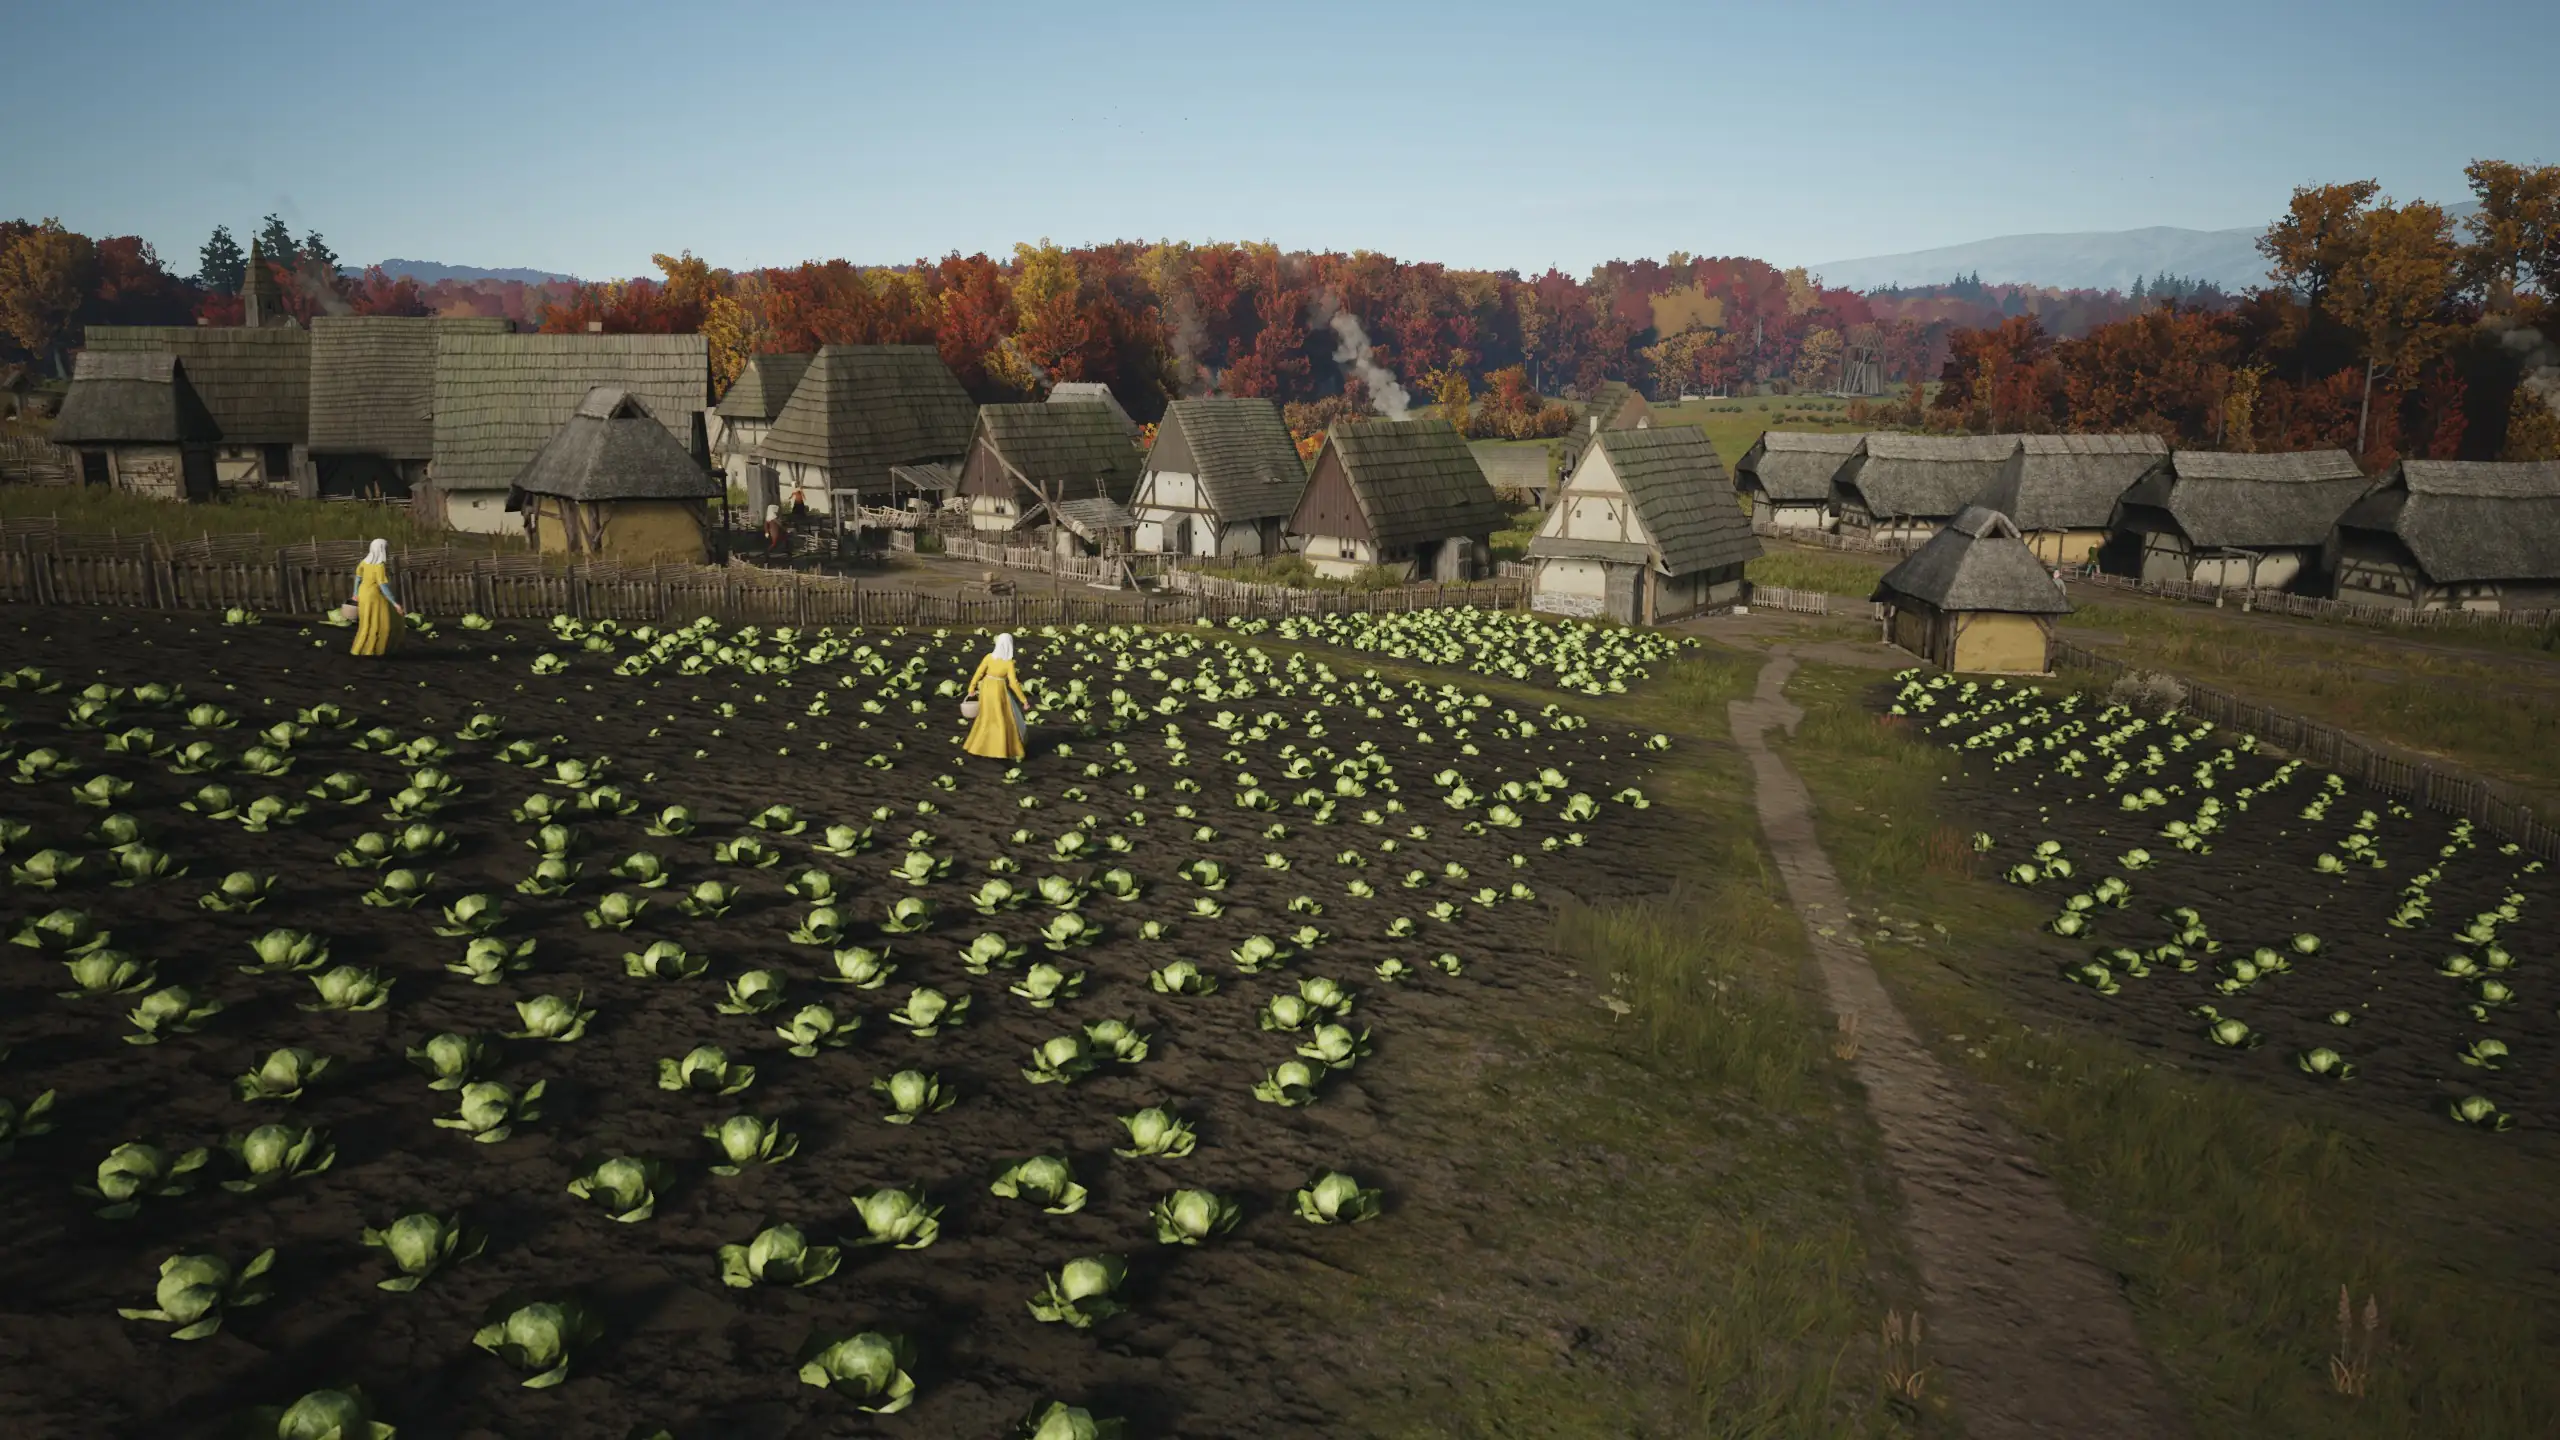
As the previous tip explains, Burgage workshops can be extremely useful. You just need to make sure you don’t overdo it with artisans. Otherwise, you’ll run out of workers for the many other important jobs. Fortunately, many workshops don’t convert families to artisans as also previously mentioned. Even though families will still need some work time for the Vegetable Garden.
With that said, you can get a lot of food if you provide enough space for Vegetable Garden or Apple Orchard to grow. While Manor Lords does push you toward creating small narrow Burgages, you can stretch them beyond that. You’ll just need to start with two small plot points for creating the Burgage entrance. Then, you can stretch the other two significantly to create huge workshops. This is a great way to produce a major food source in a low-fertility region.
Tip 6 – Upgrade the Hitch Post and Buy Another Ox
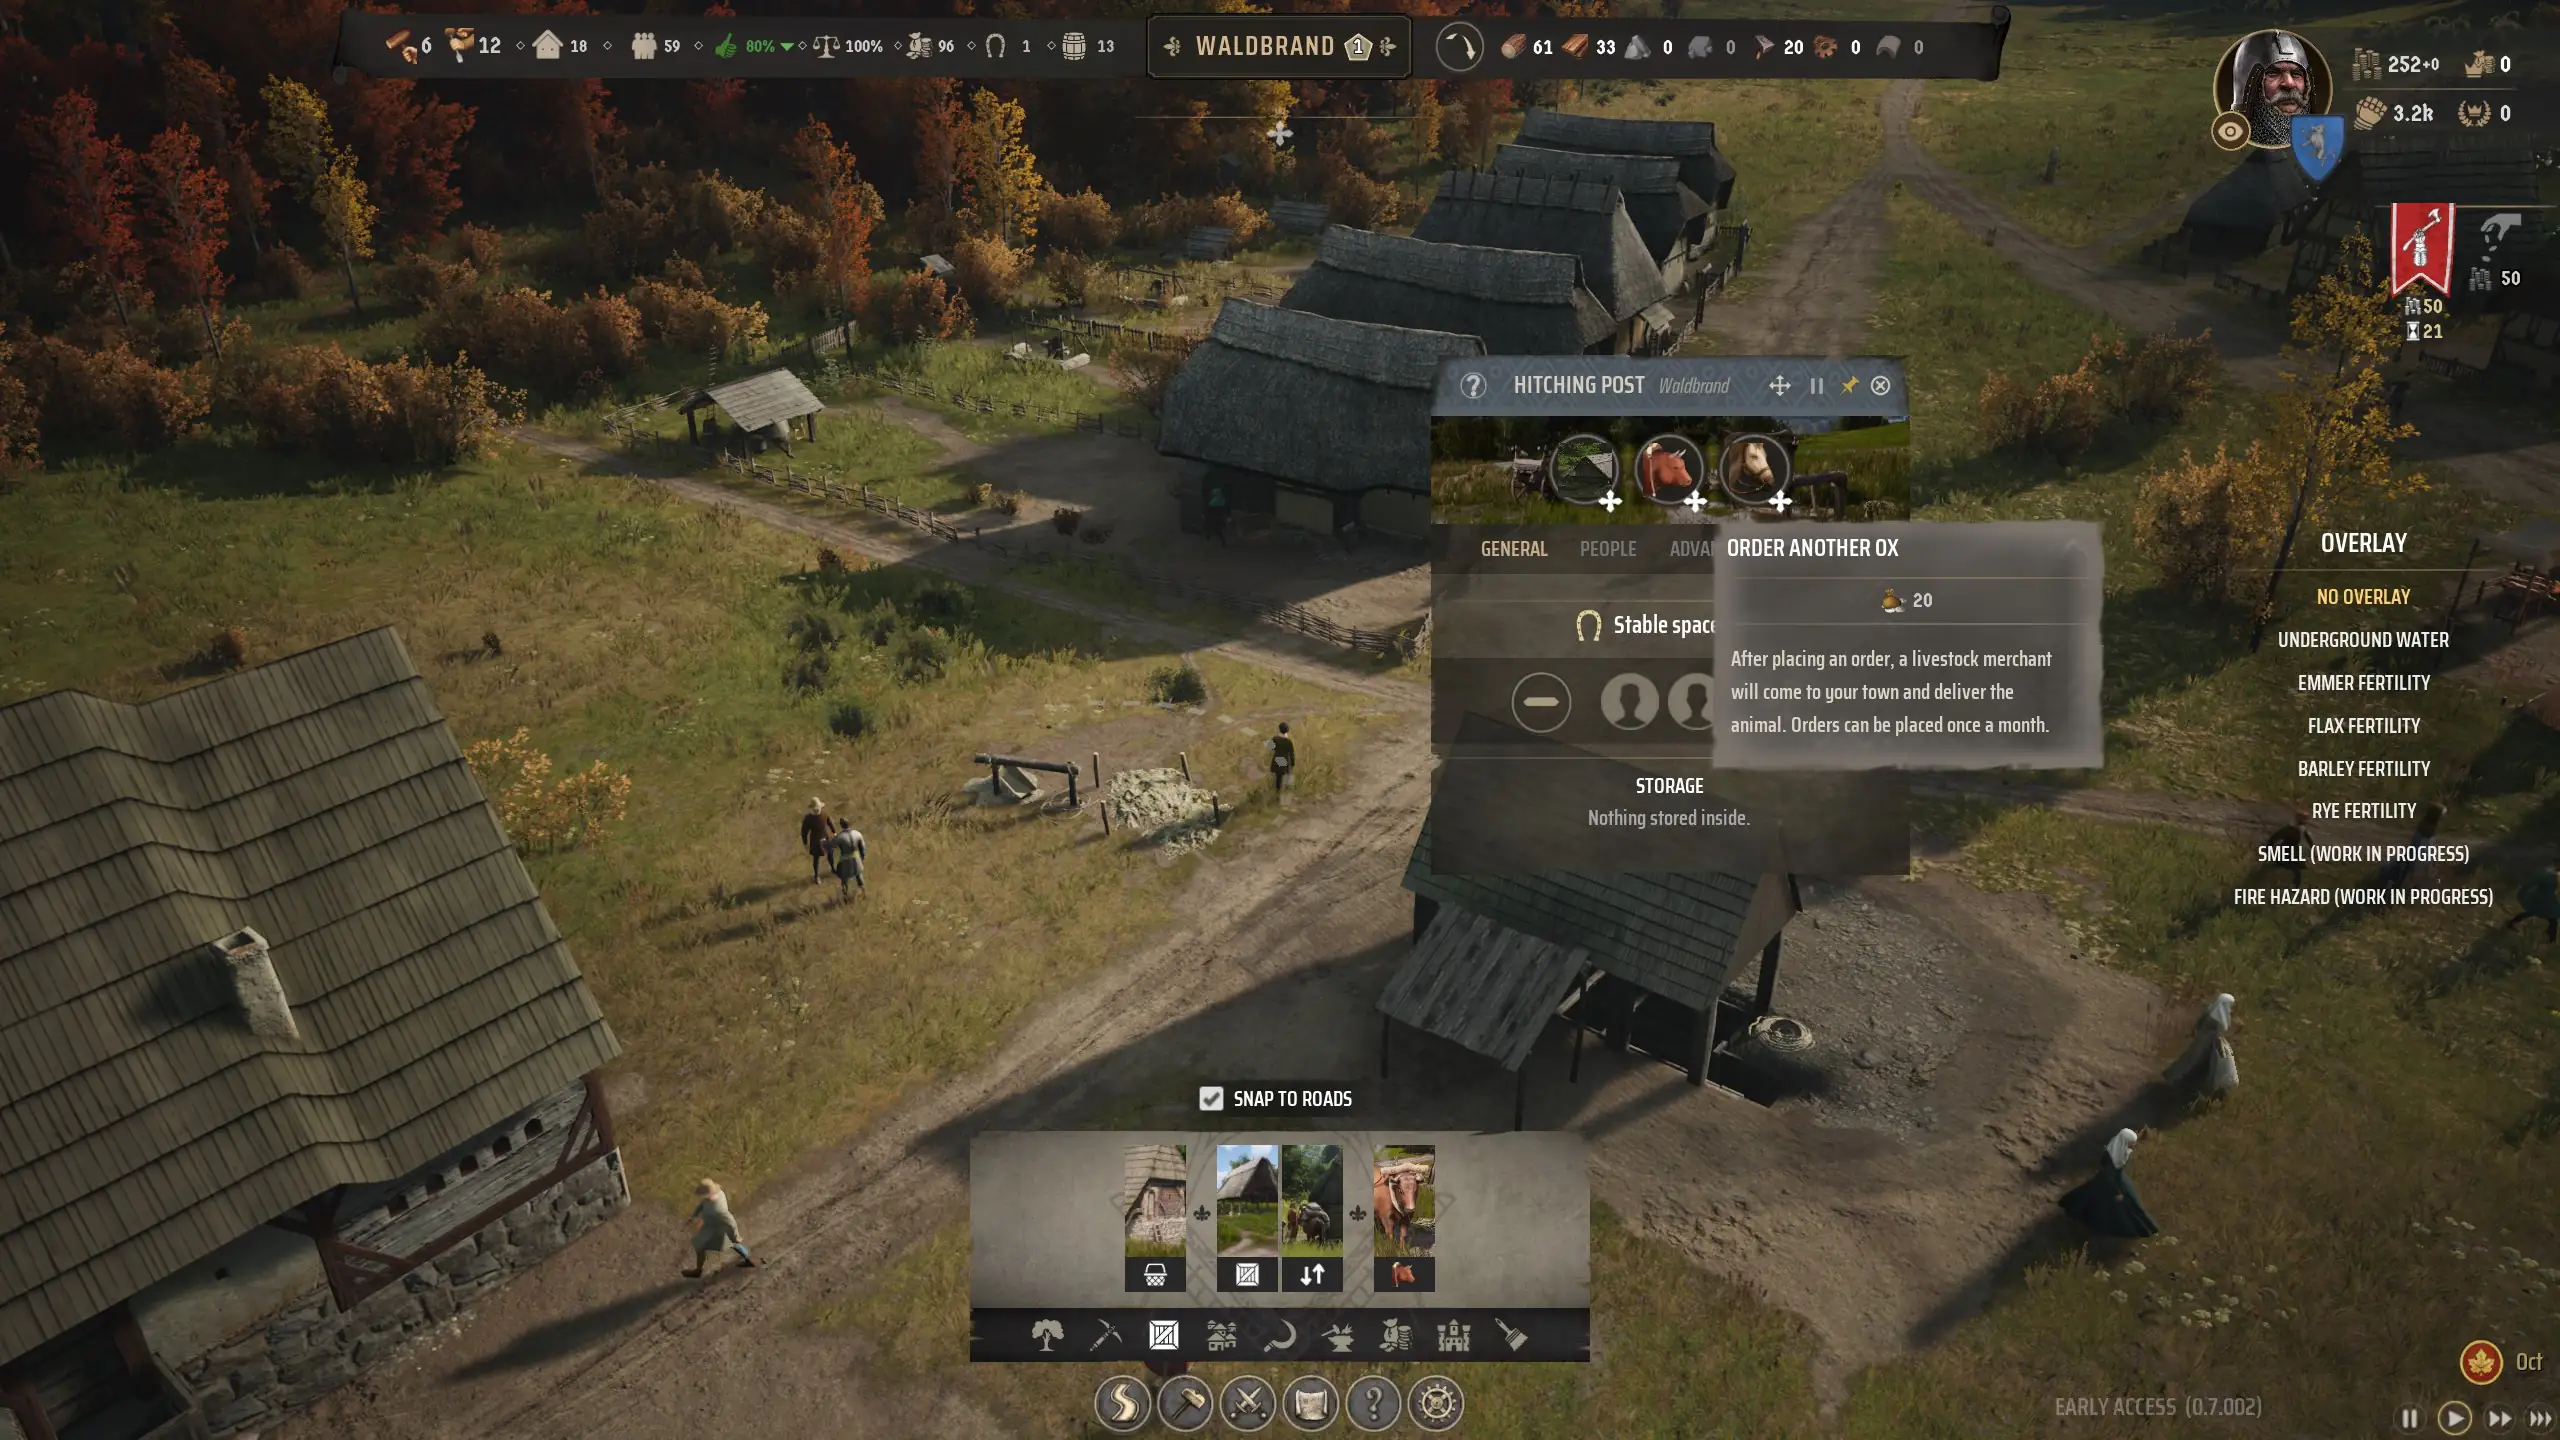
Every village starts with a Hitching Post and an ox that you’ll need to transport Timber. Every new building requires Timber to build it before your workers can put it together. And certain buildings require an ox to get the job done as well. Such as a Logging Camp and a Woodcutter’s Lodge. Between the early to mid-game, you’ll want an extra ox so you can work on multiple jobs simultaneously. Fortunately, you don’t need to assign a family to the Hitching Post. So while that can help, I wouldn’t do it unless you’re loaded with unassigned families.
The best way to get a second ox is to upgrade your Hitching Post to a Small Stable. This will require two Planks so you’ll need a Sawpit if you don’t have one yet. Afterward, spend 20 regional wealth by clicking the button to Order Another Ox at the Hitching Post or Small Stable. As you get deeper into your Manor Lords run, you can get another Small Stable and assign oxen to buildings.
Tip 7 – How to Increase Your Approval
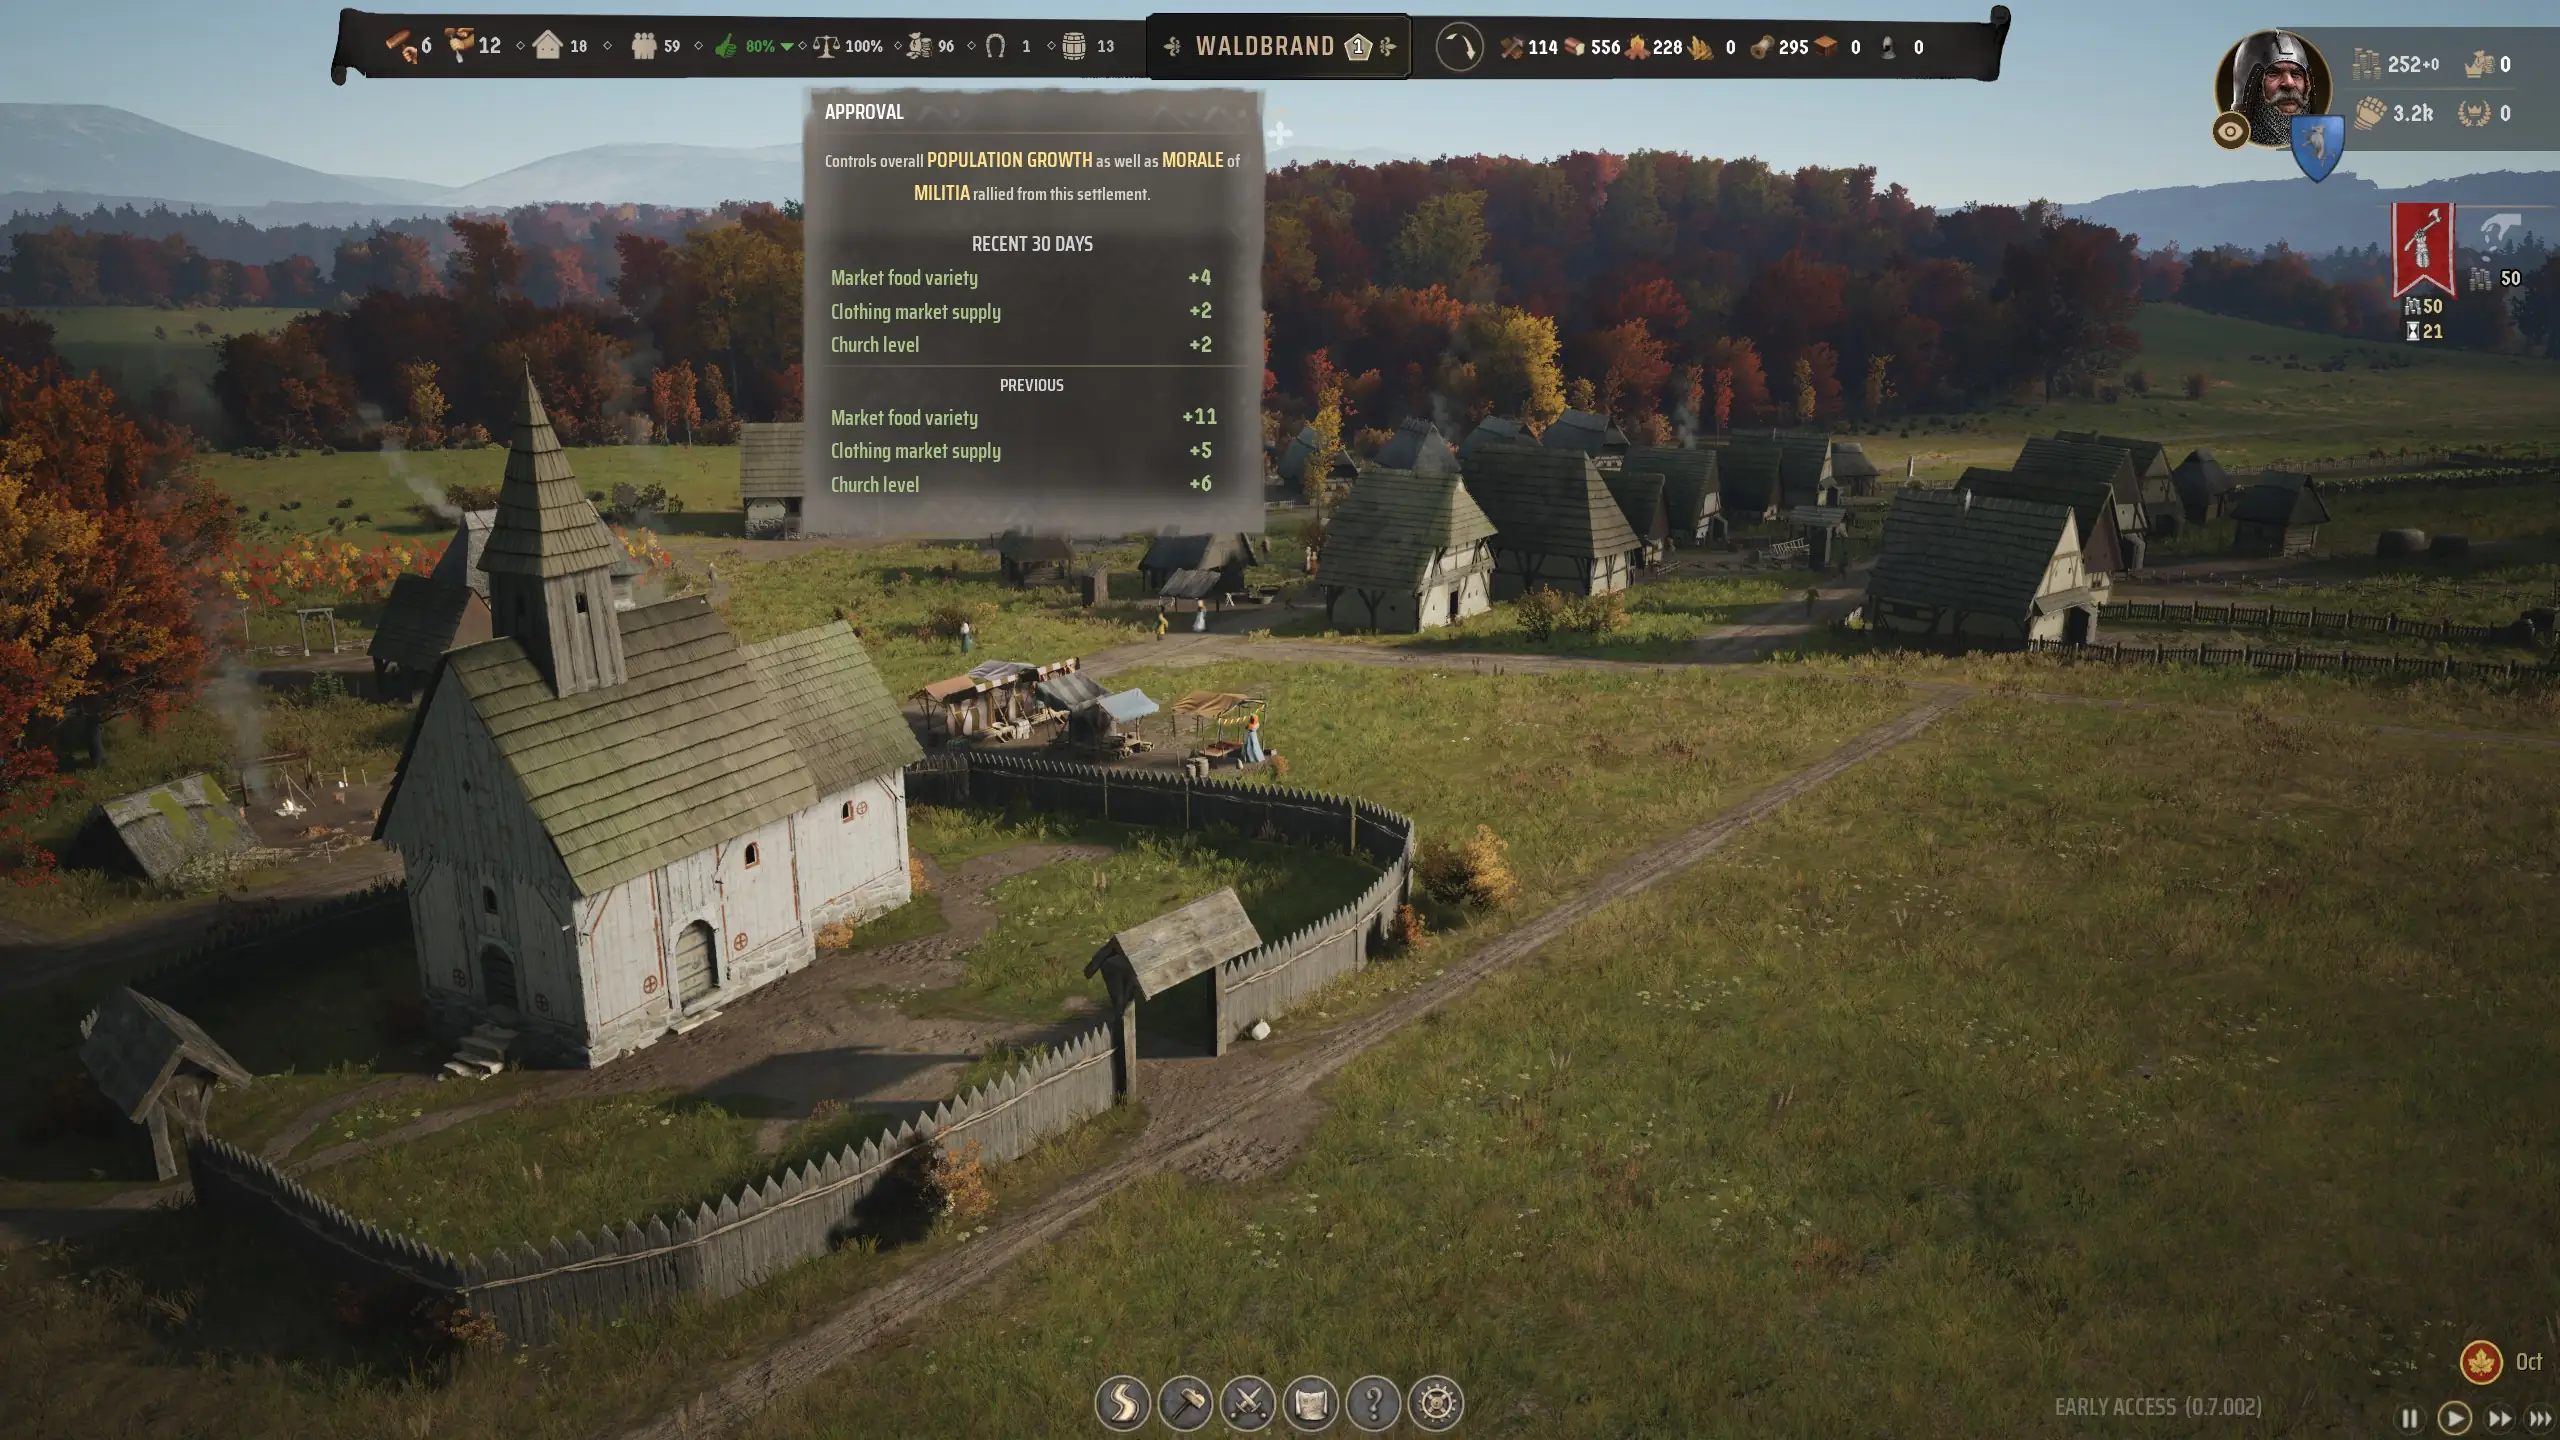
Approval can be tricky to deal with if you’re not sure how it works in Manor Lords. It impacts the population gain you get each month even though it changes in real time. Many factors can make it go up while many can also make it go down. Without diving too deep into how approval works, here are some ways to increase it. Fulfill Burgage needs like having a church, marketplaces with enough supplies, food variety, no homeless, and low or no taxes.
If you expand your village too quickly by upgrading Burgages, you may start to lose more approval than you gain. This tends to become a problem if you can’t keep up with the needs of your people. One early struggle many players will encounter is fulfilling the Tavern Supply need. Since this often relies on trading to get Ale.
Tip 8 – Use the Manor Lords Tab Overlay
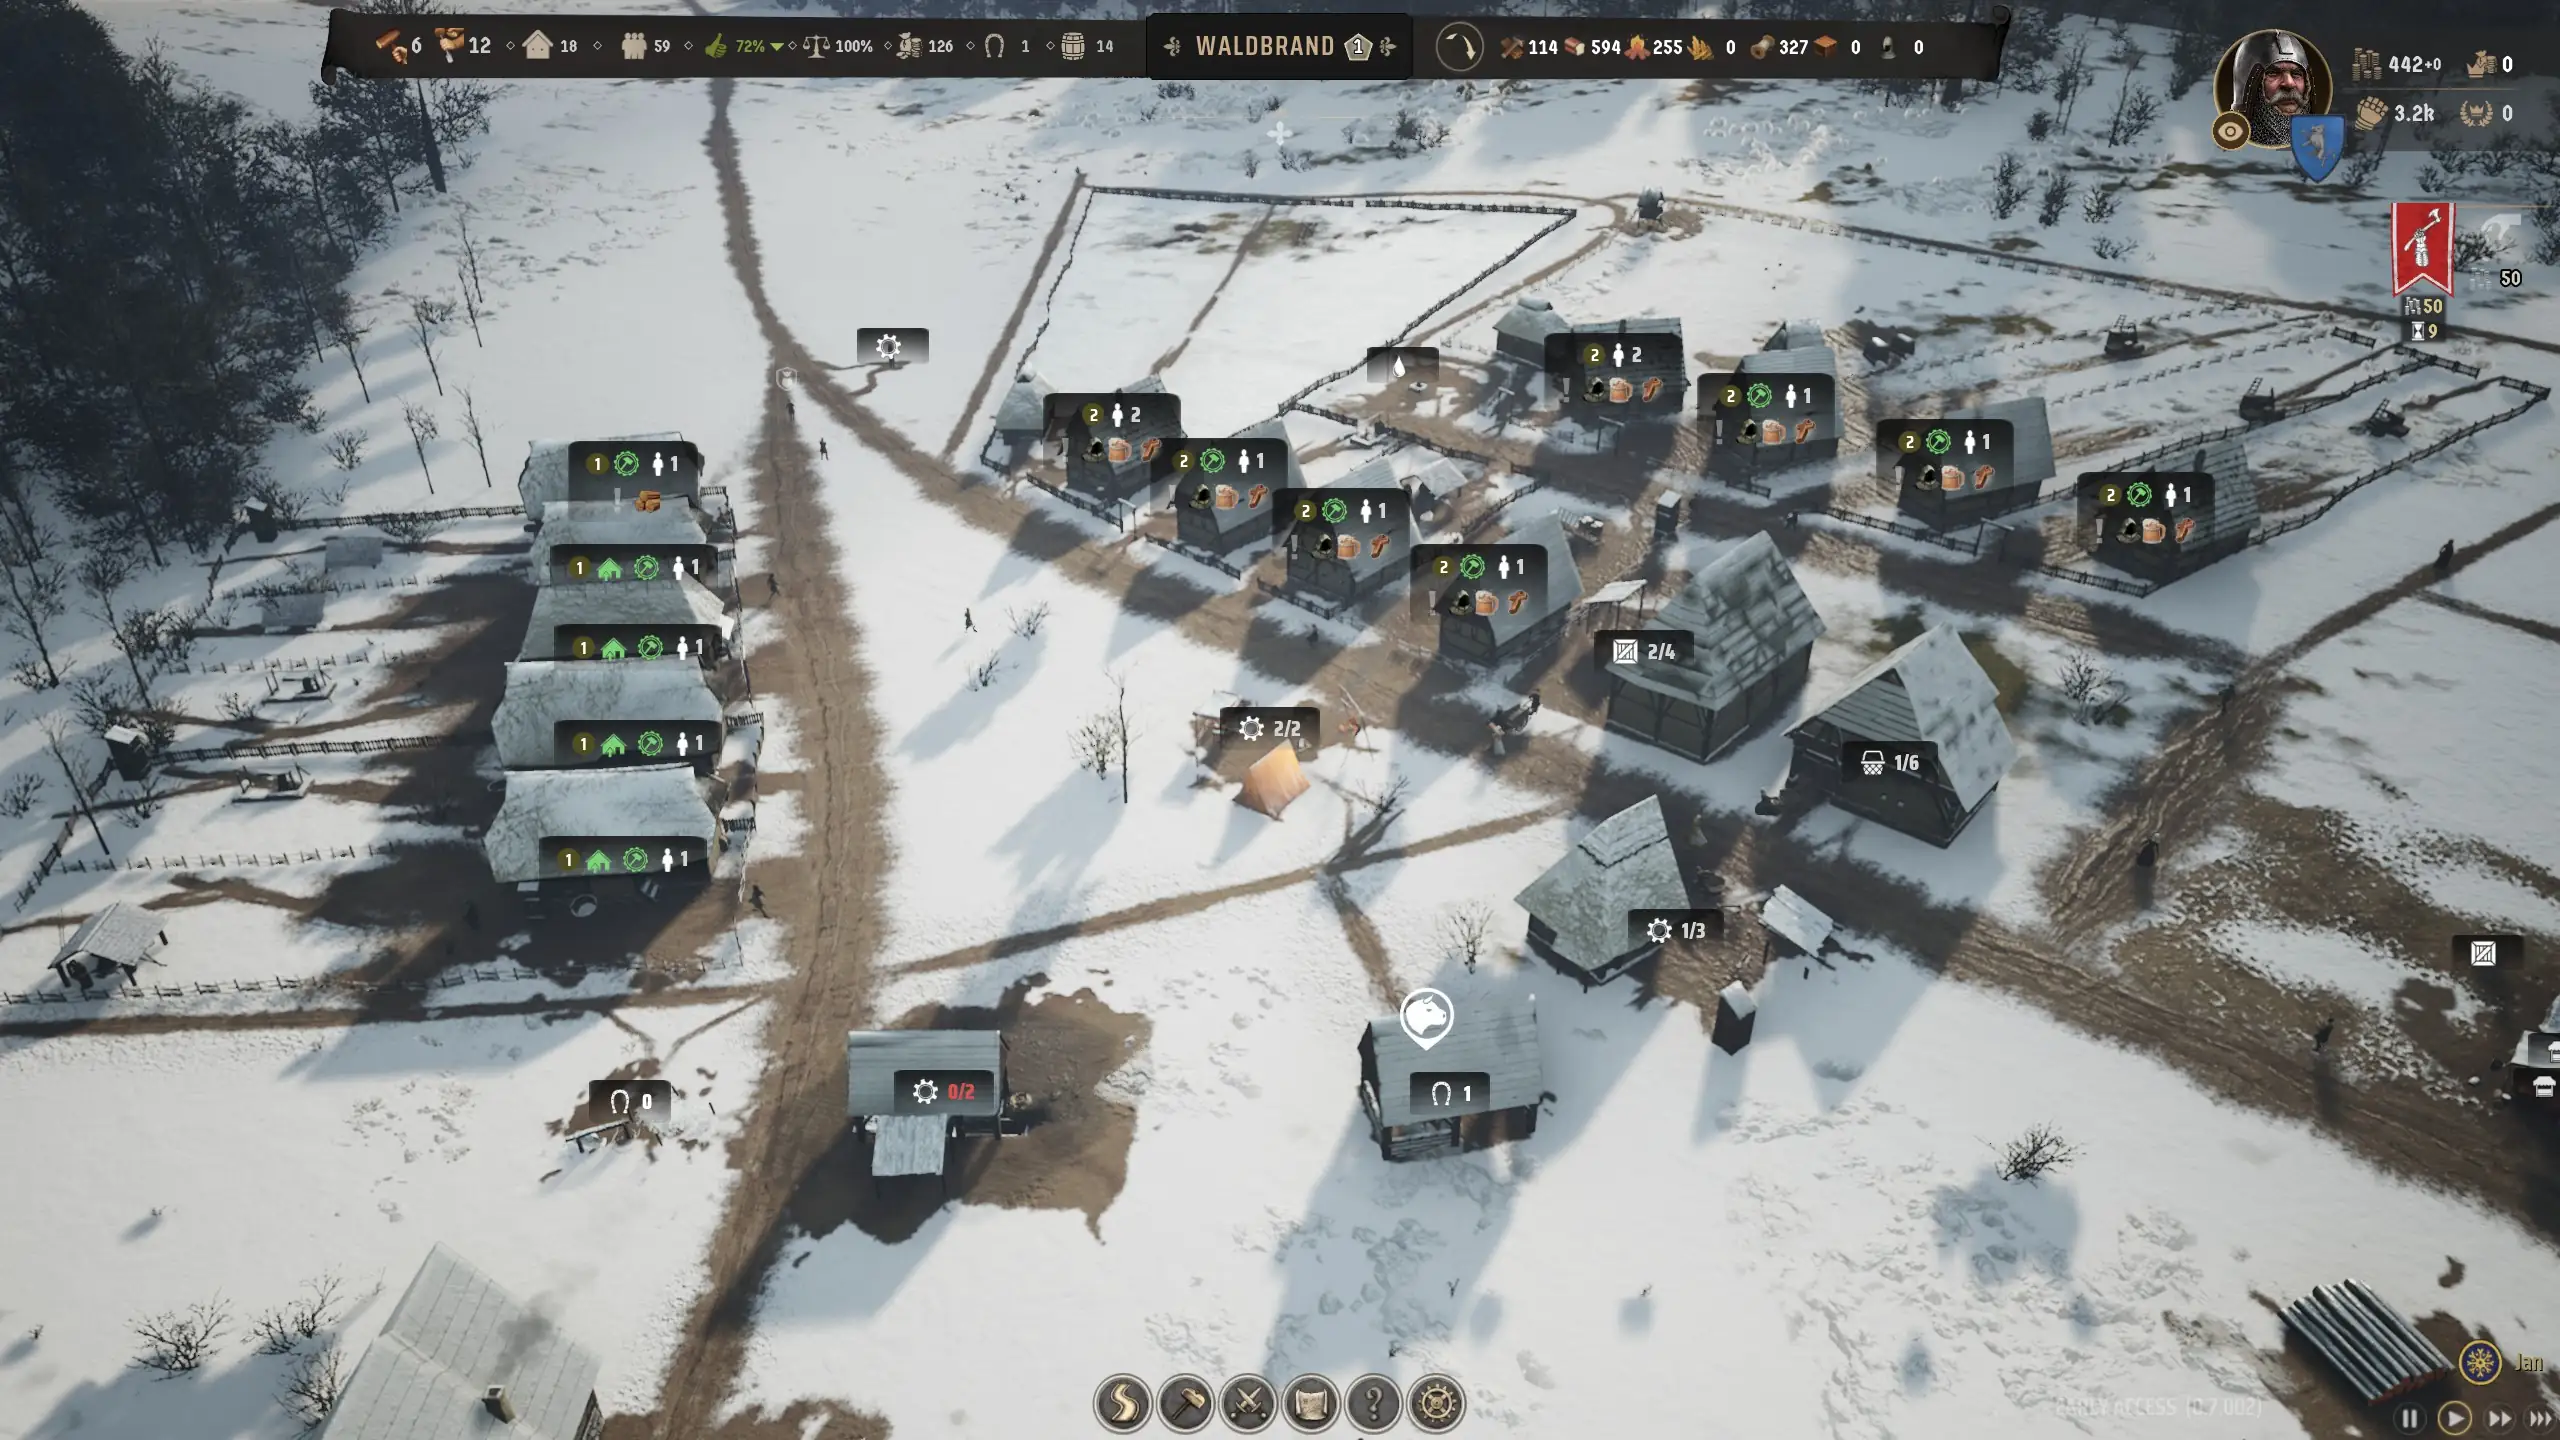
I played a good chunk of Manor Lords without knowing there’s a useful overlay you can display by holding Tab. This highlights useful information like Burgage levels, assigned workers, construction progress, and more. My favorite reason to use is to see what Burgages are ready to upgrade. And if they have a workshop slot available.
It’s a good way to keep track of what’s going on in your settlement and where you can pull workers from when shifting them around. Make sure you don’t try to use it while you’re zoomed too far out. Otherwise, the building overlays can easily overlap each other.
Tip 9 – Understanding Regional Wealth and the Treasury
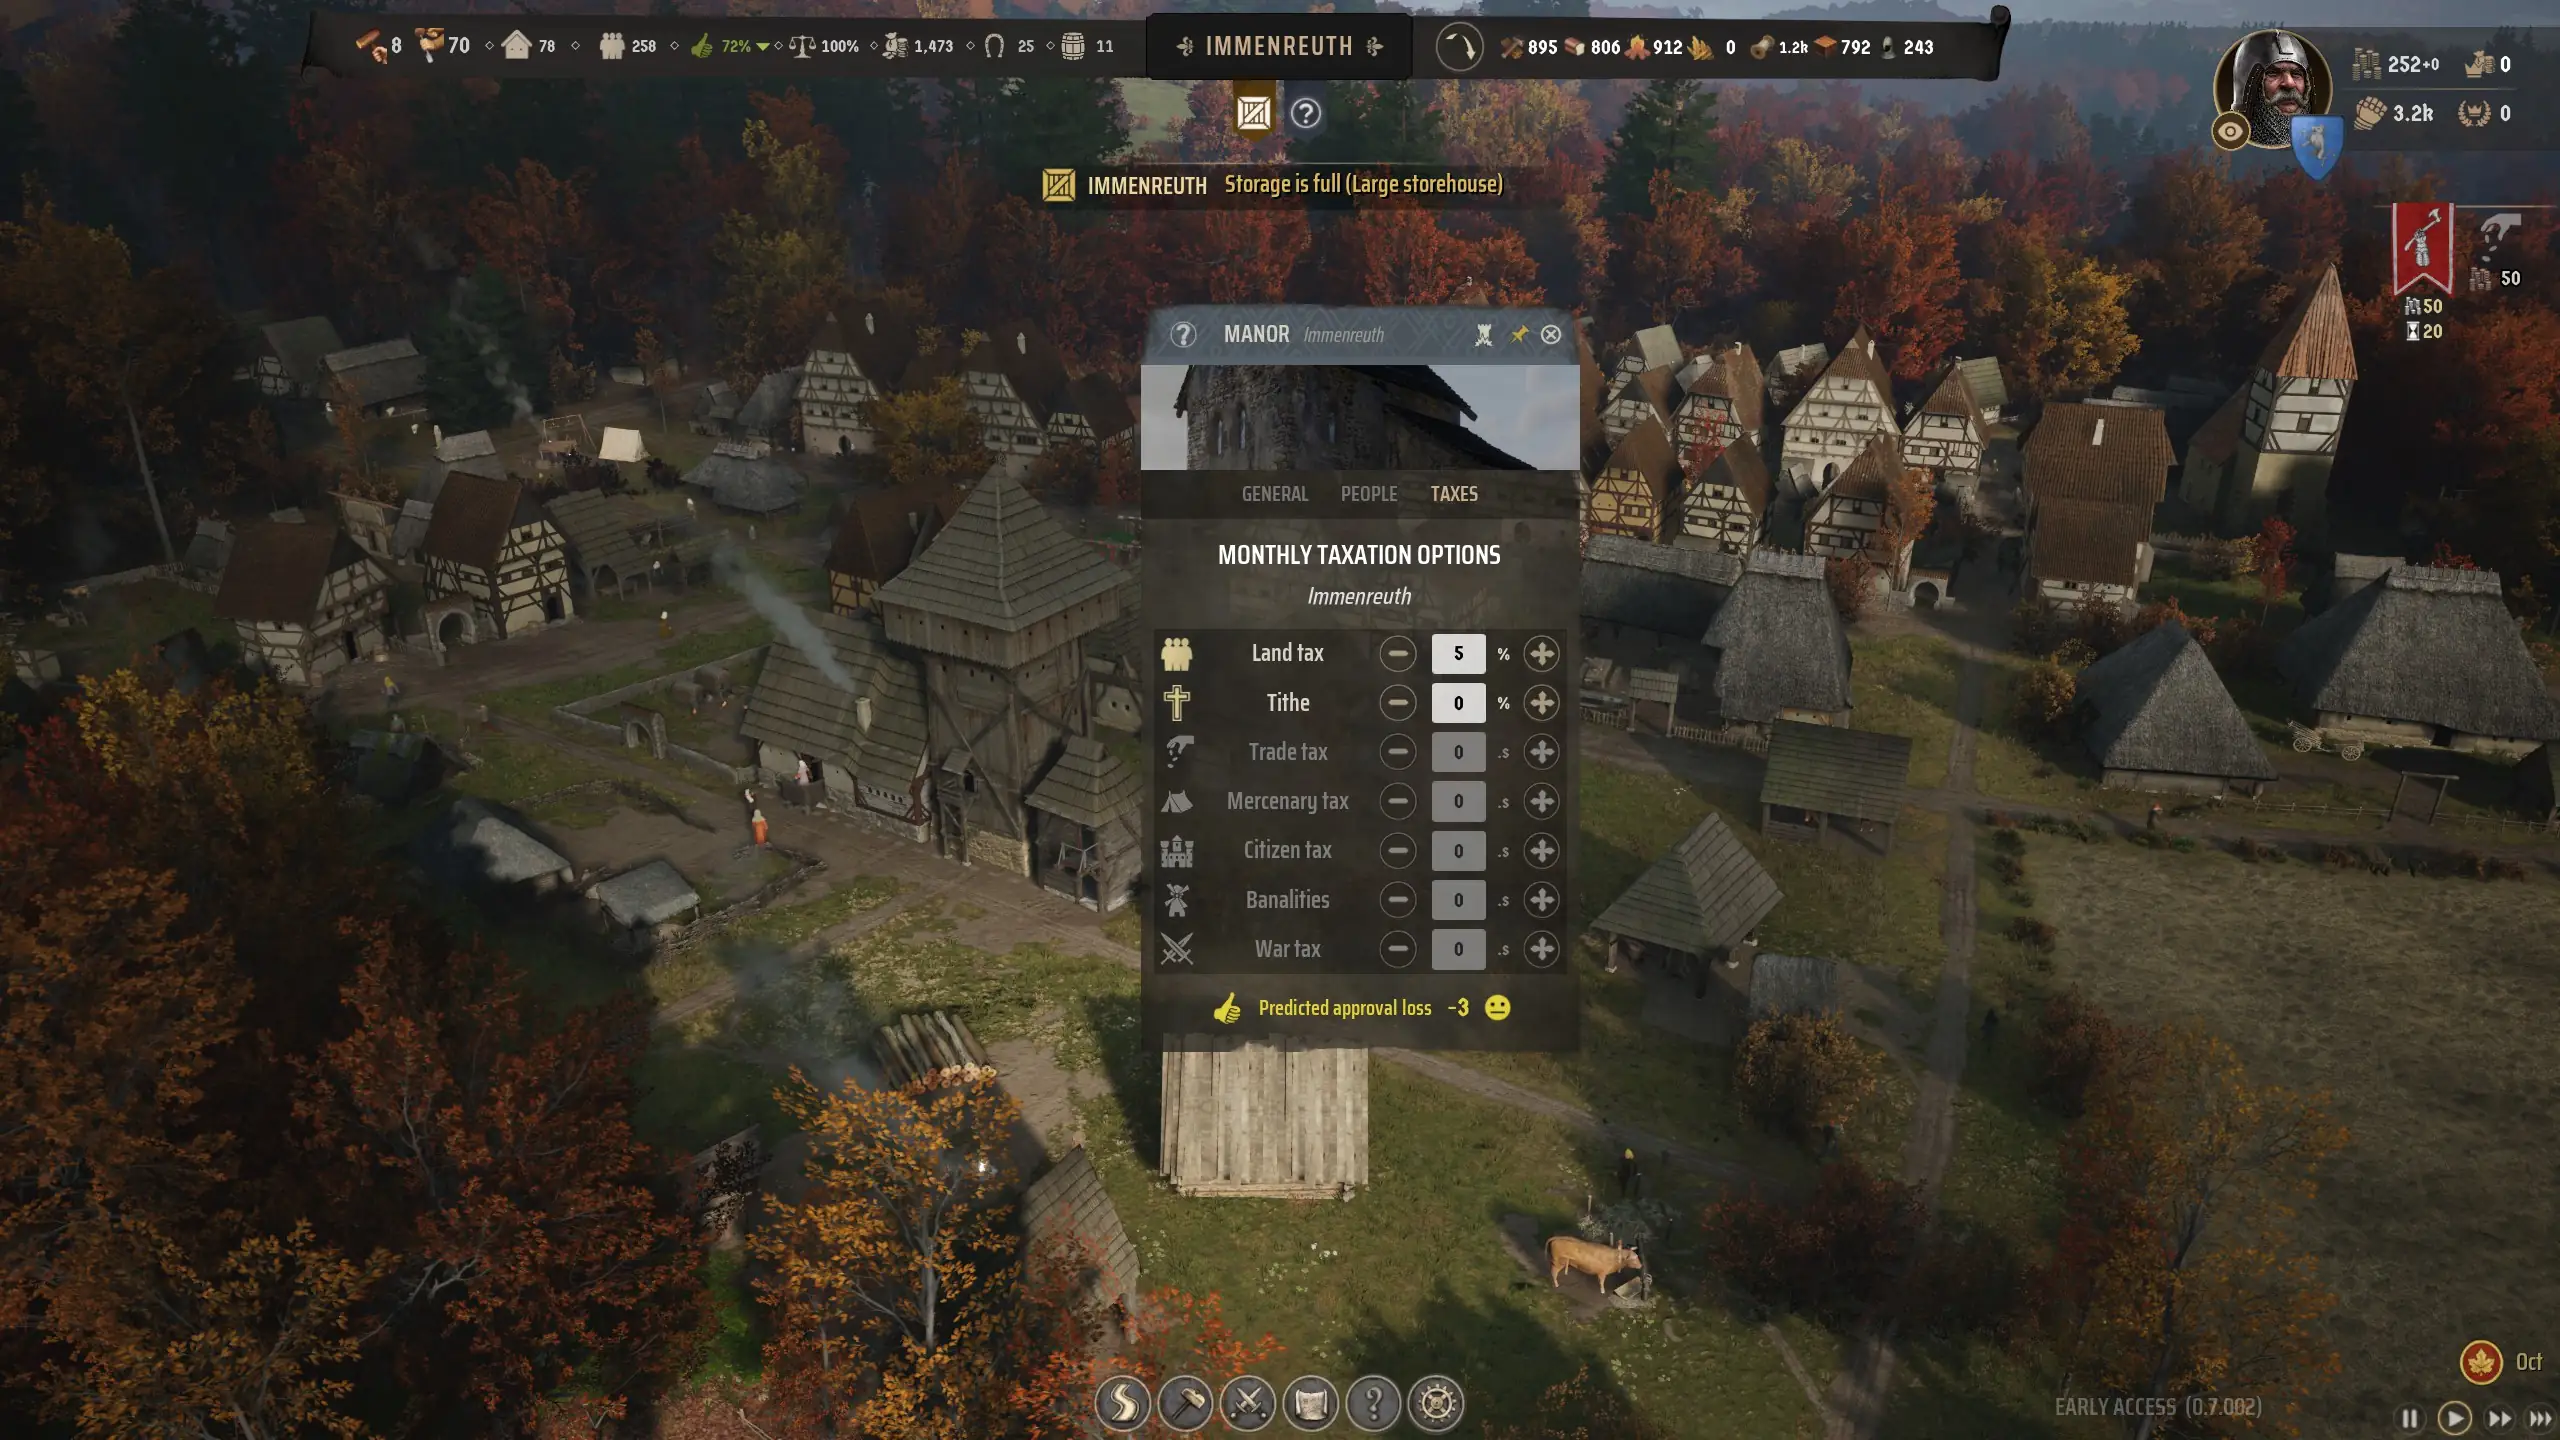
Money can be confusing if you don’t know the difference between Regional Wealth and the Treasury. First, you’ll start to gain Regional Wealth once your Burgages reach level 2. You can spend this currency at the Trading Post to buy items and animals. Or spend it on the useful workshops I mentioned earlier. Other ways to get Regional Wealth include selling items at the Trading Post or clearing Bandit Camps.
Unlike Regional Wealth, you can spend Treasury money to hire mercenaries. The two ways to fill your Treasury are by clearing Bandit Camps or issuing a Land Tax via the Manor. Just make sure to not tax your people too heavily since that comes with an approval loss. Aside from hiring mercenaries, you can also use the Treasury to settle in new territories you’ve claimed. You’ll have to spend 250 on placing a Settler’s Camp. Even though you can spend more for a better start.
Tip 10 – Sometimes You’re Better Off Hiring Mercenaries

If you’re not in the Rising to Prosperity scenario, you’ll have to deal with bandits and potentially hostile lords as well. Early on, I keep an eye out for cheap mercenaries that I can throw at bandits. This is often more efficient than rallying my militia and taking them away from their work.
I try to balance how much money I spend on mercenaries with how often I rally my militia. You’ll get a feel for it over time, but mercenaries are a valuable resource. Alongside dealing with bandits, you can also use them to expand your army when battling AI lords for territory.
Tip 11 – How to Increase Military Effectiveness in Manor Lords
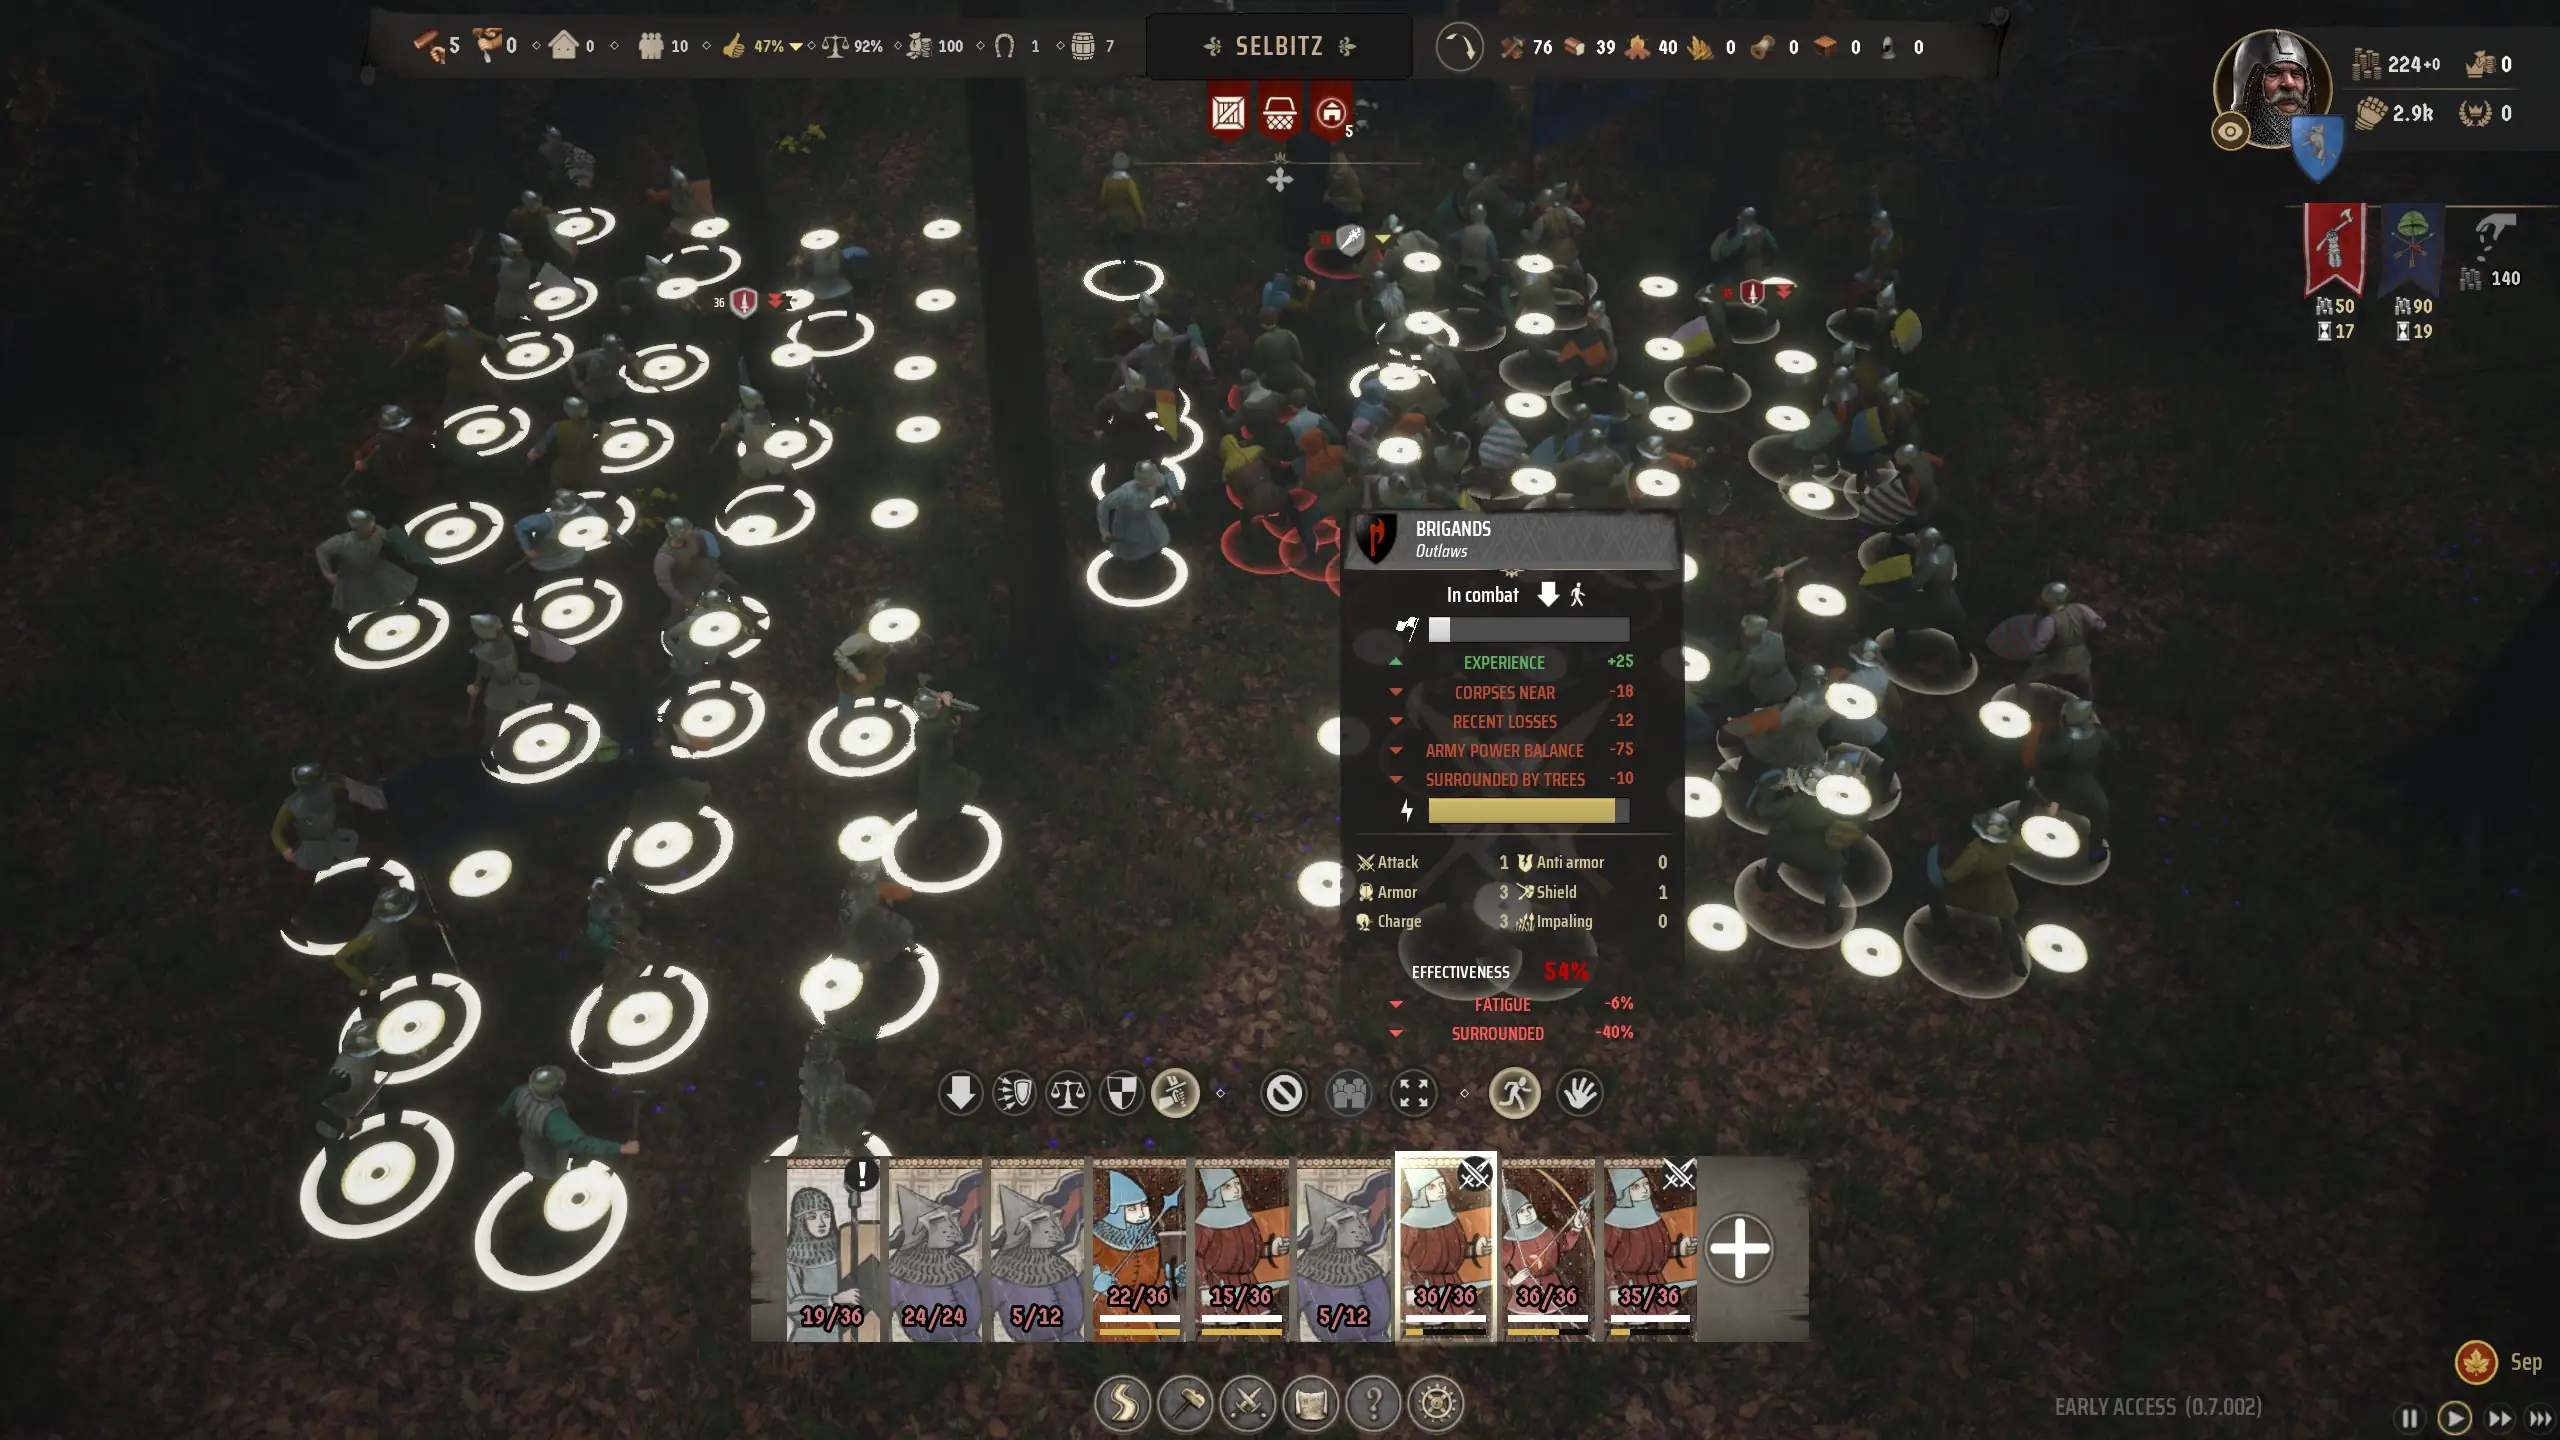
To get the most out of your army you’ll need to keep their military effectiveness up. Unfortunately, it changes extremely quickly which can make it difficult to control. This can work against you or for you when taking advantage of enemy effectiveness too. For example, surrounded troops receive a 40% or 80% penalty.
You can understand a troop’s military effectiveness by hovering over them and holding the Tab button. Modifiers typically revolve around elevation, fatigue, and weather. My recommendation is to make sure your units have a moment to rest before engaging in battle. This will reduce their fatigue while also building some cohesion. And if you can pull it off, give them the high ground to get a bonus.
Tip 12 – Demolishing a Building Refunds Some Resources, Not All
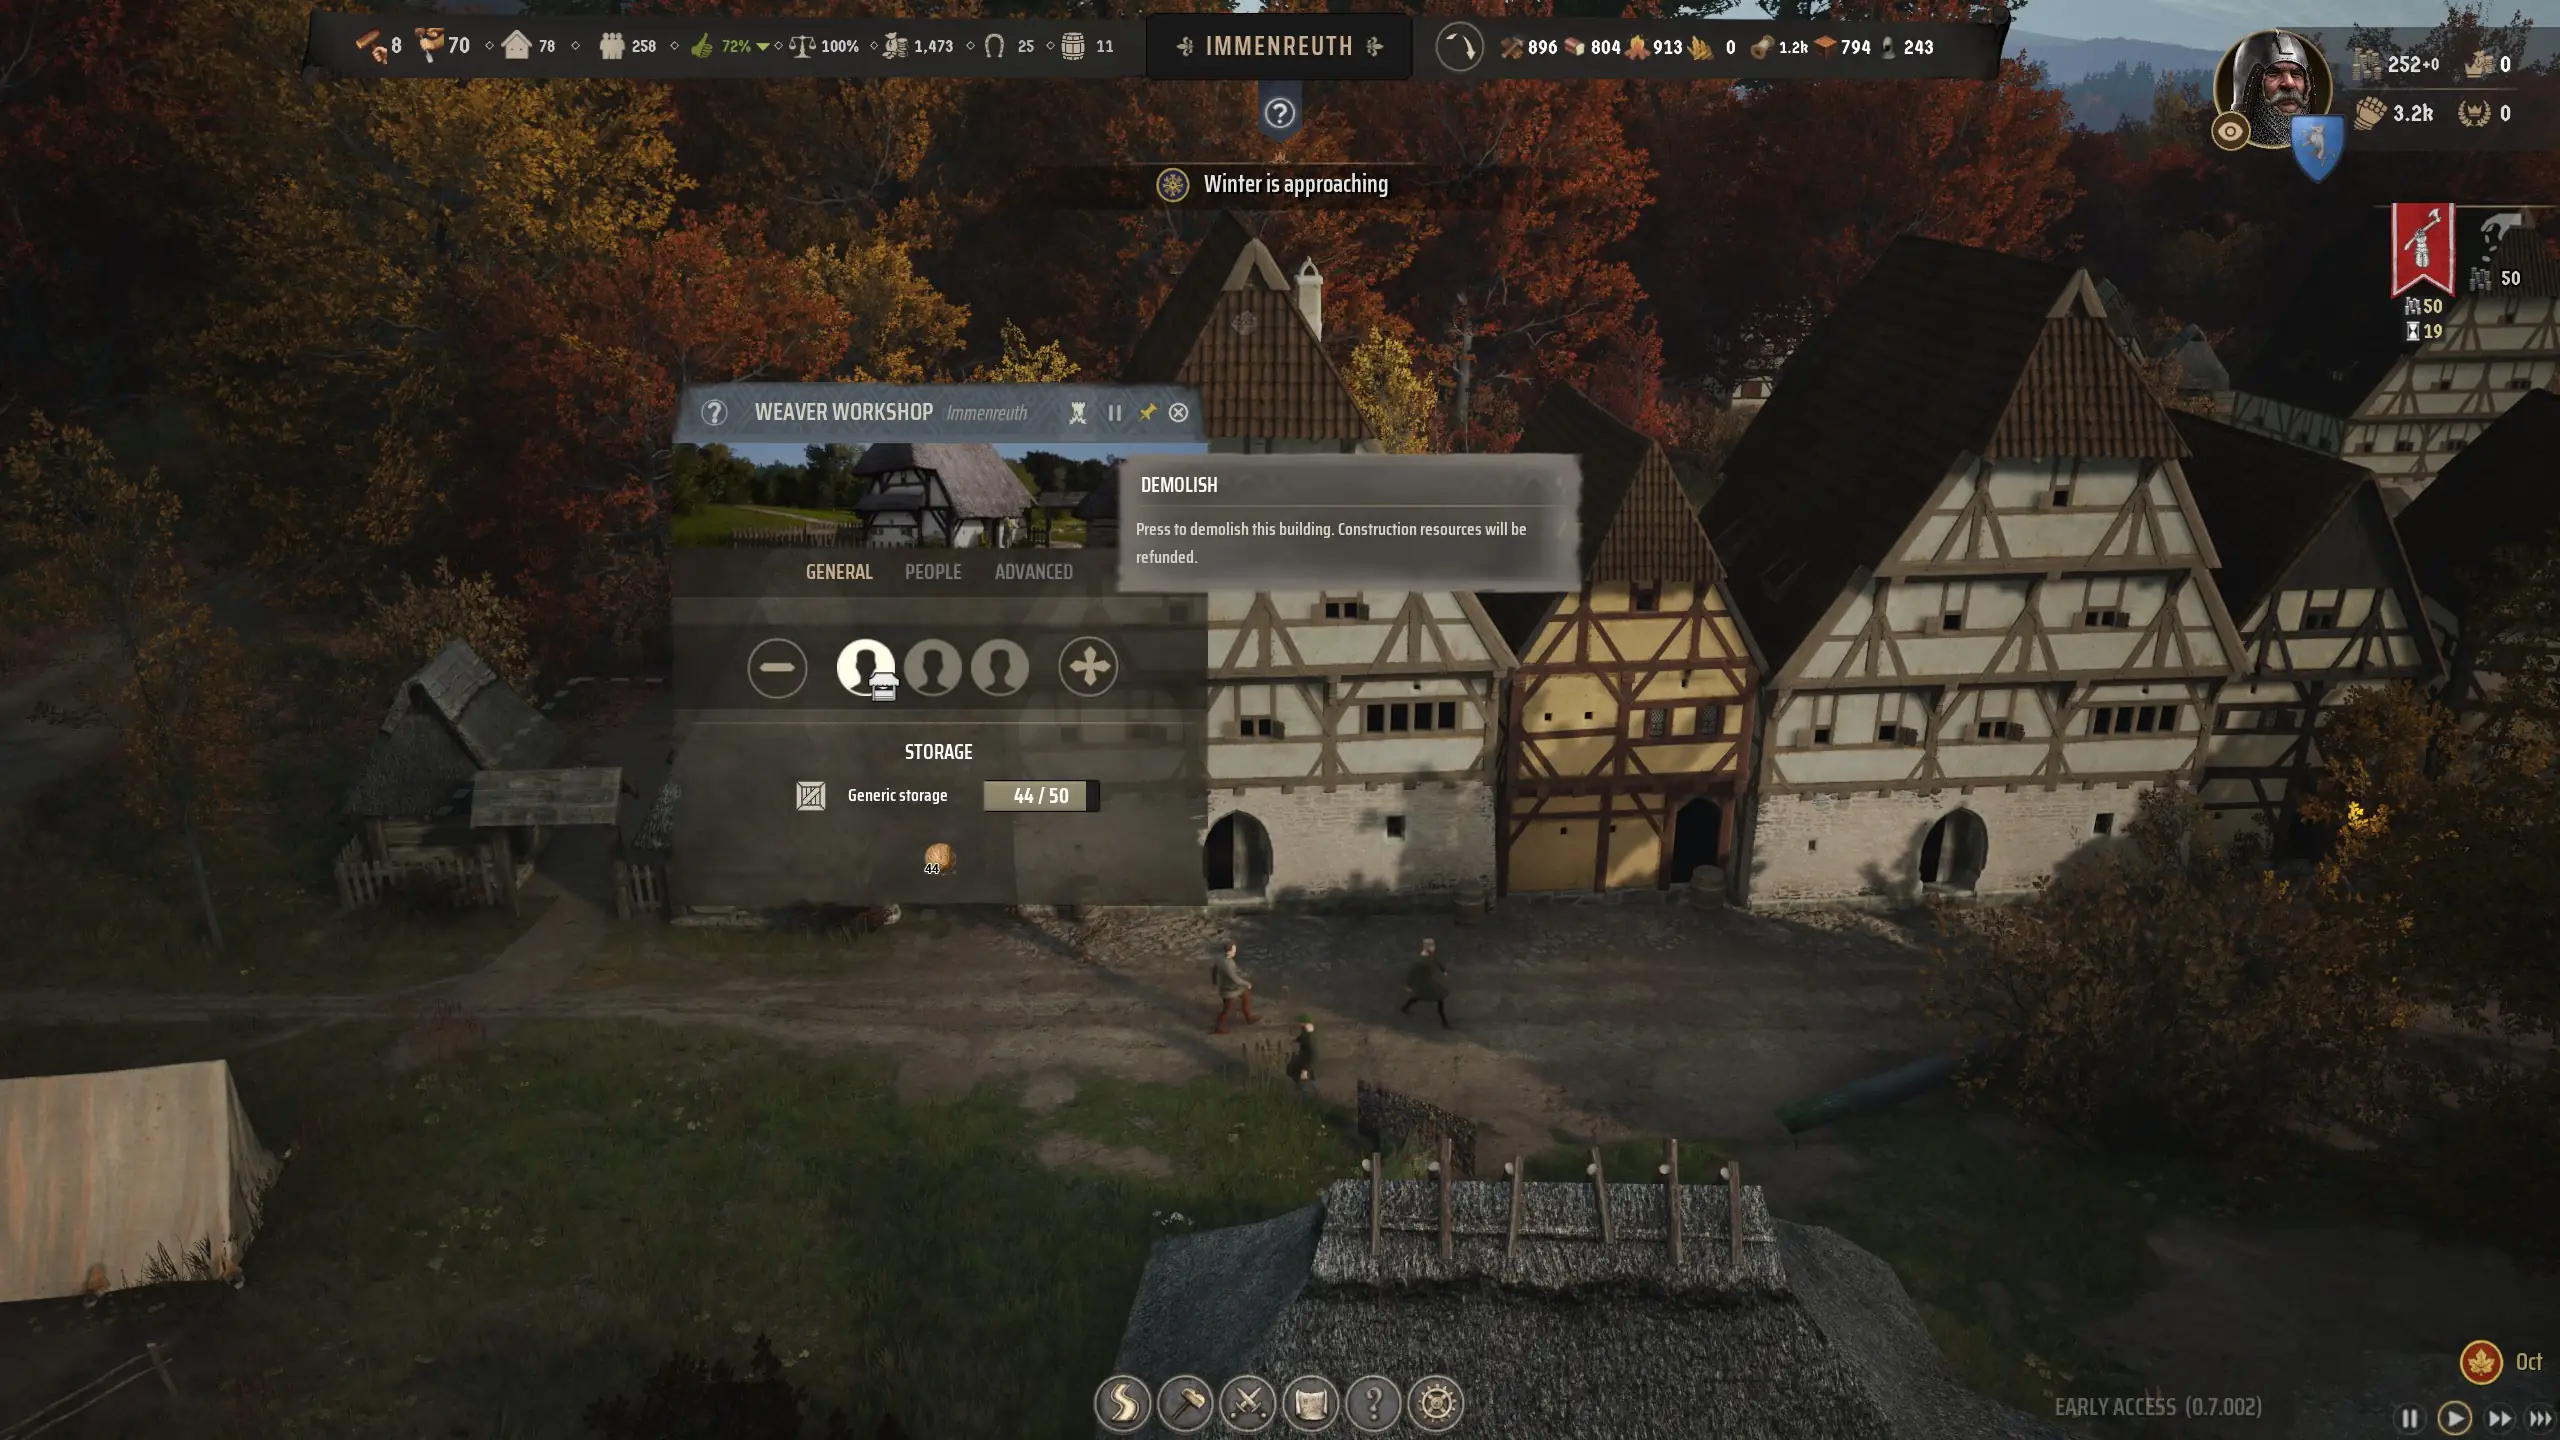
An in-game tooltip explains that demolishing a building will refund resources. This can be misleading if you’re expecting to get all the resources back that you put into it. In most cases, you will get your resources back and whatever resources are inside that building. But, once you upgrade a building, you’ll no longer get the resources to originally used to create that building.
For example, a level 1 Burgage requires two Timber. Refunding it will give two Timber. A level 2 Burgage requires the initial two Timber and another four Timber to upgrade. Refunding a level 2 Burgage gives you no resources. My guess is this is a bug because the level 2 Burgage tooltip says there’s no construction cost. Level 3 Burgages are worse since they only give you two Planks despite requiring a total of 25 Regional Wealth, 10 Timber, 8 Planks, and 4 Rooftiles.
I apologize in advance for making this Manor Lords tips and tricks list so large but it’s a complicated game. I try to provide as much expertise as I can whenever writing a tips and tricks list. And in this case, it’s no different. Feel free to share some tips of your own in the comments below.


Jeff is a journalist with over 10 years of experience writing, streaming, and making content about video games. With an associate degree in journalism, he’s a sucker for RPGs, survival games, roguelikes, and more.