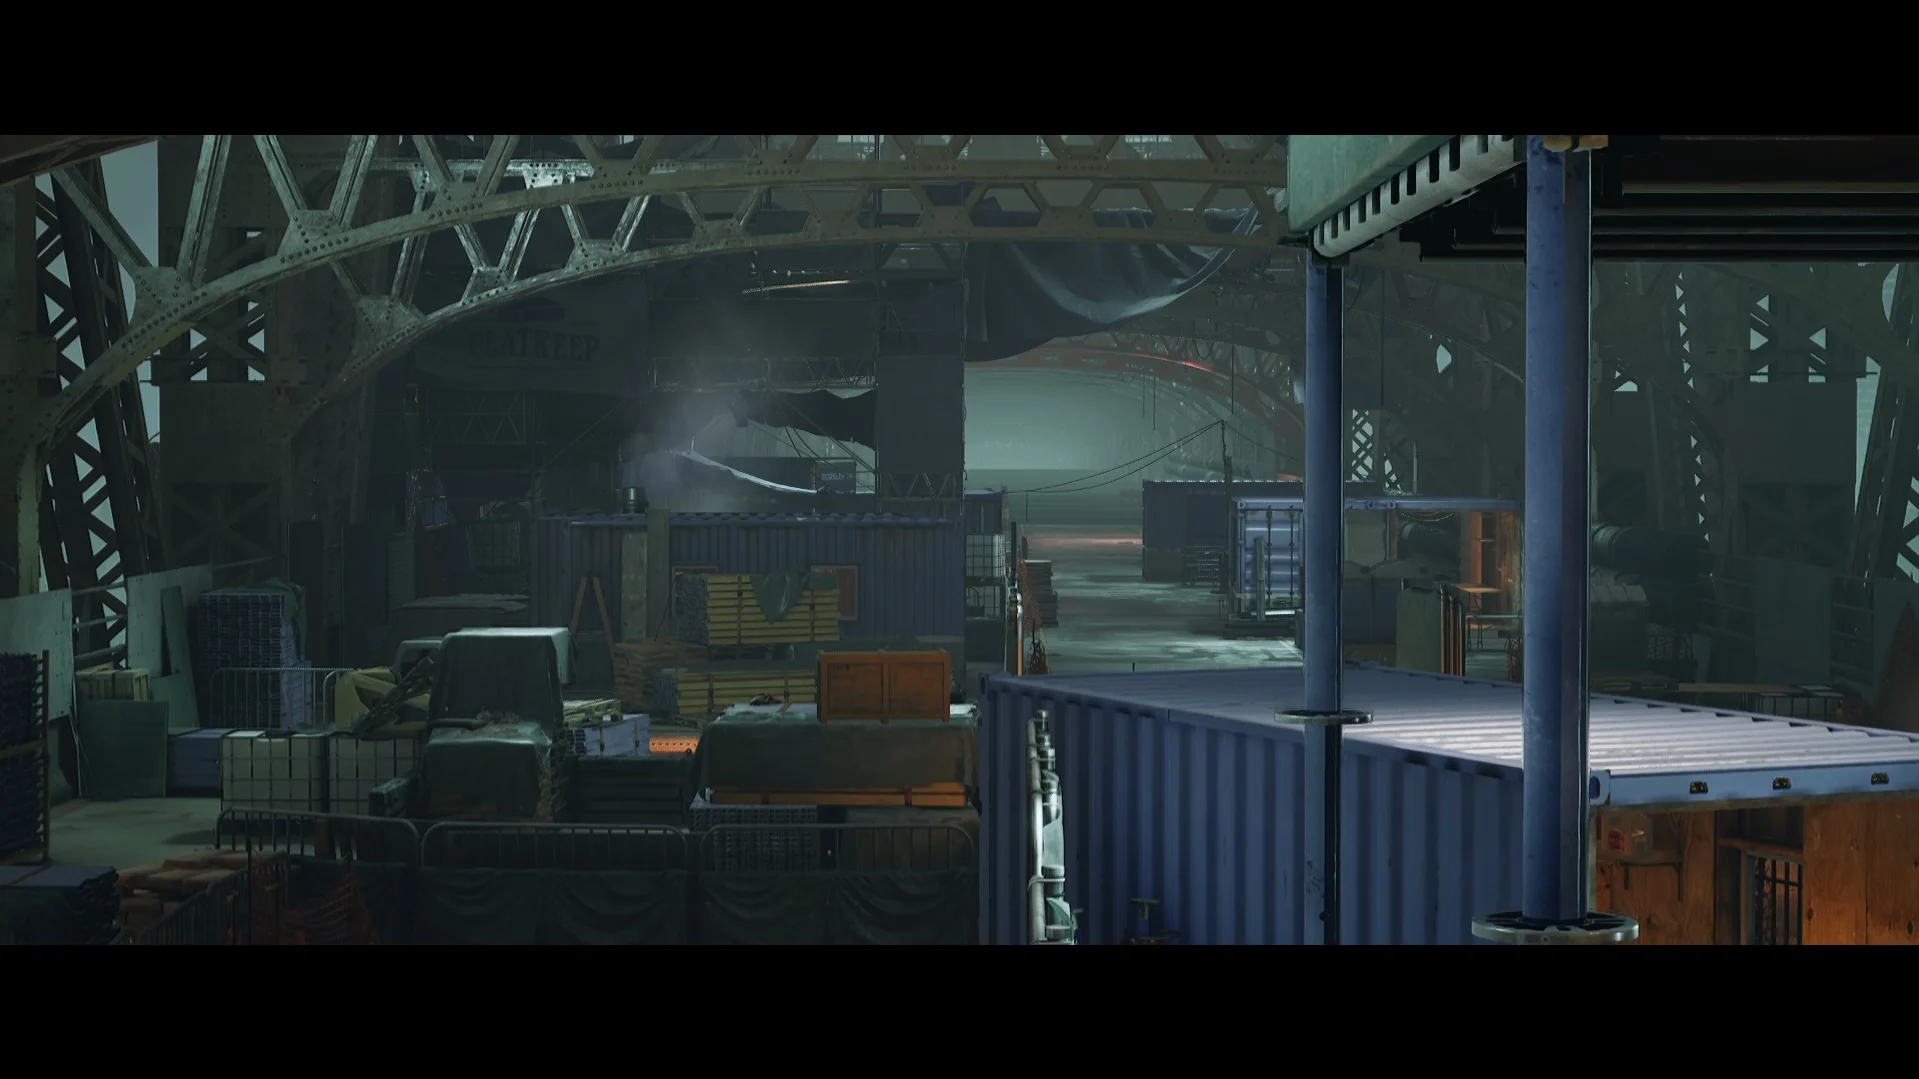
The second Payday 3 heist players will run into is Road Rage which can only be completed loud. It’s a good one for farming money since it’s quick and you don’t need to think too much about it. Even though you’ll want help from other people if you’re on higher difficulties.
I’ll discuss every step in this Road Rage walkthrough despite it being one of the simpler heists. For those wondering, I currently have 70 hours in Payday 2 at the time of publishing this guide and am level 58. Also, this guide is based on Normal difficulty even though I haven’t noticed a difference in higher ones.
Road Rage Loud Walkthrough
The most important thing to know before starting Road Rage is that you can almost immediately fail it. While other heists often shift from quiet to loud, this one can outright fail. In order to prevent this, you need to make sure that no civilians escape at the start. Fortunately, you can just tie them up. And once you’ve activated the EMP device, you’re in the clear.
The following provides a quick look at all Road Rage objectives before thoroughly explaining them further down.
- Prepare the ambush.
- Place and activate the EMP.
- Time remaining until arrival 1:30.
- Wait for the armored transport.
- Do not let the civilians escape.
- Override the armored transport.
- Retrieve the steering device.
- Attach the steering device.
- Hack the vehicle controls.
- Start escorting the truck.
- Escort the armored transport.
- Keep the vehicle moving.
- Breach the armored transport.
- Access the electronics hatch.
- Override the rear doors.
- Loot the armored transport.
- Signal the getaway.
- Hold out until the getaway arrives.
- Steal and secure rare elements 0%.
- Escape.
- Optional: Secure more loot or escape.
1. Prepare the ambush.
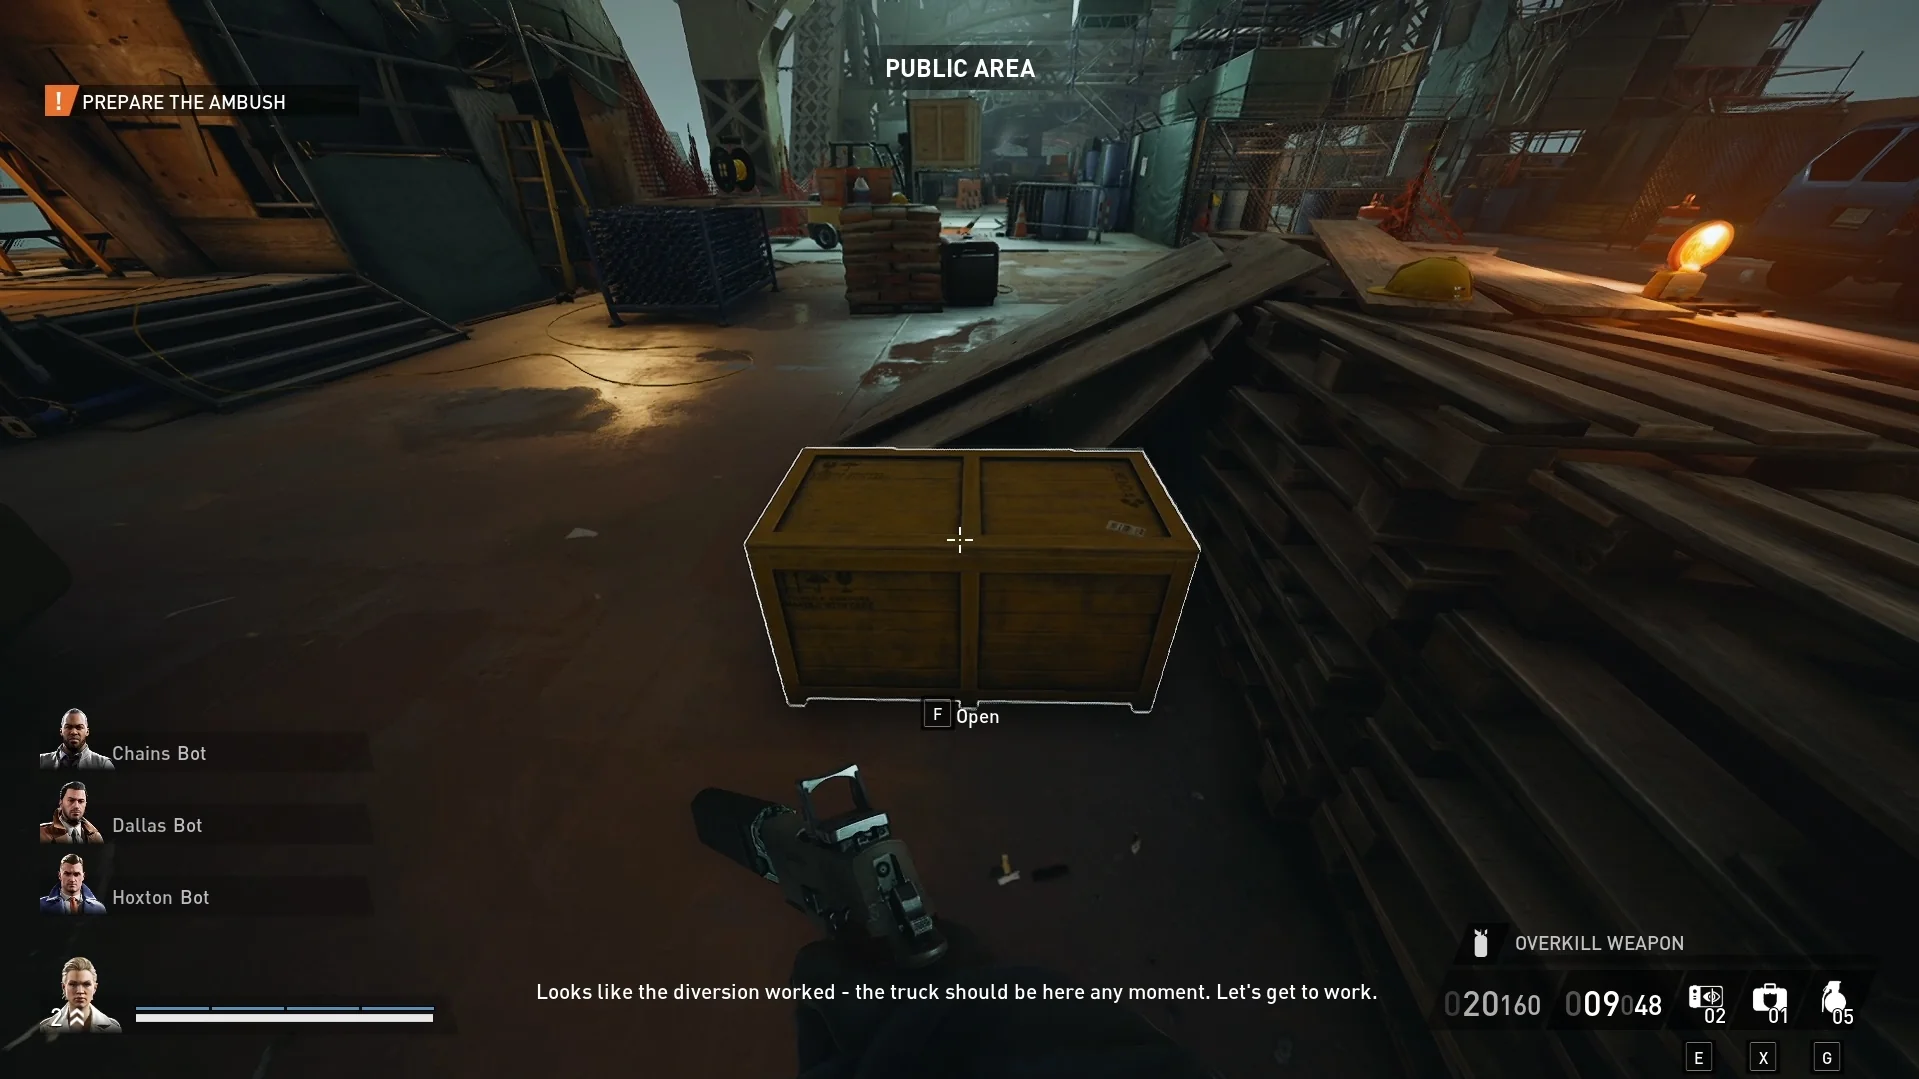
The first yellow crate near the start will have an EMP inside. However, there are two yellow crates on Road Rage.
1.1. Once you start the Road Rage heist you’ll have a yellow crate up ahead with an EMP inside. Make sure someone grabs it and uses it within the 90 seconds given, otherwise, you’ll fail from this as well. During this phase, there are a few things you can do to “Prepare the ambush” but I’m going to explain what you need to do first.
After grabbing the EMP bag, work your way across the bridge to the bag drop-off point. However, you’ll need to avoid letting any civilians escape. I recommend quickly tying them up or having your teammates handle them. Once you drop the EMP at the objective marker, interact with it to activate it.
Before working on the next step, let’s do some of that preparation so we don’t have to later. First, there are four different wheel ramps in the area, You’ll need two for each gap in the bridge that the transport will drive over. Second, near where you started there’s a forklift with a crate on it. You can interact with it to move it out of the way.
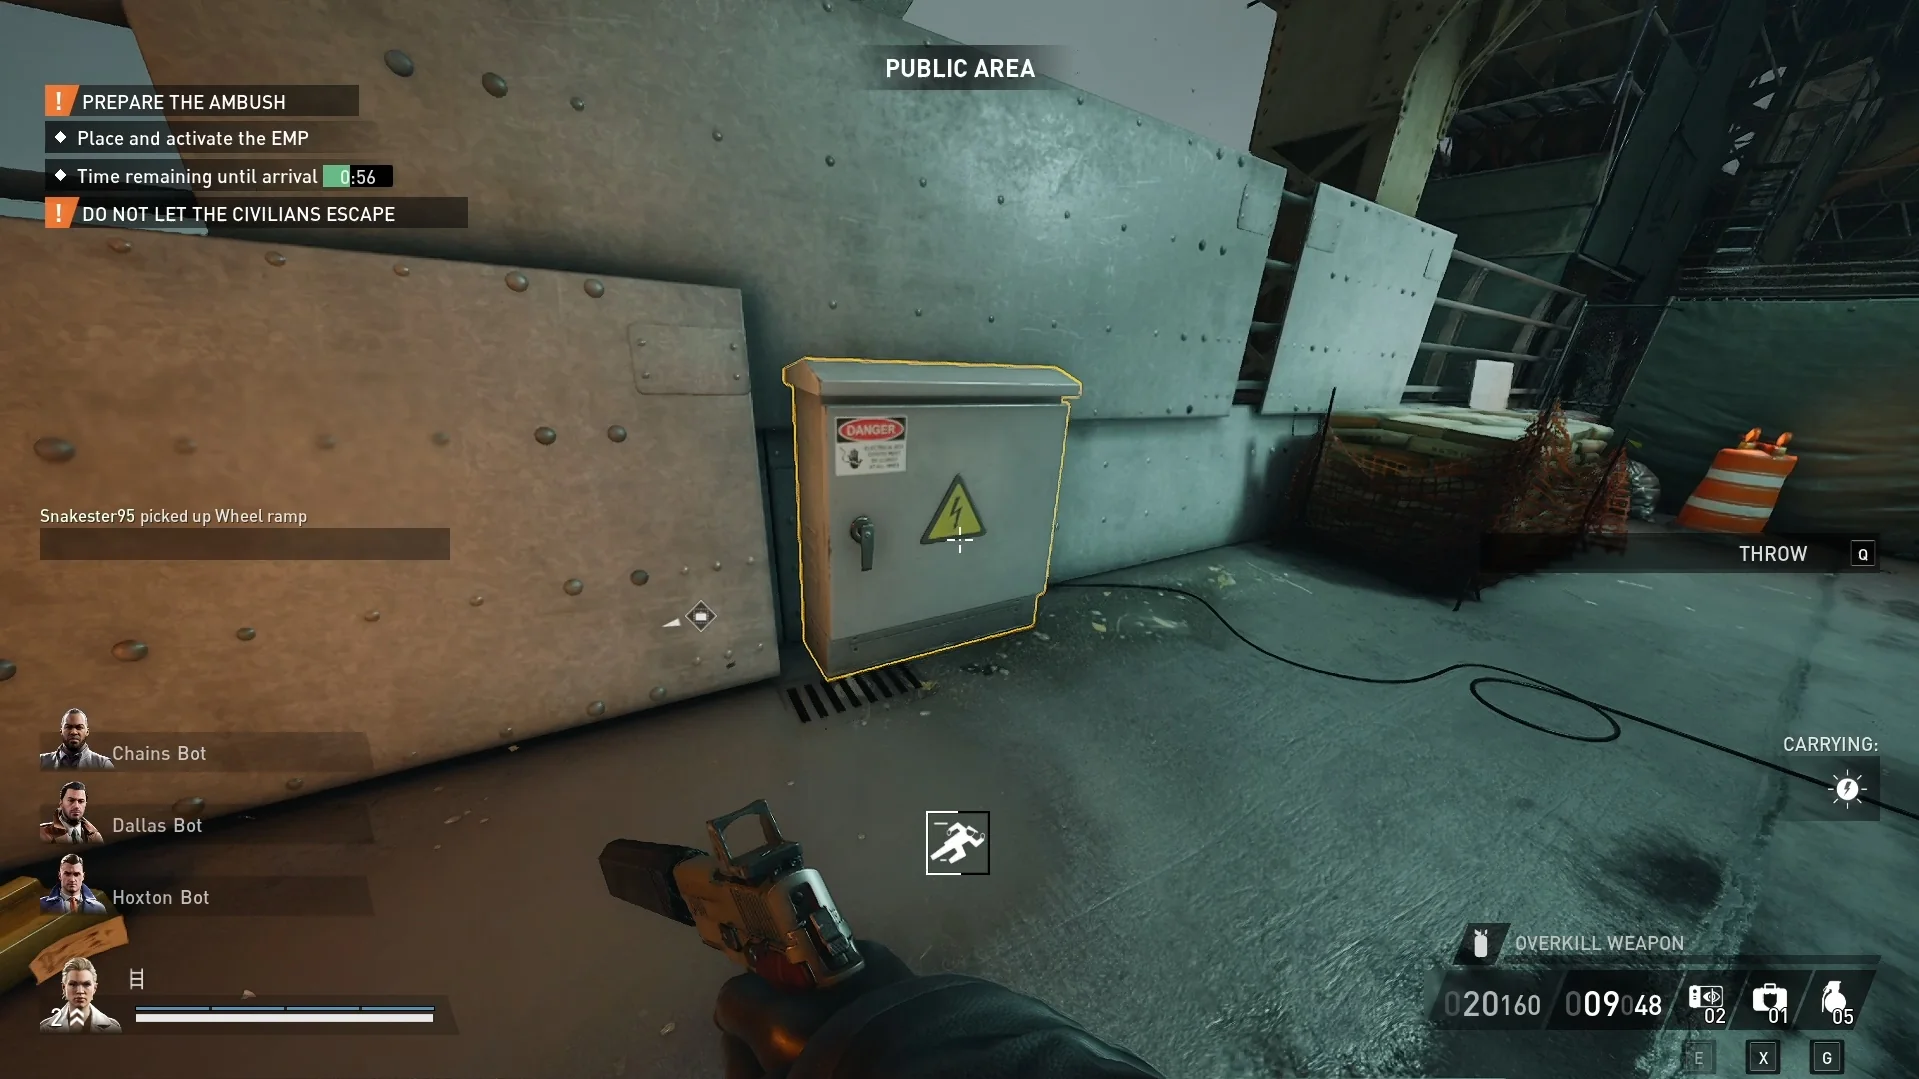
While the Electric Panel does have more than one spawn, it’ll always be near the gate.
Our final preparation step is opening the gate. You’ll need to search for an electric panel nearby that can open it. While you can do these three steps at any point, they will prevent the transport from continuing if you don’t take care of them.
1.2. The time remaining isn’t important once you’ve already placed and activated the EMP.
1.3. Similar to the previous mini-objective, you just have to wait for the armored transport to reach the placed EMP. I like to use this time for those preparation steps I mentioned in 1.1.
2. Do not let the civilians escape.
As already explained in the previous section, make sure you don’t let any civilians escape. Otherwise, you’ll fail the mission and need to restart.
3. Override the armored transport.
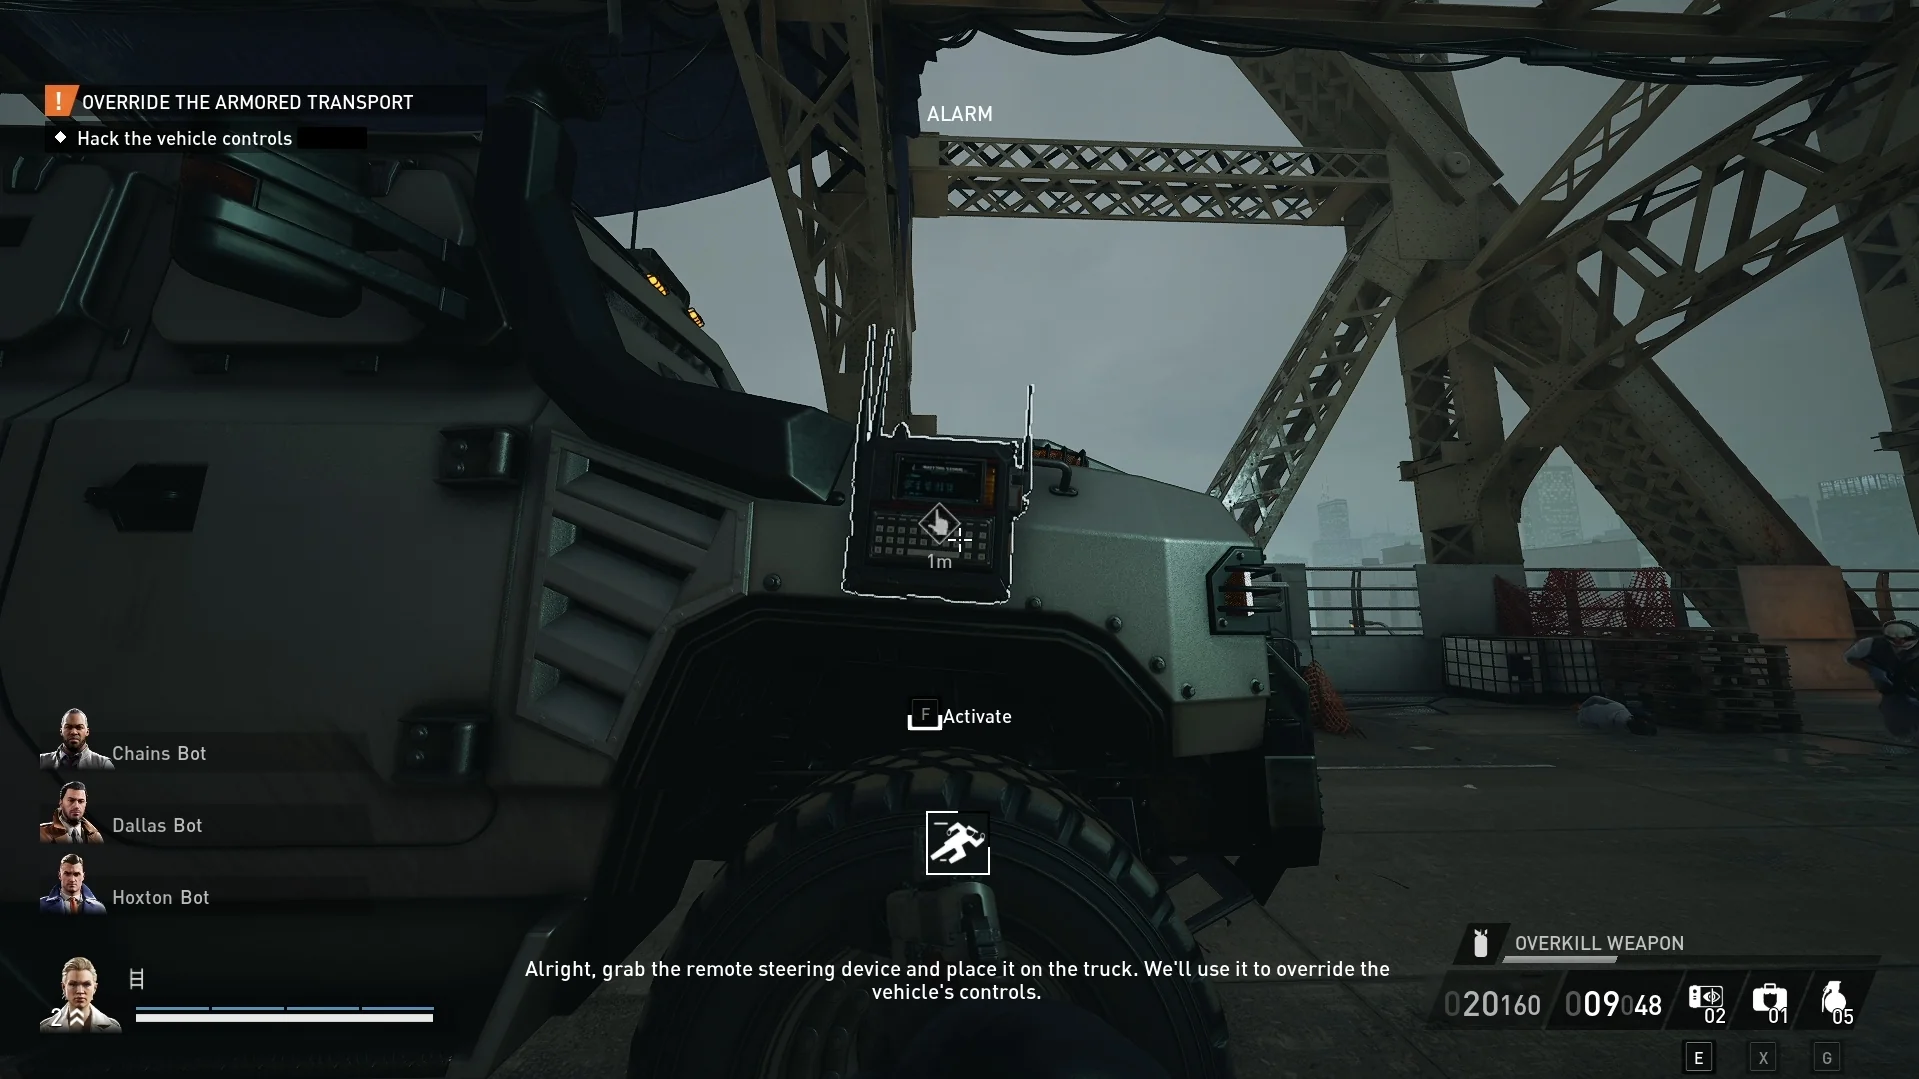
3.1. Similar to the yellow crate you opened for the EMP bag, there will be a second yellow crate. This one contains the steering device you’ll need to control where the armored transport goes. Fortunately, you or a teammate can grab it immediately, or you can wait for this objective to tell you where it is.
3.2. After grabbing the steering device, simply toss it back at the armored transport on the side. Chances are likely the police won’t have started arriving yet, so your teammates still have time to finish up preparing.
3.3. Activate the steering device on the side of the armored transport. You’ll need to wait about 30 seconds for Shade to hack into the transport before you can continue. Fortunately, this provides another opportunity to finish placing wheel ramps and whatnot.
4.4. Once Shade finishes hacking the transport, interact with the steering device one more time. This will activate a circle around the transport to escort it. As long as one person is inside the area, the vehicle will continue moving. However, it’ll move quicker with more people inside. Unfortunately, this doesn’t apply to bots.
If the vehicle reaches a spot that you haven’t finished setting up like a missing wheel ramp, it’ll stop. Then, you’ll need to reactivate the transport by using the steering device again. This doesn’t take long so it isn’t much of a nuisance. The main struggle is fighting off waves and snipers along the way.
4. Escort the armored transport.
Don’t worry, I won’t repeat the previous section since I already explained this objective and 4.1. Just stay within the circle to escort the armored transport until reaching the next step below.
5. Breach the armored transport.

5.1. Once the armored transport finishes driving up the ramp, get underneath it and place a drill. Looking at my recording, this took around 30 seconds before I could remove the drill.
5.2. Once the 30 seconds are up, remove the drill and you’ll have a couple more interactions. Open the panel where the drill was and cut the cables inside. Then, the armored transport doors will open right up.
6. Loot the armored transport.

Make your way inside the armored transport and start picking the locks of 16 different deposit boxes. You’ll find a mixture of empty ones, loose cash, bundles of cash, and rare elements to bag. In order to quickly get through these boxes, I recommend getting the Infiltrator basic skill and Quick Fingers. This makes this part go a lot quicker.
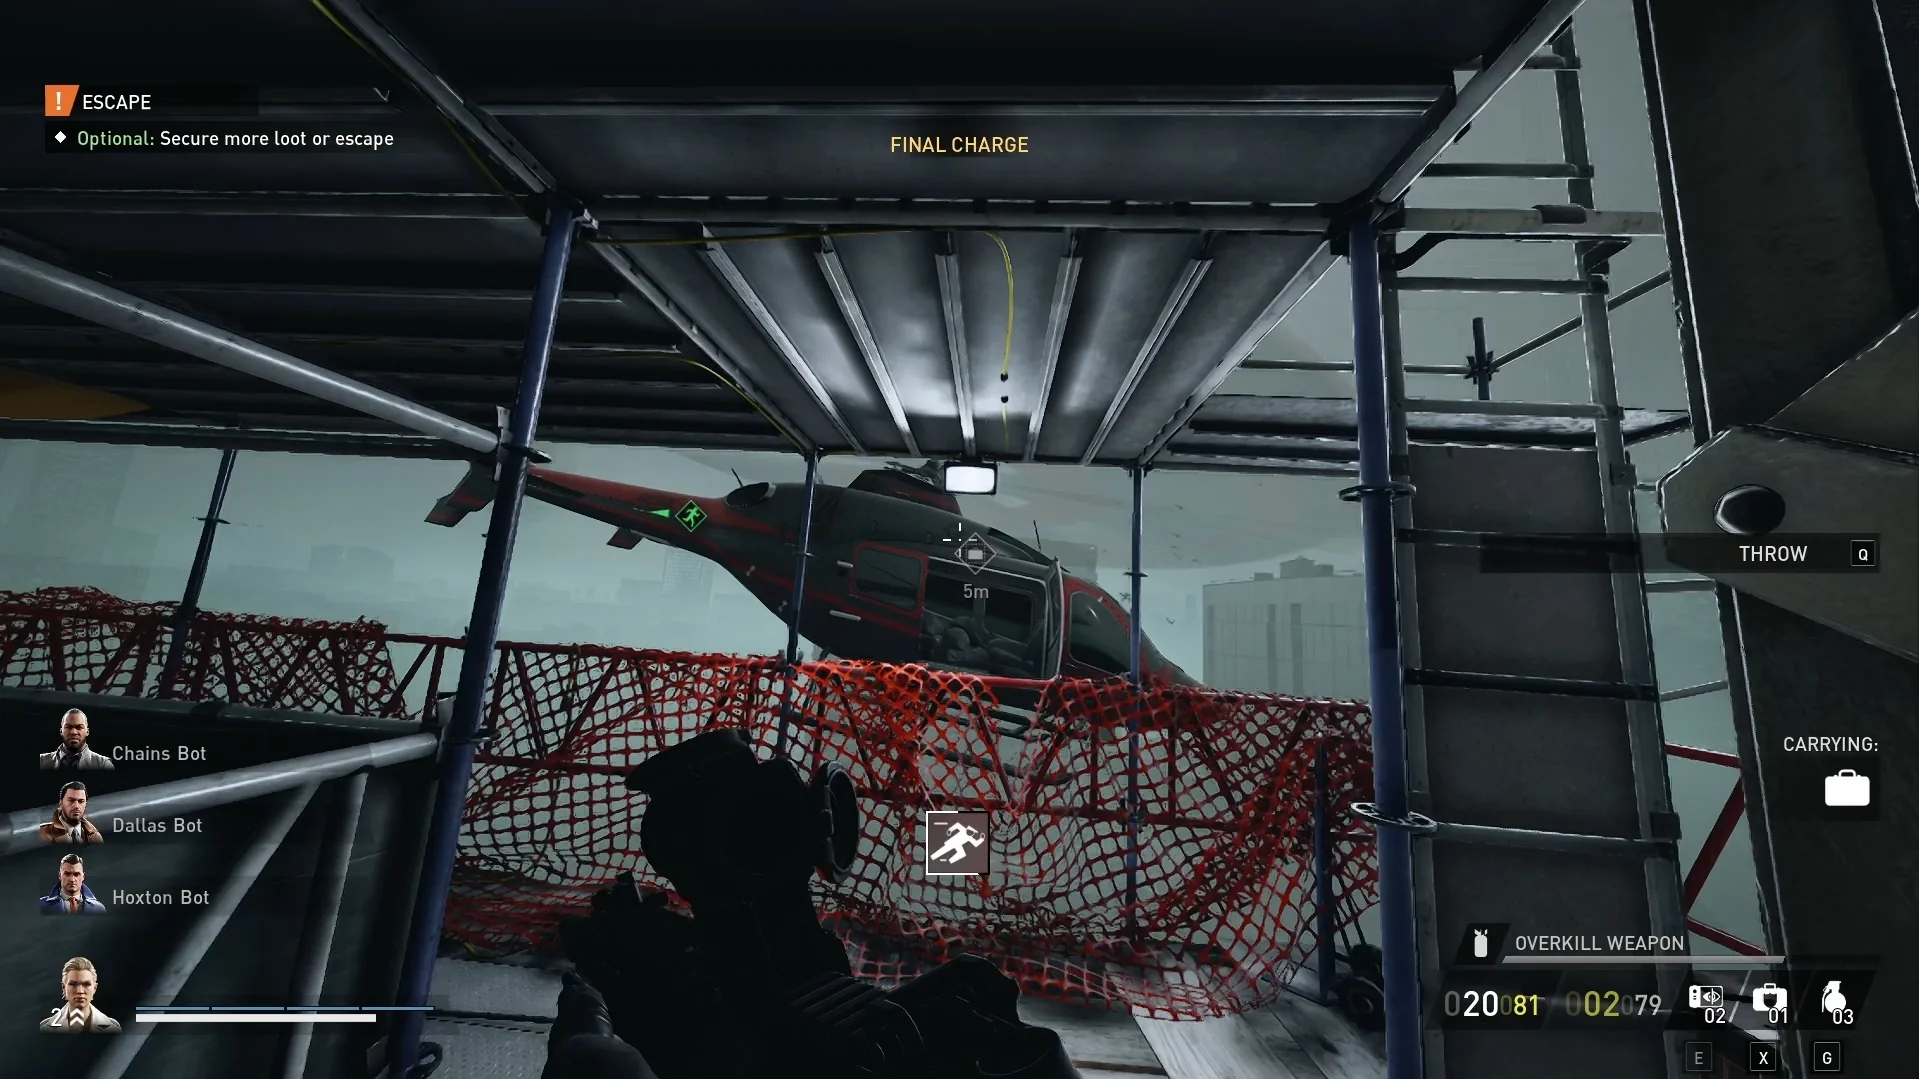
7. Signal the getaway.
Once you or a teammate have bagged a few deposit boxes, Shade will radio about signaling the helicopter to head over. Make sure you listen to her after lighting the flare. Similar to No Rest For the Wicked, she’ll give you some useful information that can be easy to miss.
She’ll start to say, “Bile is coming in on the …” before continuing to tell you which side of the bridge the helicopter will appear. Fortunately, it’s easy to know which side she’s referring to as long as you hear her. It’s either the side with two giant chimneys or two large buildings.
8. Hold out until the getaway arrives.
The best thing you can do while waiting for the getaway or the helicopter to arrive is move bags. If you didn’t hear Shade say which side of the bridge, just start tossing bags further out from the armored transport. By doing so, you’ll move it closer to the scaffolding of either side by doing so.
9. Steal and secure rare elements 0%.
After throwing five bags to Bile in the chopper, Shade will say it’s time to get out of here. Even though she says, “That’s all of it!” you can still continue tossing bags to Bile. This is part of the mini-optional objective mentioned in the next section. But, if you’re struggling, you can always run early instead.
10. Escape.
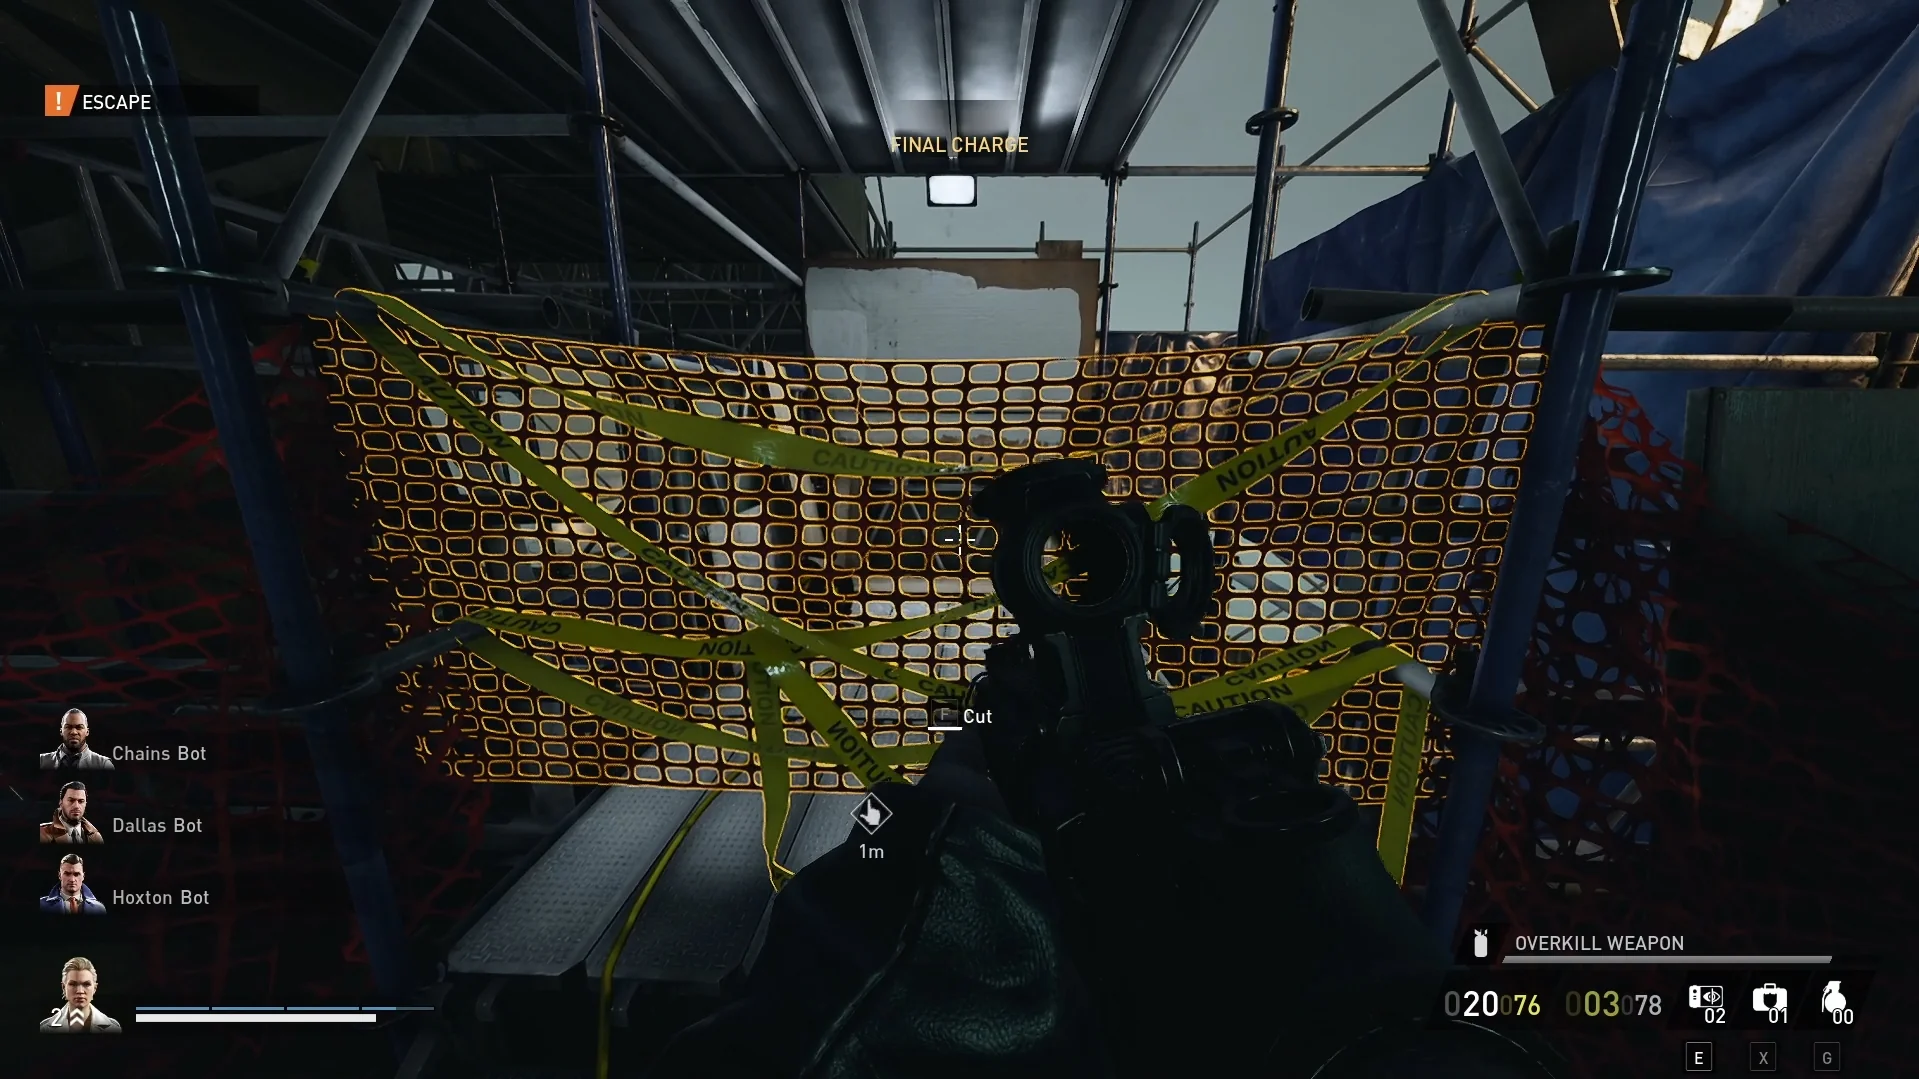
Now that you’re ready to escape, run toward the green icon to leave the heist. At worst, you may run into some Bulldozers or Snipers trying to take you out. However, it isn’t too far of a run so you should be able to do it if you have some armor still.
That marks the end of this in-depth guide on Payday 3’s Road Rage heist. Sometimes I’ll repeat this one if I don’t feel like focusing too much on the complexities of a stealth run. Although, you may get stuck with people who don’t escape at the end. And instead spend a lot of time fighting waves to complete challenges.


Jeff is a journalist with over 10 years of experience writing, streaming, and making content about video games. With an associate degree in journalism, he’s a sucker for RPGs, survival games, roguelikes, and more.