Surviving on the open ocean in Flotsam isn’t easy and that’s why I threw together a list of Tips and Tricks to help make it simpler. A huge part of Flotsam from Pajama Llama Games is keeping your Drifters alive similar to other city builder games. This is no exception when you need to take care of their hunger, thirst, and tiredness. My list of 15 Tips and Tricks below covers how to keep your Drifters happy and continue expanding simultaneously.
It starts with some basic tips and gets more advanced as it goes on. I’ve attached an advanced tip to certain ones for more knowledgeable players.
Table of Contents |
| Tip 1 – How to Get Food |
| Tip 2 – How to Get Water |
| Tip 3 – Double-Clicking Resources to Find More |
| Tip 4 – Build Walkways Toward Resources & Flotsam Early |
| Tip 5 – Adjusting the Speed and Pausing |
| Tip 6 – Take Full Advantage of Boats |
| Tip 7 – Blocking Mooring Points/Docks Doesn’t Break Them |
| Tip 8 – Plan Around New Drifters |
| Tip 9 – How Does Prioritizing Jobs Work |
| Tip 10 – Benefits of Limiting Producer Output |
| Tip 11 – How to Get Metal Scrap |
| Tip 12 – What Do Animals Do? |
| Tip 13 – Best Research to Focus First |
| Tip 14 – Understanding Drifter Traits |
| Tip 15 – Place Storage Yards Efficiently |
Tip 1 – How to Get Food
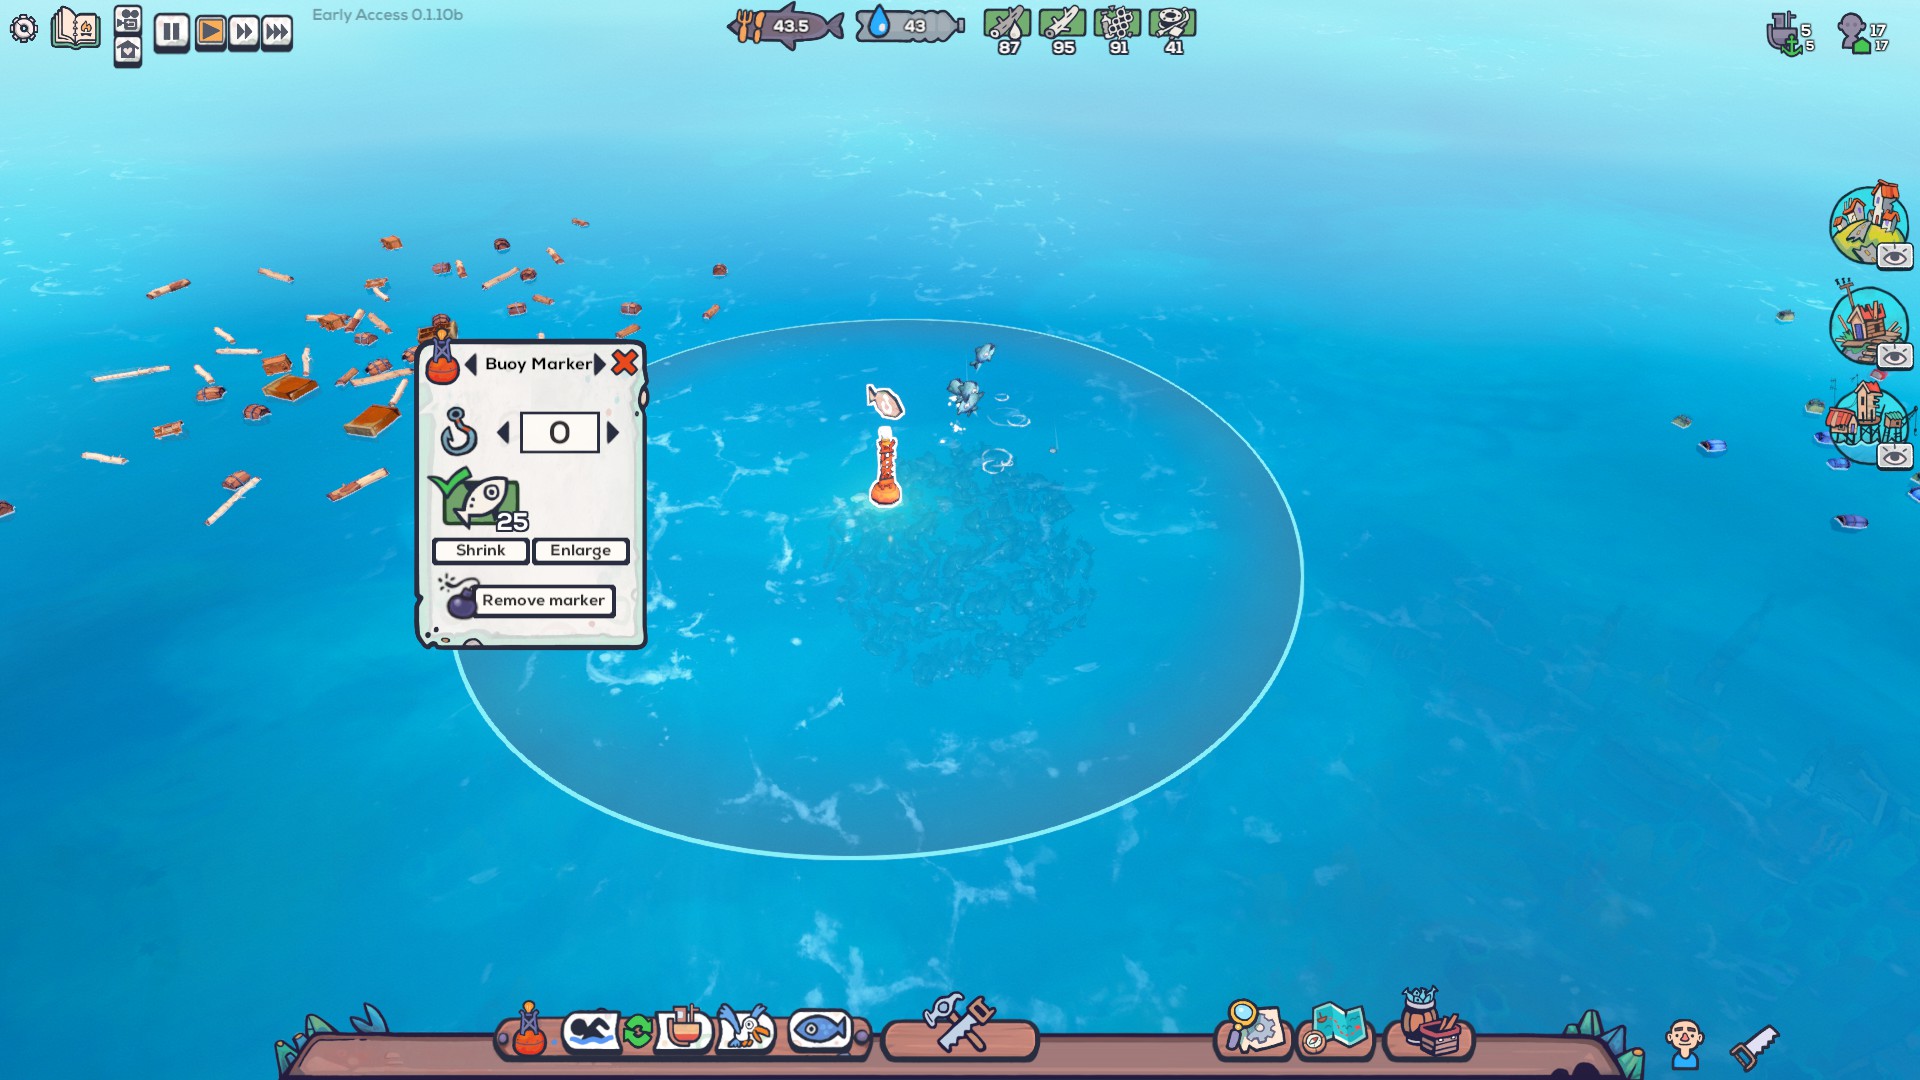
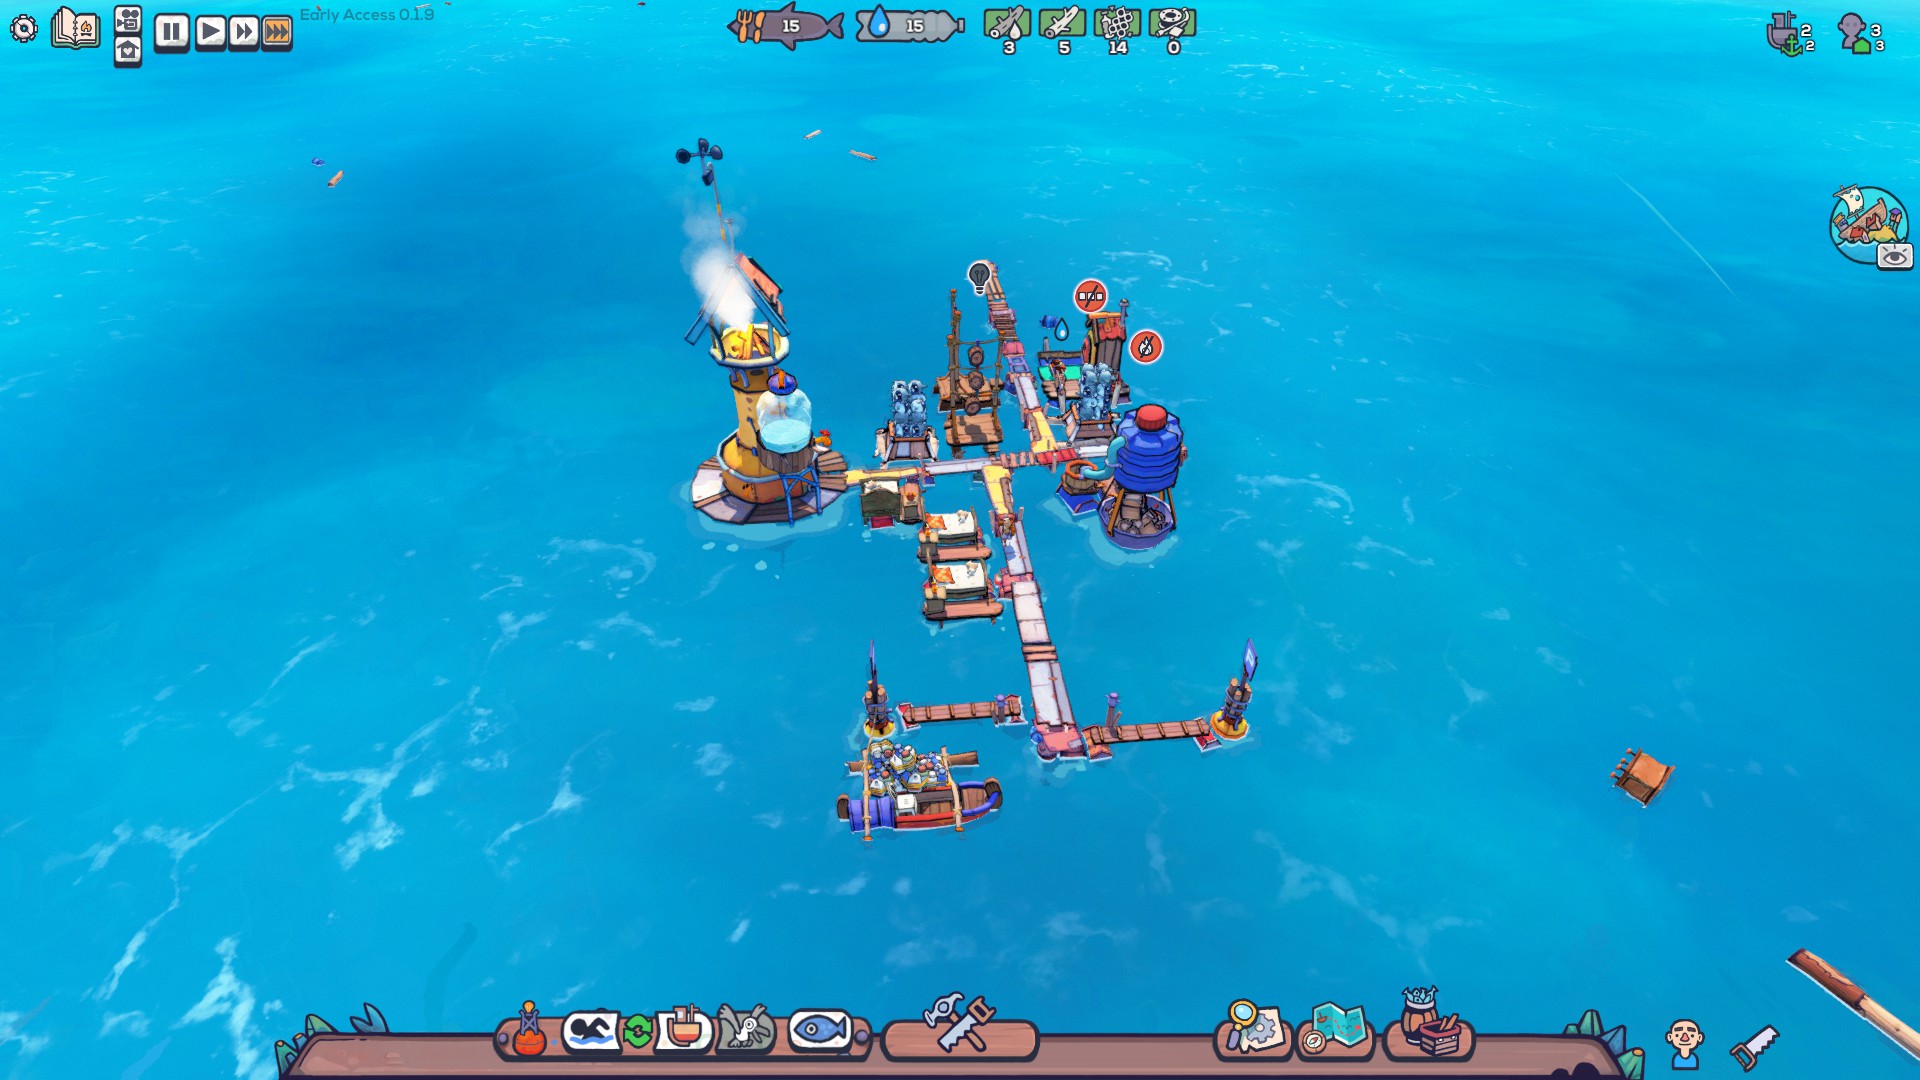
Keeping your Drifters and Animals fed in Flotsam is one of the more important parts of surviving. There aren’t many ways to get food, but there are multiple ways to craft more complex recipes. The first way to get food requires making a Mooring Point more commonly known as a dock for boats. Then, you can create a Fishing Boat at that dock to fish in the surrounding area.
Each school of fish in a region has a maximum of 25 fish allocated to it. In my experience, they always have 25. Drifters will bring back Nibble Fish, which isn’t edible until either dried or cooked. Your first source of edible food early on is through drying Nibble Fish at a Drying Rack. The Drying Rack serves more than one purpose and is cheap. This makes it worth building a few in the beginning.
Advanced Tip
Those more experienced in Flotsam should research the Fish Kabob for more nutritious food. Other crafting buildings can create different food, but this is the only one you need.
Tip 2 – How to Get Water
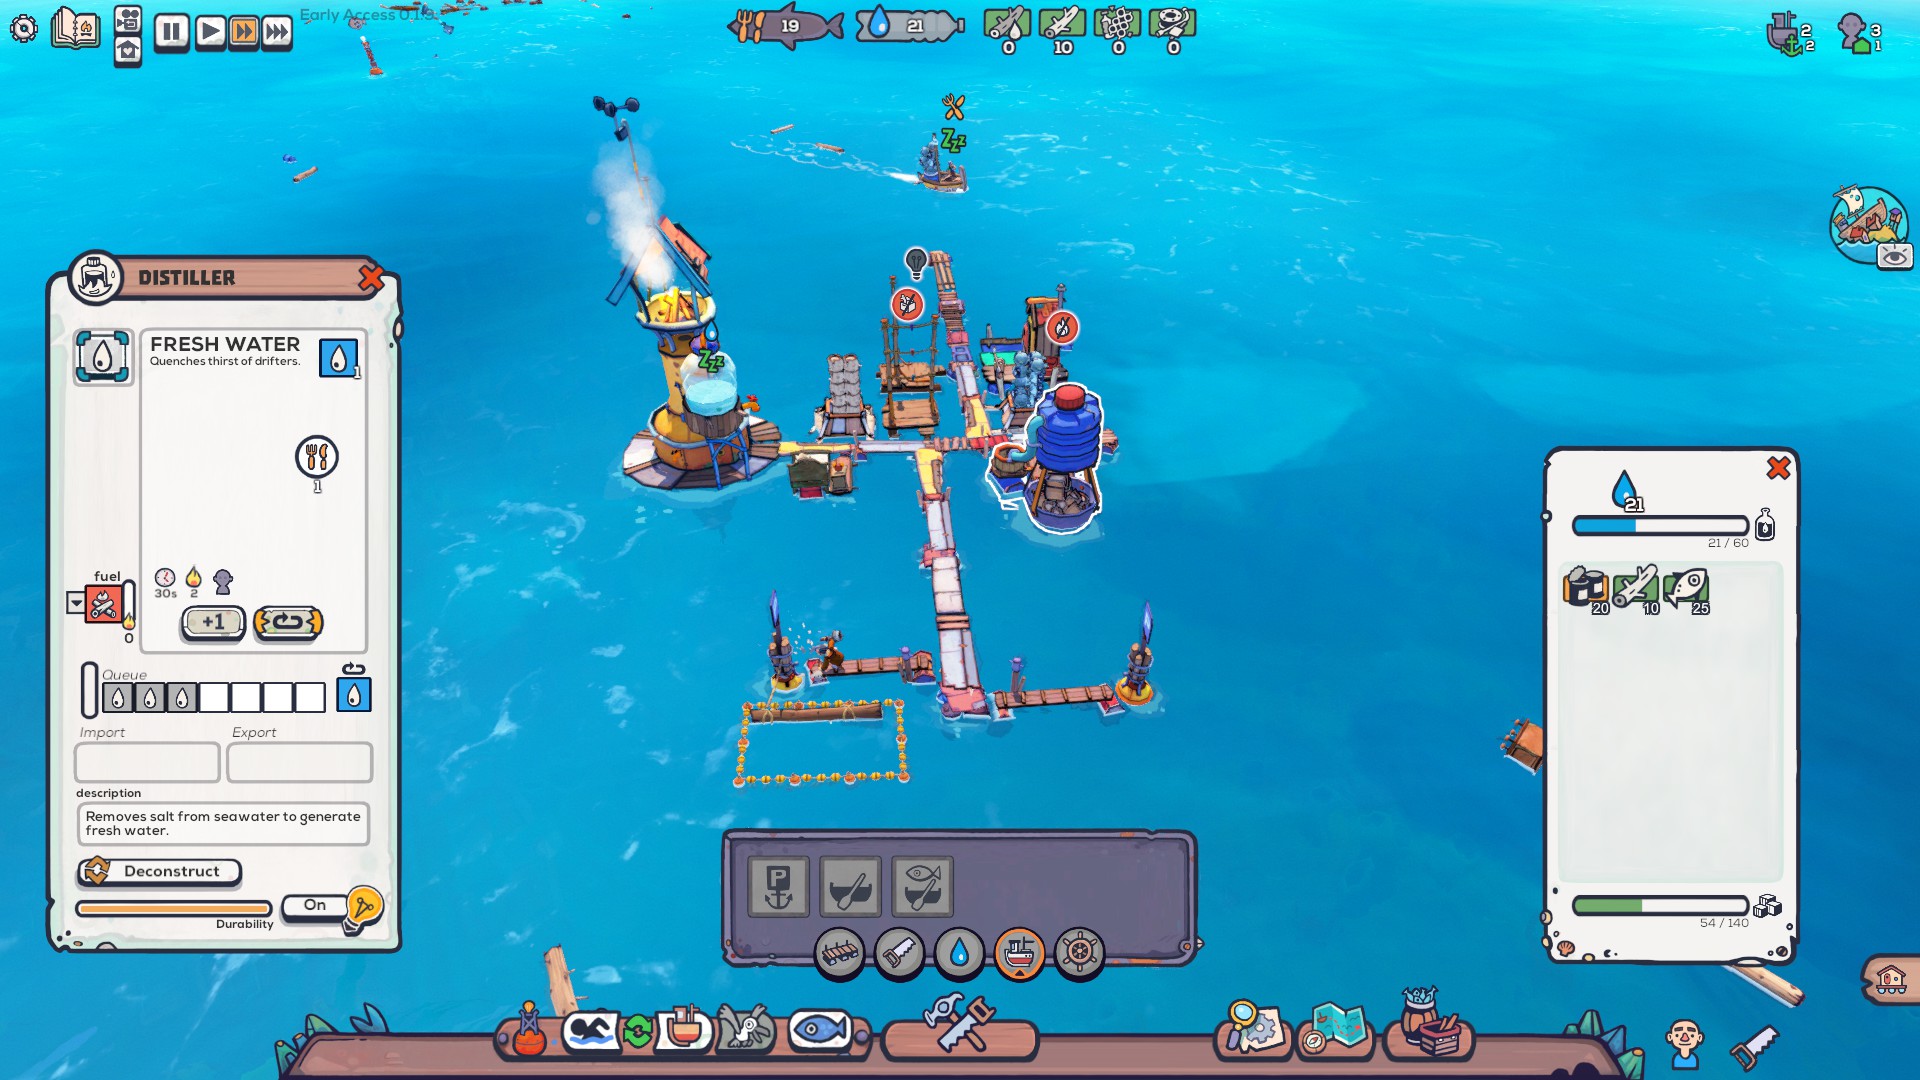
The second most important goal in Flotsam is keeping Drifters hydrated with a good source of water. You’d think this would be easy when the entire ocean is filled with water, but as many of us know, saltwater isn’t drinkable.
A Distiller is used in Flotsam to get fresh water. It uses firewood produced at a Woodworking Shed to remove salt from saltwater. It’s a slow process, but it creates drinkable freshwater for your Drifters.
Advanced Tip
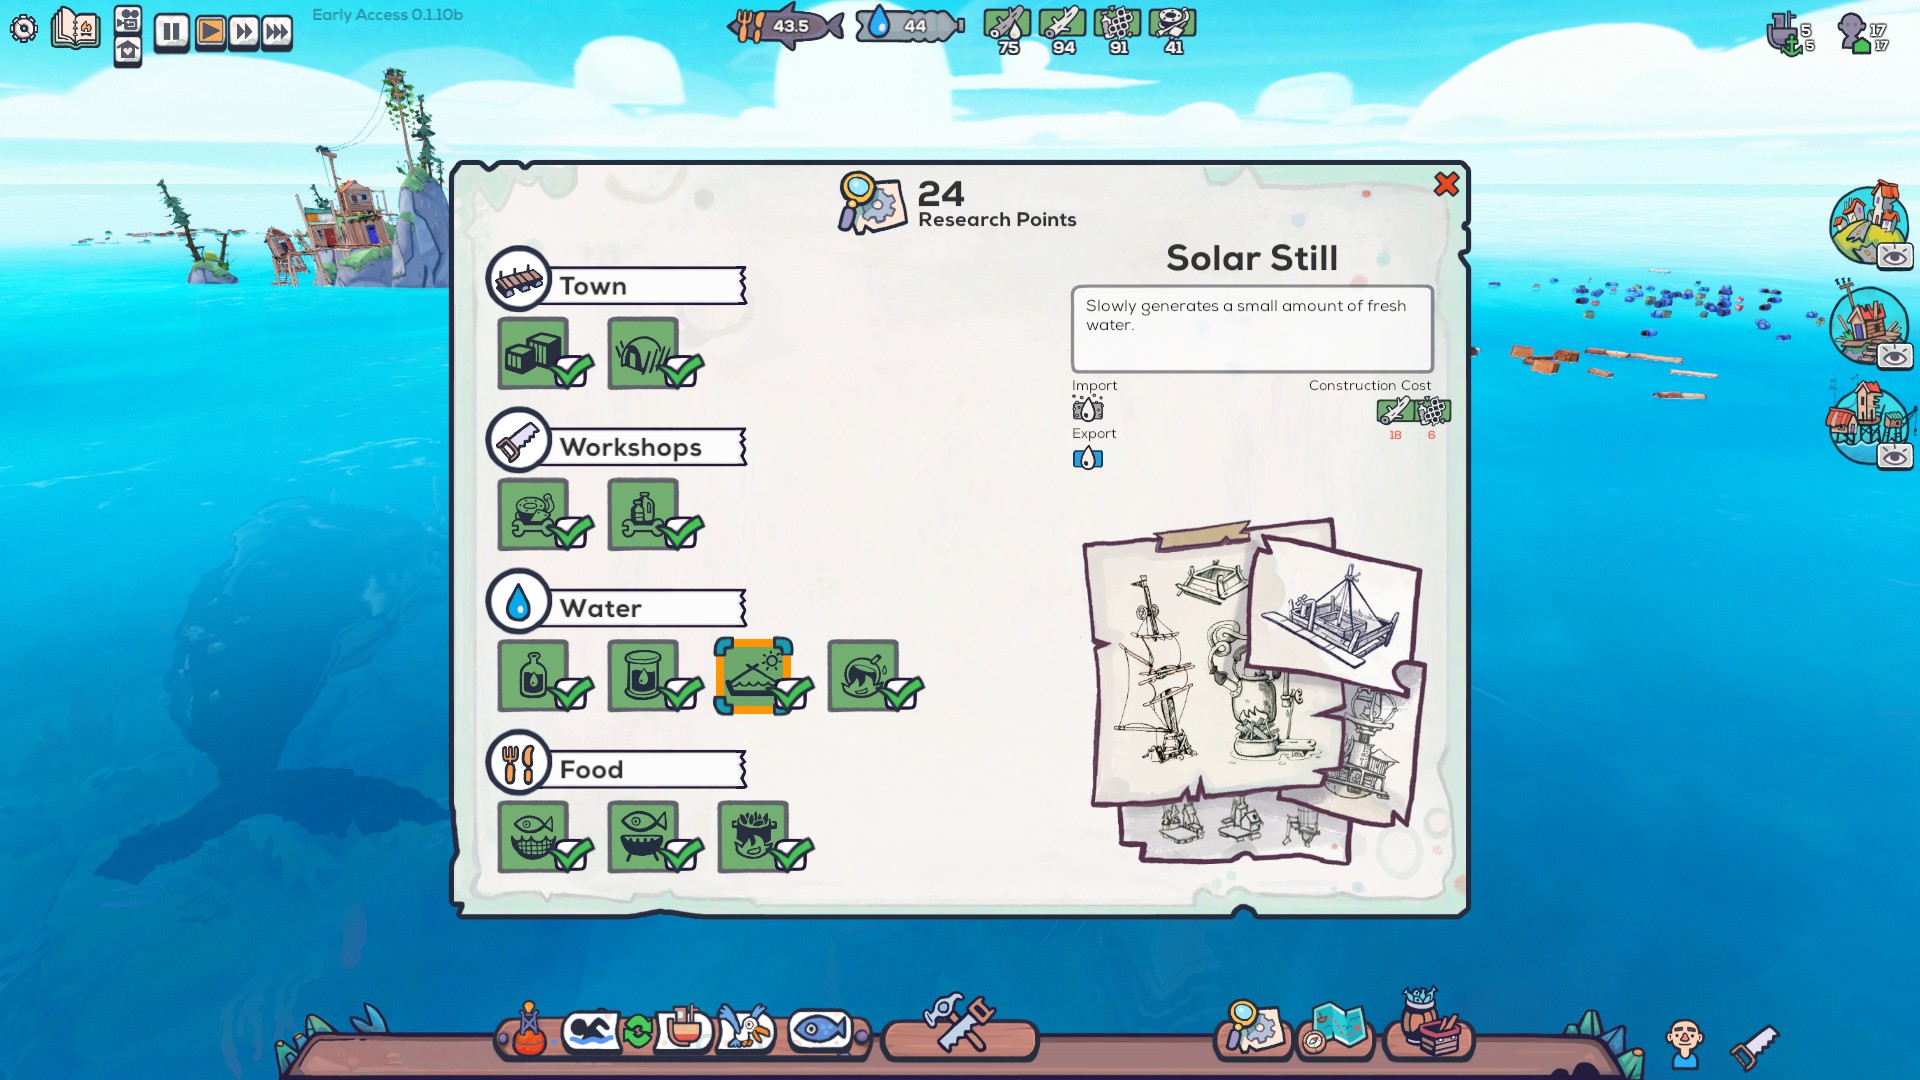
Two Distillers early on are proficient in keeping your Drifters hydrated if there’s enough firewood around. However, Solar Stills are worth researching to create freshwater passively. Also, the Desalinator is an end-game priority because of how quickly one hydrates an entire colony. One Desalinator over several Distillers only needs one Drifter too.
Tip 3 – Double-Clicking Resources to Find More
This tip is straightforward but isn’t something I realized when I first started playing. Double-clicking resources in the water like Wet Wood or Plastic Waste highlight every piece of that resource. This makes it easy for finding other sources of what you need instead of looking around aimlessly.
While not a super-advanced tip, but important to know, fishing areas are also double-clickable. One of the more frustrating parts of Flotsam is finding fishing areas in a large map even when zooming out fully. By double-clicking a school of fish, other ones are highlighted too. They have a small area to click which is usually slightly above them.
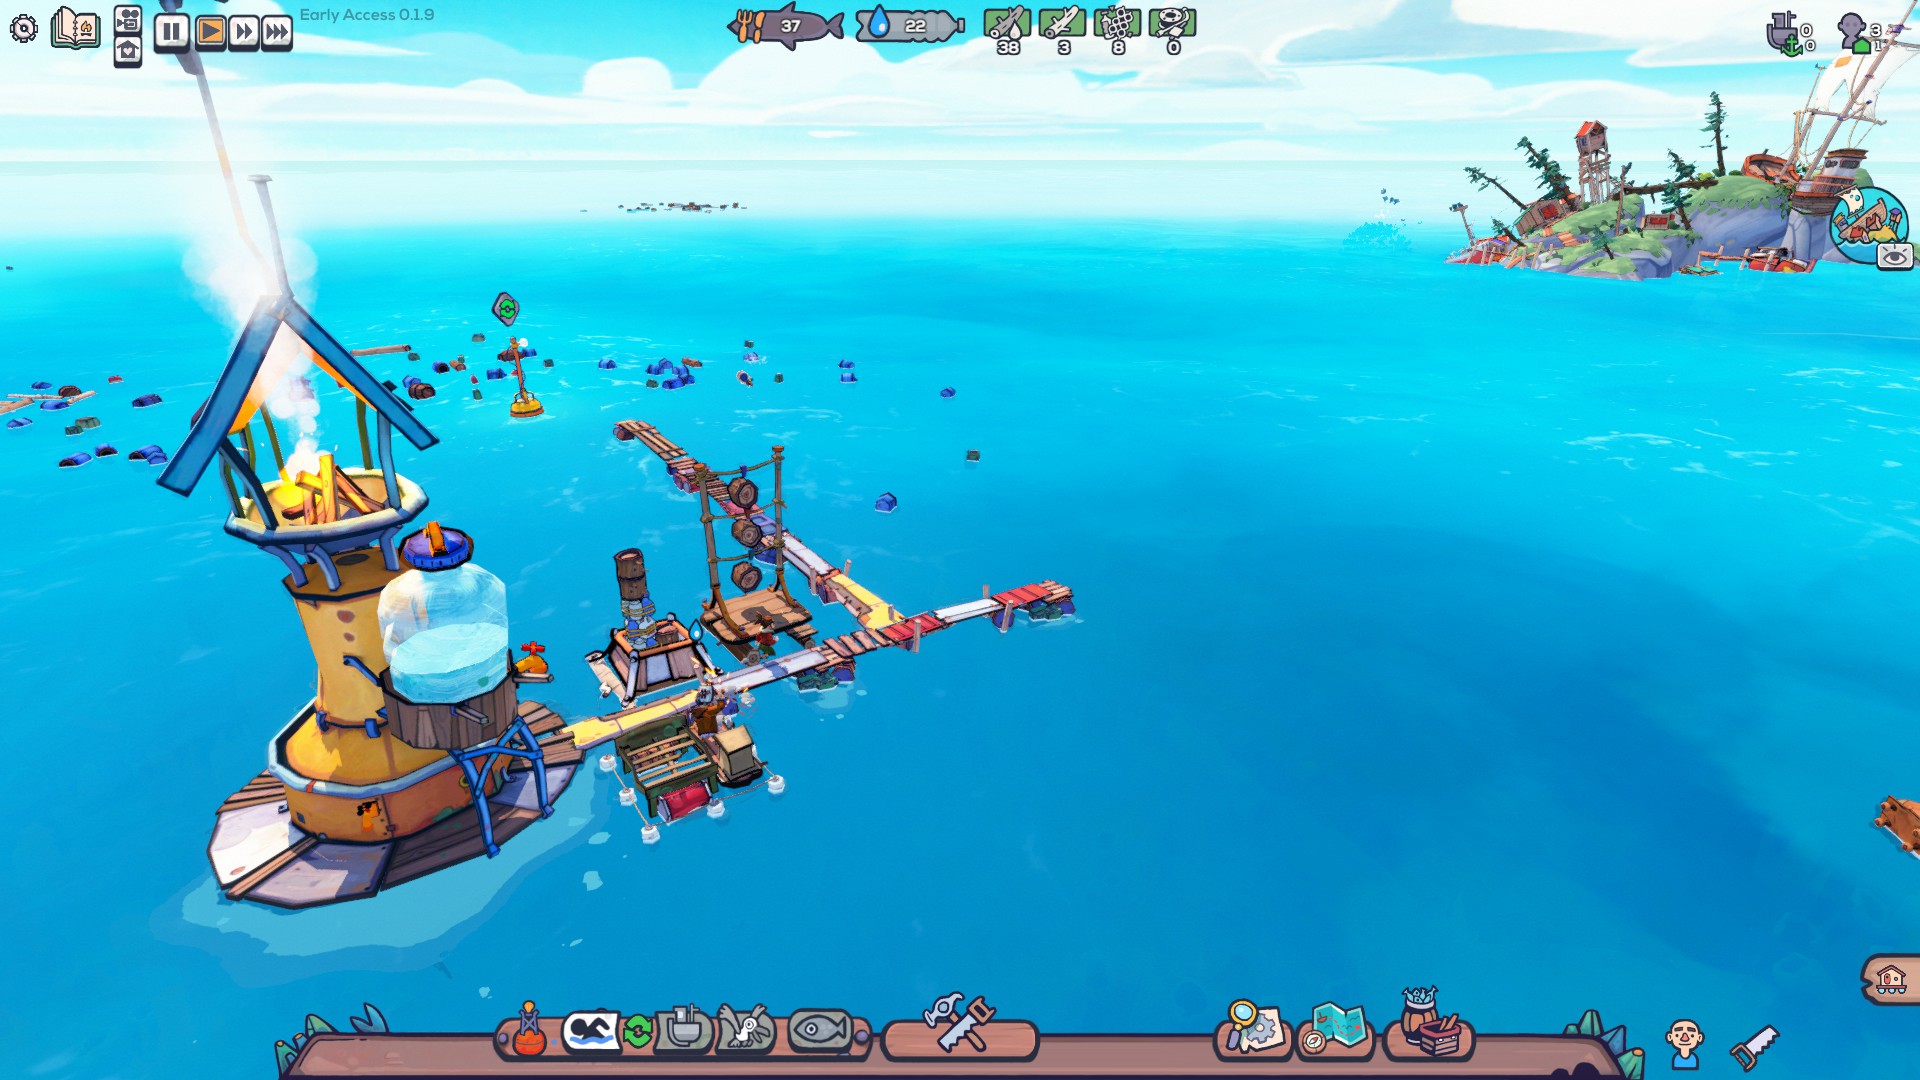
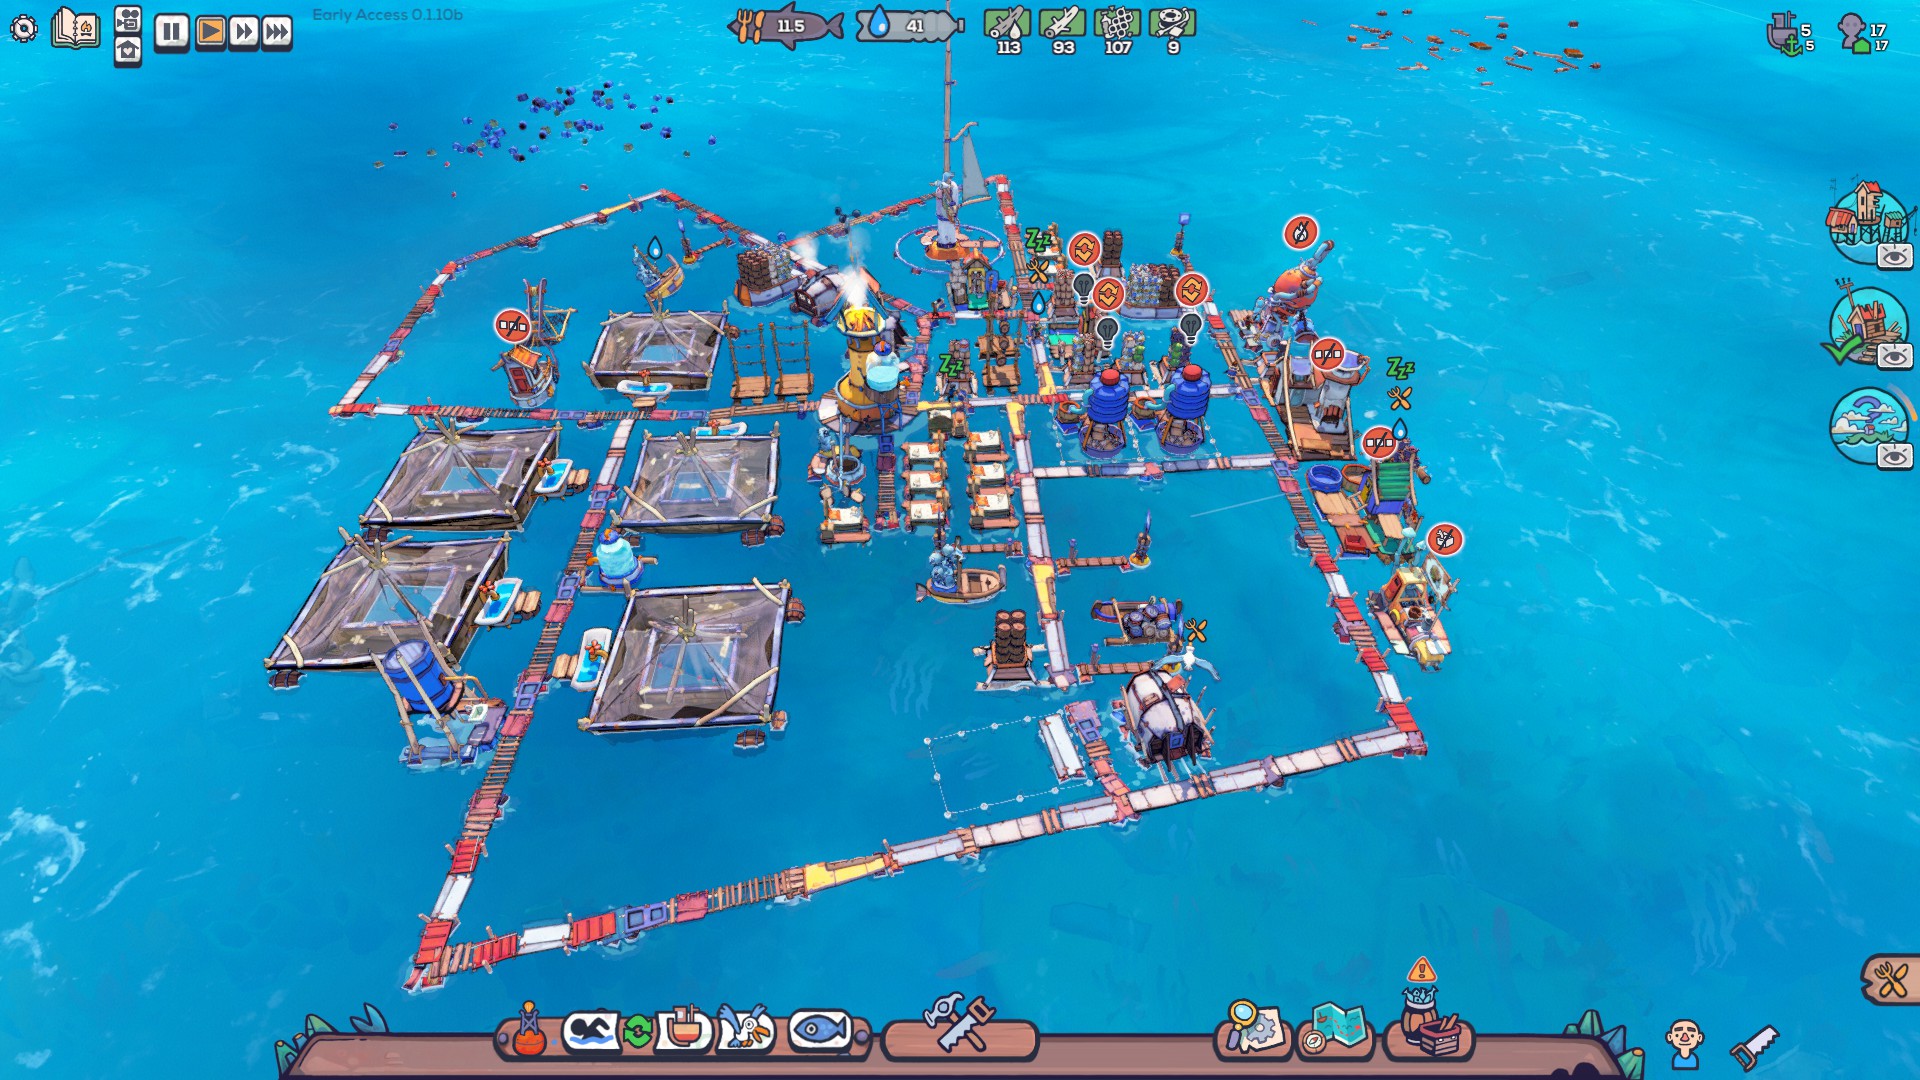
Tip 4 – Build Walkways Toward Resources & Flotsam Early On
This is another relatively basic tip that mostly applies to the early game. In the beginning, when you don’t have a Salvage Boat yet, it makes sense to build walkways toward flotsam. This isn’t only the name of the game. flotsam is also known as random junk floating in the sea.
Building walkways toward resources makes it easier for Drifters to get back and forth quickly with them. This is important in the beginning when time matters most.
Advanced Tip
Update (10/11/19): According to user Tooth and Nail, walkways can be deconstructed if you specifically highlight a node instead of the pathway. Kudos to them for pointing it out.
Original tip:
Plan your walkways because they’re not deconstructable, unlike buildings. It’s impossible to make a grid-like system that many city builder players are used to. However, you can still create an organized mess in your floating town.
Tip 5- Adjusting the Speed and Pausing
The speed at which everything in Flotsam occurs is controllable at the top left in-game. It’s pausable and functions between three different speeds, each exponentially faster. This is something simple to mention, but it makes a big difference in difficult moments.
When you’re practically out of food or water, it’s important to pause and take a second to understand why. Or how to fix the situation.
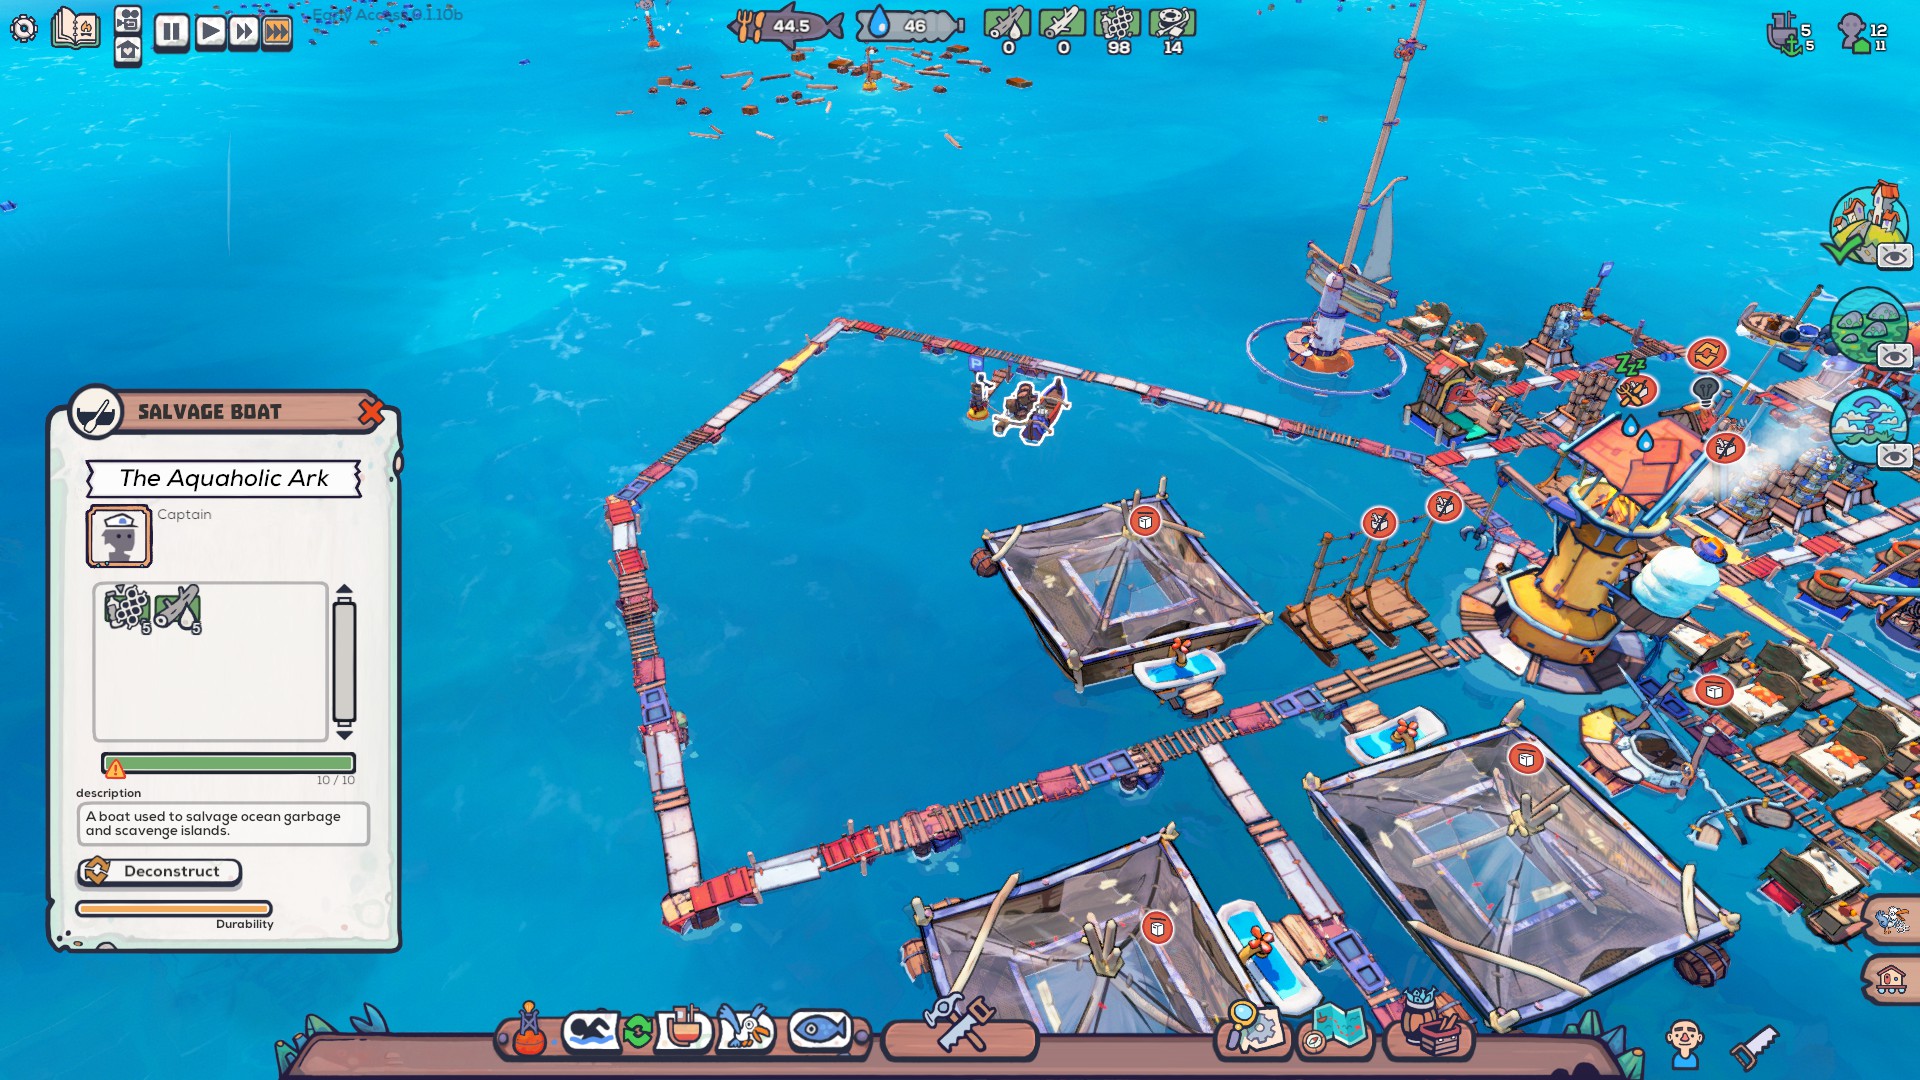
Tip 6 – Take Full Advantage of Boats
Flotsam has two types of boats, a Fishing Boat and Salvage Boat. Fishing Boats are the primary way of getting food to your Drifters. When a region runs out of fish, it essentially means, you need to move on. Fishing Boats are assigned to schools of fish to harvest 10 Nibble Fish per trip.
Salvage Boats are necessary early on to start traveling between regions in Flotsam. Salvage Boats are the only way to scavenge islands and far away groups of flotsam. It’s one thing to gather resources close to your base with swimmers, but another when it’s outside your range.
Advanced Tip
Prioritize Fishing Boats over Salvage Boats because food is usually more important for your survival. One Salvage Boat can the resources to reach a new region when you’re low on supplies. Eventually, it is important to acquire more Salvage Boats to keep your buildings fueled.
Tip 7 – Blocking Mooring Points/Docks Doesn’t Break Them
I never wanted to lose progress by blocking my Mooring Points and closing boats in. However, I finally did it to see what would happen and learned it leads to some odd situations. I’m sure the developer didn’t intend for people to block their own boats in, because that’s not a smart idea obviously.
Despite that, I learned it leads to one of two situations. First, your boat goes underwater and slips around buildings or walkways without fail. This doesn’t cause any issues aside from looking weird and stuttering a little sometimes. Second, it bugs badly and becomes an exploit. This exploit tends to happen frequently enough that it’ll likely be fixed.
The exploit is your boat stays in place or moves slightly and then collects the resource it’s assigned to. It doesn’t move from that spot and proceed towards the area where the resource is like it should. Instead, regardless of where the fish or wet wood is, it stays next to the Mooring Point. This leads to a situation where flotsam collects ridiculously quick.
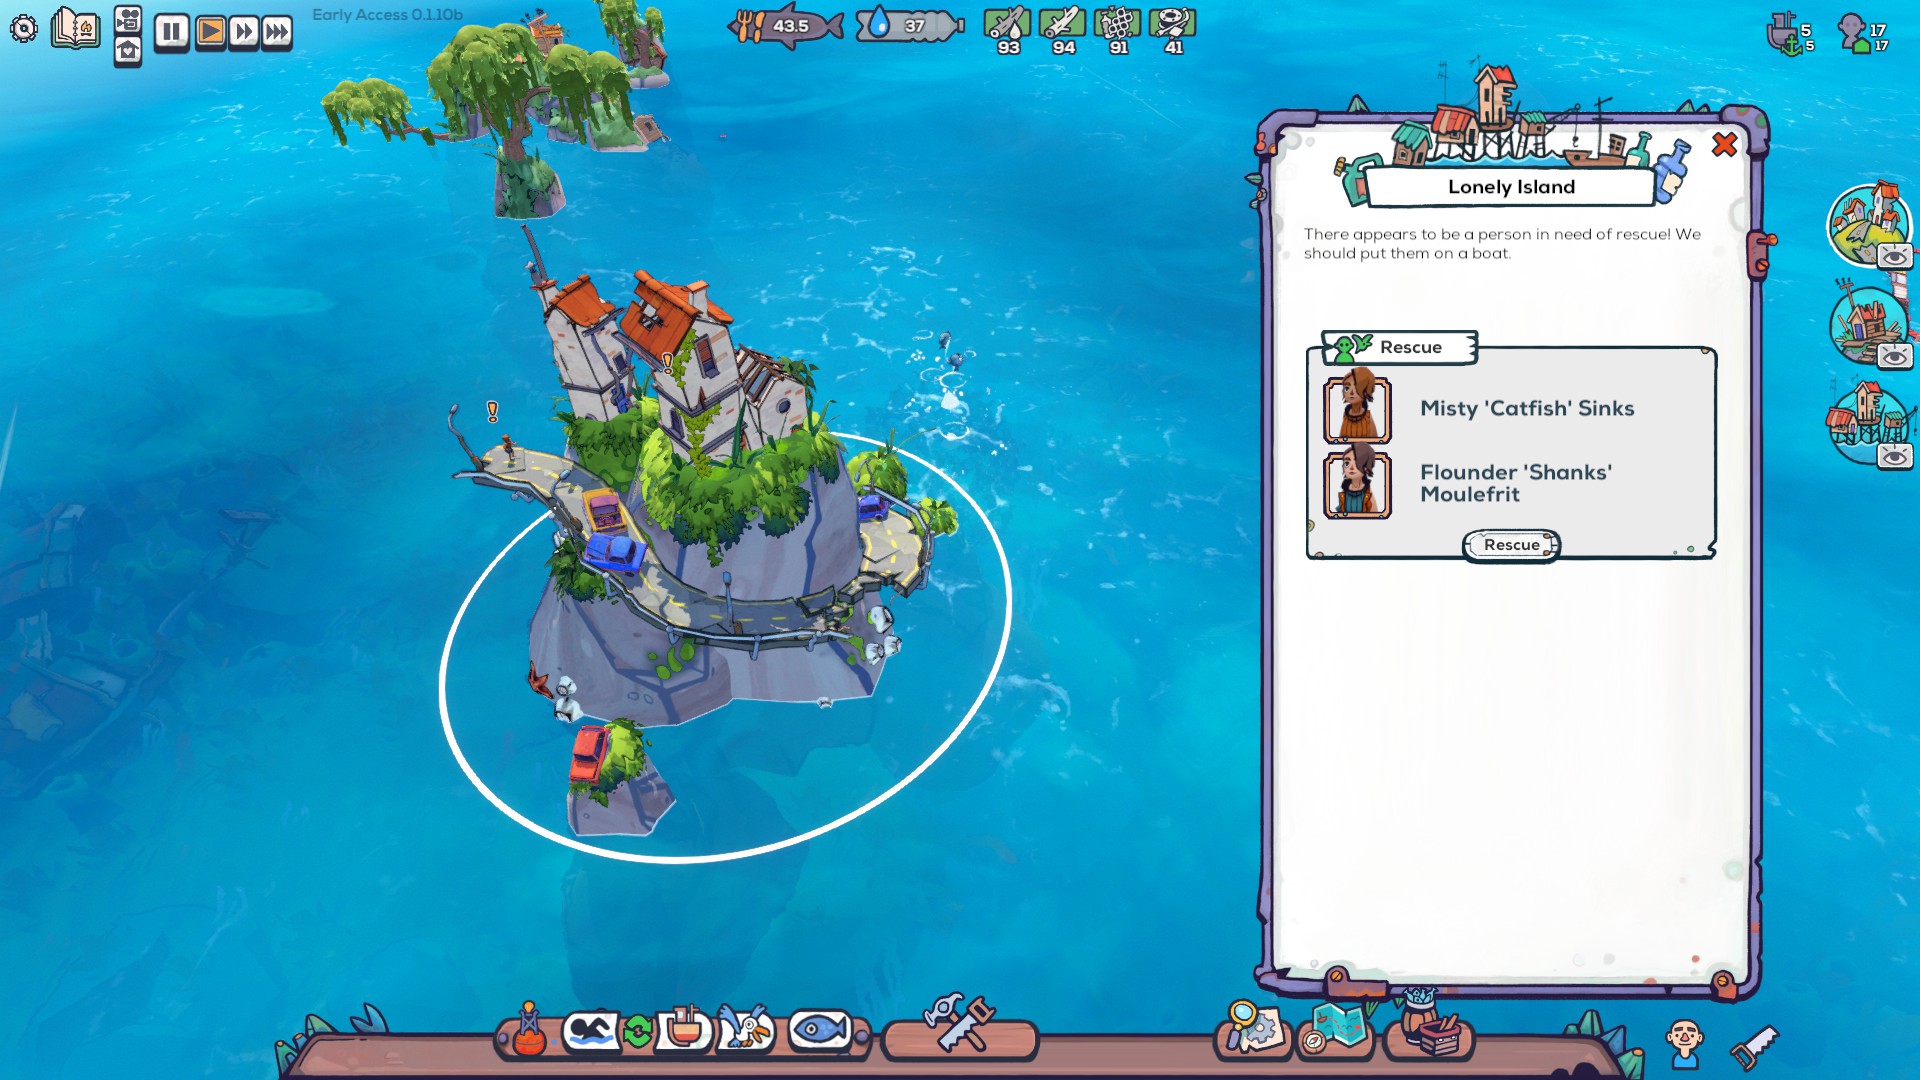
Tip 8 – Plan Around Getting New Drifters
An exciting part of Flotsam is in getting new Drifters to expand your floating colony. Expanding your colony is met with challenges similar to other city building games. In this case, getting new Drifters means having more mouths to feed with both food and water. Another part of keeping your Drifters happy is keeping them energized with beds to rest in.
When entering new territories with Villagers available, this is an opportunity to get new workers. However, it isn’t always worth getting them immediately if you’re not prepared. Creating Small Houses in advance is a smart way to attain them if you think you can handle their other needs too.
If you find yourself struggling to feed your current colony of Drifters, then adding two more might not be the best move. This isn’t always true, because you can effectively use them to overhaul your production. Having two more people to work your new boats can be a gamechanger. I say two people, since every time you find people, it’s two of them.
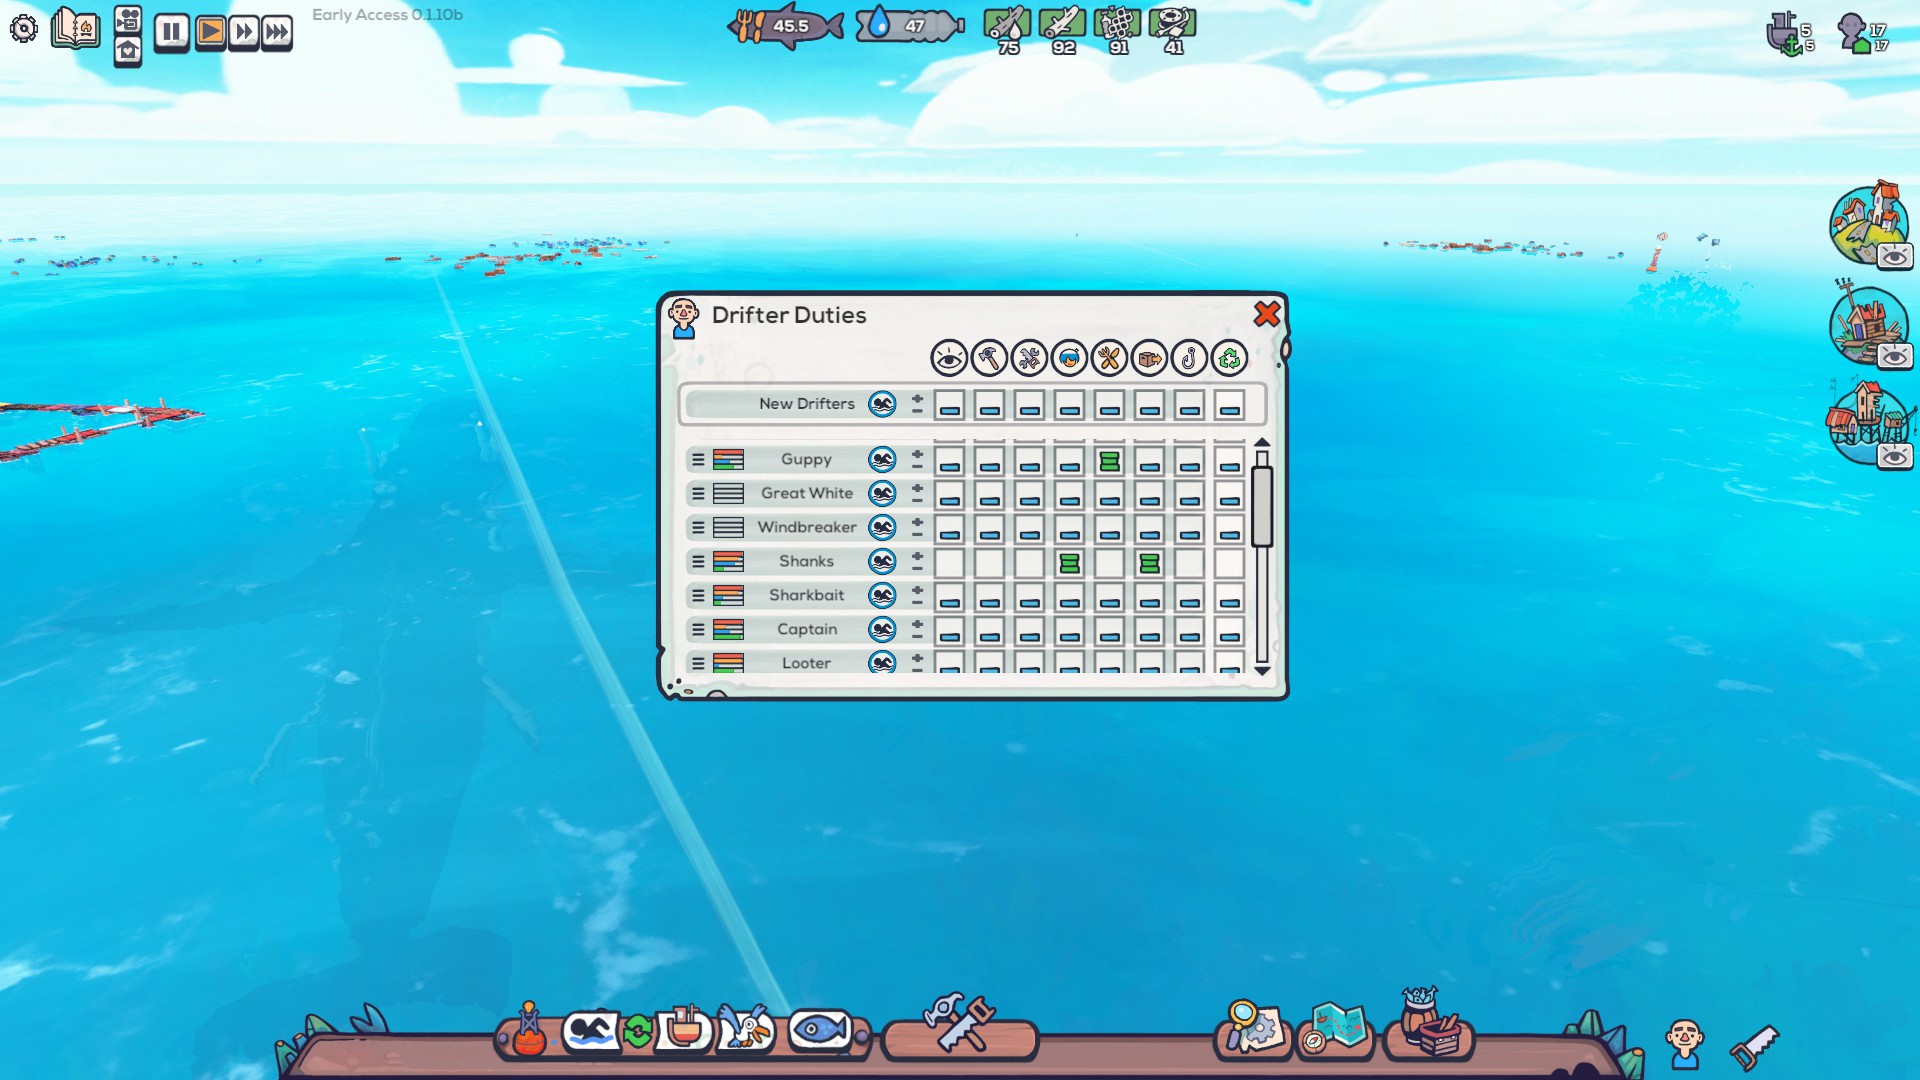
Tip 9 – How Does Prioritizing Jobs Work?
I believe prioritizing jobs and tasks in Flotsam is still being polished by the developer. Despite that, it’s still useful to know how, especially for when it’s implemented correctly.
For anyone who has played RimWorld, prioritizing jobs works similarly in Flotsam. There are eight different jobs a Drifter performs and each one can be prioritized differently. By clicking the little Drifter icon at the bottom right in-game or pressing the “Y” hotkey by default, the overview appears. A job can be prioritized anywhere from zero to three.
When priorities work correctly, one can assume a job at three is more important than one below that. A job at zero is likely to never be performed by that Drifter as well.
Advanced Tip
A smart way to take advantage of priorities is by giving tasks to Drifters based on their traits. Not every trait is applicable, but you don’t want someone hauling with a slow trait. Another example, it’s not worth sending someone out on a boat if they get hungry or thirsty quickly.
If you’re not familiar with how traits work, Tip 14 describes them in detail.

Tip 10 – Benefits of Limiting Producer Output
The saw icon at the bottom right corner or “P” hotkey by default opens up the Producer Output menu. It’s easier to ignore this menu and not realize how useful it becomes later on especially. The point of the Producer Output is to limit how much of a certain product is produced.
For example, I limit the amount of food and water produced to a large amount. This is a way for me to have a stockpile ready, but once it hits that cap, those workers do something else. Instead of massively producing Cooked Fish or freshwater, my workers are able to shift to other useful jobs.
Advanced Tip
Limiting the maximum amount of your freshwater cuts off any production of freshwater at Solar Stills. Hopefully, this is something that gets changed, because it’s silly that they stop collecting water. If you’d like to continue gathering freshwater at Solar Stills, turn off your Distiller or Desalinator and raise the maximum cap.
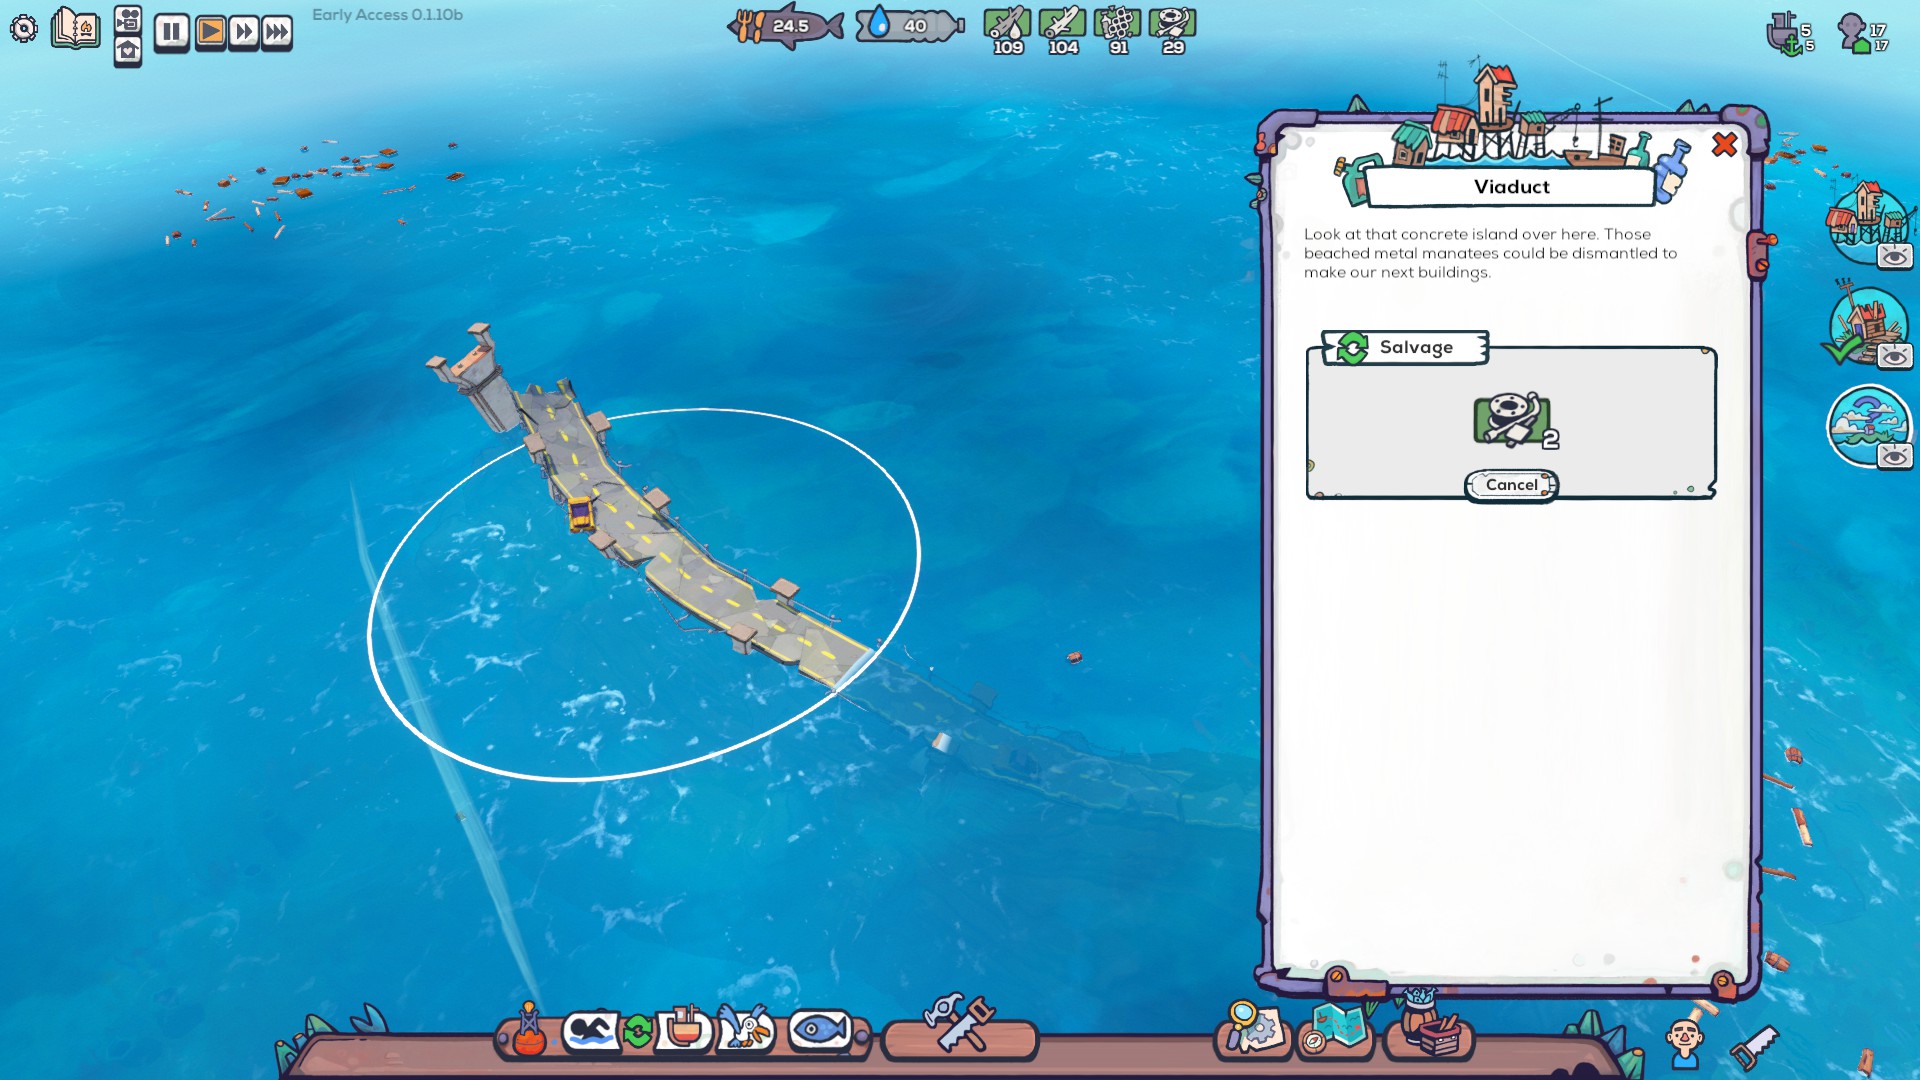
Tip 11 – How to Get Metal Scrap
Metal Scrap isn’t collected the same way other Flotsam in the water is. It’s scavenged from specific islands in certain regions with a Salvage Boat. Some examples include Abandoned Towns, Abandoned Shacks, and sunken highways called Viaducts.
Advanced Tip
This is more of a PSA than an advanced tip, scavenge as much Metal Scrap as possible. Until you’re set, Metal Scrap is important for end-game buildings. These are important for making your life easier in the long run.
Tip 12 – What Do Animals Do?
Animals in Flotsam are simple because they don’t do a whole lot. If a region on the world map has animals, it’s referring to a Seagull there. Players can take a Salvage Boat to gain a new form of Drifter in their colony, in the form of a Seagull.
Seagulls require a bed and food, but not water. They will haul one item at a time around and salvage anywhere in your region. Hauling one item at a time in short distances on your colony might be effective. However, using Seagulls to salvage is a bit silly. The developer confirmed Seagulls have the same hunger rate as Drifters.
Tip 13 – Best Research to Focus First
Researching recipes for new buildings is a vital way to make your survival easier in Flotsam. The best research to focus early on revolves around keeping your Drifters fed and hydrated.
- Solar Still – Passive source of freshwater without any needs.
- Fish Kabob – Primary source of food that replaces Drying Racks. Only one is necessary to feed a large number of people. I used one to feed up to 17 Drifters.
- Scrapsmith – This is important to create certain buildings in the end-game such as the Desalinator.
- Desalinator – Primary source of freshwater that replaces the Distiller. Similar to the Fish Kabob, one can hydrate many.
- Storage Yard or House – The Storage Yard jumps storage from 20 to 100. The upgraded House creates room for two residents instead of one.
Any other recipes aren’t necessary. The Fishing Hut isn’t a bad way to gain fish if you have a source of Raw Seaweed. But Raw Seaweed isn’t common. You’re more likely to move onto the next region for more fish than waste time on the Fishing Hut. Until something changes, additional water containers are a waste of time.
Advanced Tip
I covered most of what you need to know above. However, it’s worth reiterating that one Fish Kabob and one Desalinator is most likely enough for your entire colony. These save time by using fewer workers and freeing others up for different jobs.
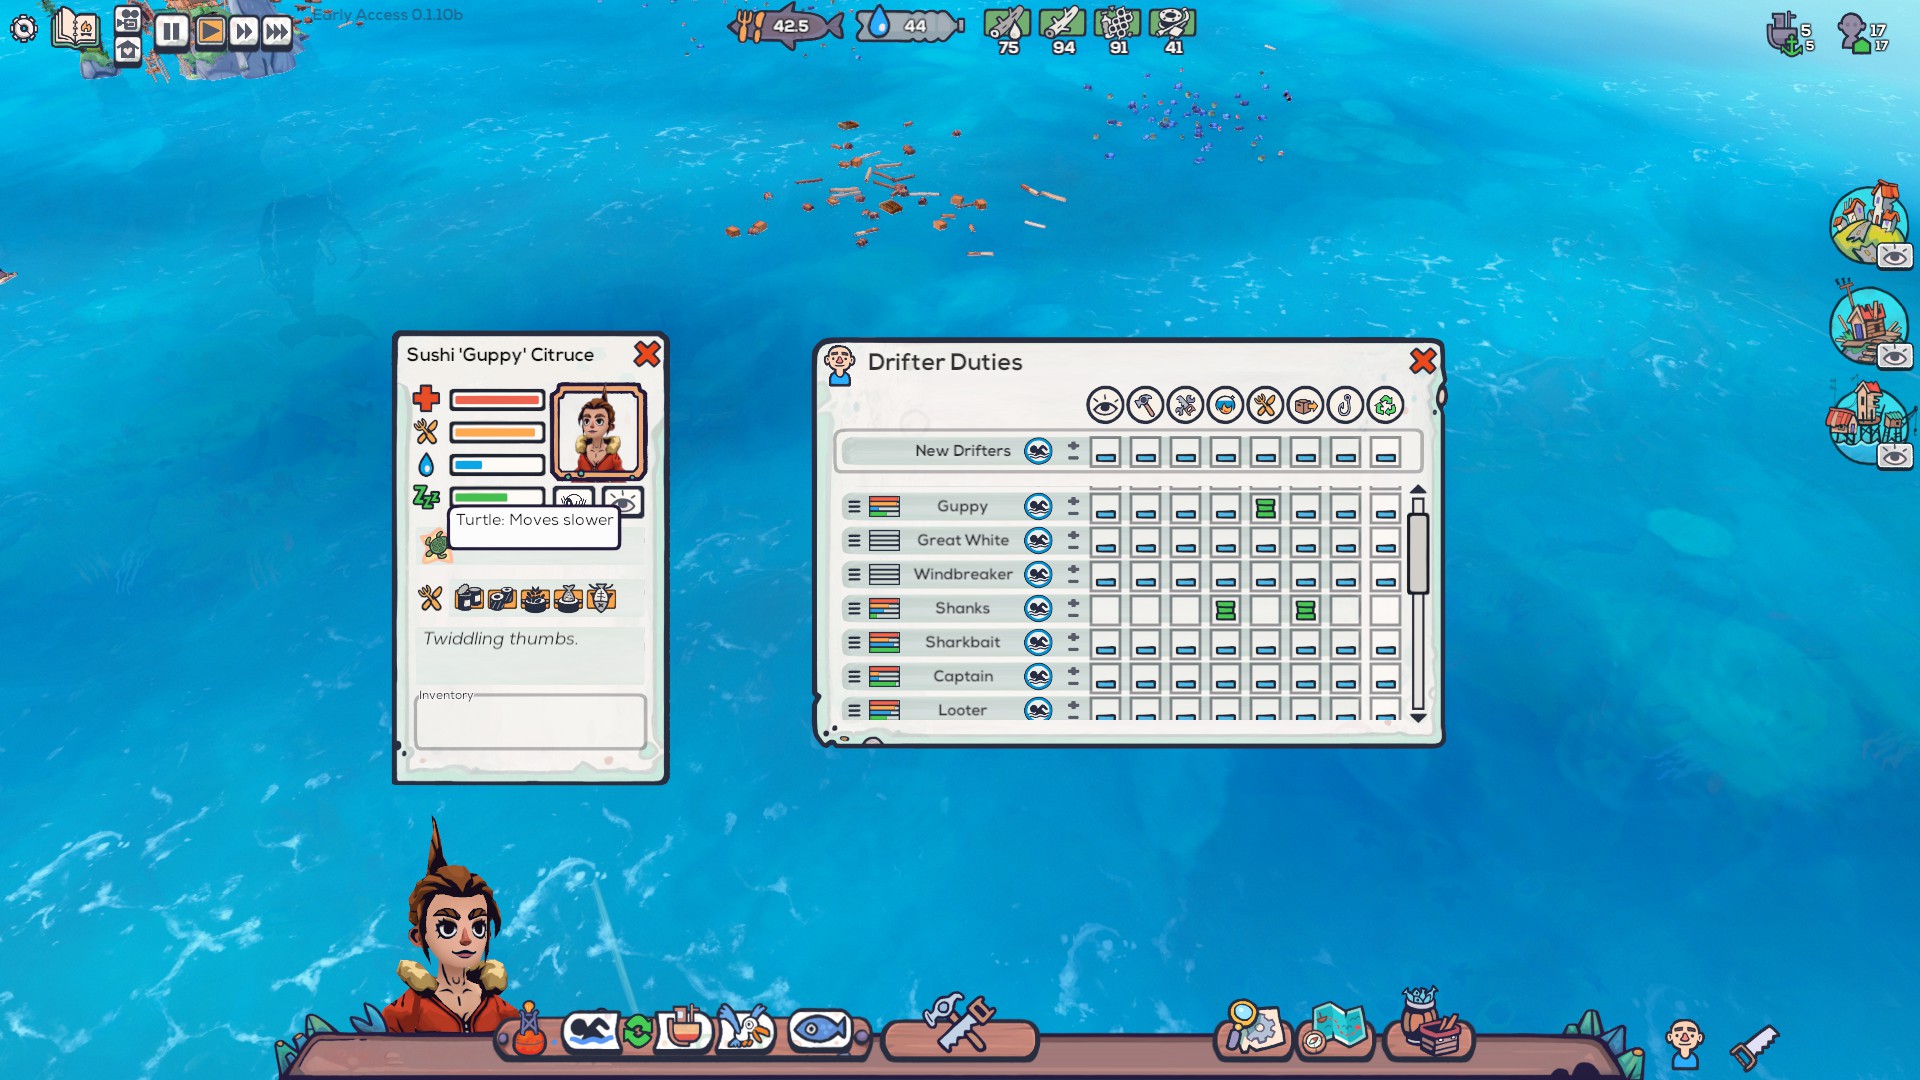
Tip 14 – Understanding Traits on Drifters
The Drifters and Seagulls in Flotsam each have a trait that helps or hurts them. Traits are shown on a Drifter’s profile, under their stats. To get to their profile, you can click them or pull up every Drifter with the “Y” hotkey menu. If you forget the hotkey, it’s the Drifter icon at the bottom right. Clicking anyone on that list will pop up their profile.
Traits in Flotsam all follow similar effects such as making something faster or slower. A few examples are below:
- Torpedo – Drifters move faster.
- Turtle – Drifters move slower.
- Kids Menu – Drifters eat less.
- Hungry Hippo – Drifters get hungry faster.
All traits are discussed more in detail in our trait guide.
Advanced Tip
In Tip 9, I mentioned a similar advanced tip that also applies here. Certain traits make Drifters better for different jobs. I wouldn’t send someone out to sea that gets hungry or thirsty faster. While someone who is quicker is a good hauler.
A minor tip that doesn’t apply here is holding Tab shows the nameplates of every Drifter.
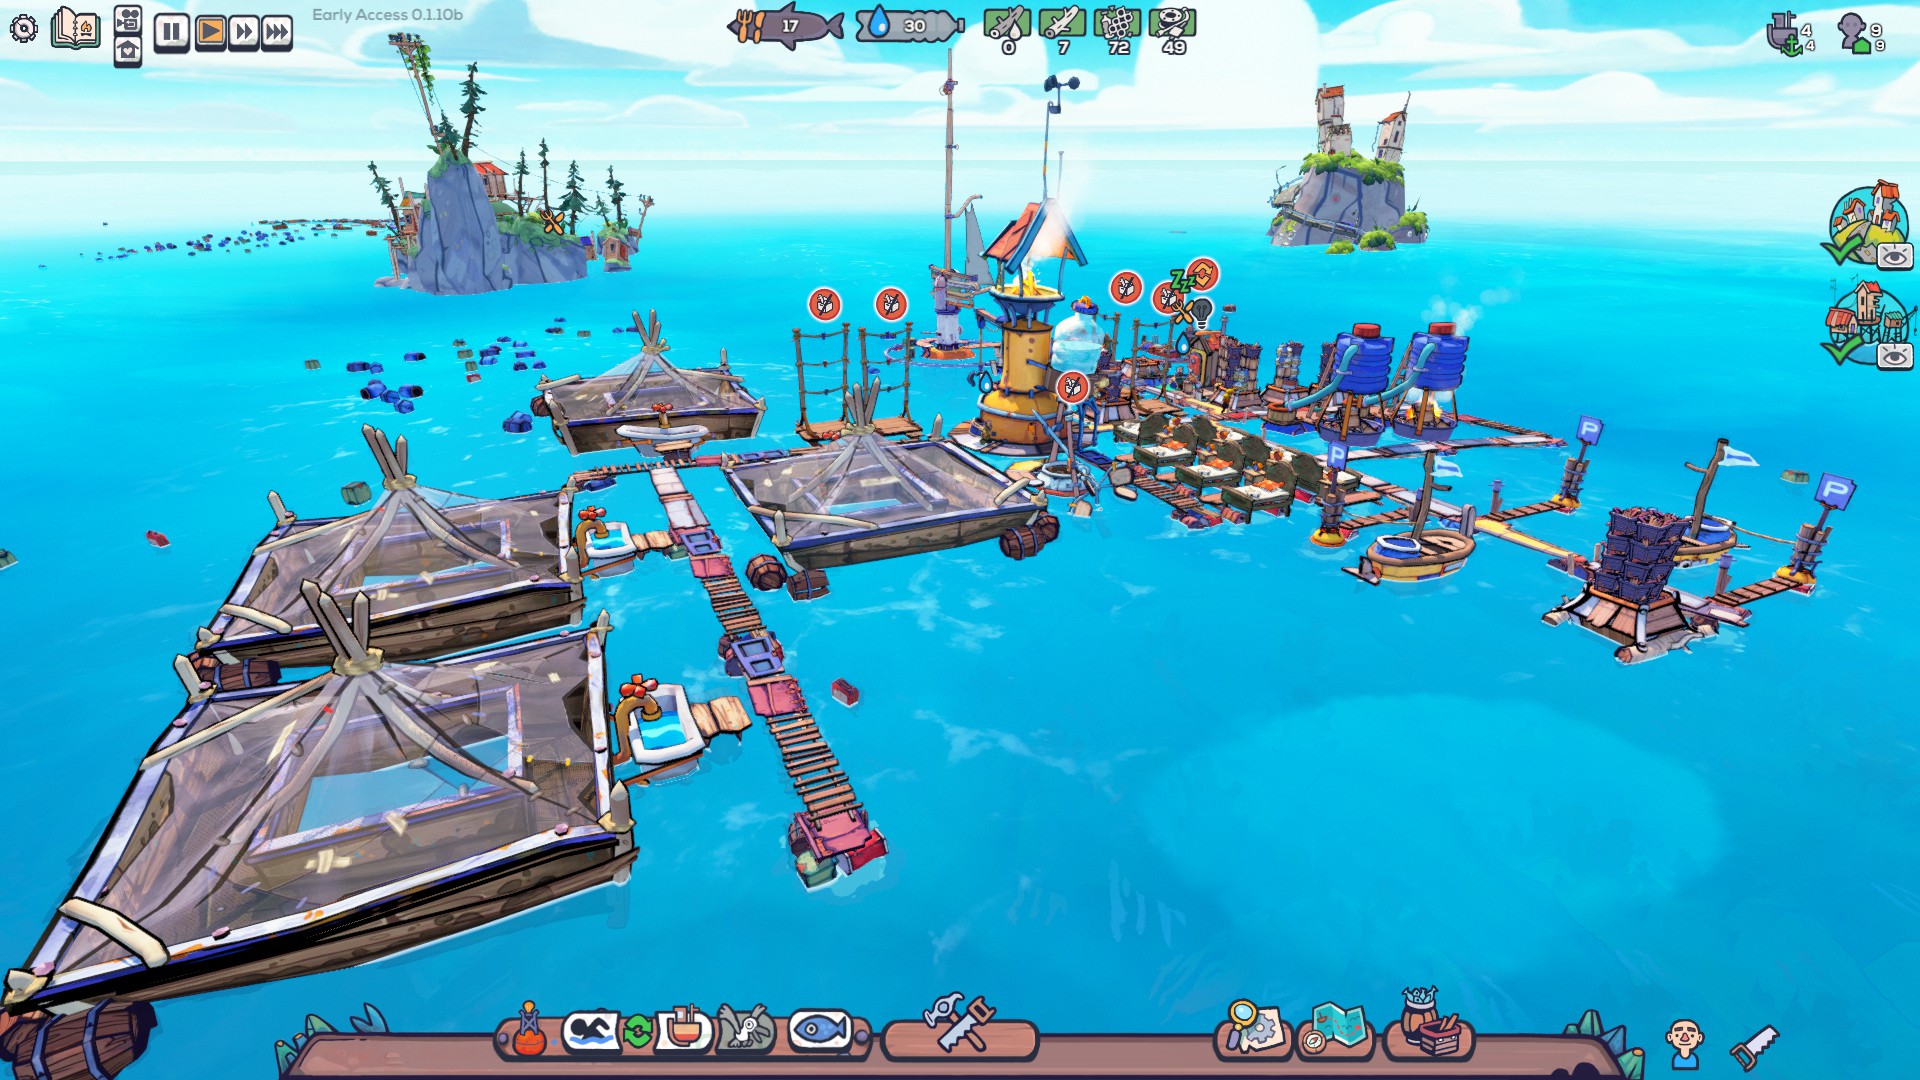
Tip 15 – Placing Storage Yards Efficiently
Placing Storage Yards efficiently is something I wish I did more of earlier on. Similar to other city builders, each storage plot is sortable into only having certain goods placed there. Strategically placing the Small Storage Yards makes it easier for boats to drop off their goods and get back out.
The same concept applies to areas where having Firewood readily available benefits a workshop. Mastering the placement of Storage Yards is a way to save a ton of time and maximize the efficiency of your Drifters.
I hope these tips and tricks teach you something new and help make your life in Flotsam an easier venture. If you need help with something specific, be sure to comment below and I’ll do my best to help.
Flotsam is available on Humble Bundle and Steam Early Access as of September 26, 2019.
Disclaimer: Certain links in this article may contain affiliate links where purchases may provide a small commission to Slyther Games. Our affiliate policy is here.


Jeff is a journalist with over 10 years of experience writing, streaming, and making content about video games. With an associate degree in journalism, he’s a sucker for RPGs, survival games, roguelikes, and more.
Tooth And Nail
Friday 11th of October 2019
Walkways are deconstructable, you just need to highlight the nodes rather than the paths.
Jeffrey Lerman
Friday 11th of October 2019
I updated the tip with credit to you, thanks for the heads up! That's a game changer for sure.