If you’re struggling with how to beat the final boss in Remnant 2, we’ve got some tips and tricks for you. It quickly becomes clear that this boss fight is a large spike in difficulty. So don’t be surprised if you’re having trouble even after several attempts. I’ve put together tips for every attack, phase, and even videos too.
With that said, the final boss heavily relies on iframe dodging so your best bet is learning the fight. For those unfamiliar with iframe dodging, this refers to the frame that your character is invincible. Therefore, you can dodge almost any attack if you do it at the perfect moment.
Quick disclaimer, this guide primarily revolves around explaining each attack and how to deal with it. So I won’t dive into gear recommendations or the best archetype for the fight. Even though the Handler felt underpowered in solo play. Also, some players prefer to fight the final boss solo since it’s easier to track attacks.
Fighting the Final Boss in Remnant 2, Annihilation
First Phase Tips
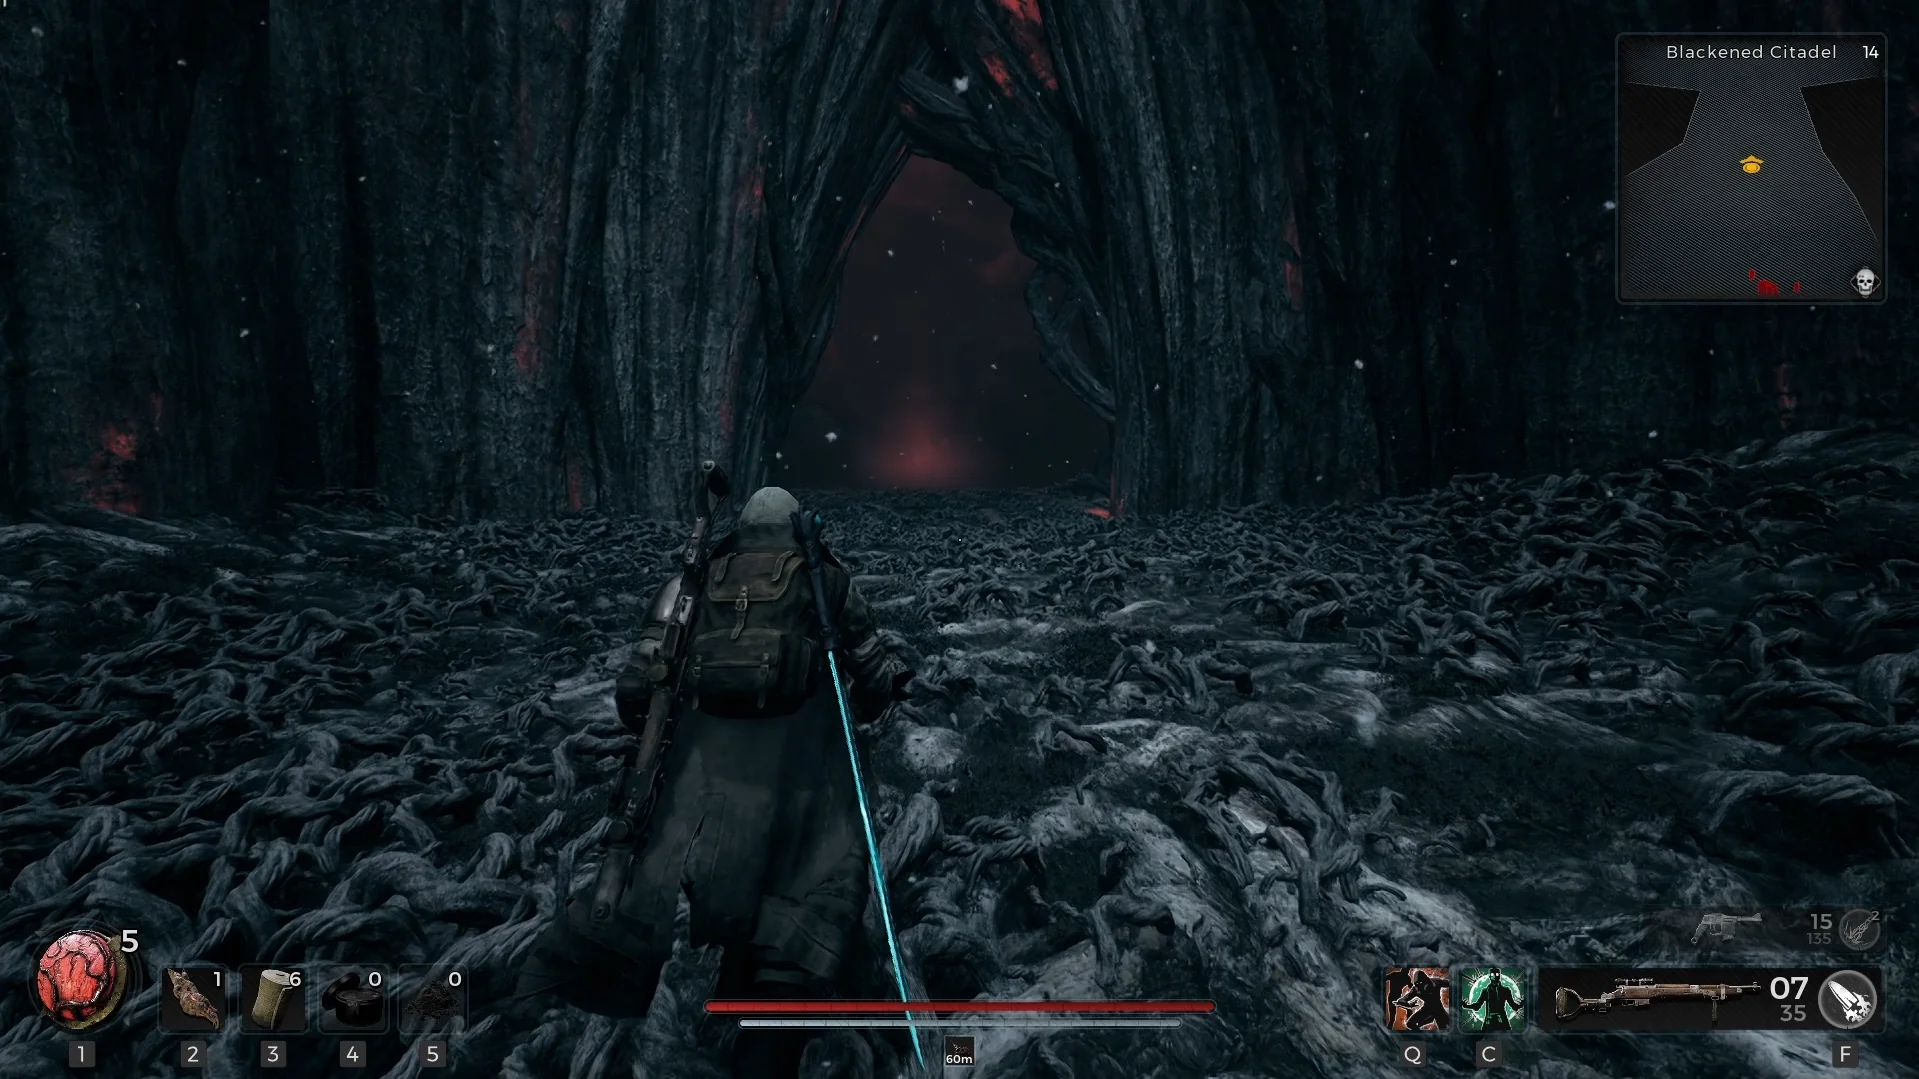
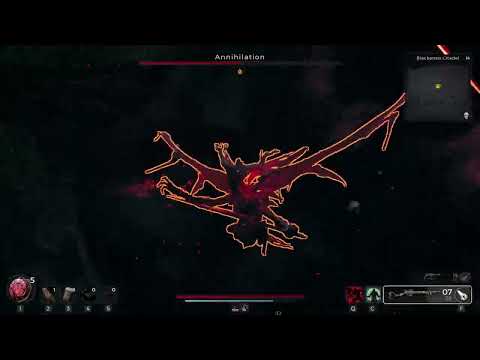
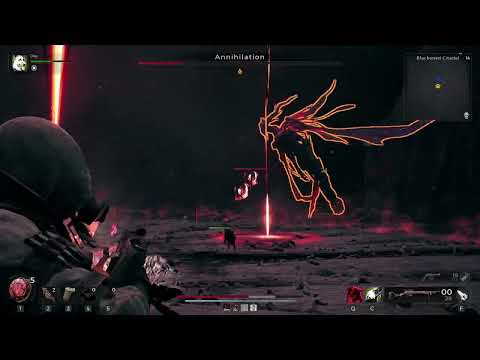
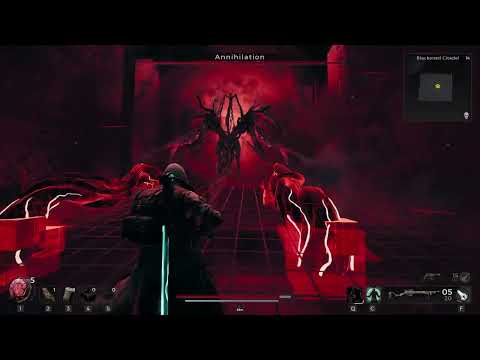
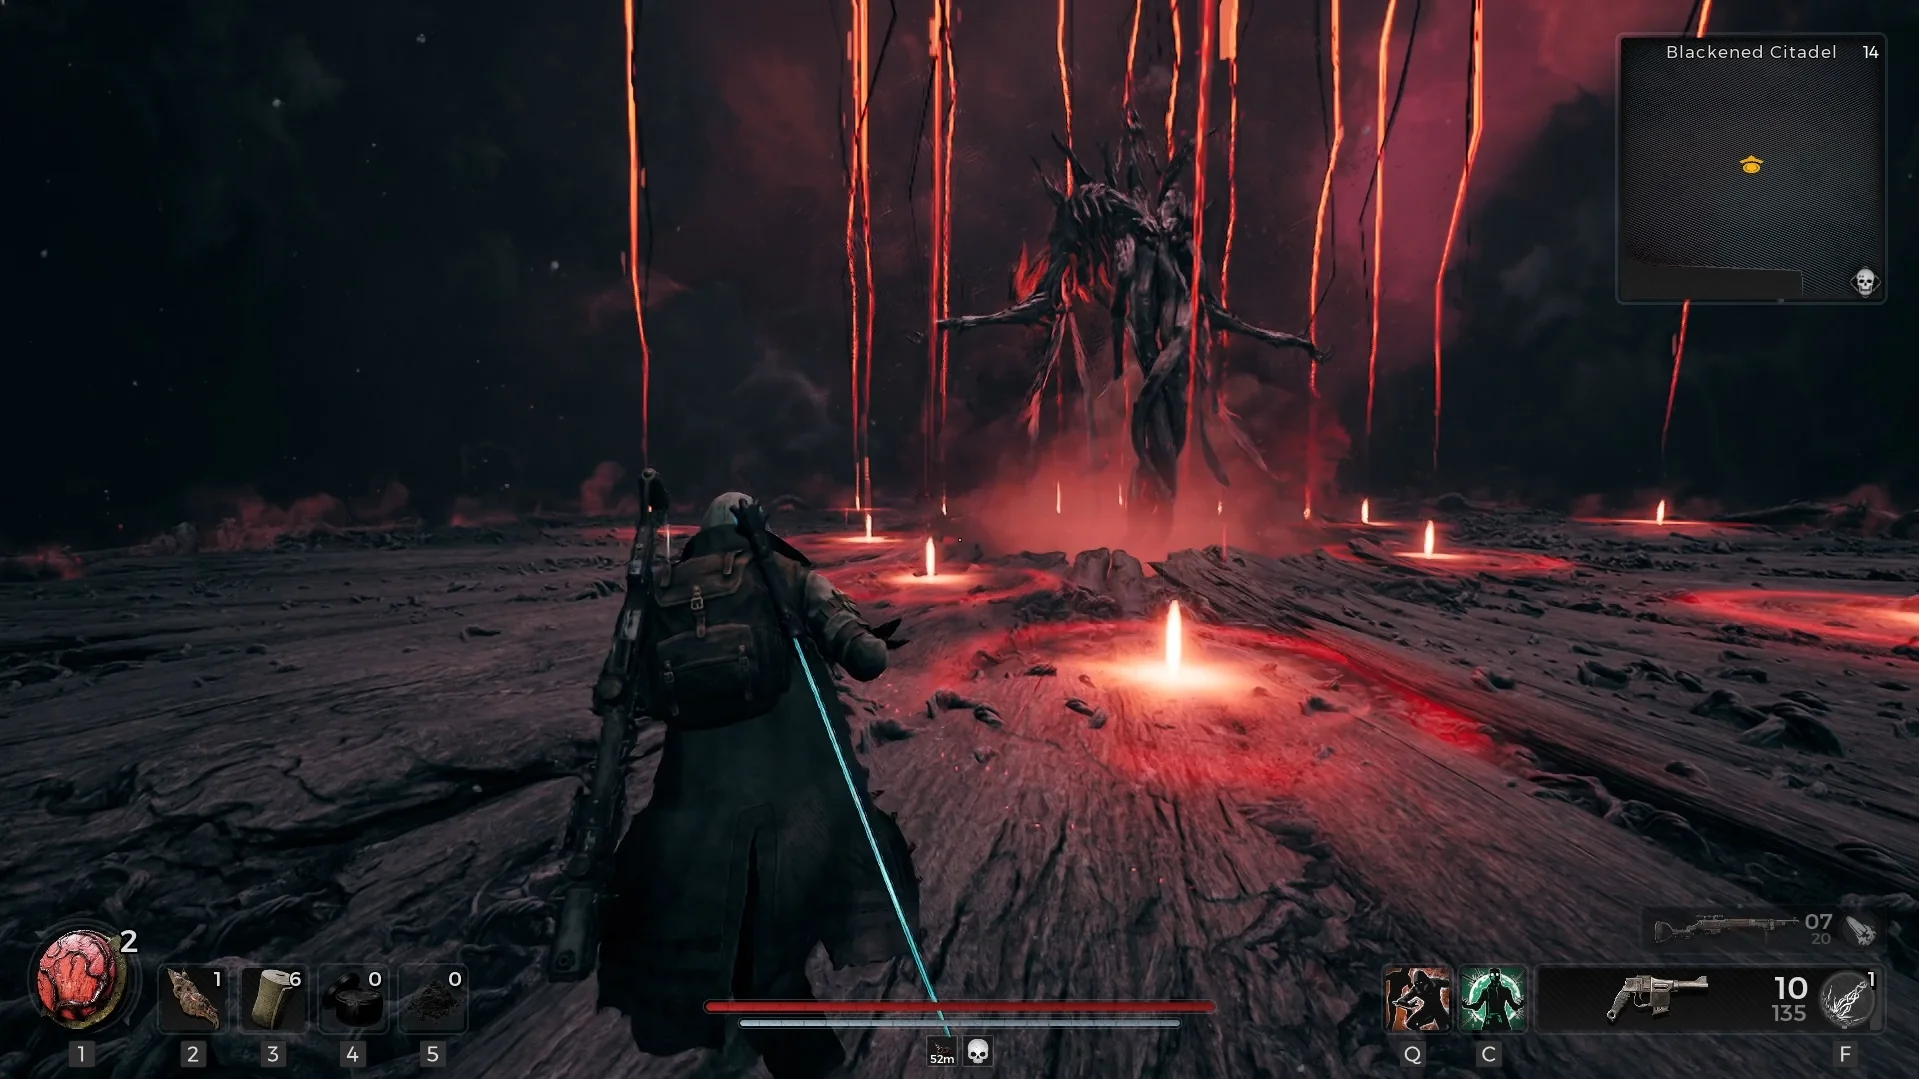
Before diving into first-phase attacks, let’s do a quick overview. First, this portion of the fight takes part in a large circle with a pit in the middle. And the boss is almost always flying so you’ll need to rely on ranged weapons for dealing damage. Fortunately, their weak spot is their large head so it’s not too tough to hit.
One of the most common tips you’ll see for fighting Annihilation is to listen to audio cues. This is why some players even disable their music to hear them more easily. However, this isn’t necessary and if anything, you can lower the music a little. Regardless, before almost every attack, Annihilation makes a high-pitched sound.
It’s important to note that this sound gives you a heads-up that an attack is incoming; not necessarily telling you when to dodge. Therefore, I still recommend keeping an eye on Annihilation so you can match both the sound and visual timing. This continues to be the case for the second phase as well.
That aside, it’s worth mentioning there’s an exploit going around but I wasn’t able to replicate it. Some players have supposedly been able to dodge through the fog wall border for the first phase. However, this is bound to be patched out if it hasn’t been already. So I wouldn’t rely on that, but you’re welcome to search for it.
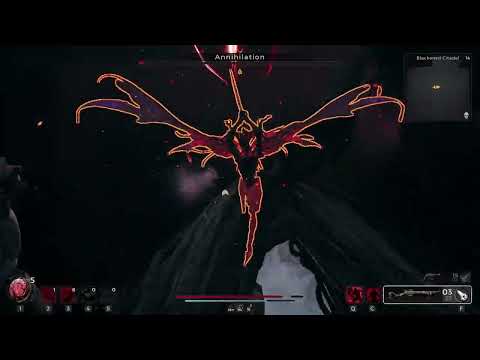
Overhead Sword Slice Downward
This is one of the most common attacks that Annihilation will throw your way. You’ll need to rely mostly on the audio cue for when they slice downward toward you. Unfortunately, there isn’t too much to this attack aside from learning the timing.
I always try to dodge roll to the left almost right as the sword hits the ground. Even though you can roll in any direction or even use a neutral dodge for the iframe. It’s not so much about where you end up as it is about nailing the timing. As you become more confident with the fight, you can get a few hits in afterward.
Dragging Sword From Behind Slowly Toward You
This attack is relatively easy to notice since Annihilation will get close to the ground while holding their sword back. They’ll start moving toward you slowly while dragging the sword along the ground. After about 2-3 seconds, they’ll lift the sword toward you.
Usually, I try sprinting to the side and then rolling to get out of the way. As this fight relies heavily on your audio, you can listen for that cue per usual. Depending on what attack Annihilation combos this into, you may not have an opportunity to get shots in.
Shockwave Slam
If Annihilation is flying slightly farther away and then their hand glows red, prepare for a shockwave attack. This audio cue is a bit longer so it can be tough to learn the timing. And if you’re close to the edge of the stage, you’ll be closer to the shockwave.
Annihilation only takes about a second to charge up this attack before slamming the arena. This creates a large shockwave out from their hand. I recommend dodge rolling into the shockwave. Otherwise, you risk rolling away or in line with it and it’ll still hit you.
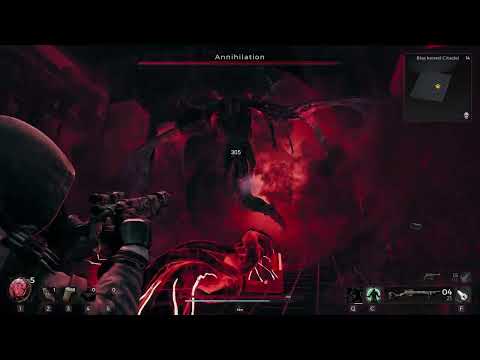
Sword Slam Into the Ground
Annihilation will do a twirl into the air, grab their sword with both hands, and then slam it directly down in front of them. As they raise it into the air, the audio cue will trigger. This attack creates an AoE around where they slam the ground. From what I can tell, but not 100%, I don’t think you need to iframe dodge if you’re far enough.
Even though they can follow up with the same attack a second time, they don’t seem to move closer. Despite turning their body and perhaps changing the AoE area slightly. Regardless, it’s still good to get in the habit of dodging just in case you’re within range.
Aside from the sword slam, Annihilation can combo this into a different attack that stuns you. After slamming the ground, they’ll completely jam their sword into the ground. This will cause roots to rise up and stun you. However, you can dodge it before it happens. If you get stuck, you’ll need to mash a button to escape. On PC, the button is “E”.
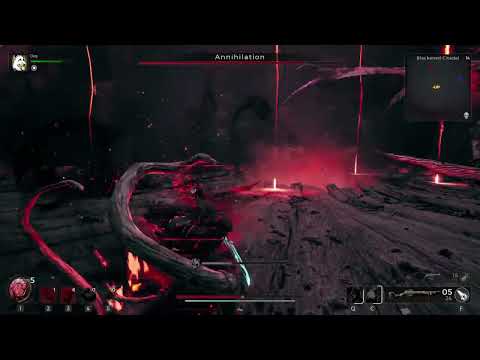
Red AoEs Around the Area
Despite the first phase having red AoEs spread throughout the area, it’s easy to ignore them. This is because they’re rarely near you but I wouldn’t be surprised if someone has a different experience than me. When I was struggling with Annihilation, I had a ton of different attempts where they never got in the way.
As you’d imagine, do your best to not end up inside them and take damage. They aren’t something you’ll need to focus on iframe dodging, but rather passively avoiding.
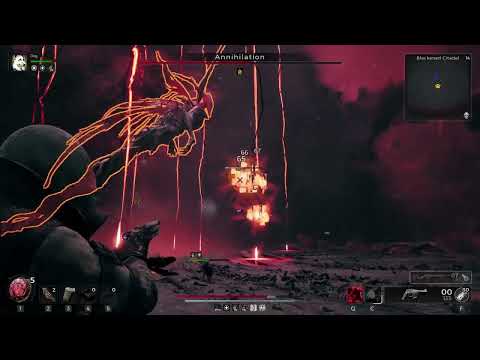
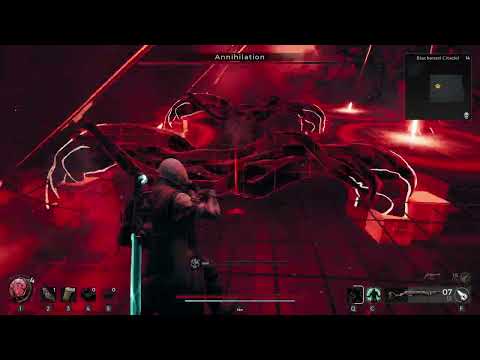
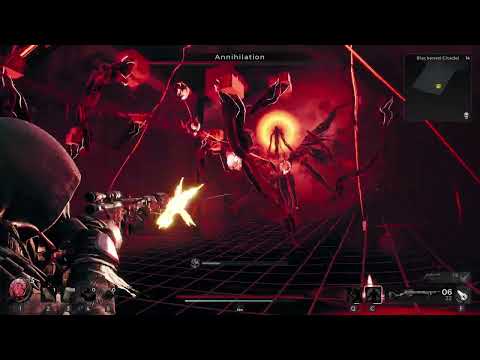
Three Pairs of Orbs
The final attack to worry about during Annihilation’s first phase is if you notice six different floating orbs. You’ll need to destroy these quickly so they don’t fly directly at you and explode. These can easily ruin your run in the first phase. Fortunately, the six orbs are in pairs and you can destroy each pair by blowing up one orb.
With that said, it can be difficult to focus on one since they will teleport around a little bit. Do your best to focus on the same one so you don’t accidentally work on two in the same pair. Also, it helps to have a secondary like a pistol with ammo ready to go. However, if you end up with one pair still alive, it’s possible to iframe dodge their attack. But, I wouldn’t recommend doing it for multiple orbs.
Second Phase Tips
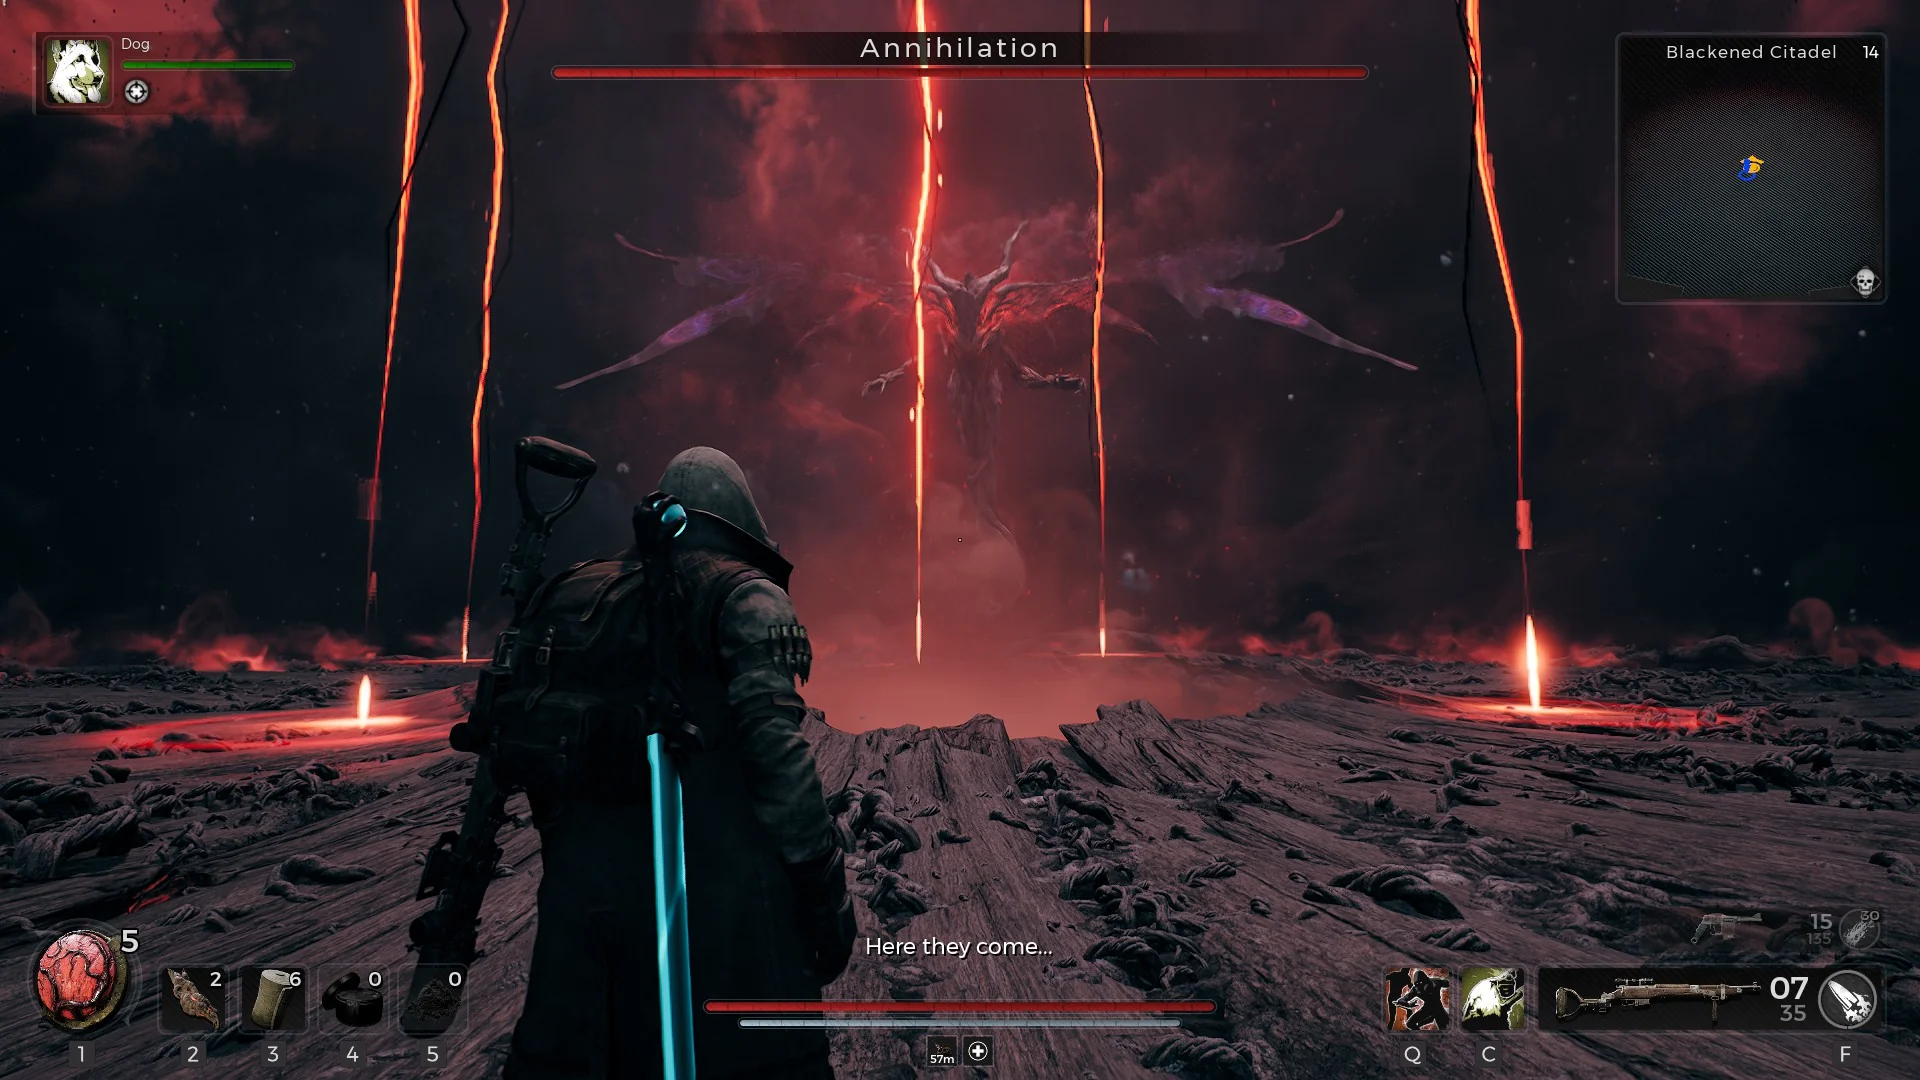
Getting past the first phase successfully is an achievement, but dealing with the second phase is where the challenge begins. First, Annihilation will teleport you to a different glitchy-looking area. It wouldn’t be so bad if you only had to learn this new area, but there’s a frustrating new mechanic.
Aside from learning the new second-phase attacks, you’ll also randomly be teleported back to the first-phase arena. And right as you’re getting used to the first area, they’ll teleport you back to the second area. On top of this, whenever you teleport, the previous area pauses whatever attack was about to occur. So when you teleport back, that attack is ready to go.
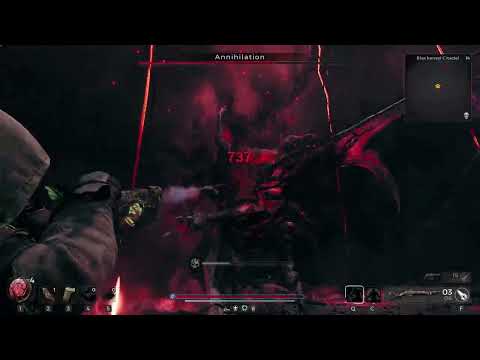
With that out of the way, let’s explain a couple of important tips. By now, you’ll realize Annihilation has a different form in the second phase/area. Their weak point is now the body rising out of their split torso. Fortunately, you’ll get a vulnerable window to shoot after several attacks. But, you will get other brief moments as well.
The other major tip is that you can only go so far to the boundaries of the second area without getting a debuff. This one is called Data Corruption and as far as I can tell, it only seems to deal a little bit of damage. However, it’s entirely possible it does something else players haven’t discovered yet. While rewatching my recordings I can’t notice anything.
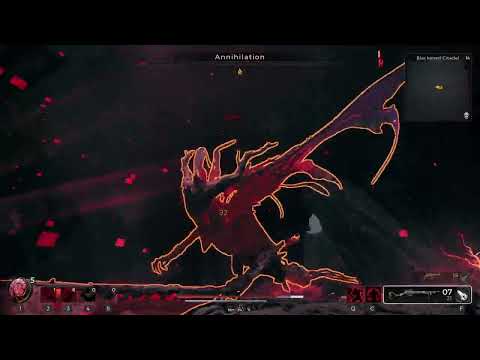
Center Sword Slam
The first attack that’ll likely hit you when entering the final boss’s second phase is a large sword slam down the middle. This is why it’s important to move to the side immediately. However, that can be difficult as Annihilation will create root walls to block you. When those roots initially appear, they’ll slam down to deal some damage.
That’s not all to the sword attack, however. After the sword hits the ground, you’ll have a quick moment before they slide it to the left or right side. Annihilation will slide the sword toward the side you’re closest to when it first slams down. Therefore, you can dodge roll through the sword in the center to get out of the way.
Sword Swipe From Either Side

This attack is similar to the sword slam down the middle except it starts from the far left or right side. While the initial slam isn’t likely to hit you, the swipe might. Especially since you’ll need to learn the timing to dodge through the sword before it swipes toward you.
I’ve tried a few different tricks like ducking underneath the handle or touching the boundary on the other side of the sword. Unfortunately, neither trick works, so you’ll need to learn that dodge timing. As mentioned previously, the second phase is full of audio cues as well.
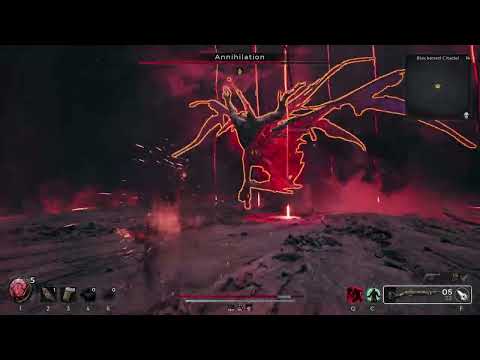
Red AoEs Covering the Area
This attack seems to always be combined with the previous attack. After slamming the boundary with their sword, they’ll start to place red AoEs (area of effect) across the entire area. You’ll need to focus on dodging the sword and then dealing with each AoE exploding.
Fortunately, they don’t all explode simultaneously but rather in rows or columns. Such as each row from the boss toward you. Or each column from the side toward you instead. You can tell which way they’ll explode based on the order they’re placed.
The trick here is to focus on the sword swipe before dealing with the AoEs. You won’t have a long window between dodging through the sword to the AoEs exploding, however. This leads to two options for dealing with the AoEs. First, you can avoid them altogether if you stand far enough to the side. But not too far to build the debuff meter. Second, roll into the previous AoE that exploded so you’re clear of the others.
High Damage Glitch Walls
While fighting Annihilation in the second area, they’ll occasionally spawn glitchy walls that can kill you. These will always start where Annihilation is and then quickly move to the back of the area. So you’ll need to dodge them by fitting into the gaps. Fortunately, there only seem to be two different wall patterns.
First, there are glitch wall columns from left to right with gaps in-between each one. It’s easy to still get hit even though all you have to do is stand in the gap. Second, the walls are horizontal across the area with one vertical column in the center. This forces you to the sides to survive.
The main reason I expect the second pattern to kill the majority of Remnant 2 players, is because it requires you to duck. It’s easy to go through Remnant 2 without ever ducking since you rarely need to. Especially when you’re constantly moving to not get hit. So you’re unlikely to ever duck even for a recoil boost.
The trick to the second pattern is to move to a side and duck (using Alt on PC). With that said, make sure you’re not aiming when the wall goes over your head. Otherwise, you’ll get hit by it and likely die. Another common mistake is trying to heal when the wall comes. You won’t be able to duck if you’re mid-animation. Even though you can safely heal while ducking.
Debuff Slam That Leaves an Aoe
This is one of the simpler second-phase attacks even though I get hit by it frequently. Annihilation raises both their arms and then slams down creating an AoE where you are. If you get hit by this attack, you’ll take a small chunk of damage. The AoE will linger for a bit and fill your Data Corruption debuff while inside it.
As previously mentioned, Data Corruption will do a small amount of damage but I haven’t found any other negatives yet. So while this attack won’t hurt you much, it’s not worth taking unnecessary damage. You can roll out of the way before the AoE hits you. Afterward, I usually run to the other side of the area to get away from it.
Six Pairs of Flying Orbs
This attack is similar to the first phase of flying orbs since each one is part of a pair. Therefore, for each one you destroy, you’ll get rid of a set. Instead of the orbs charging at you and dealing damage, these ones seem to explode. Fortunately, each explosion doesn’t deal that much damage.
Upon destroying every pair during this phase, Annihilation will fall toward the stage becoming vulnerable. Try to get in as much damage as you can here. Especially since Annihilation takes a heck of a lot more damage in the second phase.
Horizontal Sword Swipe (First Area)
I haven’t been able to confirm if this attack happens during the first phase or just in the first area during the second phase. Regardless, Annihilation will lean back before charging toward you and swiping the area with their sword. I’ve noticed this attack among others being common when teleporting from the second area to the first area.
This can make it difficult to dodge since you have a short window to figure out what’s incoming. Even though the shockwave slam seems most common when teleporting back.
Third Phase Tips
Making it past Annihilation’s second phase is the most challenging part of this final boss fight in Remnant 2. After completing the second phase, a cutscene will trigger and it’ll almost seem like you’re done. Make sure you don’t take a break quite yet. Once the cutscene ends, the final phase begins and only lasts for about 30 seconds.
Fortunately, you don’t have to deal any damage to Annihilation to win the fight. Instead, you’ll need to survive as a bunch of small enemies are thrown at you. There will also be the usual red AoEs around the arena to watch out for.
These small enemies can be tough to hit due to their leaping movements, but you can also roll out of the way. Once they get close to you and try to attack, they’ll die whether they hit you or not. However, it’s still worth trying to kill as many as you can to avoid getting hurt. The last thing you want is to make it this far and die to them.
Once you’ve survived for the full 30 seconds, a cutscene will trigger and you’ll get a cutscene alongside your rewards. If you’re curious about the final boss rewards for Remnant 2, we’ve listed them below:
- 1 Forgotten Memory
- Broken Compass
- Lumenite Crystals (6 in my run)
- Scrap (825 in my run)
- Tome of Knowledge
- Scholar Trait


Jeff is a journalist with over 10 years of experience writing, streaming, and making content about video games. With an associate degree in journalism, he’s a sucker for RPGs, survival games, roguelikes, and more.