
Now that Drake Hollow is on Steam, more people are checking the action game out and we’re here to answer some common questions in this guide. For those that haven’t played it, it revolves around building a village with adorable little creatures in a dangerous world. You’ll need to care for them while simultaneously fighting back evil creatures known as The Feral.
Table of Contents |
| Tip 1 – Taking Advantage of Blocking |
| Tip 2 – Exploring the Aether |
| Tip 3 – Using the Waypoint System |
| Tip 4 – How to Level Up Camp |
| Tip 5 – How to Play Multiplayer |
| Tip 6 – How to Use Schematics |
| Tip 7 – How to Get Charms |
| Tip 8 – Using Apparition Charms to Recall |
| Tip 9 – Tips For Managing Your Camp Resources |
| Tip 10 – How to Connect Power |
Tip 1 – Taking Advantage of Blocking
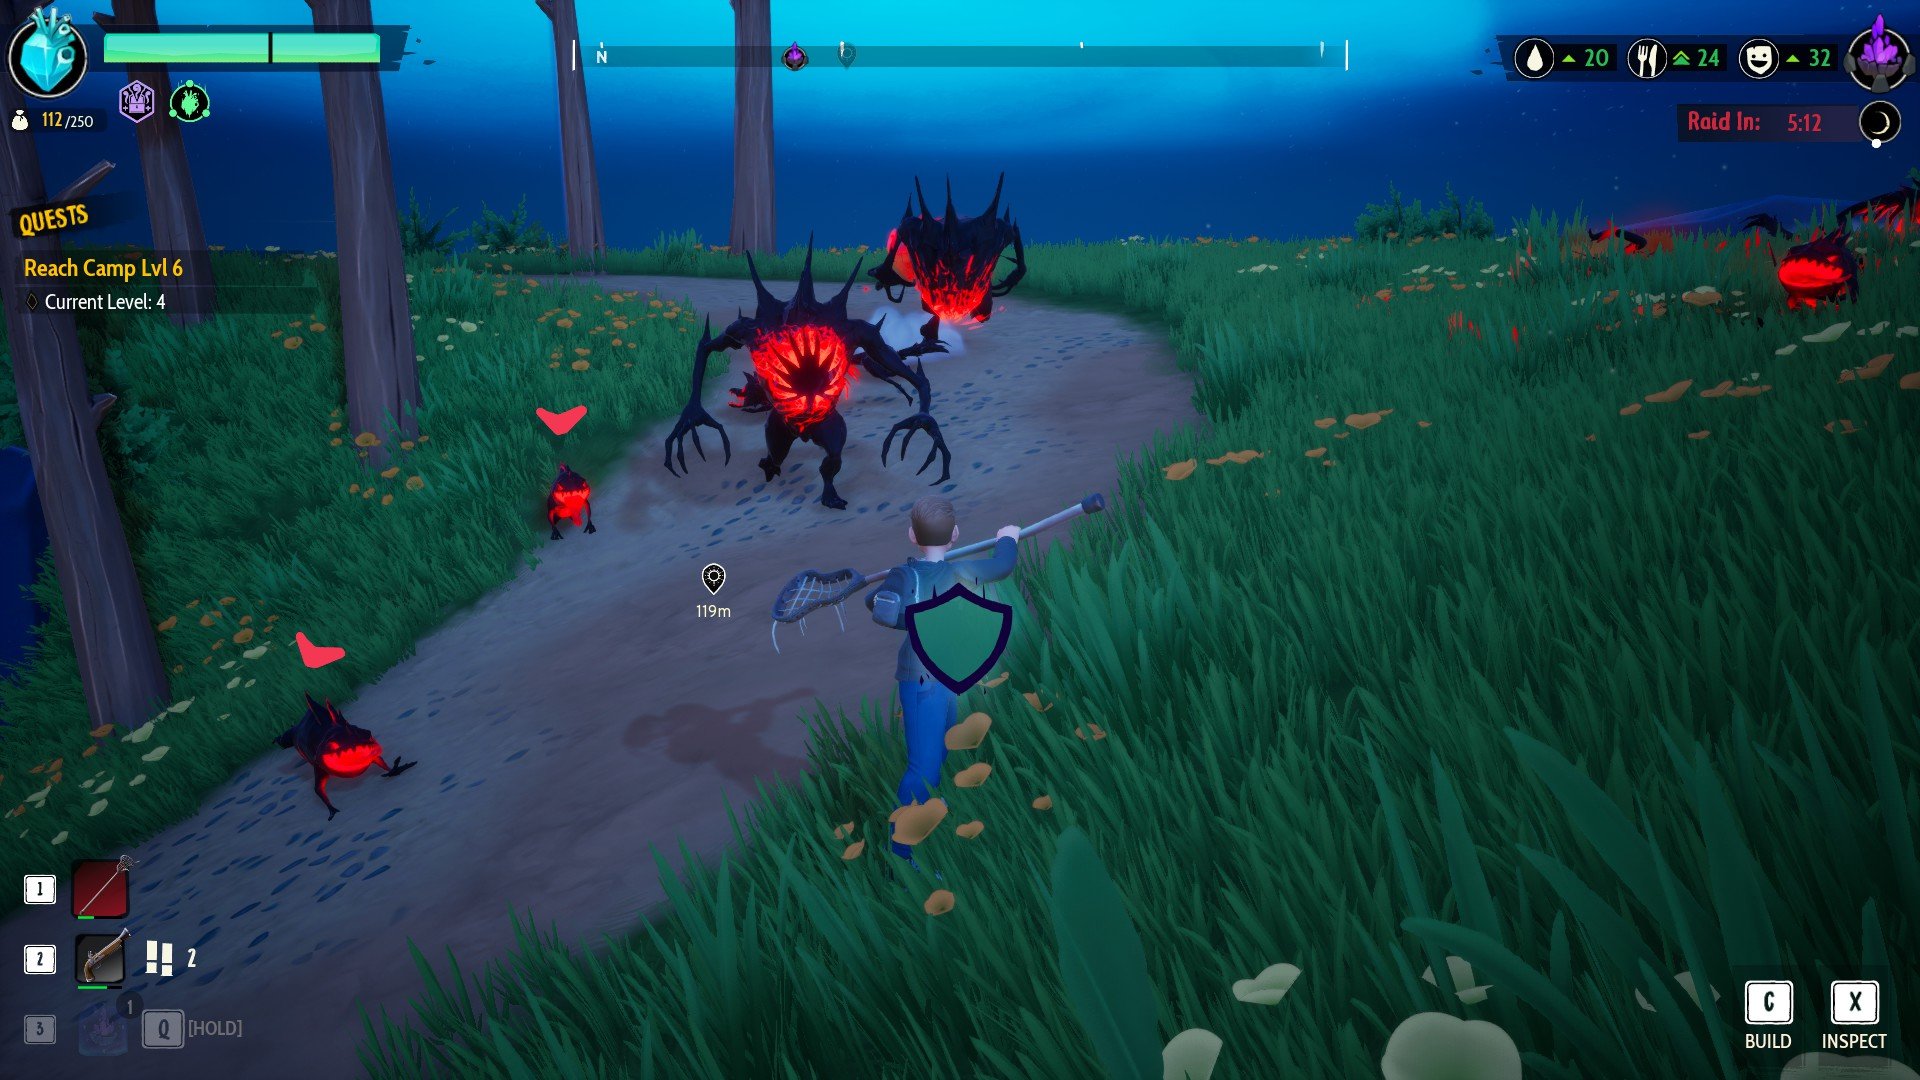
My first tip for anyone playing Drake Hollow is to take advantage of blocking. By default on PC, you can click and hold your middle mouse wheel to block. So long as the shield block meter isn’t empty as shown in the screenshot above, you’ll block all damage.
You can use this for enemies charging you, ranged attacks, and many other attacks too. This helps for dealing with all types of enemies, especially when you’re overwhelmed. Also, it doesn’t seem to matter which direction you block for it to work.
Tip 2 – Exploring the Aether

Once you first reach your home base in Drake Hollow, you’ll need to explore the world to gather more resources. And on top of that, you’ll want to find more Drakes to slowly develop your camp. This requires exploring the deep sea of aether which will kill you if you don’t use Aether Wards.
For those on PC, you can use C by default to enter the crafting menu for making Aether Wards. These require 2 Glowstone Shards and 1 Shoe Lace. If you’re at your camp while trying to craft them, you’ll have to press tab while in the crafting/building menu to swap.
After using an Aether Ward, you’ll have 16 seconds to roam freely through the aether without dying. Once this protection ends, a countdown will appear showing that you have six seconds before the aether kills you. Now that you know how to safely wander to other islands, always look for piles of junk or boxes you can bash for items. You’ll get a variety of items for crafting, building, or strong weapons for fighting back too.
Tip 3 – Using the Waypoint System

As you start getting your bearings in Drake Hollow, you’ll want to take advantage of the waypoint system. While you might not always have Glowstones on hand to craft them, you can place waypoints around the world and connect them to each other. This allows you to speed along them through the air as shown in the screenshot above. You no longer have to use Aether Wards to travel through the aether, you can avoid The Feral enemies, and get back to your base quickly too.
Alongside using the waypoint system for traveling, you can connect to supply trucks on certain islands. These will deliver resources to your base so long as they’re connected to your waypoint network. In order to craft waypoints, you only need 2 Glowstones and 1 Duct Tape. Two useful ways to get Glowstones are breaking bramble and crafting them from 3 Glowstone Shards.
Tip 4 – How to Level Up Camp

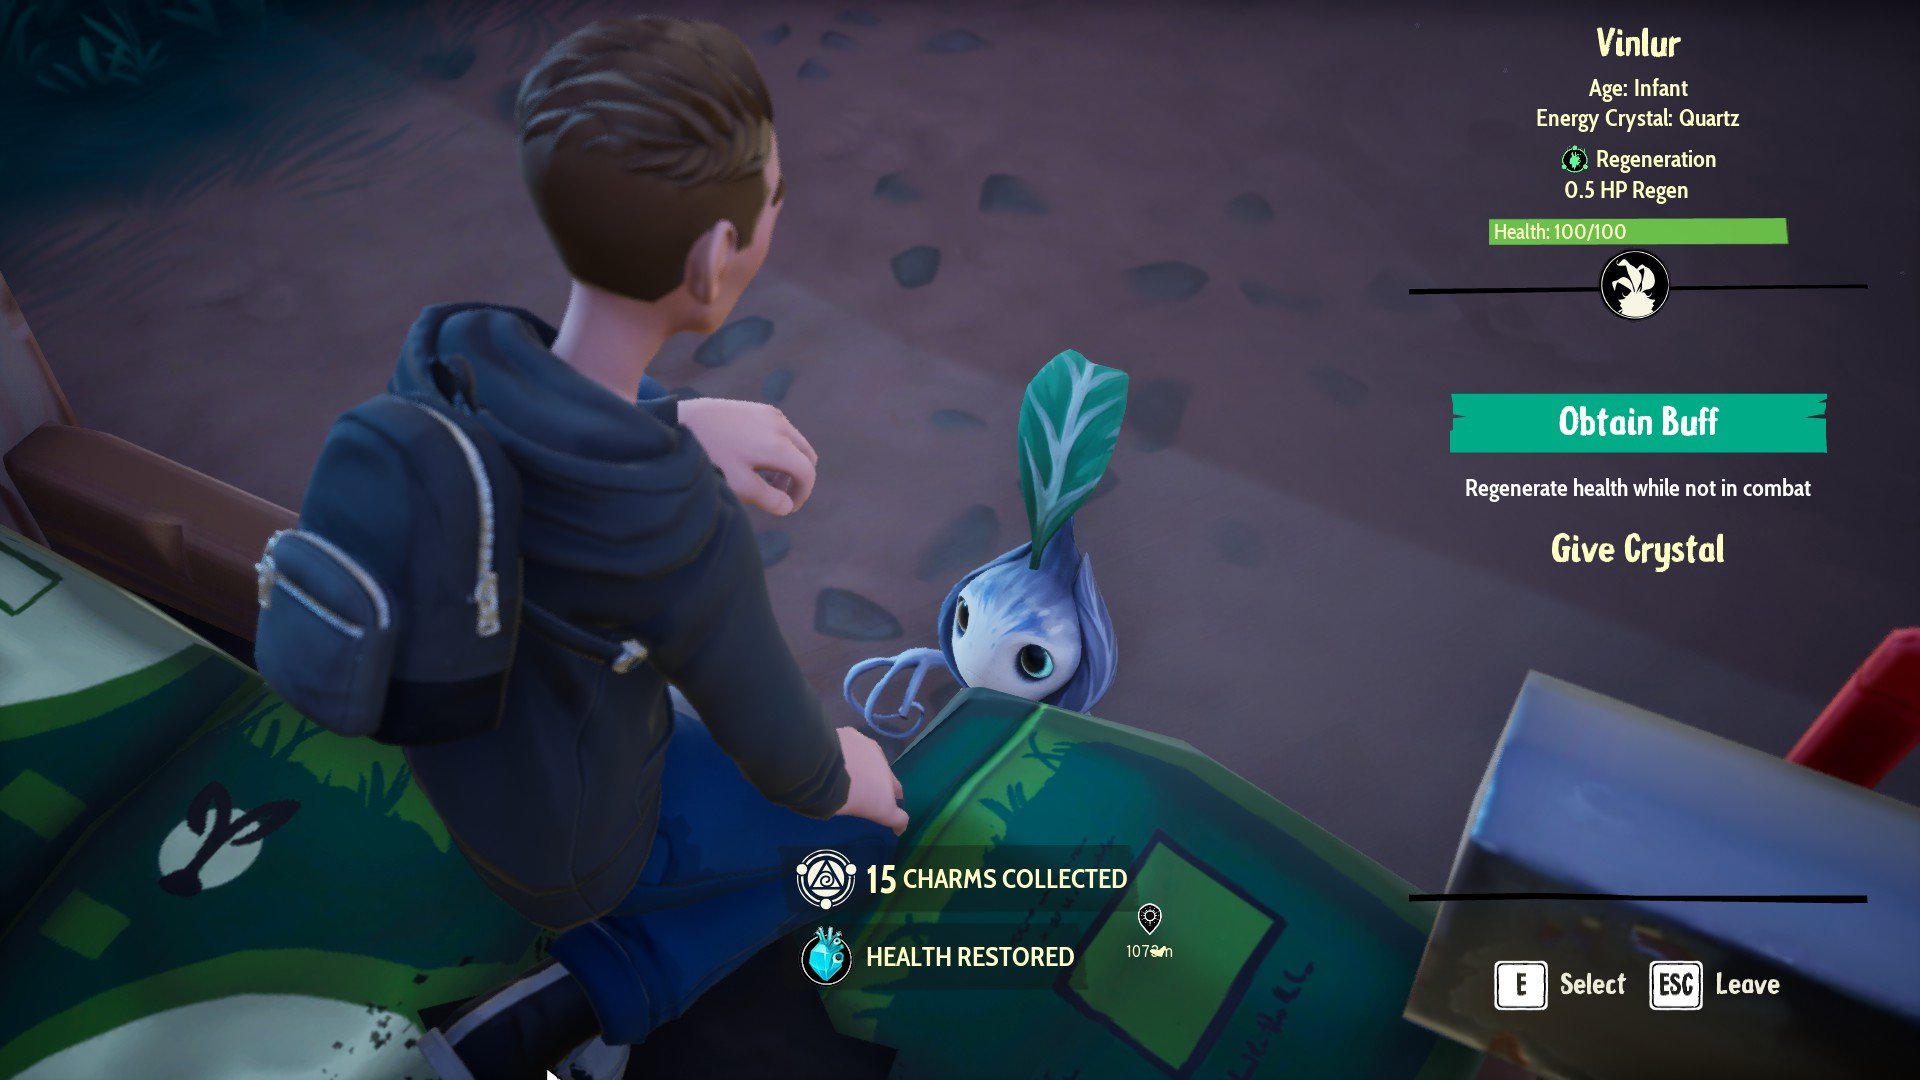
Many of the quests in Drake Hollow require you to simply level up your camp. Fortunately, it’s nothing too complicated, even though it can take some time. You’ll need to recruit more Drakes or essentially upgrade them by giving them crystals.
In order to give crystals to a Drake, interact with one, then click/tap the “Give Crystal” button on the right side. You can click the crystal type in a new window that appears to try and fill their bar making them older/upgrading them.
If you’re not sure where to find crystals for your Drakes, continue exploring your world. Common ways to find them involve breaking the bramble infestations on each island and fighting enemies. Also, Drakes will sometimes give them to you as gifts, but this seems to be rare.
If you’re not sure how to get more Drakes, the map will show you areas to look after using the lighthouse. Once you get near one, it should have a glowing animation and be hiding in the ground.
Tip 5 – How to Play Multiplayer
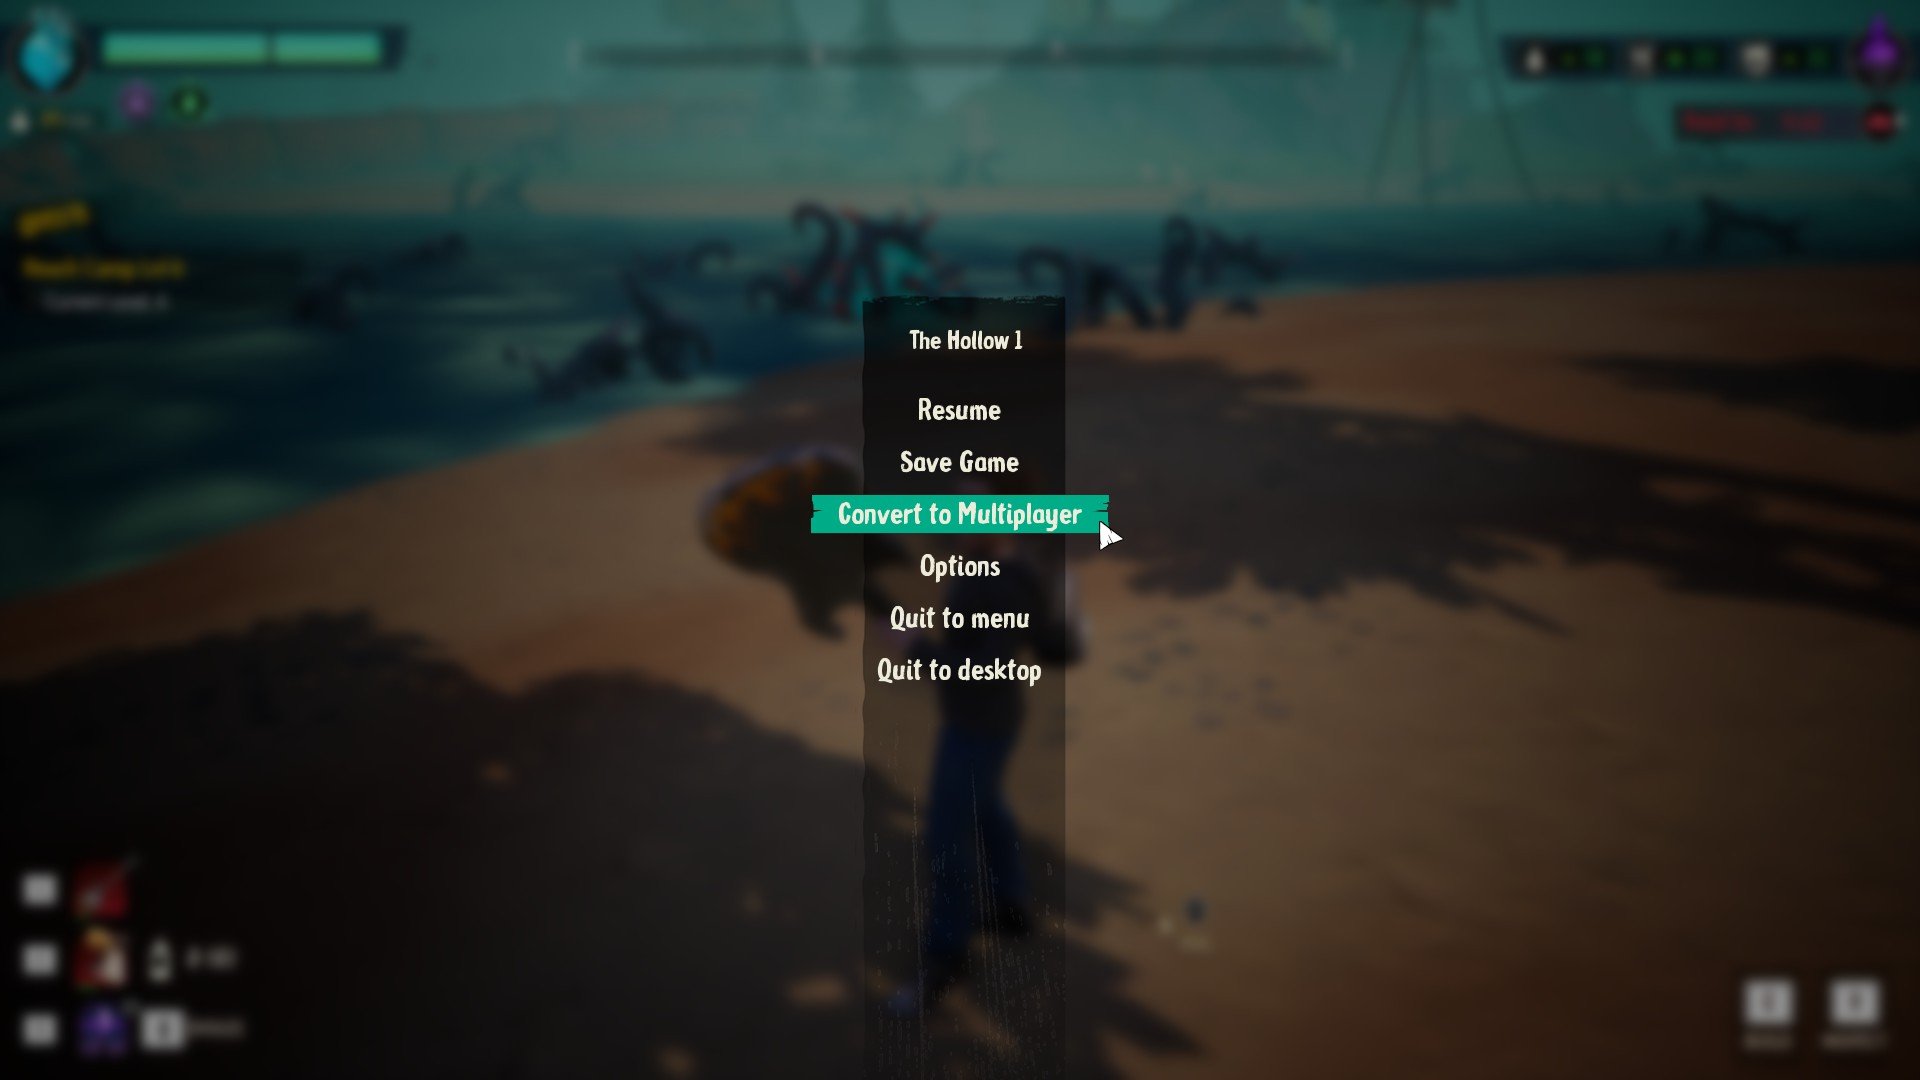
If you’re looking to play Drake Hollow with a friend or anyone really, you’ll need to convert your server to multiplayer. After progressing a little in the story, a button on the pause menu will appear to change your server to multiplayer. This is primarily for whoever is hosting the server/world. So if you’re joining someone else, this doesn’t apply to you.
First, press escape/pause the game, and tap the “Convert to Multiplayer” button. This will reveal a new button to invite friends. If you’re playing on PC via Steam, clicking this button will open the Steam overlay where you can invite anyone on your friends list.
Unfortunately, for people playing on PC, you can’t play between Steam and the Xbox App/Microsoft Store. It’s possible this could change at some time, but according to people online, it’s not functional right now.
Tip 6 – How to Use Schematics

Schematics are required to unlock new buildings for your camp in Drake Hollow. You can find them on random islands either laying on the floor or in special junk piles like glowing purple shopping carts. While exploring, try to listen for music playing that indicates you’re near a purple shopping cart. Fortunately, early recipes from upgrading your camp level tend to only require one schematic. But as you get further into the game, they’ll start requiring more.
If you’re not quite sure how to use schematics for new recipes, just hop into your crafting menu while at your base. Move your mouse over to any recipe with a lock and you’ll see some information about it, as well as how many schematics it takes to unlock.
Interact with the locked recipe and it will become available so long as you have enough schematics. If you’re not sure how many schematics you have, look at the top of the building crafting menu where a number appears next to a scroll.
Tip 7 – How to Get Charms
Almost every building in Drake Hollow requires Charms as a resource for constructing them. Fortunately, your Drakes are a renewable source of Charms that you get by interacting with them. They tend to gain them relatively quickly, so even if you only have a few Drakes, you can simply check back with them. Using the inspect mode (X on PC) while at your camp will show how many charms each Drake has while near them. Also, the happier your Drakes are, the more charms they’ll produce.
Tip 8 – Using Apparition Charms to Recall

When you’re playing Drake Hollow for the first time or in a new biome, Apparition Charms are extremely useful. This is an item you can craft that teleports you back to base when consumed. While it takes a few seconds to use, this is a great way to get home for a variety of reasons.
Maybe your inventory is full and you need to deposit. Or perhaps a raid just started and you’re really far away. Apparition Charms are always important to have on hand because even a good waypoint system takes time to get back.
Apparition Charms only require 5 Glowstone Shards to create. Fortunately, these are relatively common if you keep busy exploring the aether. Glowstone Shards tend to drop from enemies, breaking bramble, and random junk piles too.
Tip 9 – Tips For Managing Your Camp Resources

One of the most mechanics of playing Drake Hollow is to keep your Drakes happy and alive. This requires keeping them fed, hydrated, and happy too. Fortunately, this gets easier as you start getting higher in camp level. However, in the beginning, you’ll need to be careful about upgrading your Drakes and recruiting new ones if you’re not prepared to feed them.
In the early camp levels, using multiple Cleansing Wells, a couple of Planters, and a couple of Yoga Balls work well. As you start upgrading the camp, you’ll want to rush into building the Lobster Pen (either level 4 or 5), Cleansing Water Cooler, and Pinball Machine.
The significant advantage of the Lobster Pen is that it doesn’t require anything aside from power and blighted water to power. Plus, it provides a good chunk of food too. With food and water taken care of, don’t forget to create one bed for every Drake in your camp as well.
A great way to keep track of your camp resources is the Camp Status tab under the Camp menu when you press tab on PC. This shows how much of each resource is coming in, is needed, is stored, etc.
One more quick tip regarding your base is taking advantage of fences. You can randomly place these around your base with gaps and enemies will still focus them. They function as a great distraction that’s also cheap to build. Plus, enemies like to whack away at them without paying attention when you come over to hit them.
Tip 10 – How to Connect Power
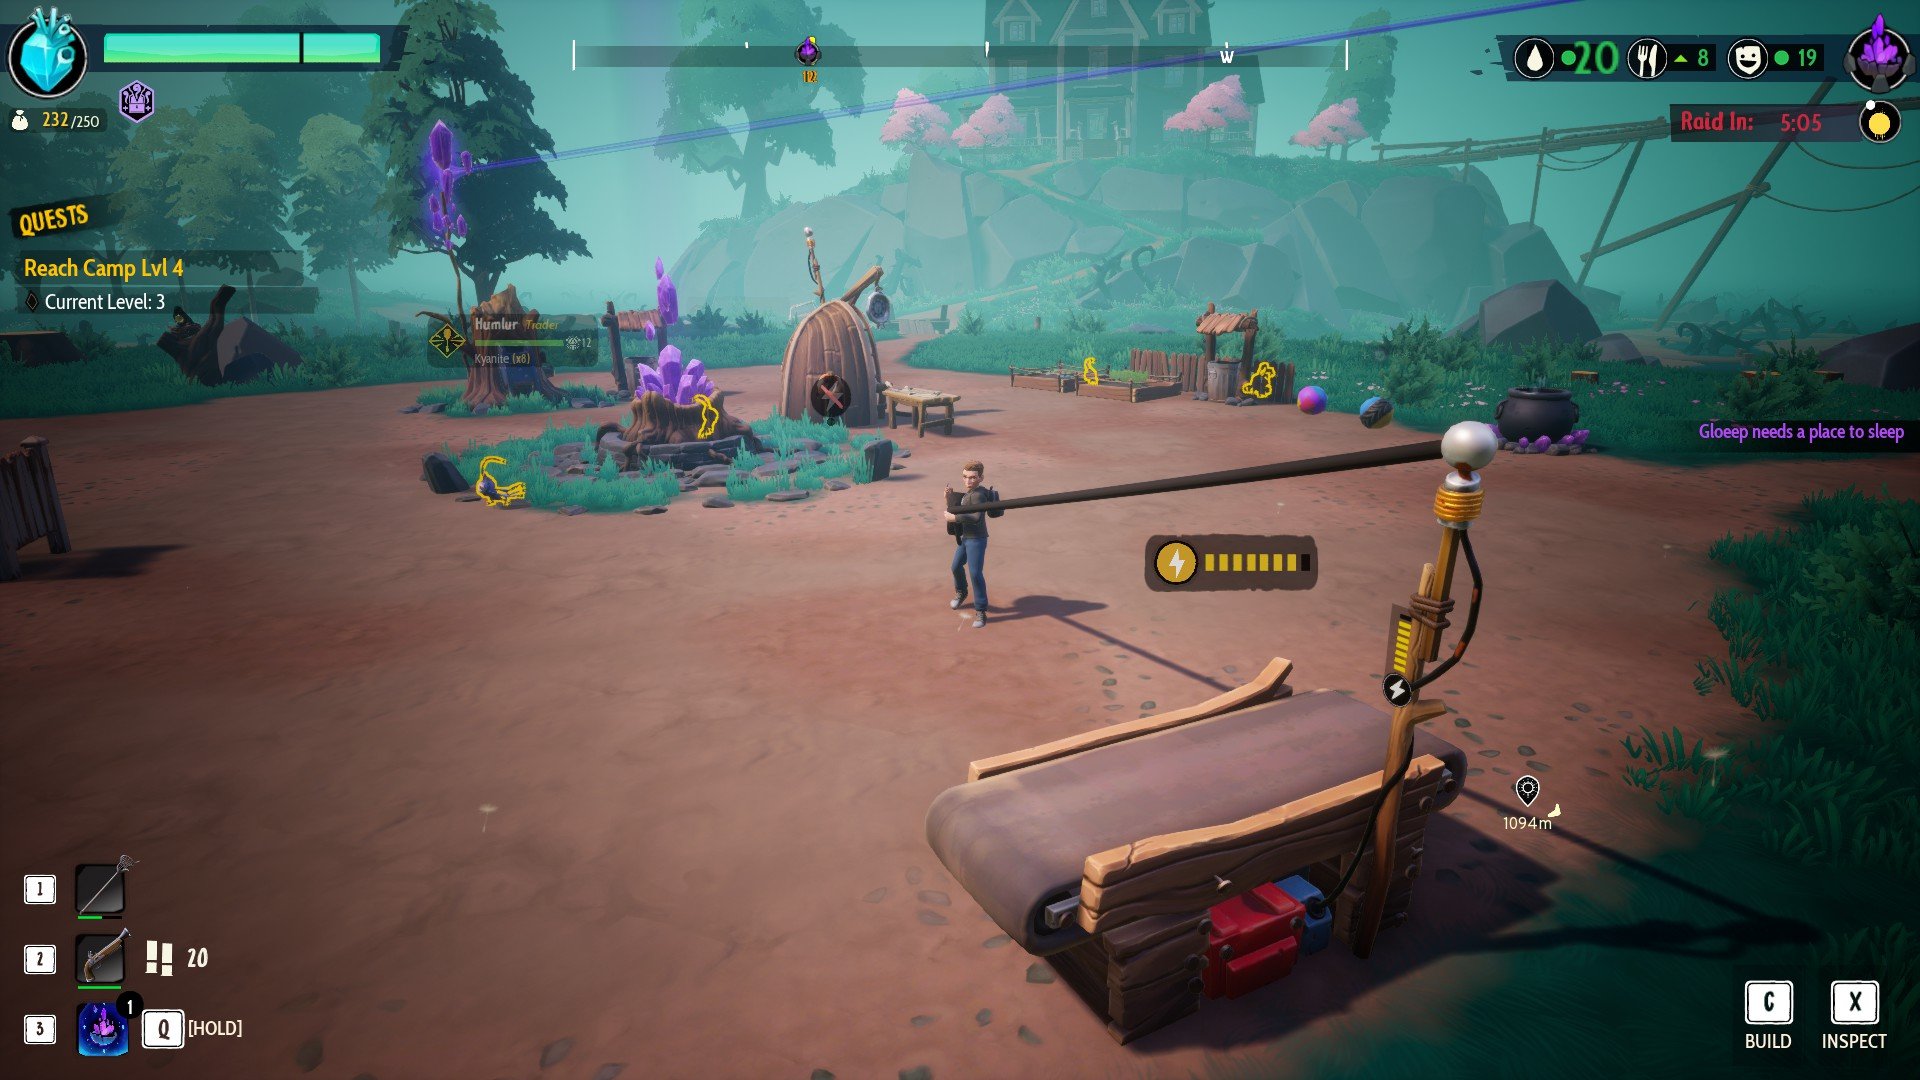
If you’ve built your first Treadmill and need to connect its power to a building like the Advanced Curio Workshop, for example, here’s how. Enter inspect mode by pressing X on PC, then interact with the Treadmill, and tap the Connect Power button.
This button is a picture of two cables connected. Afterward, drag the cable by walking to a building that needs power and interact with it to connect it. This works the same way for connecting a blighted water source, but says Connect Water instead.
I hope this guide full of tips and tricks for Drake Hollow helps answer some of your questions. For anything else boggling your mind or problems you run into, feel free to ask in the comments below the article.
Drake Hollow released first for Xbox One on August 28, 2020, and then followed afterward for PC on October 1, 2020.
Drake Hollow was provided by the developer via a Steam code.


Jeff is a journalist with over 10 years of experience writing, streaming, and making content about video games. With an associate degree in journalism, he’s a sucker for RPGs, survival games, roguelikes, and more.