If you’re a fan of battle royale games, Rapture Rejects may have caught your attention this weekend. It’s a new battle royale game focused on the Cyanide & Happiness comics universe, played from a top-down view. We’re here to give you the tips you need in this guide on how to win each round!
This guide doesn’t discuss much on duo or squad play and is focused more on Rapture Rejects as a whole.
Mini Glossary (can search by ctrl+f):
- What’s the Goal?
- The Basics
- Strategy to Win
- Weapon Types
- Crate Types
- Special Abilities
- Types of Meds
- Equipment Types
- Quick Tips
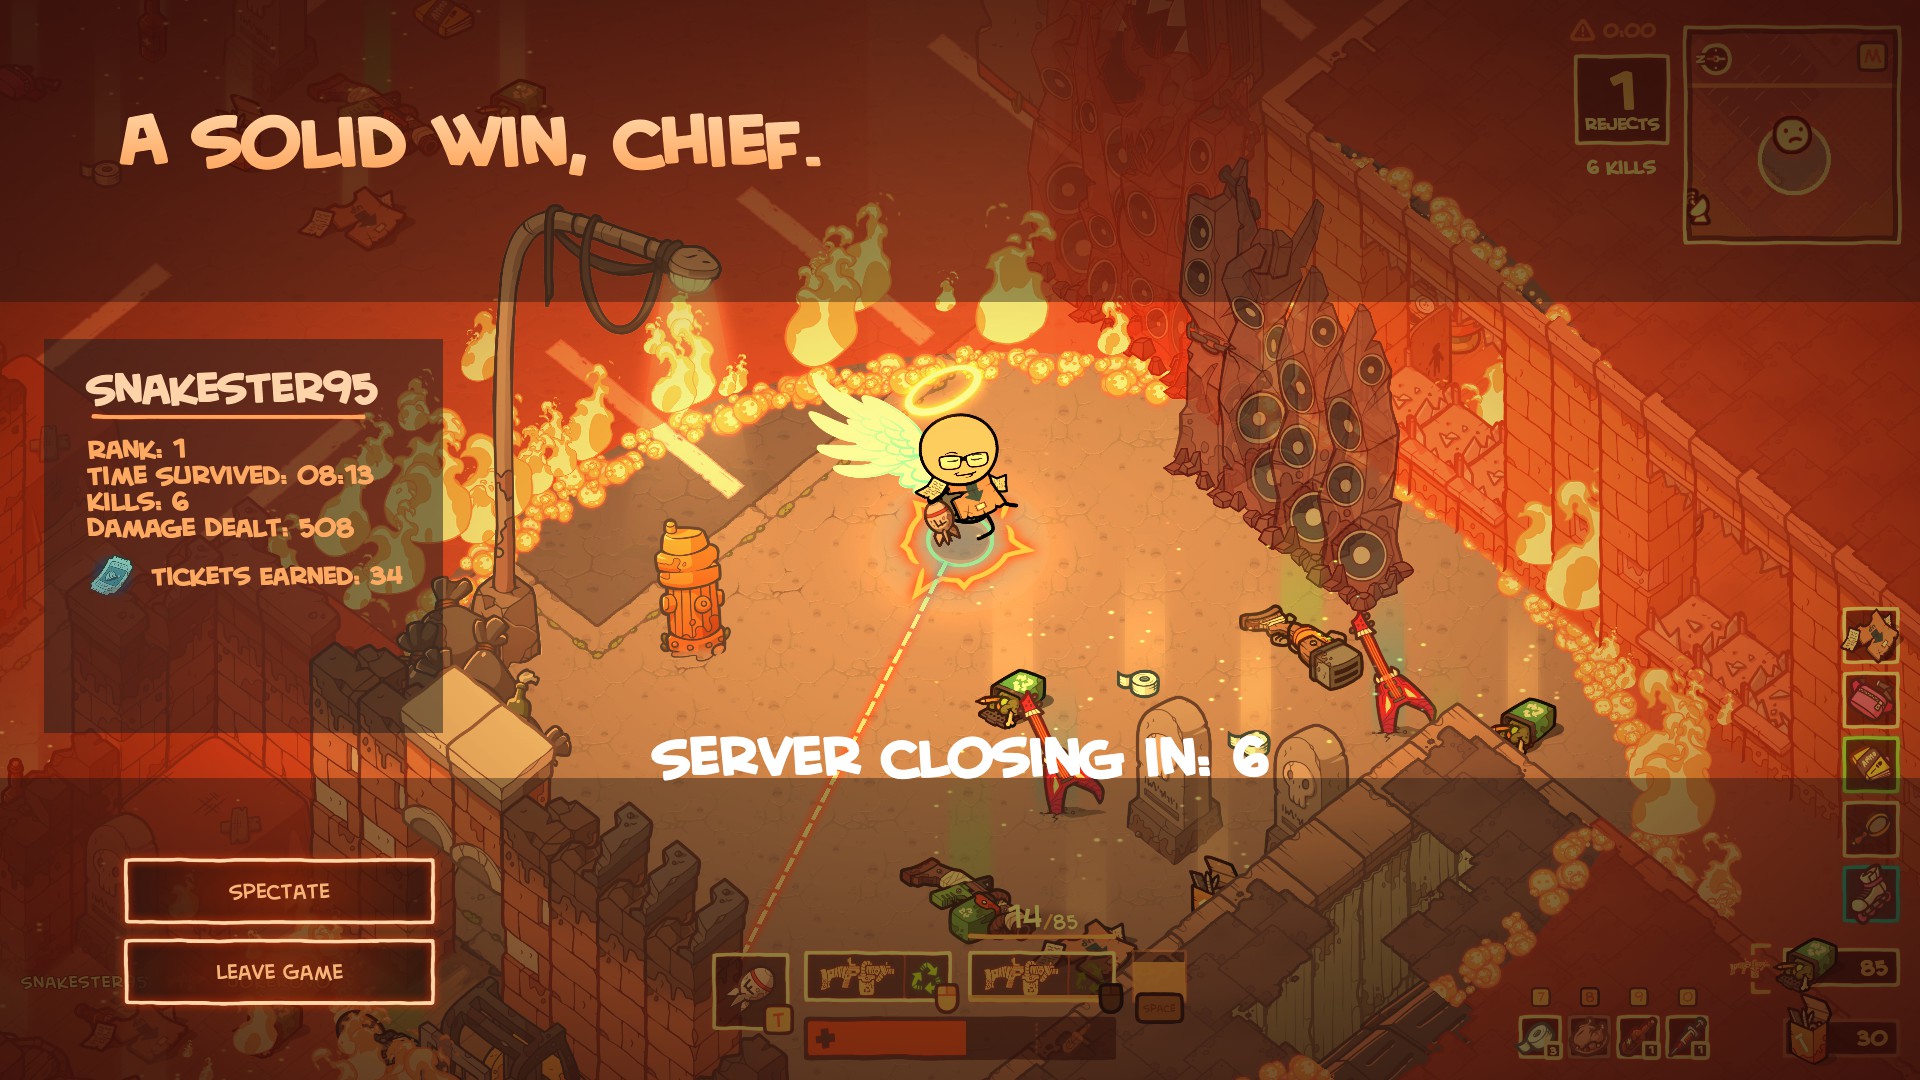
What’s the Goal?
Up to 50 people drop onto the map and it’s up to you to make it to the end. It doesn’t matter if you’re the last player with zero kills or if you killed all 50 of them yourself. Well, 49, hopefully, you don’t kill yourself too!
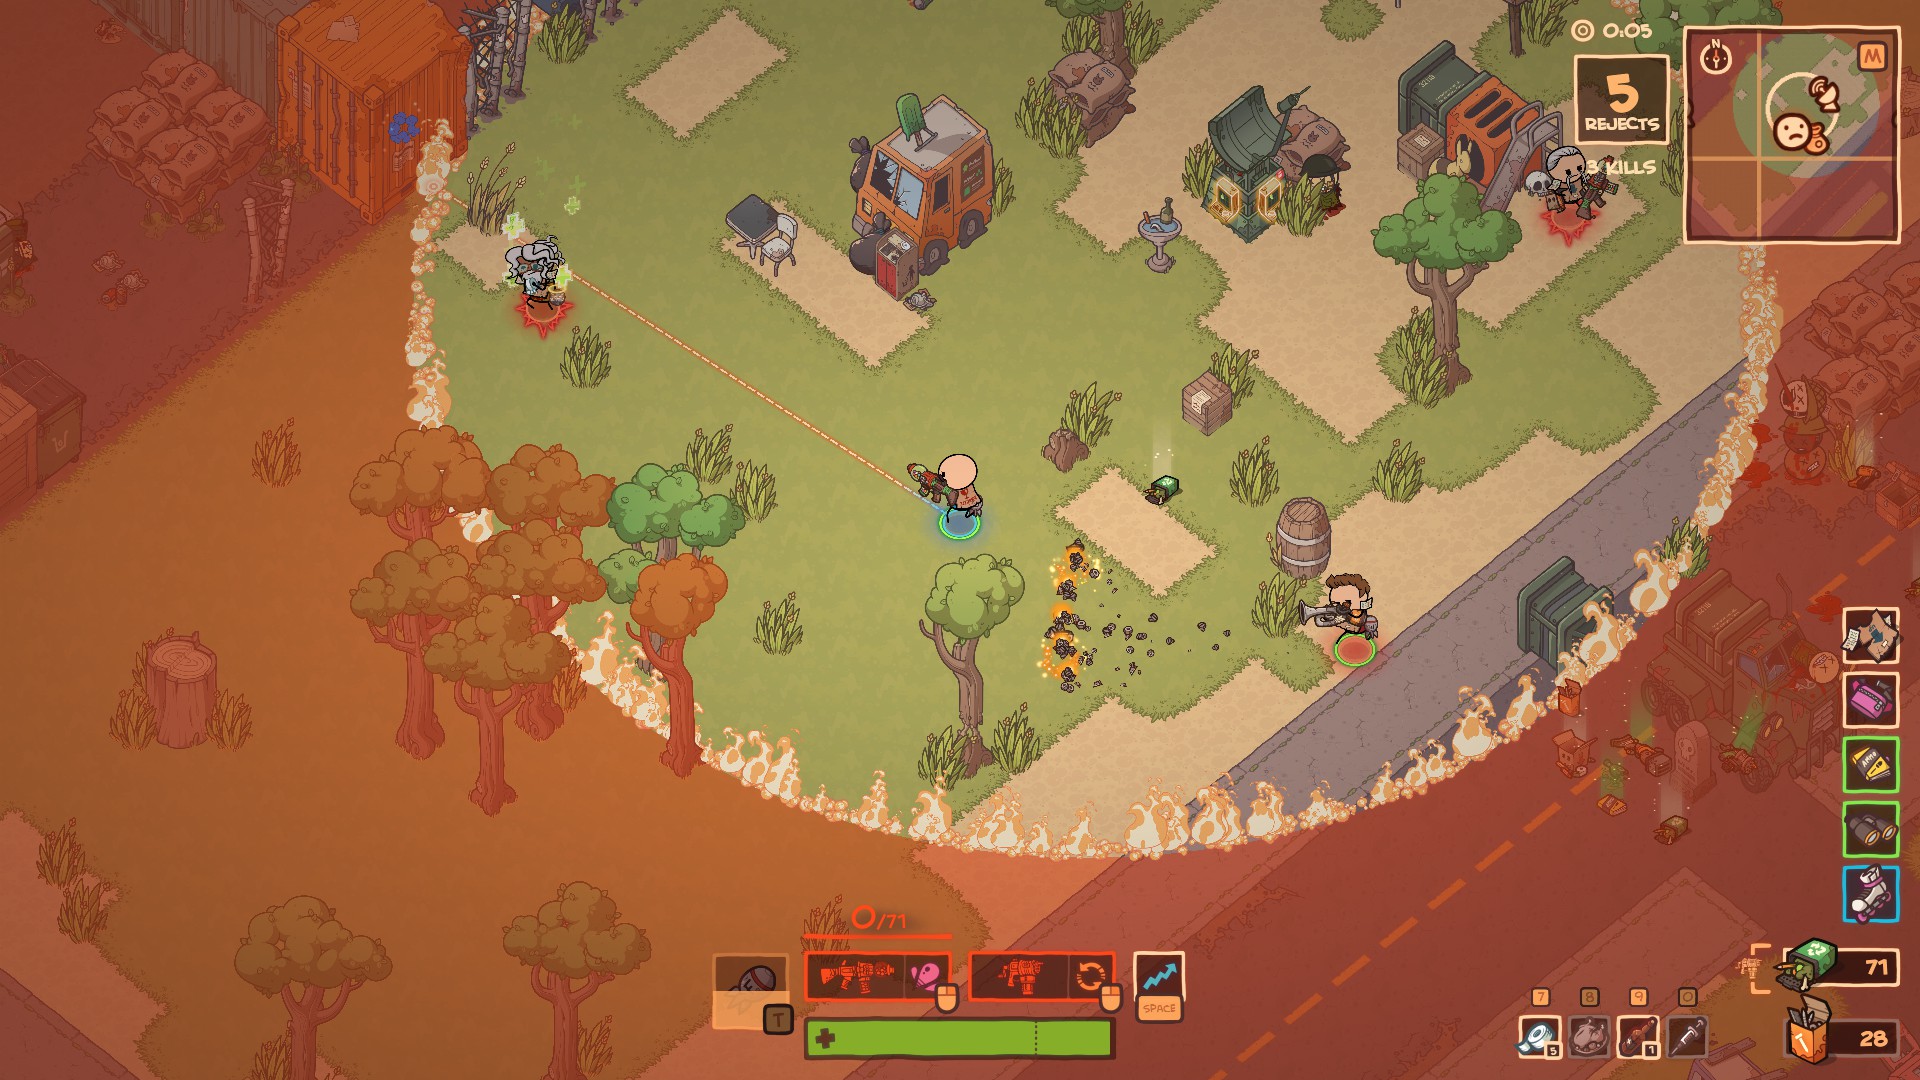
During the free weekend, I found I usually ended up in matches with around 25 people and sometimes less. The players in Rapture Rejects are known as rejects. Similar to other battle royale games, the zone closes into a specific area that changes each game. This zone closes in as a circle. You don’t want to find yourself stuck outside that circle, as you’ll take damage over time.
The Basics
- Spawn somewhere random on the map, no parachuting or gliding phase.
- Loot crates for weapons, meds, and gear.
- Fight among 50 people as the circle closes in over time toward an area.
- Be the last remaining player.
Strategy to Win
Details about everything in Rapture Rejects with advice attached to weapons, abilities, gear, etc. is shown further down in this guide. However, for those of you that just need some extra tips to up your game. Everyone has their own way of playing a battle royale game, here are tips on each way:
Playing Aggressive
The aggressive playstyle is a common but risky one in any battle royale game. You’re the type of player that chases after players for kills, always hunting for action! This is always a risky playstyle since you might run into players better geared or simply better at Rapture Rejects than you.
However, this is the recommended way to play most battle royale games when you’re first learning them. This forces you to engage in combat, forcing you to learn how different weapons and abilities can be used. Whether it’s getting a good feel for them yourself or seeing how a player uses an ability on you. It prepares you and hones your skill for taking out players, even if it’s just the last player at the end.
If you’re going to play aggressive, you want the F-Bomb special ability teamed up with a rifle and shotgun. My recommendations are the Compost Rifle and Toaster Full of Knives. The Compost Rifle is an automatic rifle, with a slightly slow bullet travel speed. This forces you to shoot ahead of players at times, so it does take a little skill.
The Toaster Full of Knives is great for jumping out of the way and pushing toward enemies. You can start the fight with a Compost Rifle by poking at your enemy. Then, follow up with the Toaster when they either try to run or heal. If you see someone eating chicken, it takes longer, and they usually won’t cancel it. This is a great opportunity to get a hit in. Especially to use the F-Bomb.
The advantage of playing aggressive regardless of how far the match is, players are bringing you loot. This can be armor, meds, ammo, a gun you want, etc. Instead of opening boxes, you’re taking the risk to kill them for their loot.
The Compost Rifle is interchangeable with The Gumballer Rifle as well. Sometimes I grab each rifle for my kit, so I can play distance and up close without being hindered by the shotgun. The Compost Rifle secondary ability is a personal favorite as it absorbs bullets and refills your clip. A lot of players still don’t understand this ability, so it’s easy to take advantage of.
I’ll sometimes run two Compost Rifles and pop my secondary ability in front of them to drain their clip. Then I’ll follow up with some shooting, and pop the other secondary ability if necessary.
Above is how I usually win my matches currently. However, I’m open to trying the Liquid Nitro Bomb since it seems to block players extremely well. It’s a good way to control where players go, by blocking doors ways and cover.
Playing Sneaky
The sneaky playstyle is also a popular way to play in any battle royale game. Rapture Rejects makes it easier to do with the Disguise Kit special ability. The goal of playing sneaky is to avoid players until the end, so you have less competition.
Spend the majority of your match looting so you have the best gear and weapons you’re comfortable with. The Disguise Kit ability makes you hide in plain sight as a random object. As long as a player doesn’t see you do this, nobody is going to waste their ammo on random objects.
This is a great way to hide from nearby players and to make it to the end if you have everything you need. The main gun I’d recommend is the Spork Sniper for two reasons. First, being able to zoom the map out with its secondary ability is great for scouting. This functions excellently for seeing where players are and aren’t, and where loot is waiting.
Also, you can poke players from a safe distance until the end. Be prepared for them to come after you if they’re an aggressive player, however.
The goal of the sneaky playstyle is to get everything you need by looting boxes and dead players, to avoid conflict until it’s needed. A useful strategy is to play along the edge of the circle boundary. If the boundary is at your back, nobody is coming from that direction. This limits the chance of you getting surrounded but can prevent a potential escape as well.
Players will often move to the safe zone in any battle royale immediately when the wall starts to move. However, you can play along it while it’s moving in since the majority of players are already in the safe zone. There are an advantage and disadvantage to this plan:
- The advantage: Players are leaving for the safe zone, so it’s easy to get some quick safe looting in. Unfortunately, God Boxes usually take too long to loot depending on how fast the zone is coming in. But if possible, game changer right here.
- The disadvantage: Players in the safe zone might see you running away from the wall and prevent you from safely getting there. This can get you stuck outside the safe zone taking unnecessary damage.
A Mixture of the Two
You’ve read the playstyle for both aggressive and sneaky, or you jumped to this one instead. This is how I recommend most people play, even though the aggressive playstyle can be the most rewarding.
The goal of mixing aggressive and sneaky is to take opportunities as you see them. You might catch a player off guard that’s trying to loot a God Crate. Or if you hear a fight going down, run over and take them both out because they’re hurt from fighting each other. These are safer ways to play aggressive, without taking too much risk.
When those safer plays work out, you end up with gear and ammo to get you ready for the win! There’s nothing wrong with avoiding players until you get the weapon or special ability you’re comfortable with. Until you do, you might get outplayed by someone that has better gear or a better weapon.
If I’m in a fight with at least two other people, I always try to make them move together. This could be using an F-Bomb, moving in a certain direction, a Liquid Nitro Bomb, etc. Whatever you can do to make them focus on fighting each other instead of you. This gives you time to pop Booze or heal up in general while they’re fighting.
Weapon Types
There are two types of weapons in Rapture Rejects based on the ammo they use. This includes the Scrap Ammo (orange) and Trash Ammo (green).
Before getting into how every weapon works, I’ll explain my go-to choices. My perfect setup at the end is two Compost Rifles and an F-Bomb. In the beginning, I tend to run a Spork Sniper to take advantage of the secondary ability on it. It’s a stronger charge up shot but it zooms out, showing a large portion of your area.

This makes the sniper great early on for scouting and looting, even if you don’t use it as a weapon. Despite it being great for picking off easy kills on people in the middle of a fight. I often use the Spork Sniper to spot where people are and where great loot is. You can use it to avoid players or find players to hunt down, depending on your play style.
At the end of a run, sometimes I’ll rock a Compost Rifle and a shotgun, to have a strong close quarters weapon. For many people, the Toaster Full of Knives is a favorite since it’s secondary ability lets you jump over walls. It however only has two shots per reload, forcing you to make your shots count.

Scrap Ammo (Orange)
Nailgun – Equivalent of a revolver with long range, slow rate of fire, and low to moderate damage. 6 shots.
Not recommended, but it’s better than nothing early on if you can’t find a gun or haven’t yet.
Tromblunderbuss – Equivalent of a pump shotgun, moderate to high damage, short range. Secondary ability is shrapnel AoE farther out. 5 shots.
Shotguns are always great for close quarters, especially when a lot of Rapture Rejects takes place in tight areas. Eventually, the circle closes into a small space, forcing close quarters combat. This is where the Tromblunderbuss and Toaster Full of Knives excel.
Toaster Full of Knives – Essentially a double barrel shotgun, high damage, cone of shots in front similar to Tromblunderbuss. Secondary ability is Rocket Jump! for jumping over walls and through windows. 2 Shots.
This is a popular weapon as a strong shotgun and its secondary ability. The secondary ability makes it easy to jump over walls toward players and to avoid taking a hit.
Spork Sniper – Sniper rifle with the longest range, single shot, moderate damage, and slow rate of fire. 5 seconds to reload. Secondary ability is a charged up attack that zooms the map out. It forces the player to walk slowly while charged. 6 Shots.
Spork Sniper is great for looting and finding players due to its secondary ability that zooms out. Being able to see a large area without needing a Watchtower comes in handy. This makes it easy to find unopened crates, Blue Crates, to scout out a God Crate, etc. You can find where players are, which is good for if you’re hunting or avoiding them.
It’s also a solid weapon for picking off players from afar in Rapture Rejects. Some people might prefer to poke someone and then close the distance with a different gun.

Trash Ammo (Green)
CD Launcher – Pistol type that fires as quickly as you can shoot it. Short range, low damage, quick reload, no secondary ability. 10 shots.
Similar to the Nailgun, I don’t super recommend it, but it’s easier to use than the Nailgun. You have room for error with more ammo.
Reversed Pencil Sharpener – Short range, low damage, quick like a submachine gun. 20 shots.
This isn’t a top tier weapon, but it’s a popular one due to its large clip size. You can deal solid damage while still missing a lot of shots, even though it takes a full clip to kill someone.
The Gumballer Rifle – Burst fire rifle shooting three shots at a time, moderate damage, long range. 30 shots. Secondary ability is a cone burst shot in front of you that slows enemies.
Top tier weapon great for any combo, I recommend taking advantage of the slow. It can set up an easy shotgun blast or even double up with a Liquid Nitrogen Bomb, or even F-Bomb.
Compost Rifle – Automatic rifle, moderate damage, long range. 30 shots. Secondary ability absorbs bullets shot at you, refilling your ammo.
A favorite weapon of mine, bullet travel speed is a little slow forcing you to lead your shots if the target is far. The secondary ability messes with most players since they don’t understand it yet. This functions well to drain a player’s ammo, especially if they’re all in on a shotgun like the Toaster Full of Knives.
Crate Types
Crates in Rapture Rejects contain weapons, equipment, meds, and ammo for players to loot. They’re spread throughout the game including different tier gear and take a short time to open. The amount of time to open a crate varies based on its type.
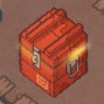 Red Crate – These are the most common, appearing in buildings, outside buildings, etc. They often include a weapon, ammo for that weapon, and occasionally low tier gear or meds. 3 seconds to open.
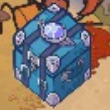 Blue Crate – These are rare to find and have a good chance at higher tier equipment and meds. Slightly longer to open than the Red Crate.
God Crate – After a couple minutes into the match, God Crates start spawning. When a God Crate is being dropped, everyone in the match is told it’s coming and shown where. It takes some time to drop giving players time to get to it. Longest amount of time to open (I think 6 seconds).
It also drops an F-Bomb at its location before dropping. Right after the F-Bomb blows up, the God Crate appears. God Crates have the best gear, often giving a mix. It can include weapons, equipment, meds, etc. The equipment will often be higher tier.
 I recommend everyone goes to God Crates when they’re announced, up until near the end of a match. Near the end of a match, they usually get blocked by the boundary/wall. However, before then, a lot of players don’t tend to go to them. Which makes them easy for gear.
If you hear someone opening it or see them looting, try to catch them by surprise with an F-Bomb or some well-placed shots.
Special Abilities
F-Bomb – The F-Bomb is an aggressive ability used for dealing heavy damage in an area. Known as an AoE (area of effect) ability, it deals damage in an area when thrown after a quick charge up time.
The F-Bomb is a strong ability for aggressive players looking to get kills. It can be thrown to the edge of your screen after channeling it for a second. This is great for forcing players out of cover, out of their healing Disco Ball, and various other uses.
The F-Bomb can even function as a way to get people away from you. If you’re inside a building or fighting in an alleyway and the other player got a few good hits in, use the F-Bomb to scare them away. Run away and heal up with some meds.
It also comes in handy near the end when the circle is small. Players can hide from your F-Bomb easily and this forces them toward you or away from you. Depending on how you use it, it can force them toward you for a shotgun blast.
Good & the Bad: Strong AoE, short cooldown, and good for forcing players to move. Takes time to channel and can hurt yourself.
Disco of Righteous Healing – The Disco of Righteous healing is a healing ability to keep you alive and kicking. This is a commonly used ability that puts an AoE on the floor for healing. Many people take the Disco Ball since you can place it, and keep fighting.
This makes it so players have a consistent heal on them even in the middle of a fight. If you combo this with the Booze heal, you have a heal over time from both items. The Disco Ball, however, has a long cooldown and is vulnerable to the F-Bomb. The F-Bomb can cover an entire Disco Ball AoE, making it not safe to stay in.
For players that take advantage of using the F-Bomb on a Disco Ball player, it prevents you from taking full advantage of that heal.
Good & the Bad: Great AoE heal, can heal you while you continue fighting. Vulnerable to F-Bomb, long cooldown.
Disguise Kit – The Disguise Kit is a sneaky ability for disguising yourself as an object in the Rapture Rejects world. Players can’t move while disguised. A lot of players will tell you not to use this since it doesn’t help you get kills and you can’t do anything while using it.
Any new player is going to be attracted to using this item since it helps prevent you from dying. Who wants to die in a battle royale game? Nobody! Almost nobody will hunt you down if you’re using the Disguise Kit so long as they don’t see you and you’re not one of the final players.
You can also take damage while disguised and it won’t pop you out of your disguise. This can throw people off if they’re shooting randomly looking for you to get a reaction.
If you have the weapons you need, the Disguise Kit is a solid way to get to the last few people alive in Rapture Rejects. Get somewhere near where the circle may end, pop your disguise, and wait as people die around you. I’ve waited until the last person and popped out of a trash can for the win, scaring them.
Good & the Bad: Great for avoiding players. Doesn’t benefit you in combat aside from surprising someone.
Liquid Nitro Bomb – Channeled AoE that sets a trap, slowing down any players inside its AoE radius. This makes the player an easy target when they can barely move. For about 4 seconds, if a second Nitro Bomb is thrown, the last one will remain. It also does a small amount of damage when landing on a player.
The Liquid Nitro Bomb can be used similarly to the F-Bomb to force players to move. It creates a circle players don’t want to run through and forces them to move out of cover.
The Liquid Nitro bomb takes about half a second to activate.
Good & the Bad: The slow destroys any movement a player has, making them super vulnerable. Does low damage, only good if you can follow up.
Wall of Metal – Create a wall of guitars to block damage. This can be useful for taking a moment to heal mid-fight.
Good & the Bad: Good to create cover if you’re in a bad spot. Wall health was nerfed recently, there are better specials to use.
Types of Meds
Bandages – Heals a small amount of health instantly after it finishes channeling. You walk slowly while healing. Bandages can heal the majority of your health, with a small remaining chunk. Common to find. 3 seconds to use.
Chicken Dinner – After fully channeling, heals full health. Rare to find. 6 seconds to use.
Booze – Heals health over time after channeling. Booze heals the last remaining chunk of your health as well. Average rarity. 3 seconds to use.
Drugs – Expands your vision, zooming out, can be stacked twice (to my knowledge). 1 second to use.
Equipment Types
Armor – Reduces damage taken from other players based on tier.
Backpack – Increases inventory space for ammo and meds. Increases further space based on tier. Fanny pack, Backpack, and Duffel Bag for example.
Reload Speed – Increases reload speed based on tier.
Vision – Increases vision, zooming out further, based on tier. Magnifying glass and binoculars for example.
Shoes – Increases movement speed based on tier. Rollerblades for example.
Quick Tips
- You have a dash ability at all times, take advantage of it. It’s great to get out of F-Bombs or dodge bullets.
- Use the watchtower / Radio Tower to see a large area around you.
- Turning your camera helps find people hiding behind cover.
- Spork Sniper secondary ability is great for scouting
- Shift by default makes you walk, quieting your footsteps
- Take advantage of God Crates, not many people do.
- Fog of War (what you can see) hides the inside of buildings unless you go to a window or open door.
- Fog of War zooms in when entering buildings, zooms out when at a window or door.
- Drink Booze before fights, to have regen ready.
- Guns you pick up from other players may need to be reloaded.
- Doors start closed, if they’re open, someone’s been there.
- Dashing cancels reloads, abilities being channeled, and food being eaten.
If you have any tips or useful information on Rapture Rejects for other players, feel free to comment below! More info and tips will be added to this guide over time, some info is still missing.
Rapture Rejects is available on Humble Bundle and Steam Early Access as of November 29, 2018.
Disclaimer: Certain links in this article may contain affiliate links where purchases may provide a small commission to Slyther Games. Our affiliate policy is here.


Jeff is a journalist with over 10 years of experience writing, streaming, and making content about video games. With an associate degree in journalism, he’s a sucker for RPGs, survival games, roguelikes, and more.