The Mount & Blade 2: Bannerlord War Sails quest, Defeat the Sea Hounds, starts after returning to Ostican. Now that we’ve rescued some troops in the quest, Save the Crewmen, it’s time to get into our first sea battle. We’ve put together everything you need to know about this quest, like how to board ships, tips, and more.
If you’re looking for other quests in our War Sails walkthrough, be sure to check out our walkthrough hub.
Speak With Gunnar at the Ostican Port
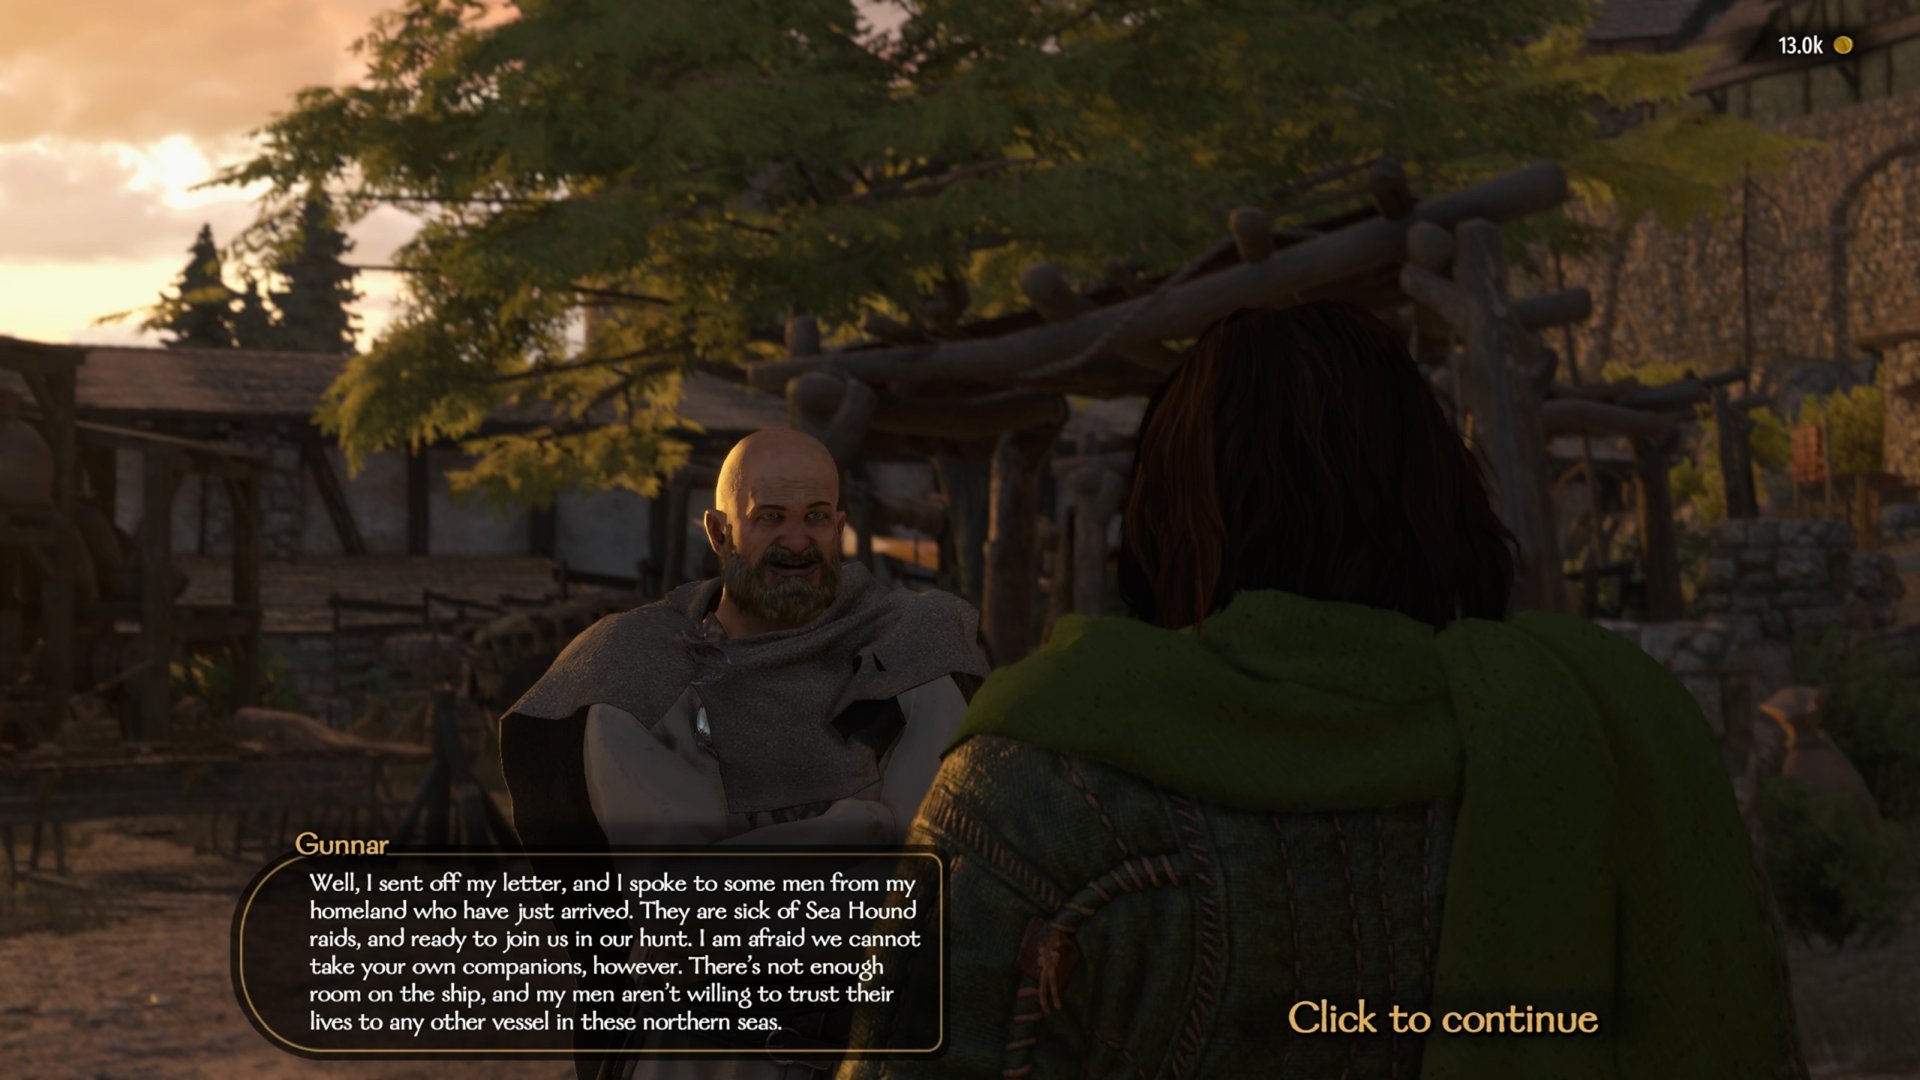
Before this quest actually starts, you’ll have a brief intermission with Gunnar as part of the Scourge of the Seas quest. Once you’ve finished speaking with him at Ostican, Defeat the Sea Hounds will begin. While speaking with Gunnar, you’ll learn that he’s been able to put together a crew. As mentioned in a previous War Sails quest, we still can’t use our own troops, which is a bit of a good thing. You won’t need to worry about having strong enough soldiers, but you will have to support them financially.
This is the one thing that can stop you from continuing the questline if you don’t have enough money to pay their daily wages. We haven’t tested if they’ll desert your party or become wounded at sea due to not being paid. However, if you’re worried about that, you can take a break from the questline to make some money.
Either way, your conversation with Gunnar provides a little more info about the Sea Hounds and allies he’s called for help from. Once you’re both ready, you can set sail to hunt down some Sea Hound ships.
Fight the Incoming Sea Hound Ship
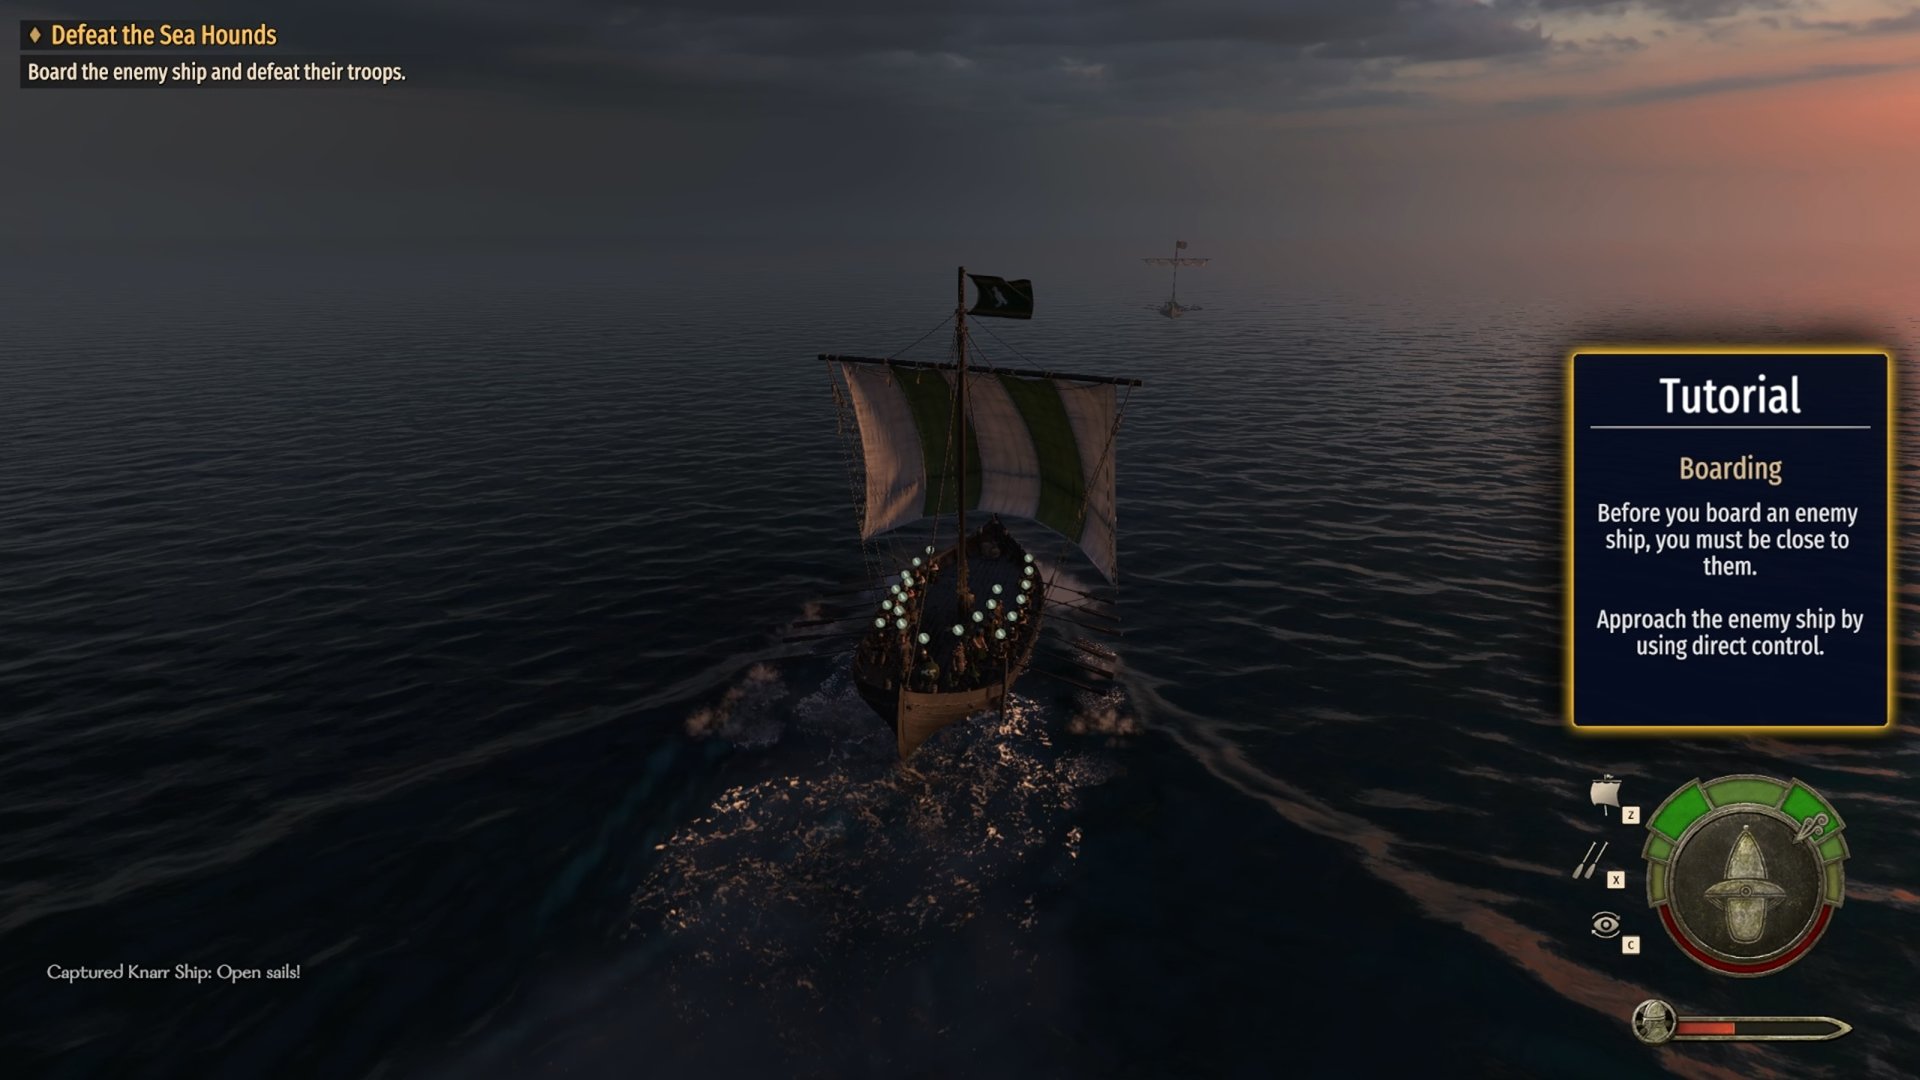
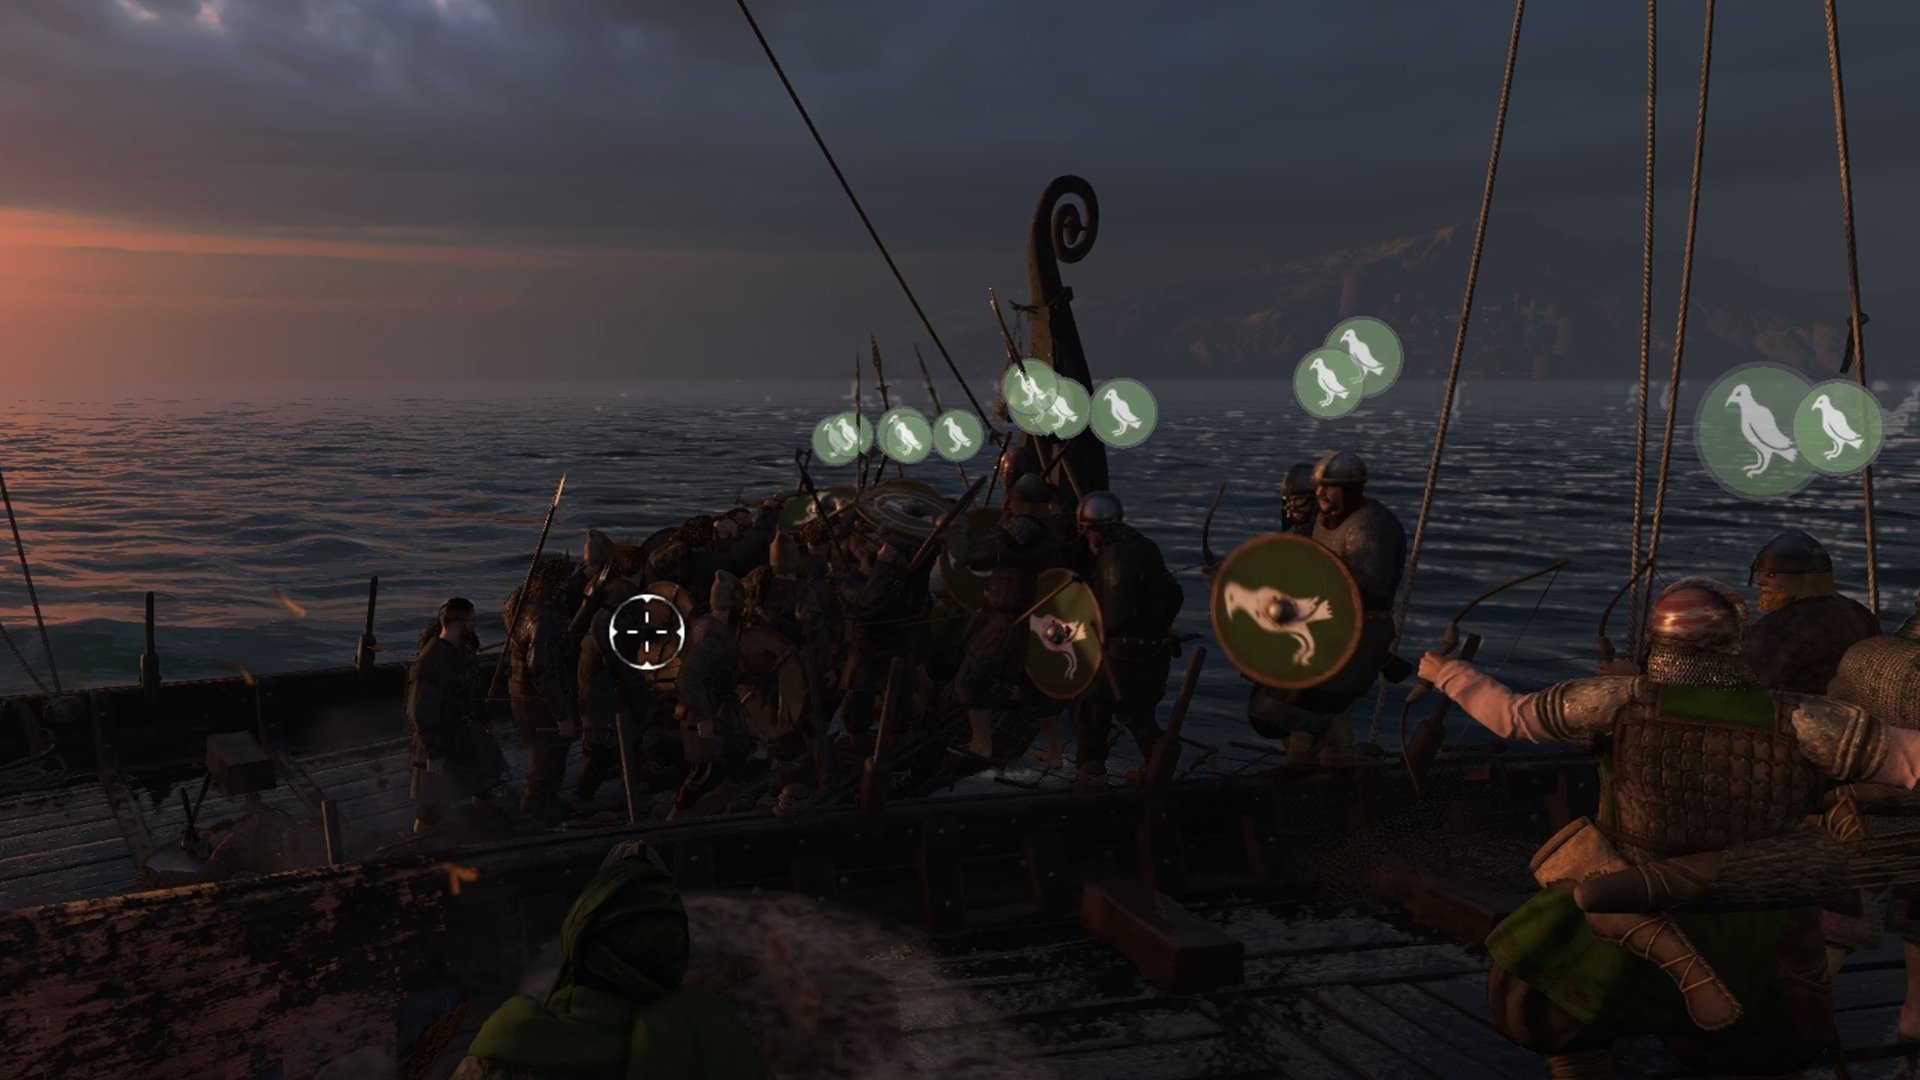
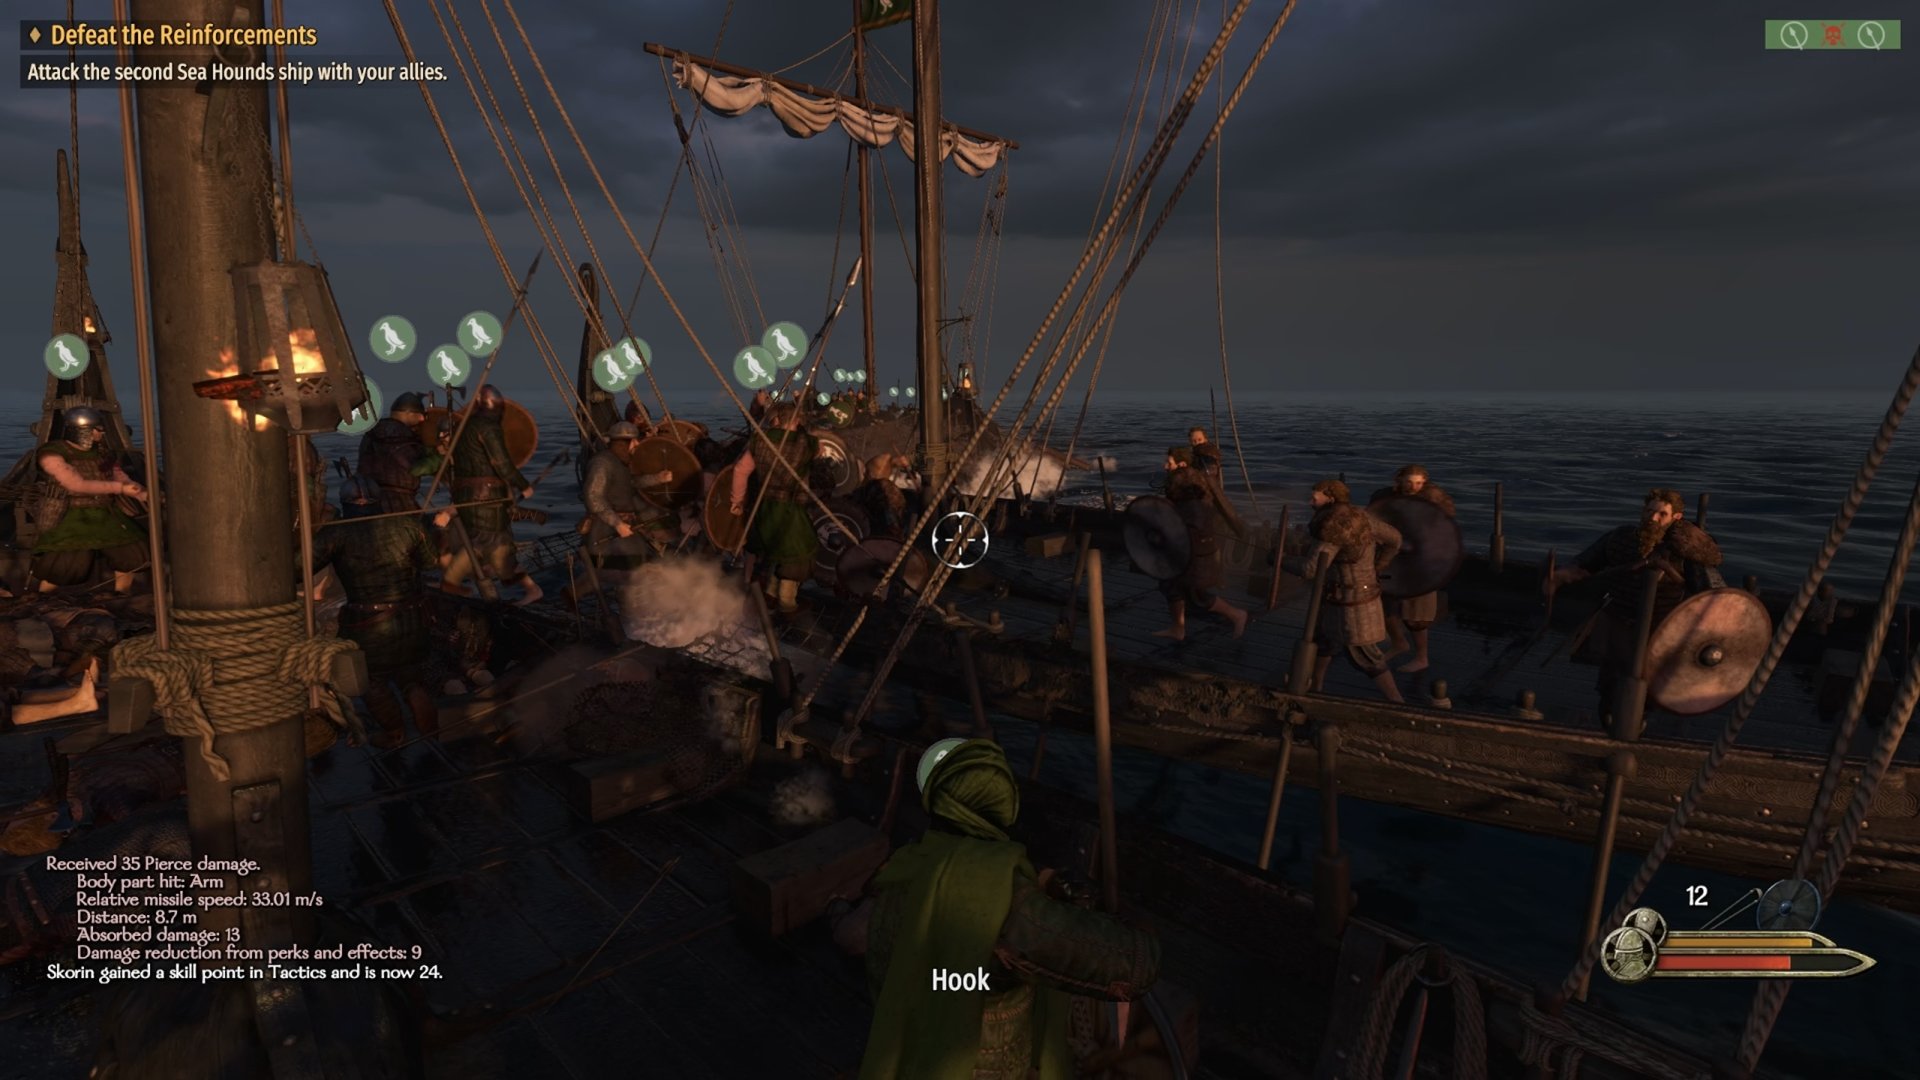
Almost immediately after setting sail, you’ll encounter a Sea Hound ship headed straight at you. Fortunately for you, it has less than half your crew, making for a potentially easy battle. Once the fight starts, you’ll get a tutorial tip explaining how boarding works. To reiterate for this walkthrough, you’ll need to be close to the ship you’re trying to board without accidentally sailing past it.
Once you’re ready to board them, you can press the R key on PC. Your troops will then try to pull your ship closer to it by sending over a grappling hook. As long as neither ship gets too far from each other, that hook will eventually become a rope bridge connecting the two.
As the in-game tutorial also explains, you can then press 1 to command your troops. This will select your ship and allow you to press F3 afterward to tell them to charge. They’ll then engage the other ship via the rope bridge. Due to how narrow the bridge is, you have a couple of options:
- Use a rope spool along the ship edge to create another bridge by hooking the other ship.
- Jump onto the enemy ship to engage them up close.
- Use a ranged weapon to attack from afar.
Pick to Sail the New Snekkja or Old Knarr
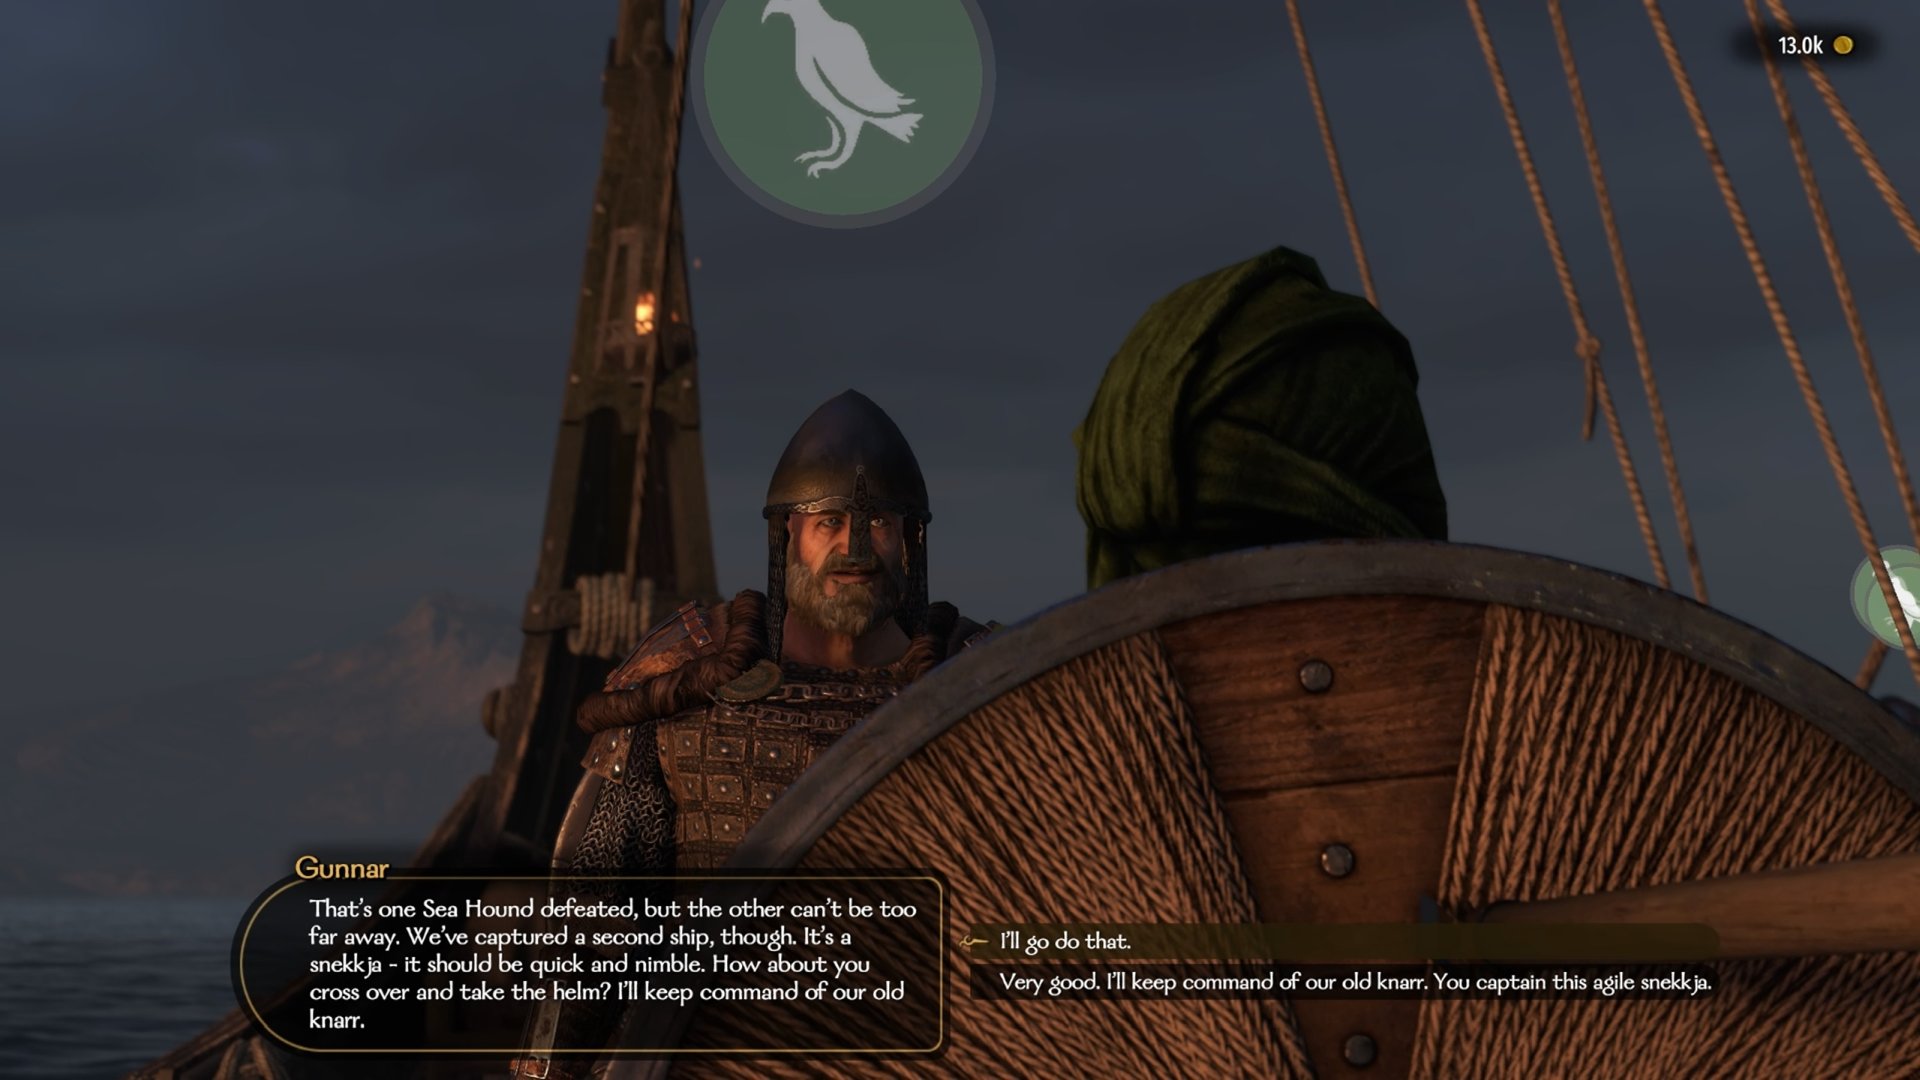
When there are no longer any Sea Hound pirates alive, another conversation with Gunnar will start. He’ll give you a choice of captaining the new snekkja ship or sticking to the knarr. In my playthrough, I switched to the snekkja, but I imagine you can use either. After making your choice, the next tutorial tip explains that you can press X to cut loose from the other ship.
Once you’ve separated from the other ship, the next tutorial tip explains how to command friendly ships. You can press 2 to select the other ship and then command it from there. In this case, the tutorial recommends pressing F4 afterward to tell them to engage the enemy. Other choices will be visible on the radial menu near the bottom of the screen when pressing 2.
Make sure to give them some sort of order if you want them to attack the Sea Hound ship. Otherwise, they’ll stay still and not act. Afterward, make your way to the enemy ship and try to board it simultaneously with Gunnar’s ship.
If you time it right, the enemy ship will have to deal with being boarded from both sides. Even though it is possible to board from the same side, it tends to be a bit more annoying to handle. While some War Sails quests will let you use the new feature to control a different troop upon dying, this isn’t one of them. However, you will be able to retry or leave upon dying if you want to return later.
Interrogate the Captured Sea Hound Ruffian
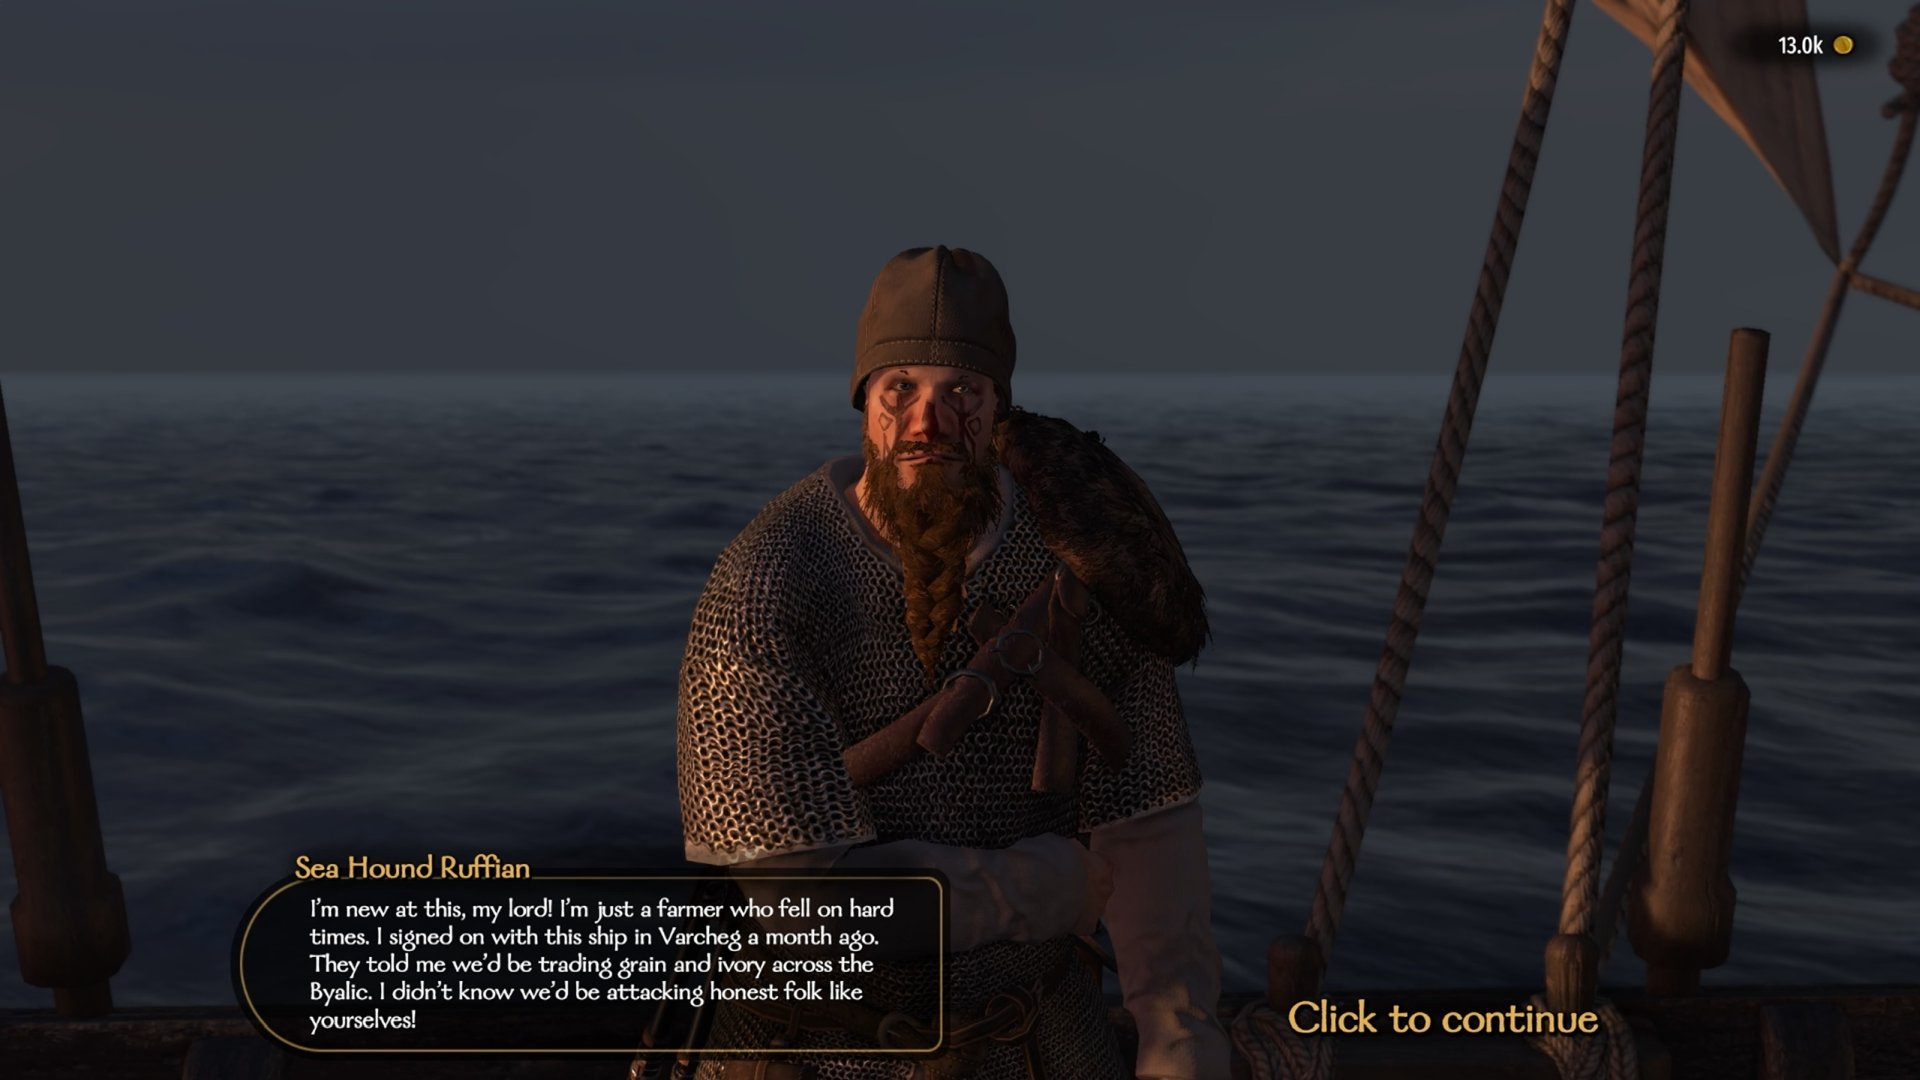
After taking out the second Sea Hound ship, Gunnar manages to find one fallen pirate worth speaking with. You can use this opportunity to try and learn more about where your sister is. In the process, Gunnar will eventually interrupt and point out that this bandit is no simple farmer. This leads to three choices between sparing them, throwing them overboard, or letting Gunnar decide.
Later choices in the War Sails campaign explain how certain ones like these will impact your reputation. Since this batch of decisions doesn’t show anything, I’m assuming that it may not matter. In my playthrough, I chose, “I keep my bargains, however loathsome they may be. We shall put you ashore.” This option didn’t clearly show an impact if there was one.
Finishing your conversation with the Sea Hound Ruffian completes the quest, Defeat the Sea Hounds. This sends us back to the temporary and simple quest, Return to Ostican. Once you’re back, speak with Gunnar to continue the War Sails questline. This will start the next quest, Meet the Vlandian Merchants.


Jeff is a journalist with over 10 years of experience writing, streaming, and making content about video games. With an associate degree in journalism, he’s a sucker for RPGs, survival games, roguelikes, and more.