The Mount & Blade 2: Bannerlord War Sails quest, Free the Sea Hounds’ Captives, sends us on a trip to find Purig and hopefully rescue our sister once and for all. We found out in the last quest, Capture the Merchant Crusas, that Purig is conducting business at a place called Angranfjord. Before heading off to track him down, we’ll have to make our way back to Ostican as usual.
If you’re looking for other quests in our War Sails walkthrough, be sure to check out the walkthrough hub.
Speak With Gunnar at Ostican Yet Again
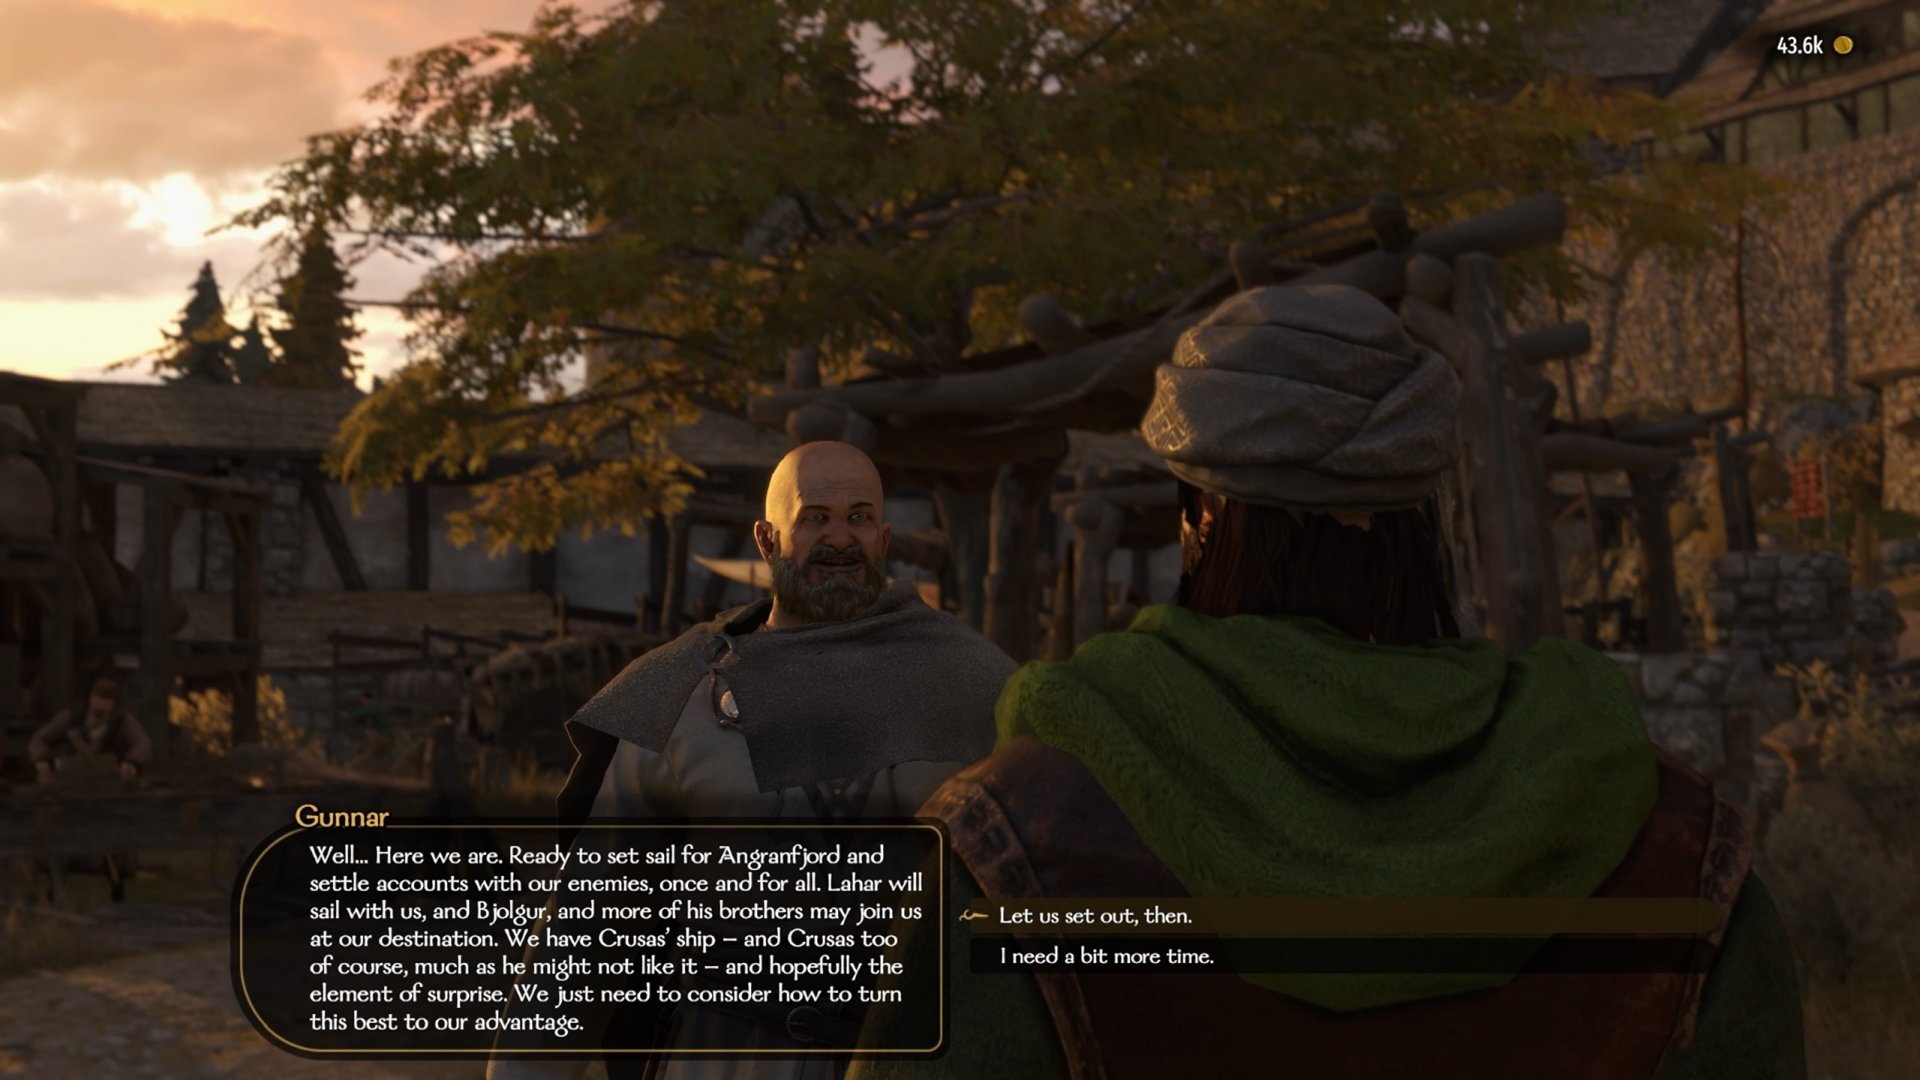
Instead of having a long conversation about the next steps in our quest, this one is short. Gunnar will repeat info from our previous quest about sailing to Angranfjord to deal with Purig. However, he also adds here that we’ll have the help of allies we’ve made during the War Sails campaign. Both Lahar and Bjolgur will join up to support us.
Alongside the help of our allies, we’ll also be using Crusas’ ship to disguise ourselves. Once you’re ready, speak with Gunnar to head out for the next part of our quest.
Sail to Angranfjord Far Beyond Hvalvik
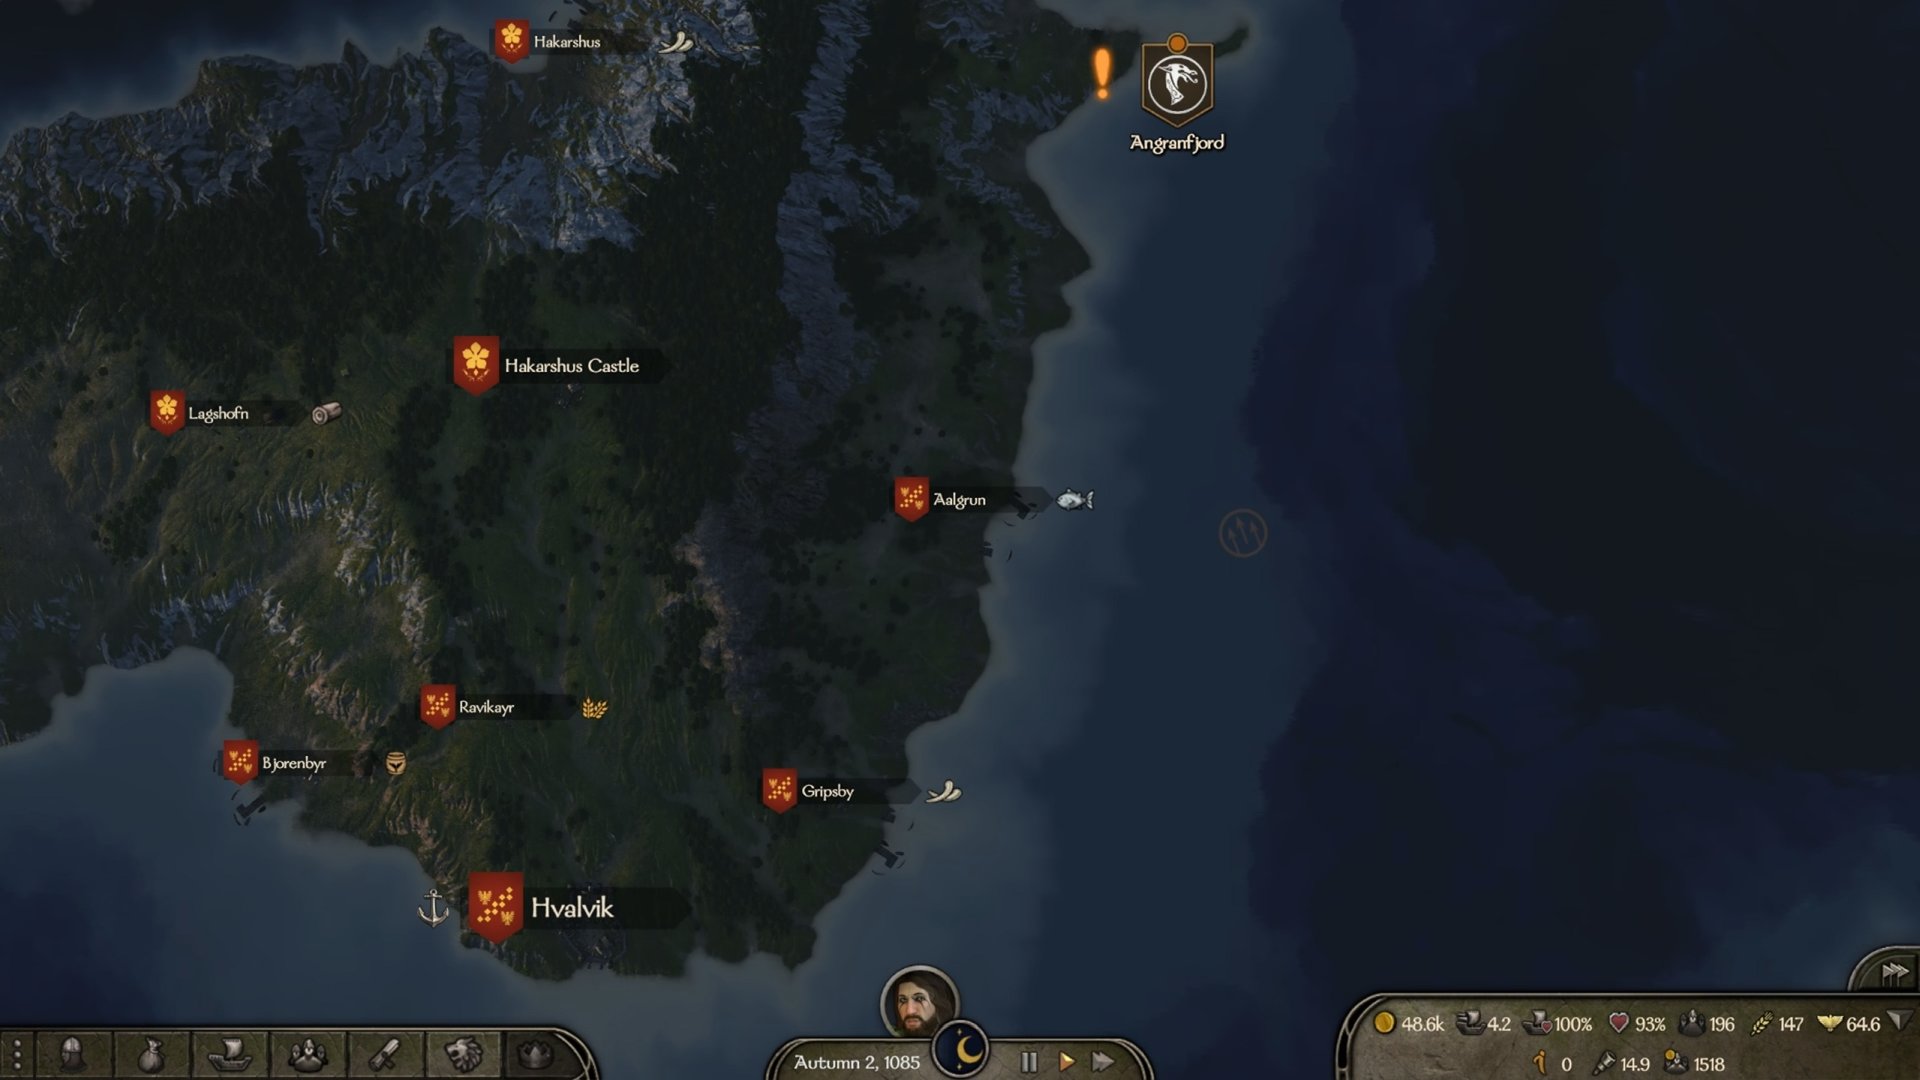
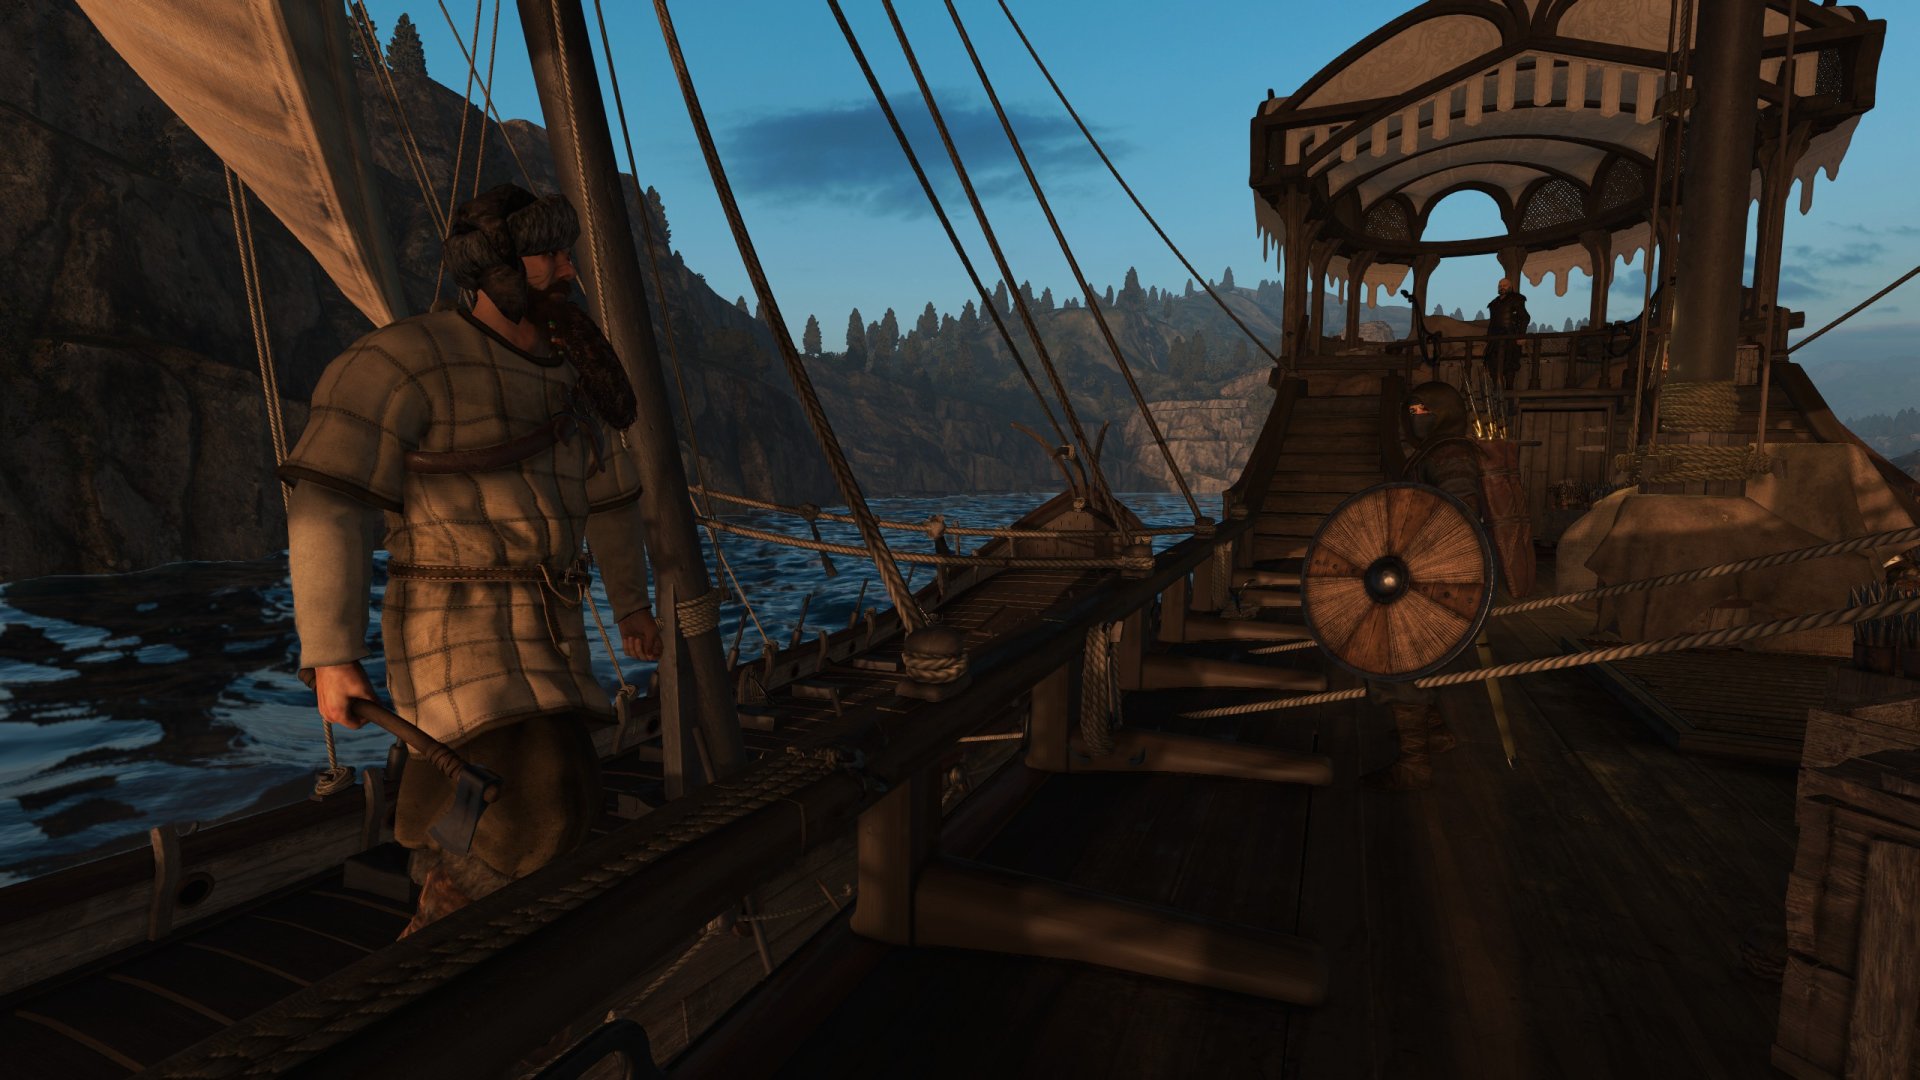
After leaving Ostican, you’ll need to cross the ocean to find Angranfjord beyond the coast of Hvalvik. You’ll pass by a couple of small villages/fiefs along the way named Gripsby and Aalgrun. Upon reaching the quest marker, you’ll come across a small fleet of 67 Sea Hounds. Approaching them will trigger a conversation with Gunnar discussing how to continue from here.
One way or another, he’s confirmed that they have our sister hostage. Due to this, we won’t be able to go in loudly since there’s the risk of Purig harming her. Instead, Gunnar recommends sending Crusas as a distraction while we swim over to the prisoner ship. After the conversation ends, you’ll be in control of a ship.
Calmly Approach the Sea Hound Ship Up Ahead
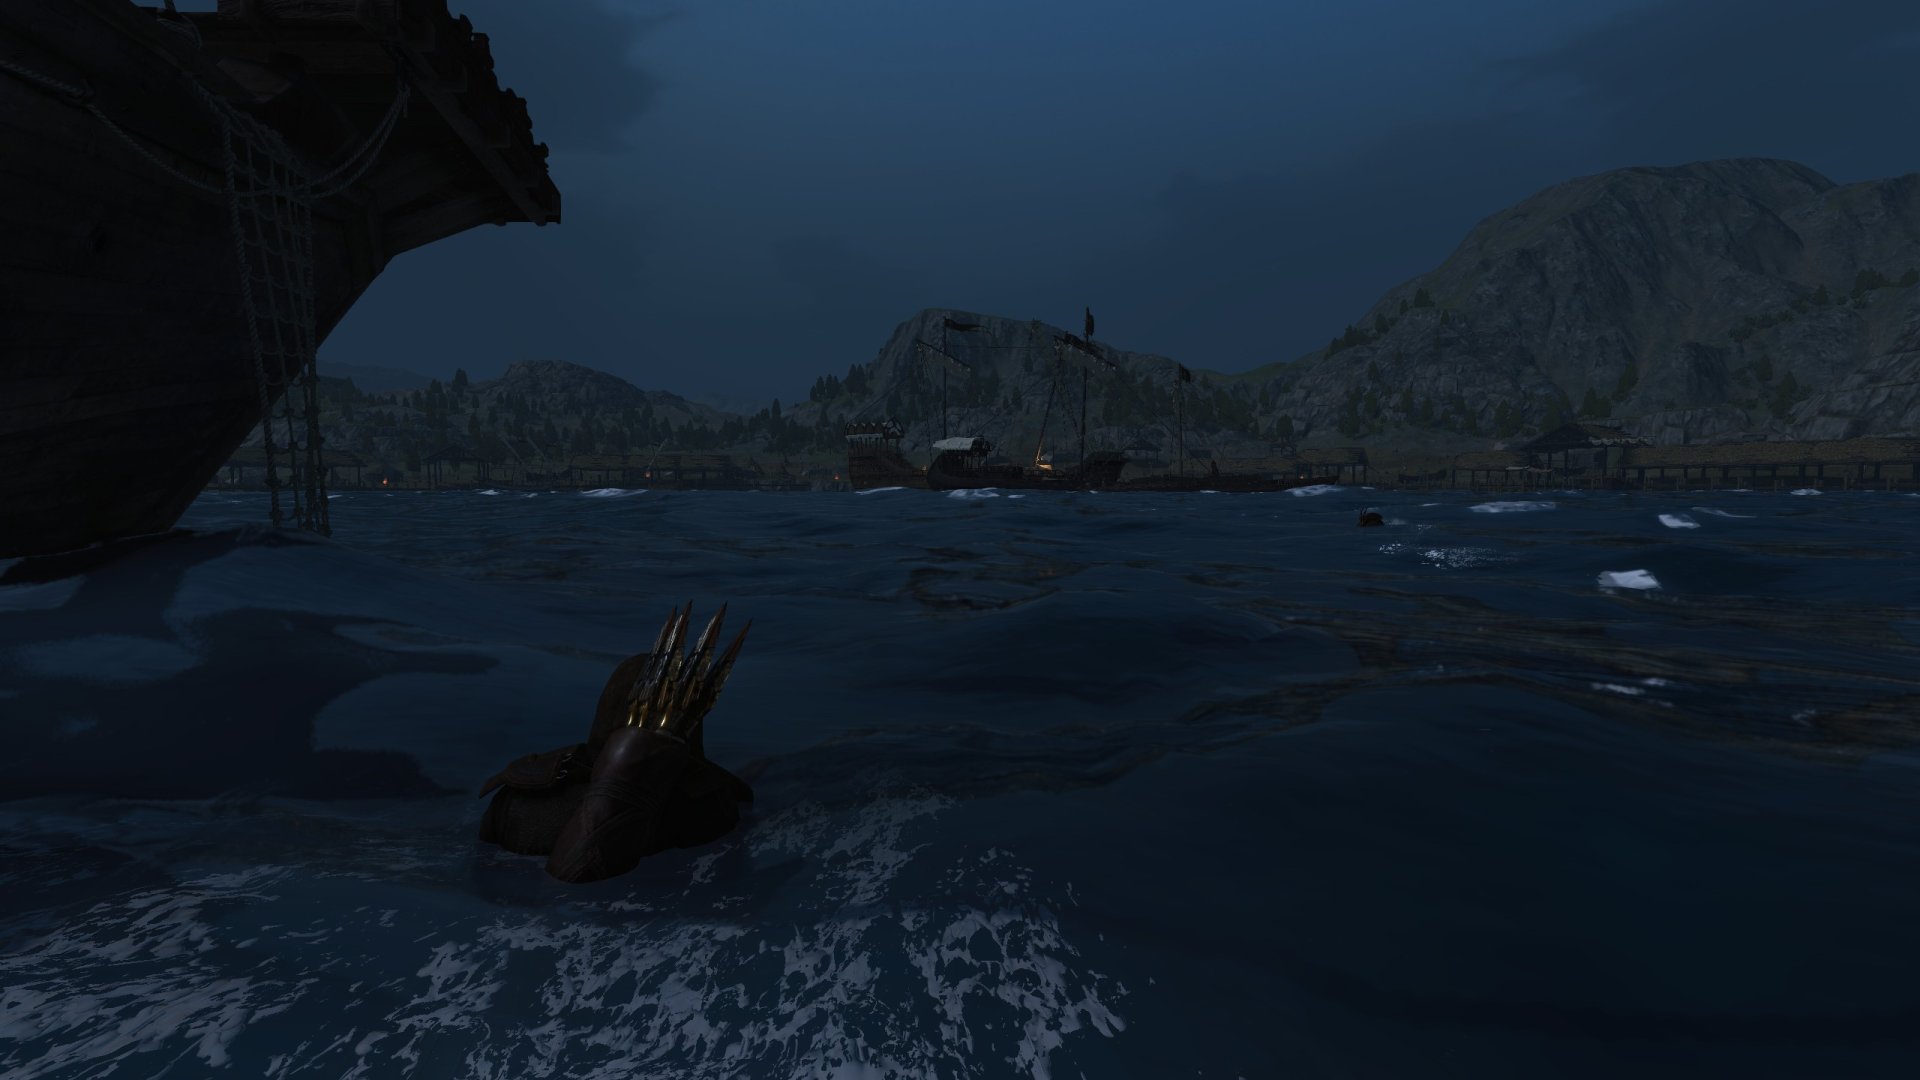
Since the plan is to handle this situation quietly, we’re not looking to ram any ships or attack either. You’ll need to sail your ship to the yellow exclamation point up ahead, a little way before the group of ships waiting. Once you reach this location, Gunnar will tell you to dive overboard into the water. This is one of the more dull parts of the War Sails campaign since it’s a slow swim to the next objective.
I’d love to tell you there’s a trick here, but you’ll just have to swim forward until you reach the prisoner ship. Once you finally reach the exclamation point, you’ll see a rope net to climb on board the ship. This part emphasizes stealth, so if you’re not sure how that system works, we have a guide on How to Sneak to help. Despite having a good grasp of this mechanic, I still alerted the first couple of enemies.
Fortunately, this didn’t lead to an immediate reset or quest failure situation. For a quick explainer, you can use Z on PC to crouch and sneak. This will give you a better chance of sneaking up on enemies not looking at you. In addition to this, you can use Caps Lock on PC to slow down and dampen your footsteps. Before approaching your first enemy, make sure you have your weapon out and ready to go.
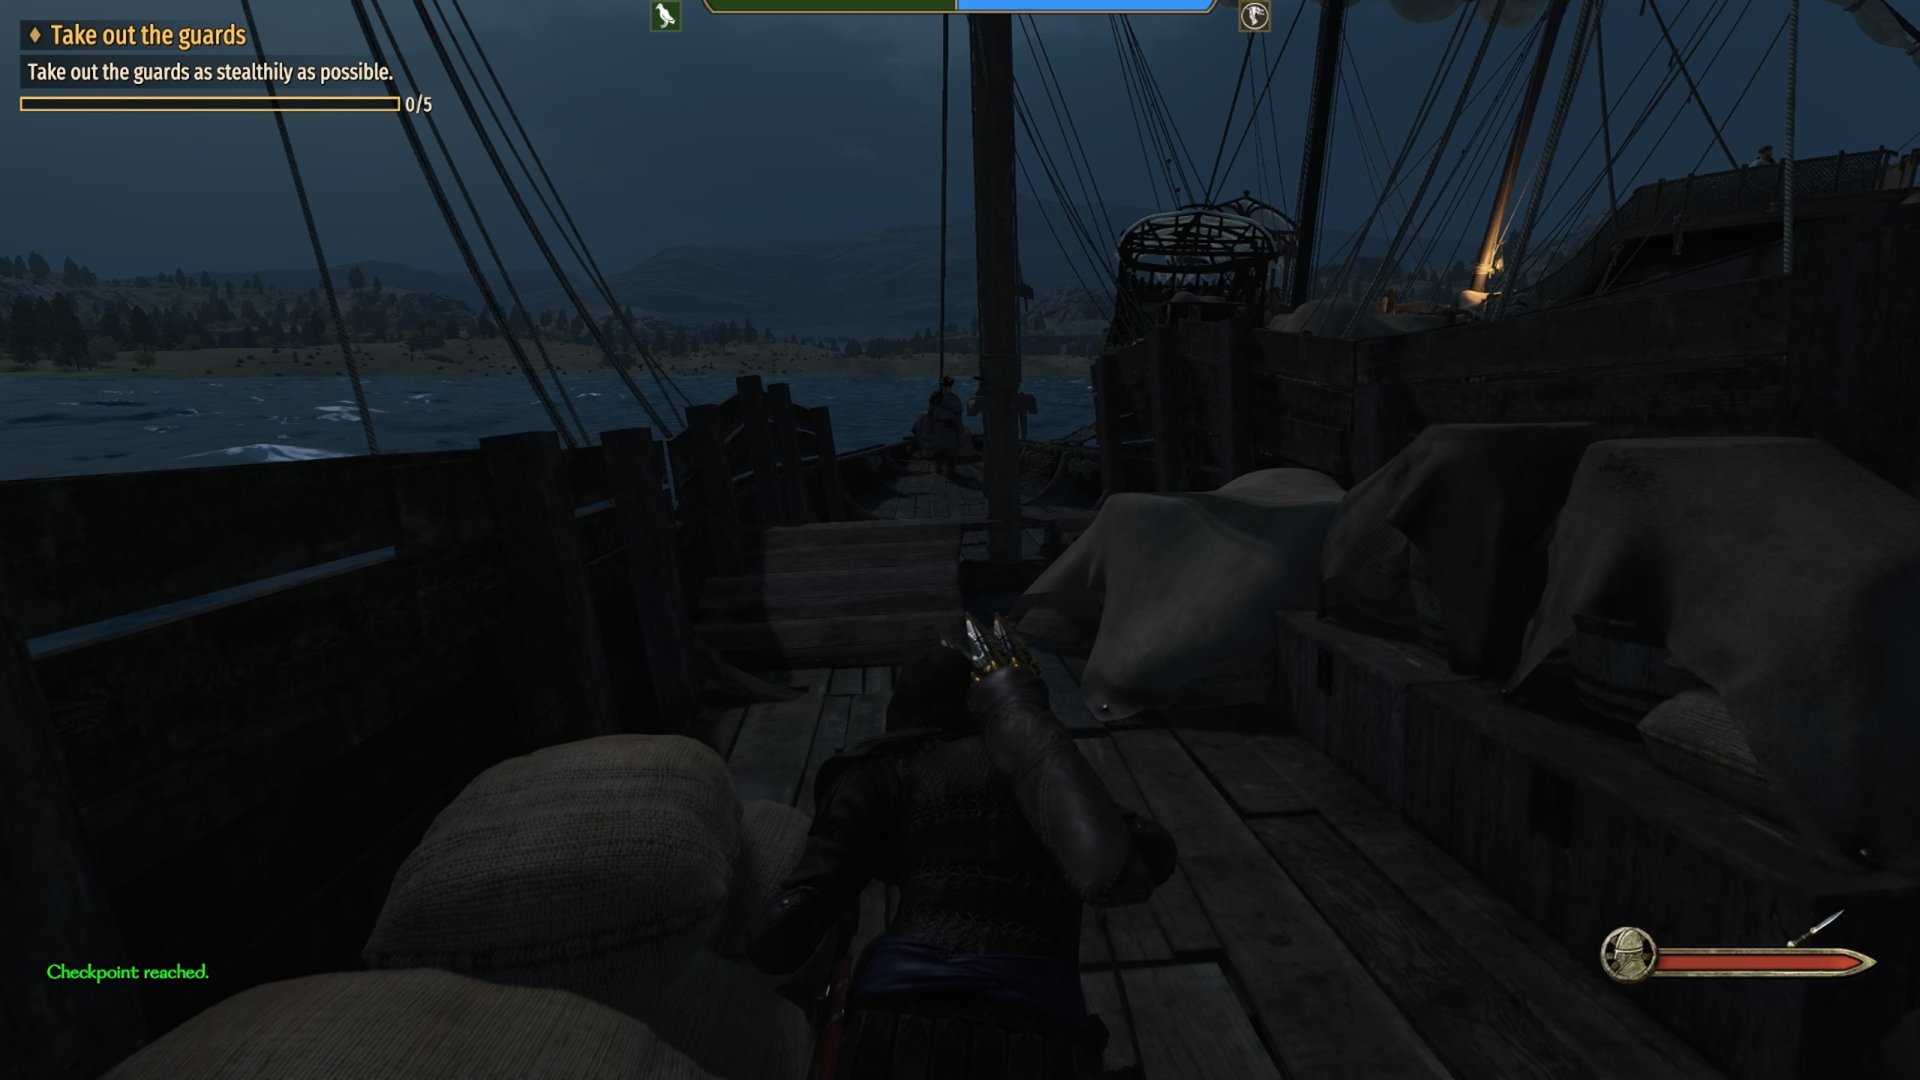
For this sneaking portion of the quest, you’ll have to take out five guards. The first one is visible in the screenshot above, where they’re on the same ship as you. Fortunately, their back is facing you, but it’s still easy to unintentionally alert them. After them, there are two more troops on the adjacent ship you can follow the rope bridge across to. Continuing from here leads to a third ship with two more Sea Hound Thugs on board.
After defeating all five Sea Hound guards, head to the back of the third ship, where a yellow exclamation marker is. This leads to two big wooden doors with boxes of javelins and quivers beside them. Head through them into the hull to rescue any captive prisoners below deck. At the end of the hull is a prison/brig with one captive inside.

Approaching the captive reveals that you’ve finally found your sister. This triggers a short conversation and reunion between the two of you. Due to the sturdy padlock and thick wooden walls, she’ll have to wait here until it’s safe. Once you’ve finished speaking with her, leave the hull and speak to Gunnar.
Prepare to Escape With the Prisoner Ship
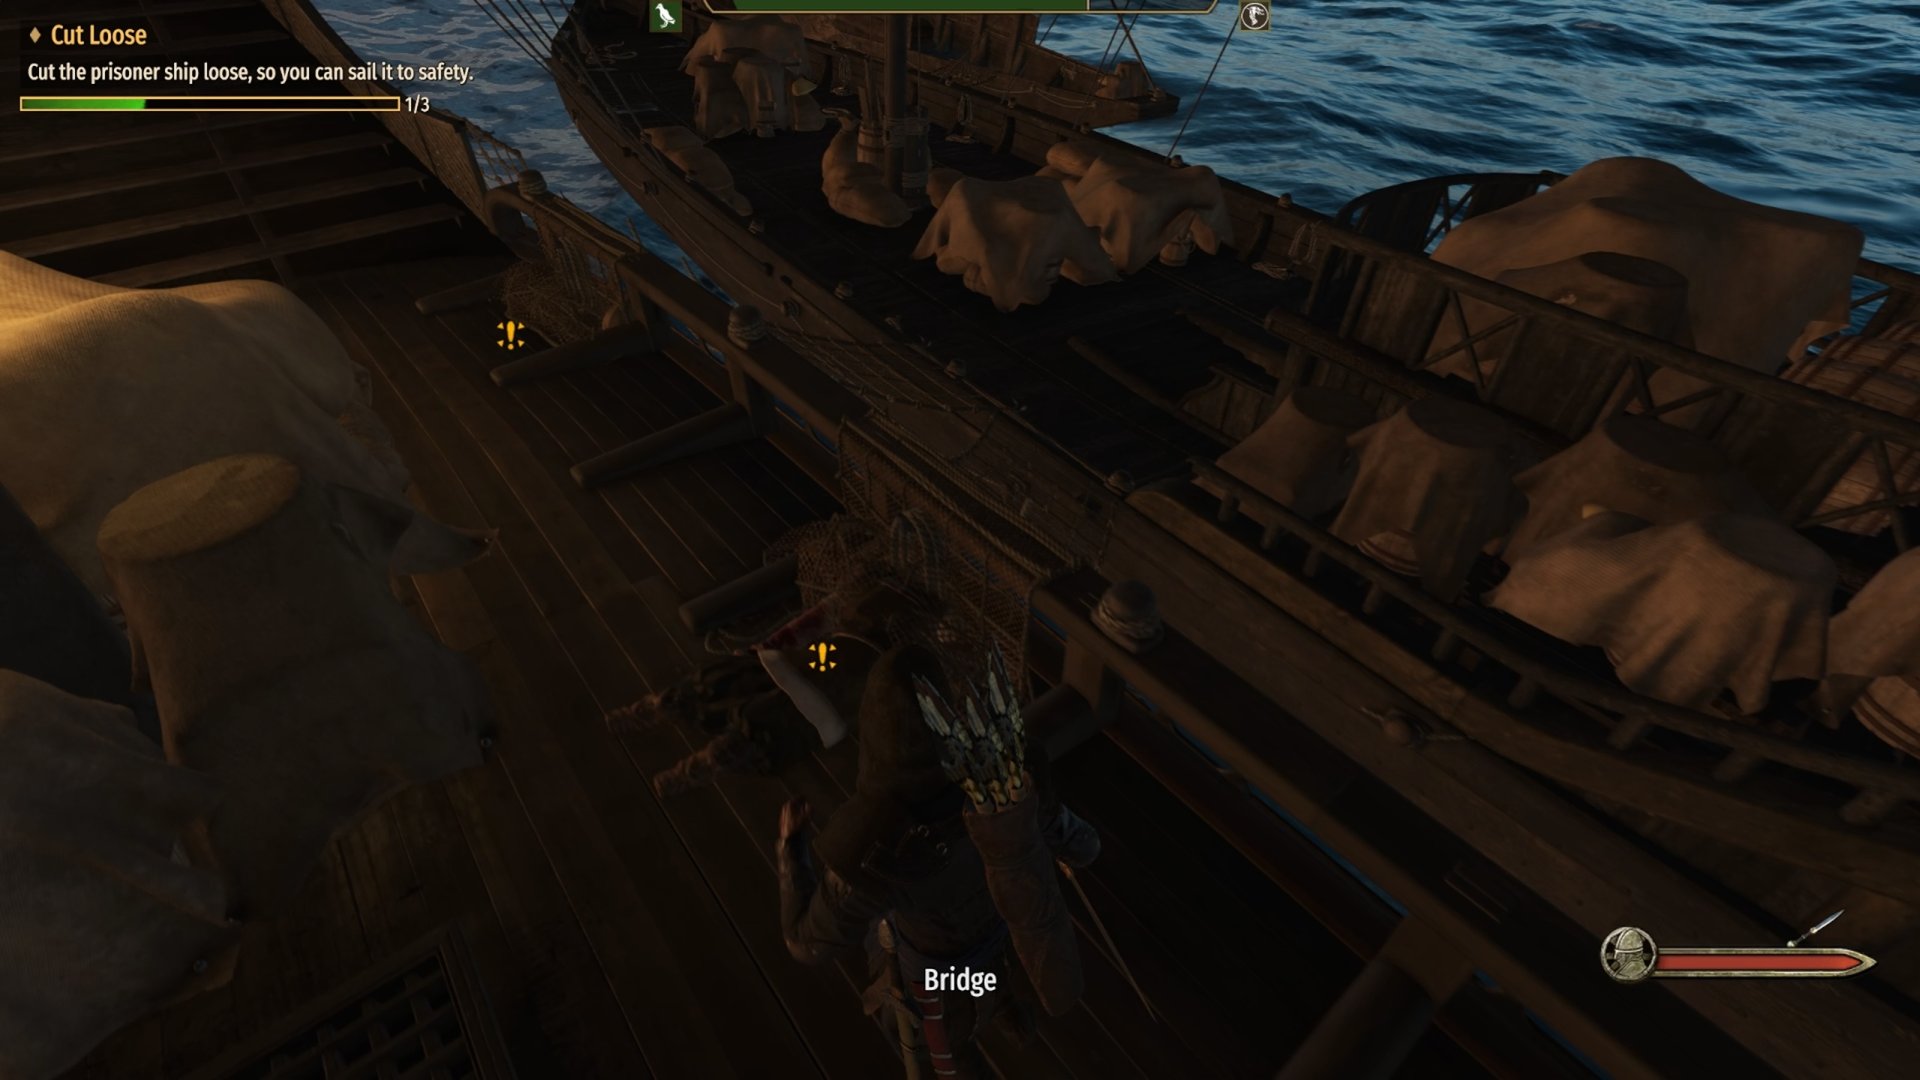
After leaving the hull, Gunnar will tell you to cut the ship loose so you can get away. If you haven’t removed any rope bridges before, head over to each of the three yellow exclamation points here. Then, look for a rope spool attached to the railing of the ship. You’ll be able to interact with it for a few seconds before cutting the ship loose.
Once all three rope bridges are removed, Gunnar will begin sailing the ship back to our allies. The good part about this segment is that you don’t have to focus on sailing and evading enemy ships. However, you will have to defend the boat from incoming Sea Hounds attempting to reclaim it. Here are some tips for defending your boat:
- Watch out for incoming ships preparing to board your ship by sailing next to you. Using Alt on PC will make it easier to see marked enemy ships before they arrive.
- Use ranged weapons like javelins to take out incoming Sea Hound enemies. You can replenish your supply by using any crates full of them on the ship.
- Sea Hound Thugs are quite slow when using the rope bridge to board your ship. This makes for an easy opportunity to hit them with javelins. In addition to this, I’ve had mixed results with them being slow after crossing the bridge as well.
Upon successfully escaping with the prisoner ship, you’ll meet back up with Lahar and Bjolgur. This leads to controlling your own ship as you sail into battle against Purig’s Sea Hound fleet.
Defeat the Incoming Sea Hound Fleet
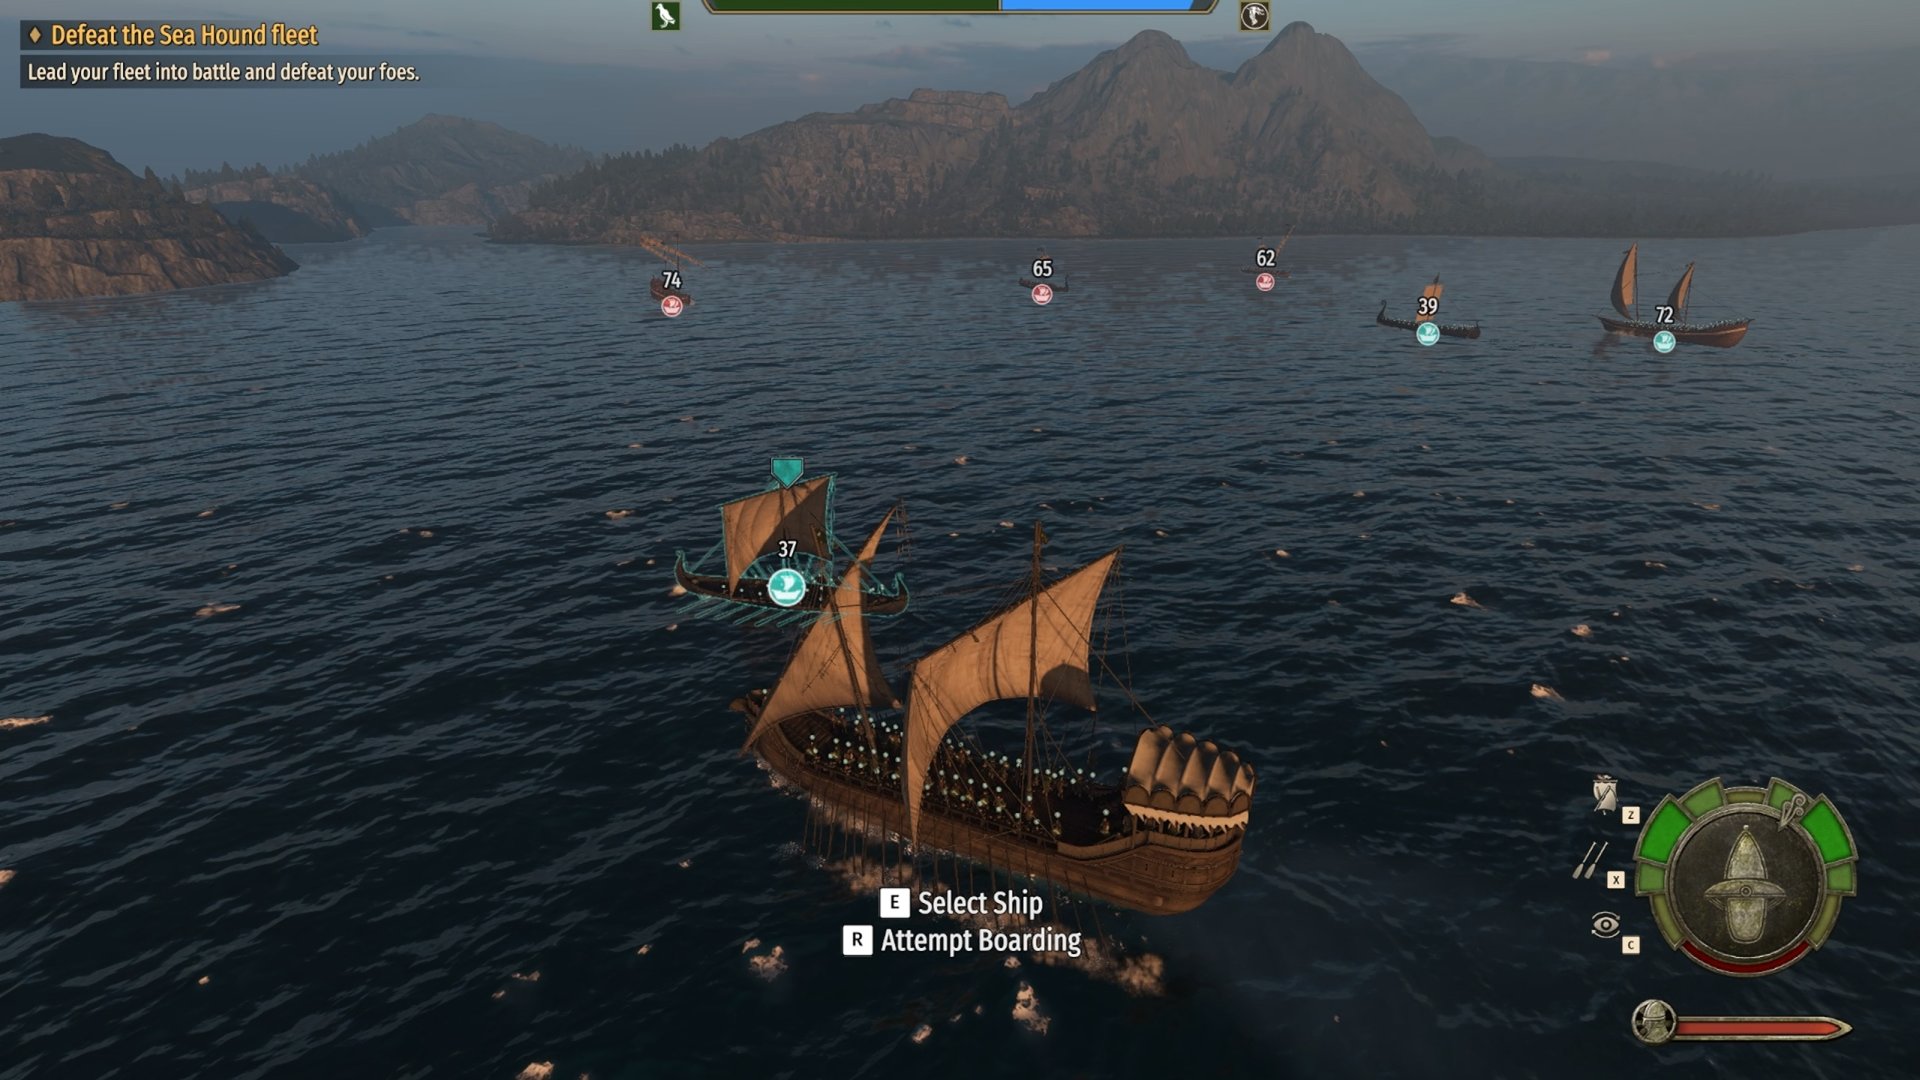
This is one of the larger battles you’ll encounter in the War Sails campaign, which is fitting as we’re near the end. While you can try to order each ship in your fleet to target certain ships, I didn’t have a great experience with this. It may have been due to the AI struggling to understand my orders, which are bound to get better with improvements over time.
This is actually how I ended up dying on my first attempt for this part of the quest. Fortunately, there’s a checkpoint for you to retry right before this battle. It’s important to note that dying here will force you to retry since you’re not able to become another soldier in this part. Due to this, you may want to play it safe where possible and hang back.
Since I struggled to get the AI to work well with me, I instead opted to board enemies that my allies were already targeting. I’d recommend going after the larger enemy ships since you have a lot of troops to charge them with. Regardless of what you do, try to stay alive, since your fleet is already overwhelming Purig’s numbers.
Defeat Purig Once and For All
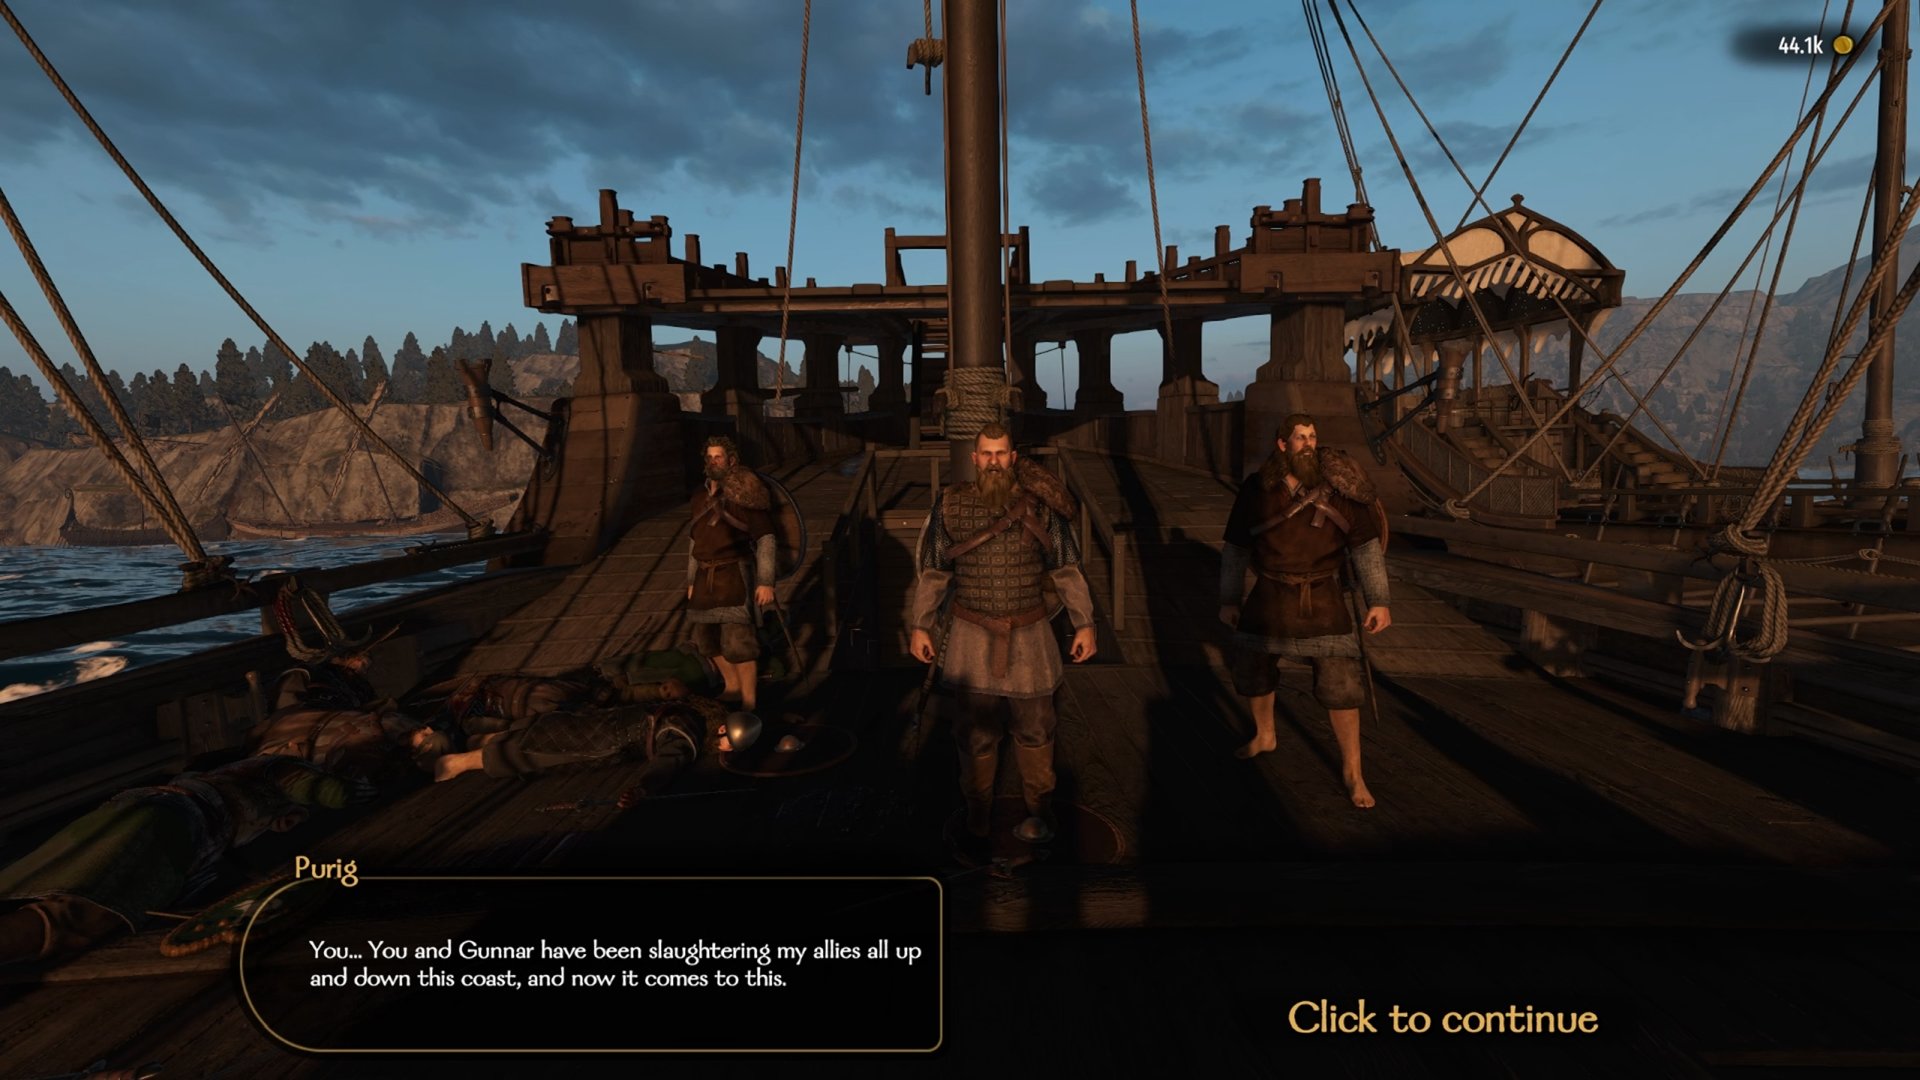
Once you’ve defeated enough enemies, Purig will finally appear and try to strike back. Which is comparable to every other time we’ve slaughtered a foe’s fleet and then they threatened us anyway. In my playthrough, I had to order my allies to engage Purig since they were only idling for some reason. Otherwise, you can treat his 40-man ship like any other and board it with your allies.
After clearing Purig’s ship of troops, he’ll monologue a little bit before asking to duel. This is similar to clearing hideouts before the War Sails expansion and update changed how they work. You’ll have a choice here to either duel him or fight with your troops. Unfortunately, this moment bugged pretty badly in my playthrough. I chose to fight with my friends and only had one troop to support me.
Which didn’t seem to matter since both them and the enemies were focused on looking away from the ship. They weren’t moving or fighting as they were all clearly broken. This made for an easy fight to whittle them down using my bow. After defeating Purig and his party, you’ll get a little cutscene as you rescue your sister. This then leads to a conversation with her as well.
Speak With Your Sister After Rescuing Her
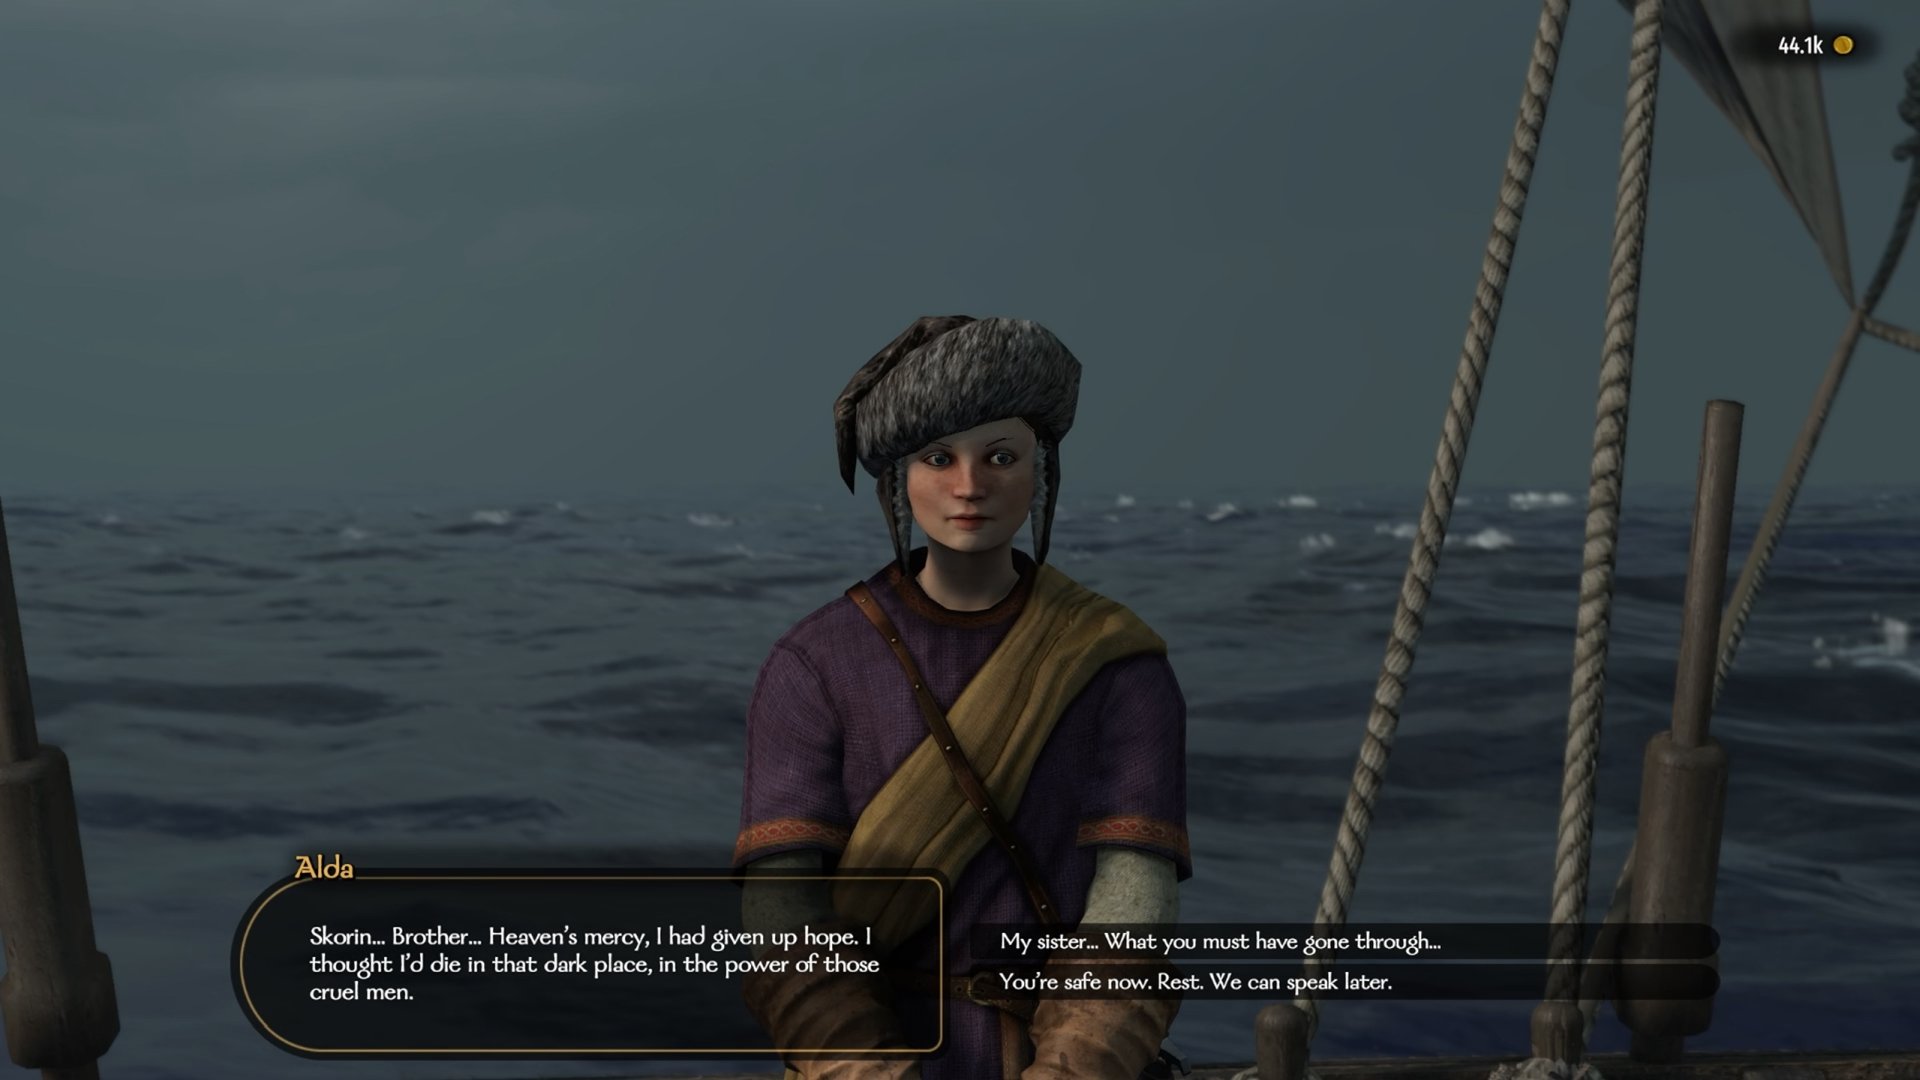
Now that the Sea Hounds have been dealt with, you can reunite with your sister. During this conversation, she retells the story of her kidnapping and how she had almost given up hope. However, while she was sailed around Calradia as Purig’s hostage, she regularly heard stories of our successes. Before she can finish telling her story, Bjolgur interrupts, stating that the men need to get back to land.
Between those who are injured and simply that water stocks are running low. This moment officially completes the quest, Free the Sea Hounds’ Captives. You’ll have a chance to teleport back to Ostican after ending this conversation. There, you’ll immediately start the next and final short quest of the War Sails expansion, Speak to Gunnar and Your Sister.


Jeff is a journalist with over 10 years of experience writing, streaming, and making content about video games. With an associate degree in journalism, he’s a sucker for RPGs, survival games, roguelikes, and more.