The Mount & Blade 2: Bannerlord War Sails quest, Escort the Vlandian Merchants, immediately begins after meeting the merchants at sea. As explained in our walkthrough for Meet the Vlandian Merchants, they’ll sail right out of Hvalvik to meet you. This leads to the next step in this quest chain where you’ll need to keep them safe.
If you’re looking for other quests in our War Sails walkthrough, be sure to check out our walkthrough hub.
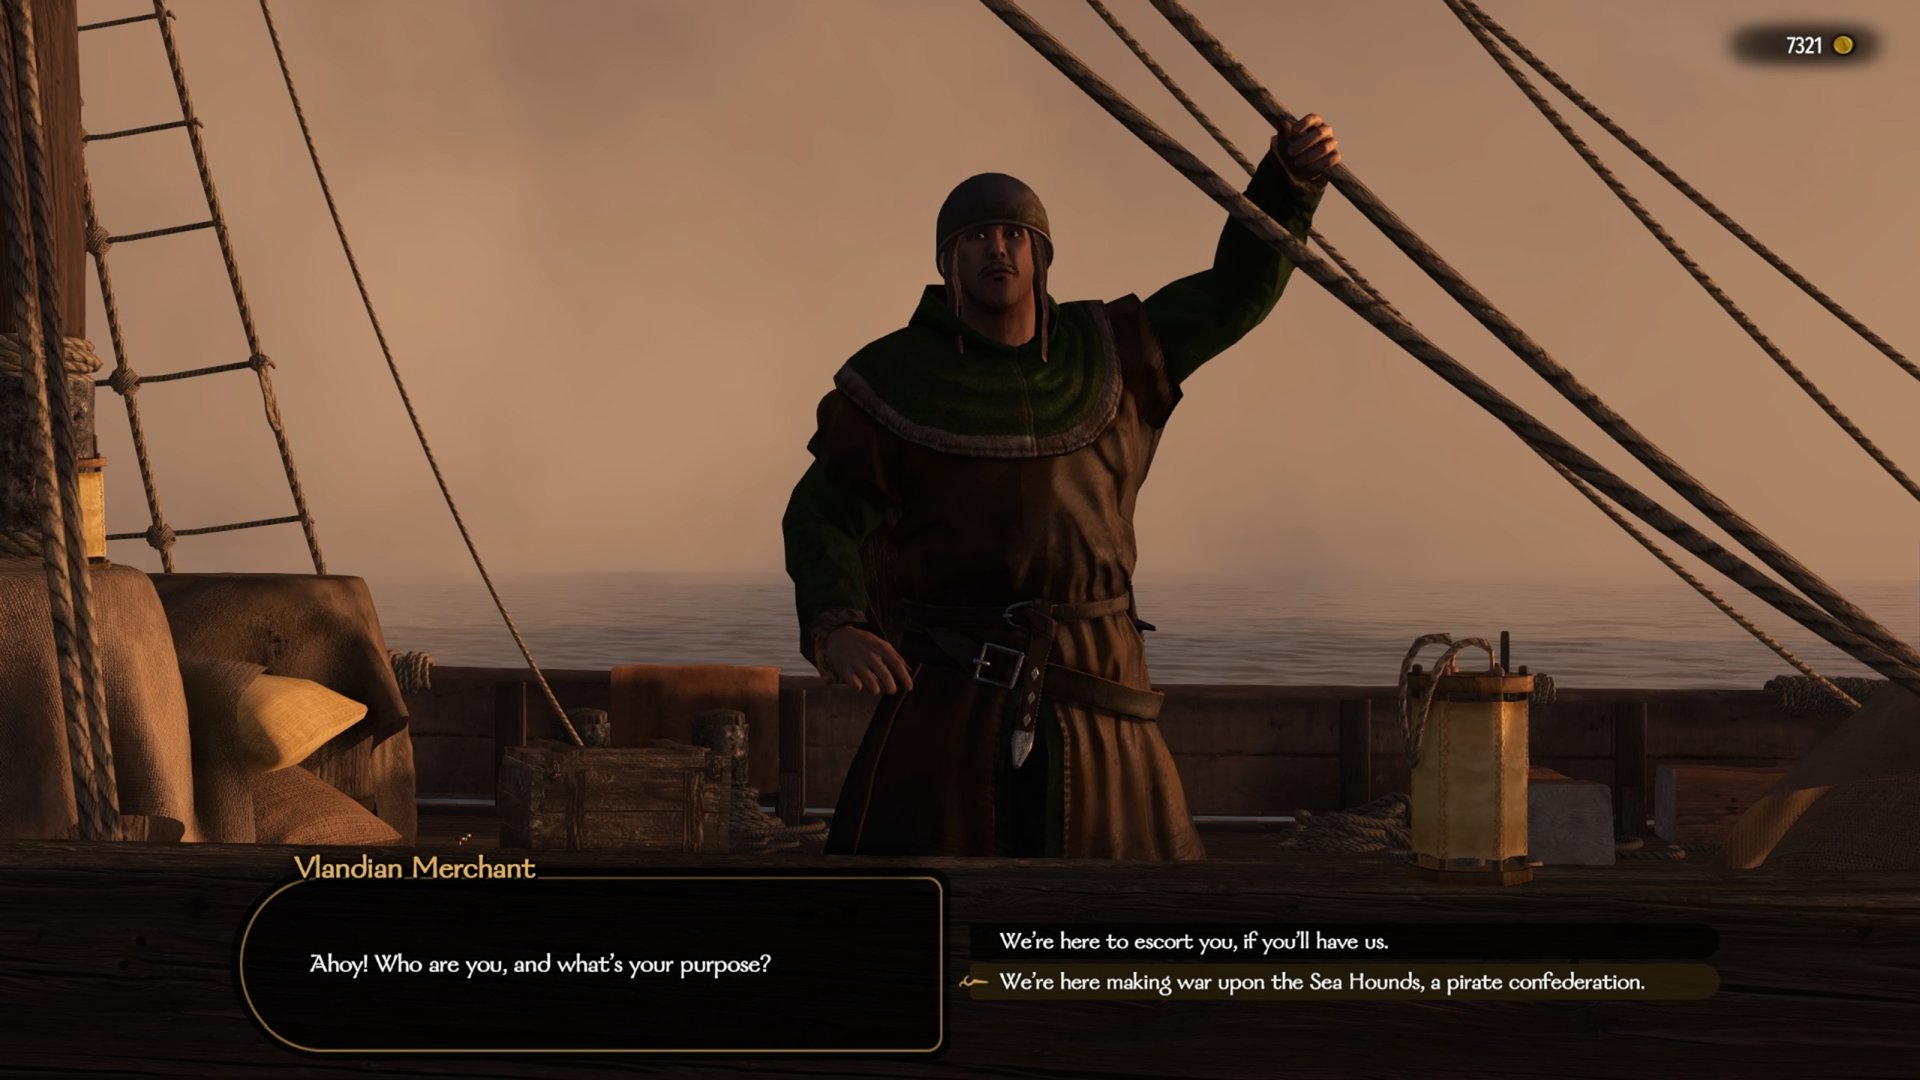
Speak with the Vlandian Merchants Outside Hvalvik

Talking to the Vlandian Merchant gives you some dialogue to let them know that you’re here to escort them. In this short conversation, they’ll ask if you’re looking for anything in exchange for their protection. This gives you two choices that may or may not impact your rewards:
- A small share of your cargo would be customary.
- Merely a chance to fight those slaving bastards.
In my playthrough, I picked the second choice, which led to them still offering to show their gratitude. This ends your conversation and leads back to the overworld map. Simply follow their ship closely so you can engage in any battles they may run into.
Defend the Vlandian Merchants From Sea Hounds
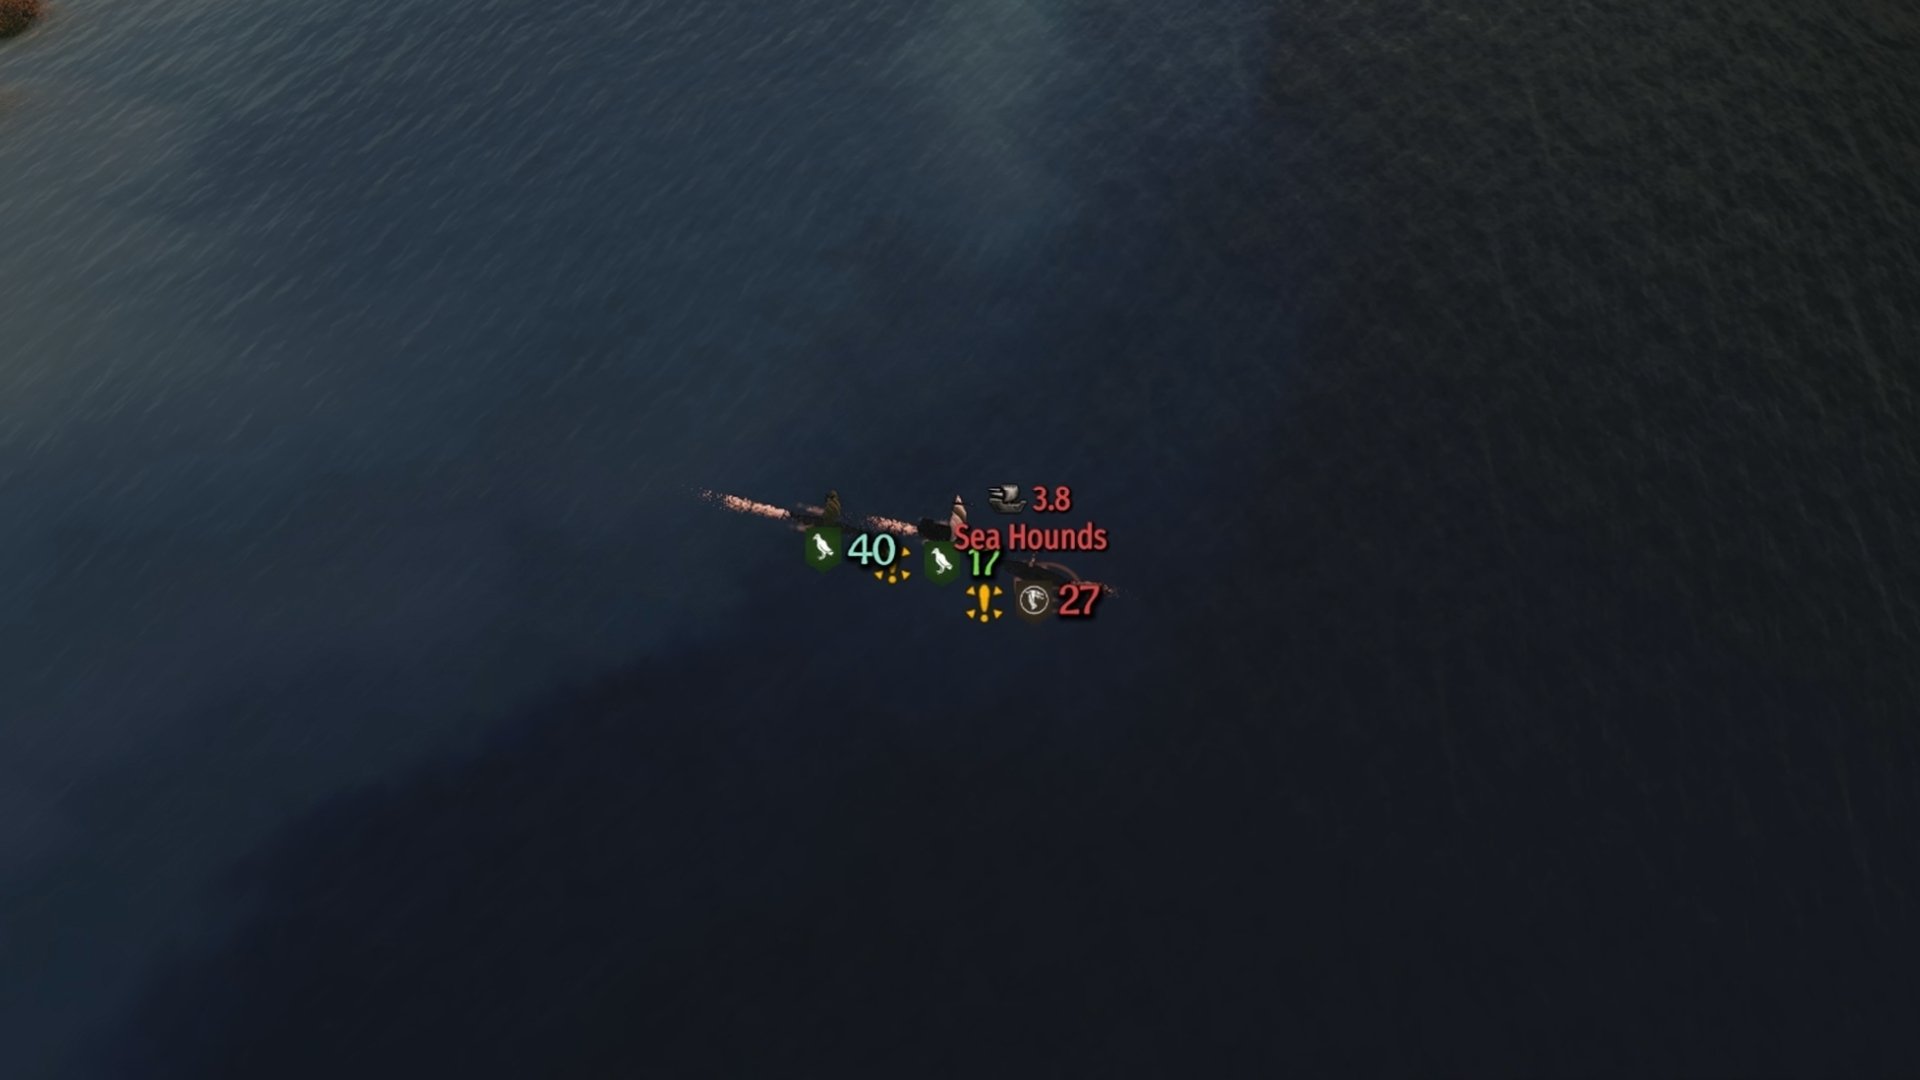
Shortly after your conversation, a group of Sea Hounds will attack the merchant caravan. Unlike random sea battles out in the wild, you won’t be able to send your troops to simulate this battle. Which isn’t all that surprising since the rest of the campaign missions don’t allow that as an option either. Hop into the battle to protect them and continue this War Sails quest.
Since you’ll have a number advantage as far as troops go, I recommend boarding the Sea Hound ship once you can. Unfortunately, you won’t be able to command the merchant ship. This means you’ll have to engage quickly to prevent them from getting themselves slaughtered. While I don’t know if this is the case for everyone or not, I started this encounter with the wind against us.
If you don’t have a way to get the wind on your side and stay in the green, make sure to lift your sail. You don’t want the wind working against you when your troops are trying to row. This will slow you down and lead to the merchants taking casualties.
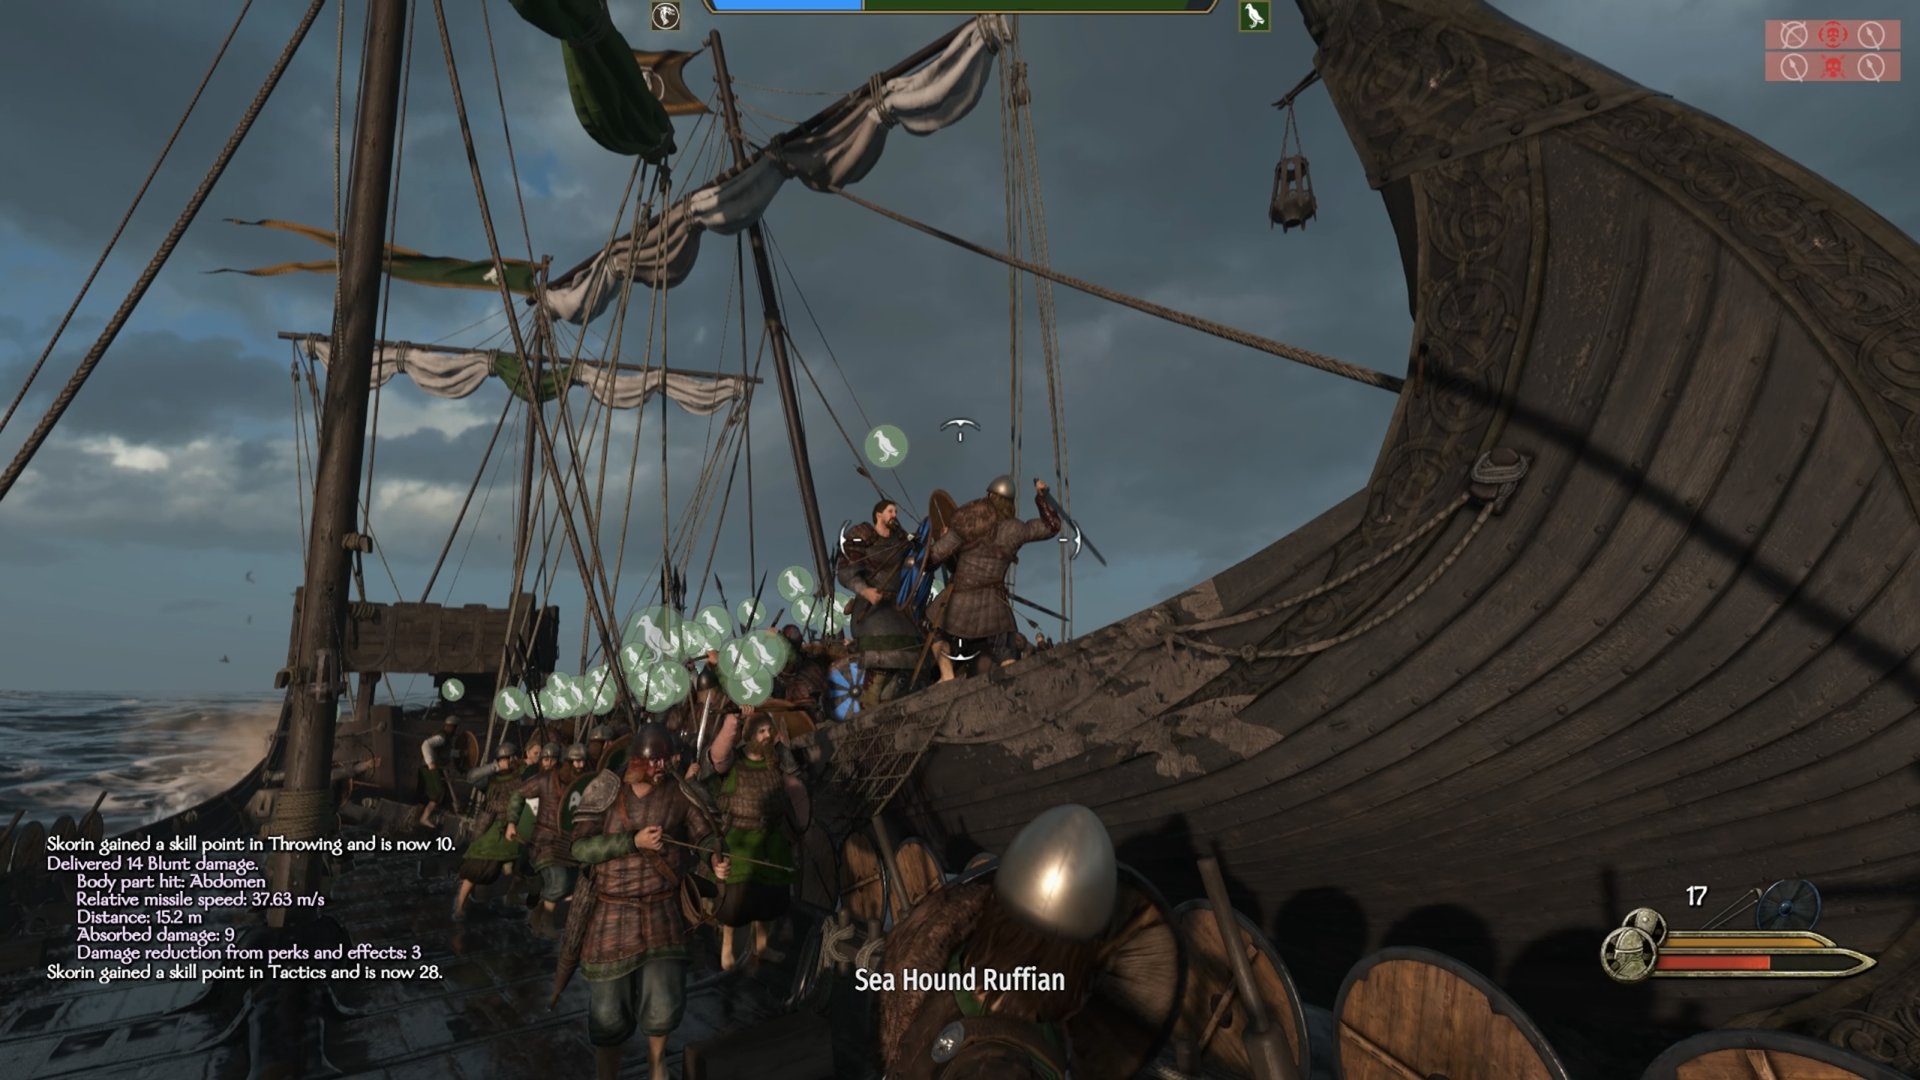
Once you’re close to the Sea Hound ship, press R on PC to start boarding. It’s up to you whether you prefer to fight from afar with ranged weapons or get up close. Certain War Sails encounters won’t let you use the feature to control a different troop after dying. I’m not positive if that’s the case for this one or not.
After defeating the troops on the enemy ship, you’ll return to the overworld map to continue escorting the Vlandians. This leads to another battle with the same number of enemies to defeat. In my playthrough, the wind was helping me in this fight. Similar to before, you’ll want to board them to deal the most damage. Otherwise, you can try to ram them, but you’ll have limited success without a ram.
If at any point during your battle you notice that your troops aren’t boarding the enemy ship, you can tell them to charge with F3. If needed, you can press 1 to select your boat before issuing the order. Once this battle is over, you’ll have one more big brawl before the quest is over.
Fight Off Two Sea Hound Ships
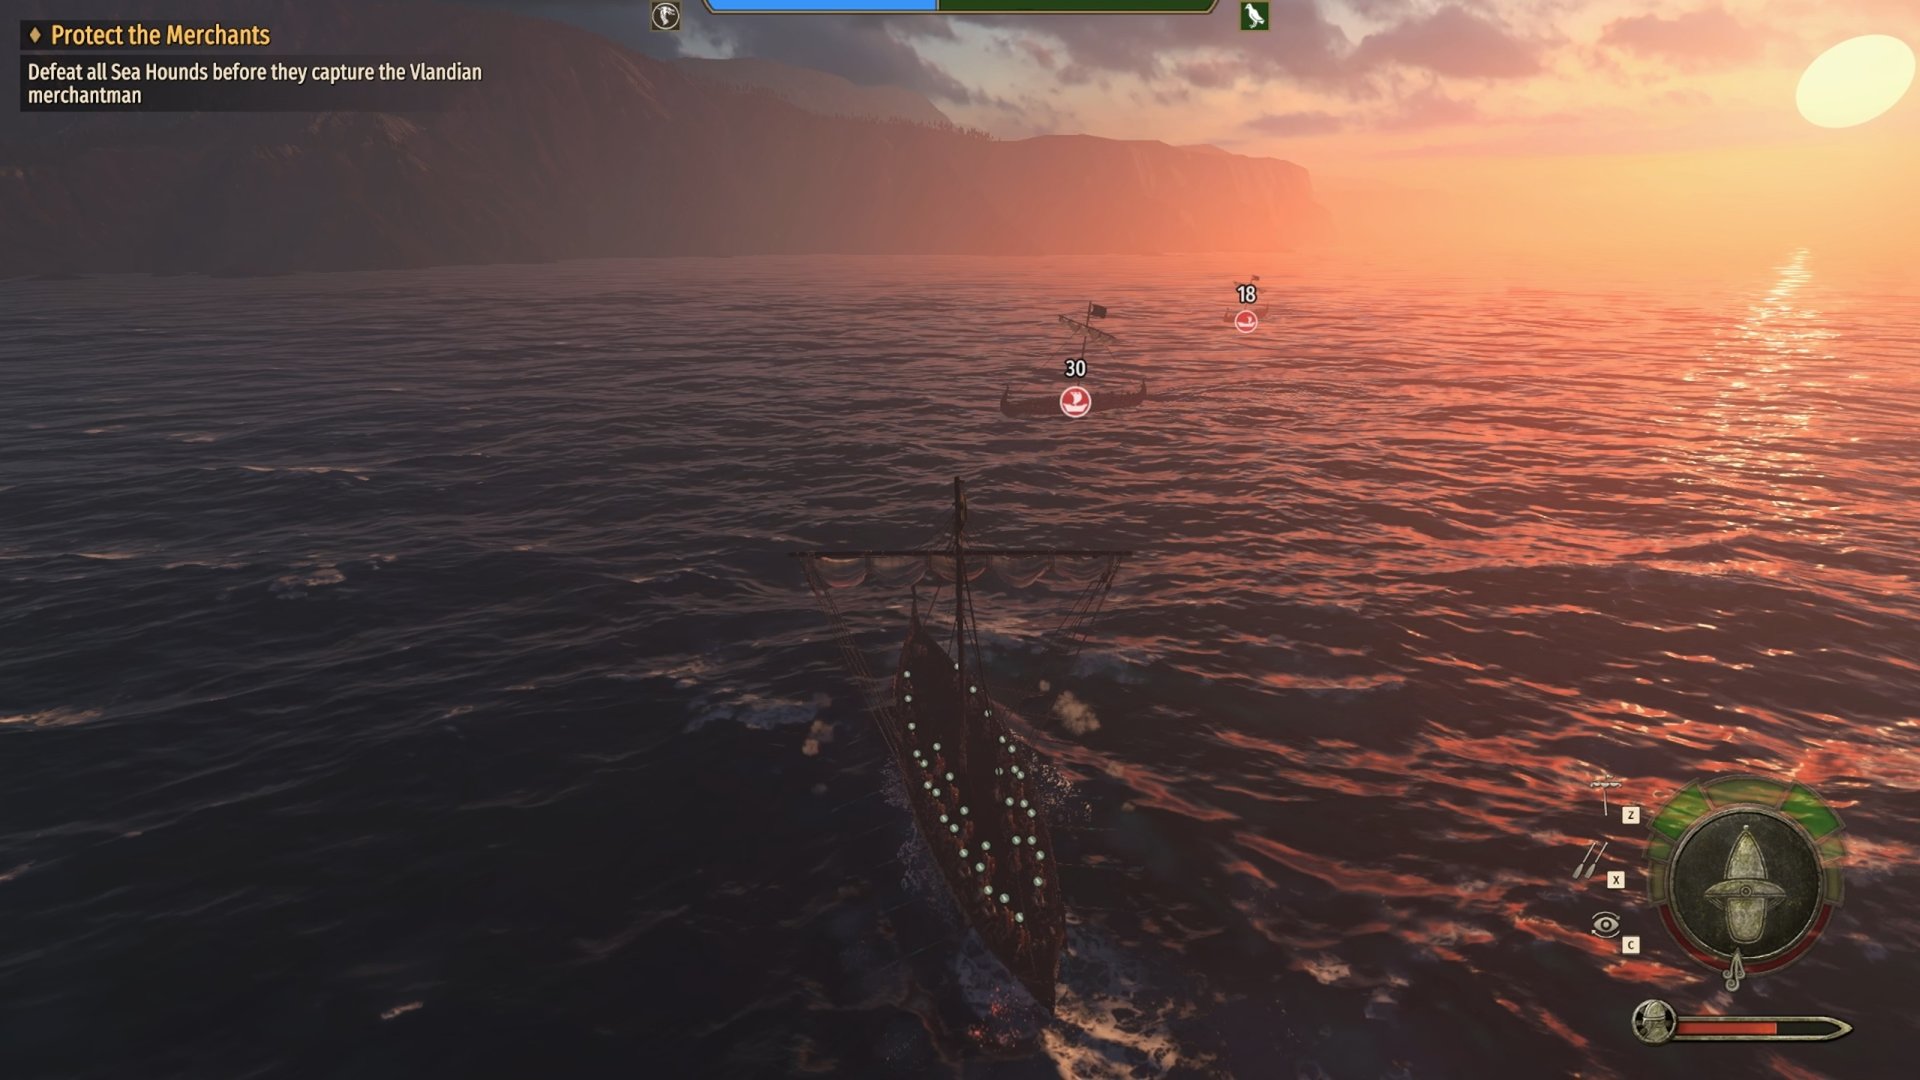
This next sea battle has 48 Sea Hounds across two ships to deal with. By now, between the Vlandian Merchants and your party, you may be a bit down on troops. Since this is a bit of an ambush, you’ll need to deal with one of the ships before it can reach the merchants.
You can either go for the large ship with 30 troops or the smaller one with 18. I recommend going after the larger one so the merchants have a better chance of surviving on their own. Plus, the larger ship is already closer to you anyway.
Since this is another case of having the wind against me, I kept my sails up while rowing onward. You can treat this encounter similarly to others by boarding fast before approaching the next enemy ship. Once you’ve defeated the first ship, your troops will likely return to yours. If not, you can use the F1 defend order to make them do so.

Afterward, press the X key on PC to cut loose the rope bridges. If you’re lucky like I was, the merchants were able to outsail the other enemy ship. Once you’re free of the previous ship, sail toward the enemy one to board it.
When the battle ends, the Vlandian Merchant will start a conversation with you to give their thanks. As previously mentioned, I chose the option earlier to not ask for any fees or rewards. The merchant still offered to give me “a barrel of oil and a bundle of ivory.” Here you can choose to accept the gift or let them keep it.
By now, it’s only a short trip the rest of the way, escorting the merchant to Ostican. Fortunately, we won’t run into any more Sea Hounds along the way. Just make sure to not get too far ahead of them since they’ll stop if you’re not nearby.

Upon entering Ostican with the merchant ship, the quest Escort the Vlandian Merchants will be complete. This returns us to the Scourge of the Seas quest to speak with Gunnar, before continuing to the next actual quest, Sail to the Gulf of Charas.


Jeff is a journalist with over 10 years of experience writing, streaming, and making content about video games. With an associate degree in journalism, he’s a sucker for RPGs, survival games, roguelikes, and more.