
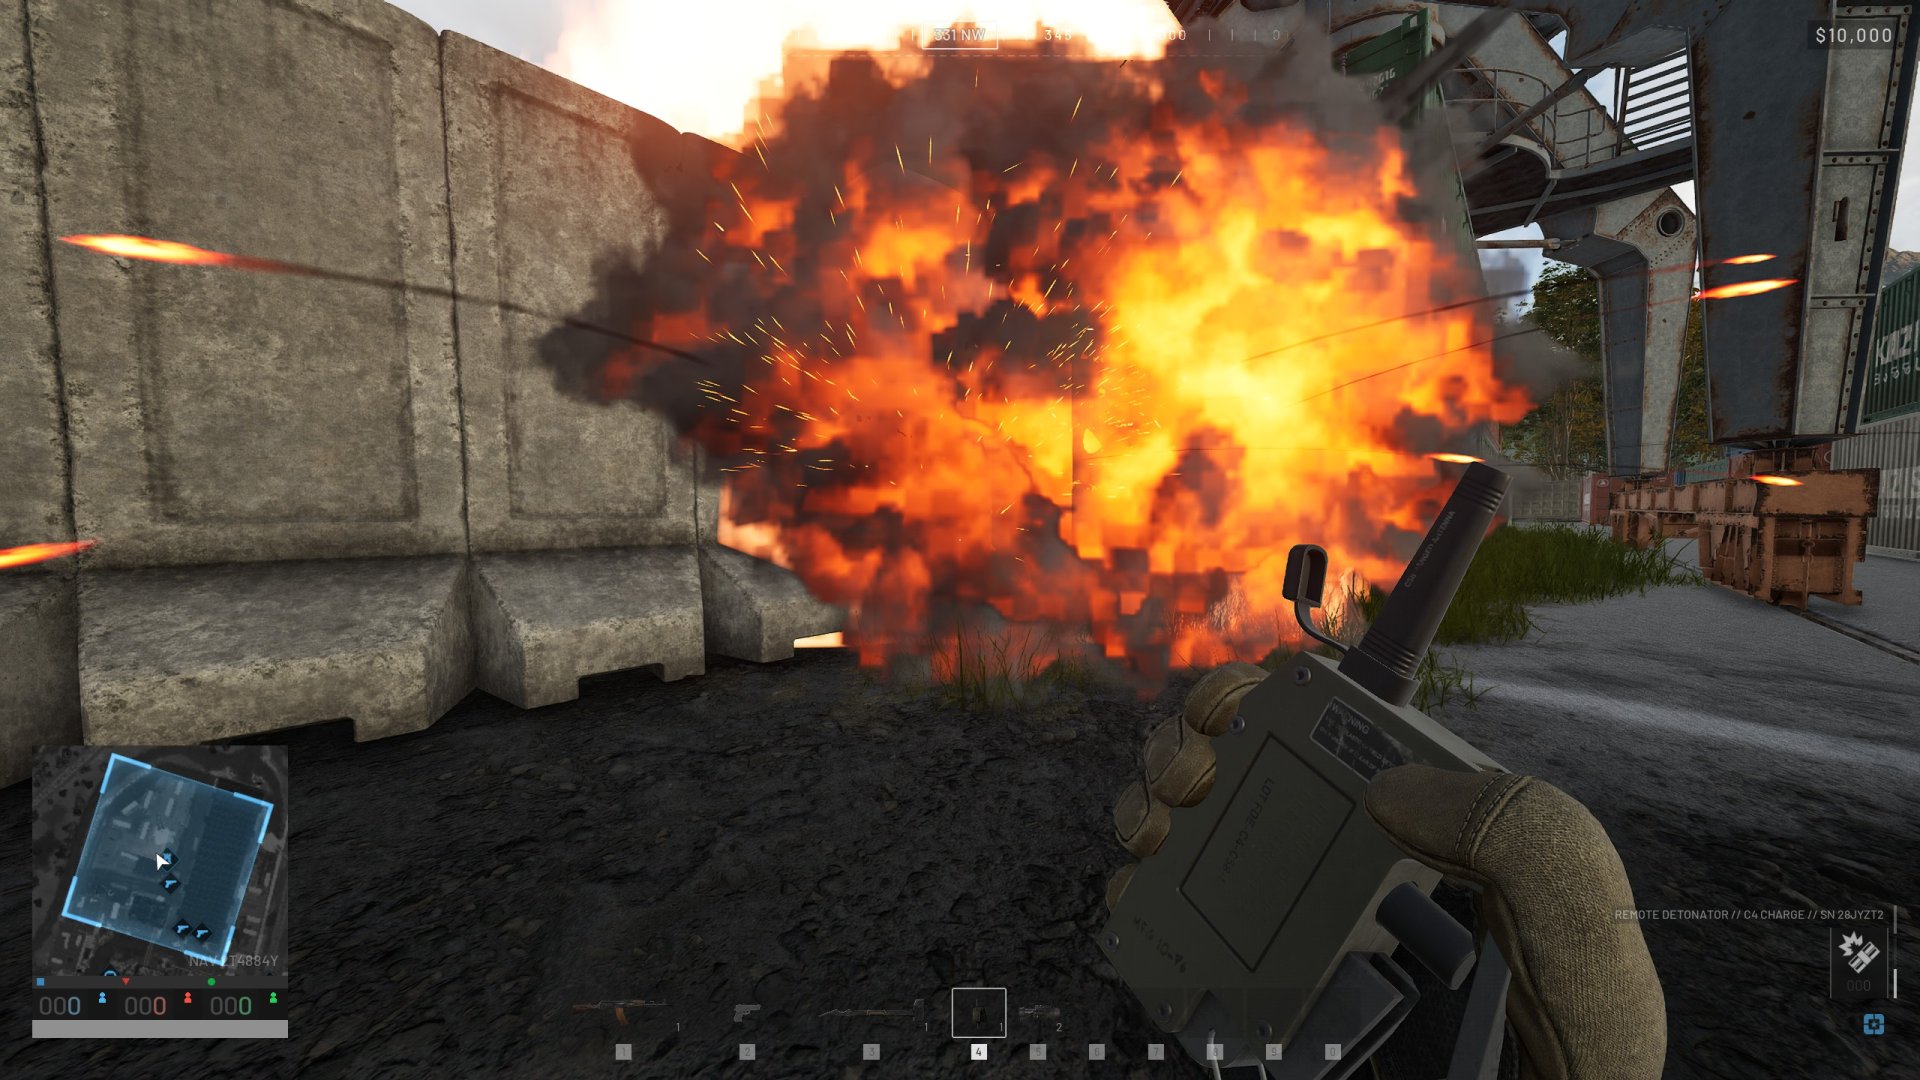
You’ll eventually need to breach an enemy FOB while playing Wardogs. When that time comes, you’ll want to know how many explosives you need to get the job done. And that depends on what’s in your arsenal!
When you’re unable to find a gap in an enemy FOB, you can rely on IEDs, C4, and the trusty RPG for most jobs. While there are other methods, these are the most efficient ones when not relying on mortars and tanks. Or as our tips and tricks list suggests, you can even use a vehicle to get past some Hesco walls!
Before jumping to the table below for useful stats, certain structures like bunkers will fall apart before they’re destroyed. For example, two IEDs can decimate a two-story Recon Bunker. However, the thin wooden foundation will still exist unless you use five IEDs.
| Building Type | IED | C4 | RPG/93MM |
| Hesco Cube (Small)
|
1 | 2 | 4 |
|
Hesco Cube (Large)
|
2 | 4 | 7 |
| Recon Tent
|
1 | 1 | 1 |
| Hedgehog
|
3 | 6 | 9 |
| Barbed Wire
|
1 | 1 | 1 |
| Sandbags
|
1 | 1 | 1 |
| Builder’s Radio
|
1 | 1 | 1 |
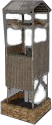
| Recon Bunker
|
5 | 12 | 15 |
| Indirect Fire Shelter
|
5 | 12 | 15 |
| Bunker
|
5 | 12 | 15 |
| Door
|
1 | 1 | 1 |
| Gate
|
1 | 1 | 3 |
| Bremer Wall
|
5 | 7 | 11 |
| L81 Mortar
|
2 | 3 | 4 |
| Vanguard CIWS
|
1 | 3 | 7 |
| Refuel Station
|
6 | 1 | 1 |
| Repair Station
|
1 | 1 | 1 |
| Drill Rig
|
1 (To be confirmed) | 2 (To be confirmed) | To be confirmed |
| Stingray
|
2 | 3 | 4 |
| Loudspeaker
|
2 | 7 | 5 |
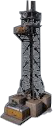
| Talon 9K-SAM
|
4 | 1 | 4 |
| Supply Pallet | To be confirmed | To be confirmed | To be confirmed |
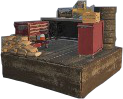
| Small Crate | To be confirmed | To be confirmed | To be confirmed |
| Large Crate | To be confirmed | To be confirmed | To be confirmed |
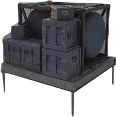
| Small Armored Crate | To be confirmed | To be confirmed | To be confirmed |
| Large Armored Crate | To be confirmed | To be confirmed | To be confirmed |









We’ll try to add more information to the table as we personally confirm the details! In the meantime, be sure to take a look at our other helpful guides below:


Jeff is a journalist with over 10 years of experience writing, streaming, and making content about video games. With an associate degree in journalism, he’s a sucker for RPGs, survival games, roguelikes, and more.